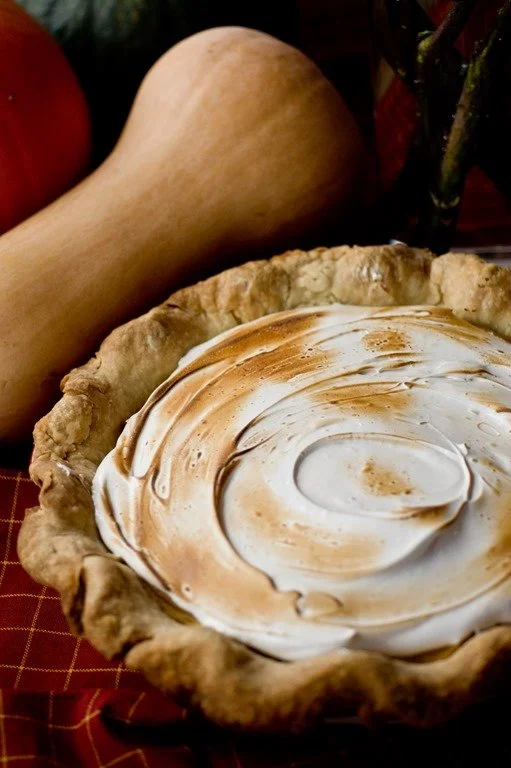
Roasted Butternut Squash Pie with Brown Sugar Marshmallow Topping
Flaky pie crust, flavorful roasted butternut squash filling and a sweet toasted brown sugar marshmallow topping make an amazing fall dessert. This is the perfect Thanksgiving pie!
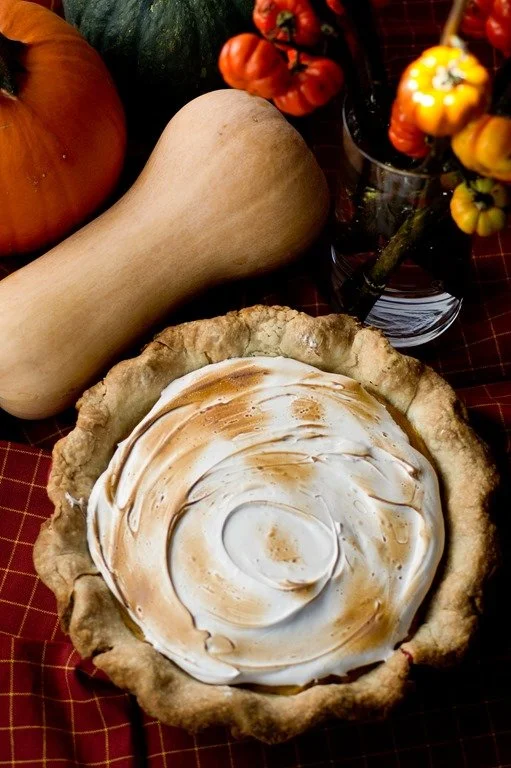
I wanted to make a very special dessert and I have a feeling that this pie, packed with my favorite vegetable (seriously, look at that bright orange hue in the photo above) was the perfect choice. The marshmallow topping adds a wonderful sweetness and the flavor from the brown sugar really compliments the pie. Thinking about what to make in a few weeks for Thanksgiving? This pie will not let you down.
Roasted Butternut Squash Pie with Brown Sugar Marshmallow Topping
Yield: 1 9-inch pie; 8-10 servings
Ingredients:
- 1 unbaked 9-inch (4-cup volume) deep-dish pie crust dough, cold* Audra’s pie crust recipe – so flaky!)
- Butternut Squash Filling
- 900g (~4 cups) cubed butternut squash (from ~2 ½ pound squash)
- 2g (1 teaspoon) ground cinnamon
- 1g (1/2 teaspoon ground nutmeg)
- ½g (1/2 teaspoon ground ginger)
- 118g light brown sugar, tightly packed
- 150g (3 large) whole eggs at room temperature
- 148 milliliters (1/2 cup + 2 tablespoons) heavy cream
- 30 milliliters (2 tablespoons) bourbon (optional, can replace with vanilla)
- Toasted Brown Sugar Marshmallow Topping
- 115g (1/2 cup tightly packed) light brown sugar
- 50 g (¼ cup) granulated sugar
- 60g (3 large) egg whites at room temperature
- 1g (1/4 teaspoon) cream of tartar
Instructions:
1. Roast squash: pre-heat oven to 425 degrees Fahrenheit; Line a large baking sheet with foil and coat with non-stick cooking spray
2. Place squash on baking sheet and toss with cinnamon, nutmeg and ginger; cook in oven for 30-35 minutes or until fork tender; set aside to cool
3. Reduce oven temperature to 350 degrees Fahrenheit and prepare to par-bake pie crust
4. Roll out pie crust and press into a 9-inch glass or ceramic pie plate (do not overwork the crust); neatly trim the edges and crimp crust as desired; refrigerate pie place with crust for ten minutes so that dough is once again chilled
5. When ready, line pie shell with foil and fill with pie weights, change or dried beans
6. Bake for 25 minutes and then remove pie crust from oven; remove foil and pie weights; return to oven for an additional 10 minutes or until crust appears to be a very light gold (remember, you will be baking the rest of the pie for additional time)
7. While crust is baking, prepare pie filling (you can use a large bowl with an immersion blender or a high-speed blender); place all filling ingredients in bowl or blender and combine on high speed until smooth (if using a high-speed blender like a Vitamix, start blender on low and gradually increase speed to high; blending will only take a couple of minutes)
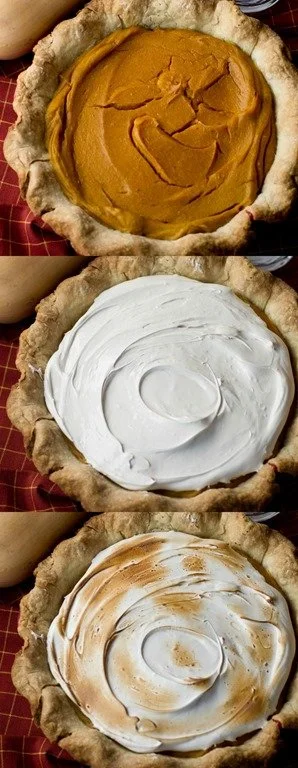
8. Pour filling into pie shell and bake for about 40-50 minutes or until filling is set; if crust begins to brown too much during baking, cover lightly with foil
9. Set pie aside on cooling rack and prepare topping
10. Place sugars, egg whites and cream of tartar in a the large bowl of an electric mixer or another heatproof bowl set up with a candy thermometer
11. Place bowl over a medium pot or saucepan of simmering water, being careful that the water does not reach the bowl
12. Whisk the topping ingredients constantly for several minutes or until sugar has dissolved and temperature reaches 160 degrees Fahrenheit
13. Remove bowl from heat and use the whisk attachment on electric mixer to finish topping; beat on high speed for about six minutes minutes or until stiff glossy peaks form
14. Spread or pipe decoratively over pie and use a torch or broiler to (carefully without burning) brown the marshmallow topping
Notes:
Adapted from Food and Wine
Pie can be made one day in advance and refrigerated (you can wait to torch or broil the topping until prior to serving if desired)