Tag Archives: Easy

Layers of Fall

This fun fall dessert is full of layers like apple pie filling and pumpkin cake.  The trifle combines your favorite fall desserts into one!

One of my favorite desserts for entertaining (and eating) is a trifle.  It allows you to incorporate lots of different textures and flavors into one dish.  It also is visually impressive but almost always EASY to make.  Historically I have made summer trifles with berries, angel food cake or pound cake and cool whip and pudding.  It’s September, now, so fall flavors are constantly on my mind.  Pumpkin. Apples.  Cinnamon.  This Fall Trifle takes some prep time but is very easy to put together.

Fall Trifle: This fun fall dessert is full of layers like apple pie filling and pumpkin cake.

First thing I do when making a trifle is figure out how I will get in all of the textures I want: Creamy, Crunchy, Soft.  I also consider the look of the trifle, what are some colors that will go well together but not blend too closely to one another?

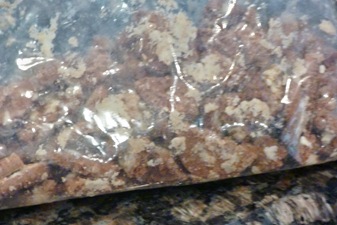
For crunch a few cookie options came to mind (graham crackers and gingersnaps especially), so when I found these in my parent’s kitchen I grabbed them!  I think of them as a ginger-spiked Oreo:-)  Regular gingersnaps would have worked too.  I like the little spicy bite with all of the other sweet ingredients.

ginger cookie

I just crushed them in a Ziploc bag.  No food processor required since you don’t want crumbs, just small chunks of cookies!

crushed cookies

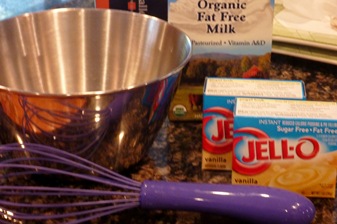
Next I thought about the creamy ingredients.  I always include cool whip in trifles because it is light and creamy and tailors well to any flavor profile.  Fresh whipped cream would be even better (hmmm maybe cinnamon whipped cream!), but I was going for some less indulgent ingredients.  In addition to the whipped cream I chose to use vanilla pudding which is creamy but thicker in texture.

pudding ingredients

One of my favorite guilt-free EASY recipes is pumpkin spice cake.  All that you need is spice cake mix, pumpkin, egg whites (or egg beaters) and water.  I can promise you that the cake will be moist and flavorful.  No one ever knows that it is low fat.  Use this as a base for muffins or cupcakes with cream cheese icing!

spice cake ingredients

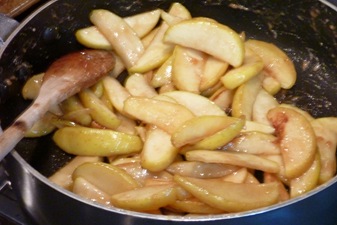
In the summer, berries are usually a perfect trifle component.  Sliced banana is also tasty, but sometimes the mushier texture doesn’t provide enough contrast.  What dessert is more fall than apple pie?  Enter, apple pie filling!

cropped apples

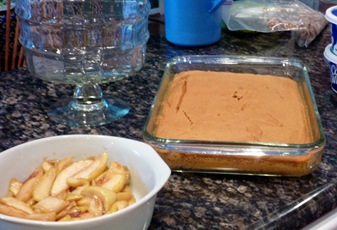
When you are ready to build your trifle, layout all of the ingredients and decide on an order for layering.  Consider texture and color for this.

trifle parts

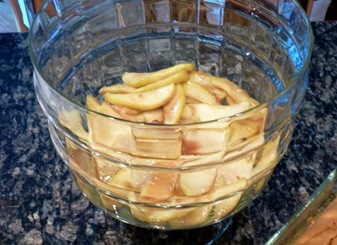
For this trifle, layer the apple pie filling on the bottom of your trifle dish (a large glass bowl would work too).  The apples are a little too heavy to have in the upper layers.

apples in trifle

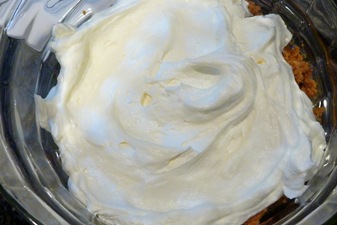
Next is the pudding.  Apples + pudding = slightly crunchy + creamy.

pudding on apples

The crumbled spice cake is next.

cake on pudding

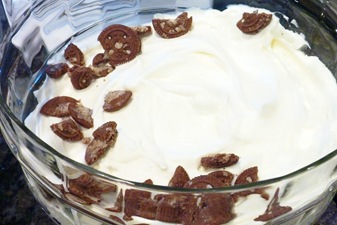
Then cool whip for that cool and creamy addition.

cool whip on cake

Cookies next for another crunch layer.

This fun fall dessert is full of layers like apple pie filling and pumpkin cake.

After that, you repeat the prior layers except for the apple pie filling.  Leave cool whip as your final layer and decorate as you wish.  I scattered cookie crumbs and a couple pieces of the apple.

Fall Trifle: This fun fall dessert is full of layers like apple pie filling and pumpkin cake.

The layers don’t have to be perfect, does that mean I should call this rustic??

Fall Trifle: This fun fall dessert is full of layers like apple pie filling and pumpkin cake.

Serve with a long spoon for scooping.  Dig deep for that apple pie filling!

Fall Trifle: This fun fall dessert is full of layers like apple pie filling and pumpkin cake.

[print_this]

Fall Trifle

Serves 10-12

Ingredients:

Prepared apple pie filling (recipe below)

Vanilla pudding, 2 small boxes prepared (use instructions on box)

1/2 of prepared pumpkin spice cake (recipe below), broken up into small pieces

2 8-ounce containers of cool whip

2-3 cups of cookie crumbs (gingersnaps or a similar variety are recommended)

Directions:

Layer ingredients as follows-

Apple pie filling

Pudding

Spice cake

Cool whip

Cookie crumbs

Repeat, except for apples, leaving cool whip as final layer

Decorate as desired

Refrigerate prior to serving

Notes:

When layering ingredients, cover each prior layer completely.  You want to get a taste of each component in every bite.  Plus, the view from the side is prettier when you can see each element

Instead of or in addition to the cookies, toasted walnuts or pecans would make a great crunch layer

If you like butterscotch, butterscotch pudding would probably be a great replacement for vanilla

I chose to use lower fat ingredients in this recipe because 1) I knew that the way it comes together it does NOT taste low fat, and 2) the rest of the desserts planned for our night were extra indulgent.  This version was made with fat free cool whip and fat free, sugar free pudding

Spice Cake:

Ingredients:

1 box spice cake mix

1 small can (15 oz.) pumpkin, not pumpkin pie filling

2 egg whites or 1/4 cup egg replacement

1/2 cup water

Directions:

Pre-heat oven to 350 degrees.

Spray 9×13 pan or baking dish with cooking spray (if you want to, you can make into 24 cupcakes instead and save the extra; they will freeze well)

Combine all ingredients until batter is smooth.  A mixer is easier but this can also be done by hand

Spread batter into baking dish and bake for approximately 30 minutes or until knife or toothpick comes out clean

Allow to cool before using in trifle

Apple Pie Filling

Ingredients:

3 golden delicious apples, sliced (peeling optional)

2 tablespoons brown sugar

1 teaspoon all-purpose flour

Dash of cinnamon

1 1/2 tablespoons butter

3 tablespoons granulated sugar

Directions:

Combine apples, brown sugar, flour and cinnamon.  Set aside

Melt butter in medium pan over low-medium heat

Sprinkle in granulated sugar and stir until mixture is lightly browned

Pour apple mixture into pan and stir

Cook over medium heat for approximately 30 minutes or until apple slices are softened

Allow to cool before using in trifle

[/print_this]

What are your favorite flavors of fall?

Mix and Match Chocolate Candy Bars

Often in the blog world, I find really exciting new foods that are much more expensive than their regular counterparts.  Sometimes I give in, but usually I remind myself that spending $15 plus for nut butter is a little bit insane.   Ahem, unless they come to me as gifts:-) However, there are occasions when I realize I can make the same item myself at a fraction of the cost.

Have you seen these websites where you can build your own chocolate bar?  The companies have all sorts of fun ingredients from dried fruit and nuts to cereals and spices.  I’ve checked out this website and this one too, but the high cost has kept me from ordering anything.  Lucky for me, and you, this is something fairly easy to do on your own!    Here is a very easy recipe for Mix and Match Chocolate Bars.

toppings on choc


Step 1: Pick out your ingredients.

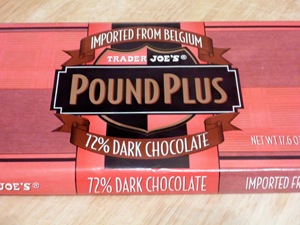
The most important part is to pick a good tasting chocolate.  If the chocolate you start with doesn’t melt in your mouth and give you that rich satisfying flavor, the final result isn’t going to either.  I found Pound Plus 72% Belgium dark chocolate at Trader Joes for just a few dollars!  Note that you could make almost a dozen large chocolate bars for this amount of chocolate!  You could use white or milk chocolate as well.

TJs choc

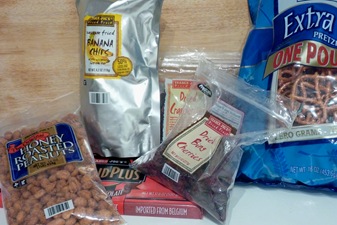
As for toppings, feel free to use those websites for inspiration.  Go with whatever flavors you like.  I knew I wanted to have contrasting flavors and textures so I went with pretzels and peanuts for a crunchy and salty as well as a selection of dried fruits for chewy, tart and sweet.  You probably only need about 3 cups total of toppings per pound of chocolate.

all ingred

Step 2: Set up your space.

You will need 1 medium pot or microwavable bowl for melting your chocolate and a jelly roll pan lined with parchment paper.

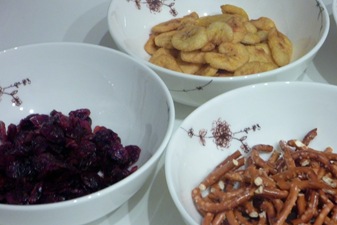
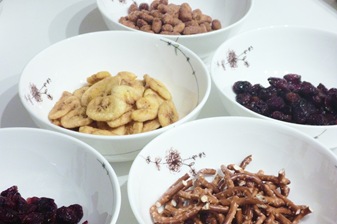
For ease of working, you will want to lay out your toppings so that they are easy to access once the chocolate is ready to decorate.

toppings 1 toppings 2

Step 3: Melt the chocolate.

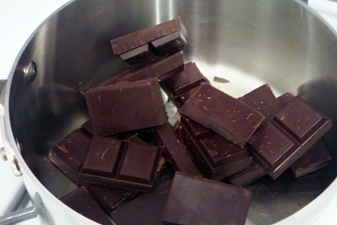
choc in pot

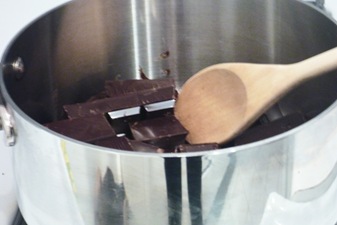
melting choc

If you do this via microwave, take it slow.  Once the chocolate is about 75% melted stir it to eliminate any remaining clumps.

On the stovetop, work with low heat and stir constantly.  Again, remove the pot from heat a little before the chocolate is completely melted and stir the rest.

Step 4: Make your chocolate bar!

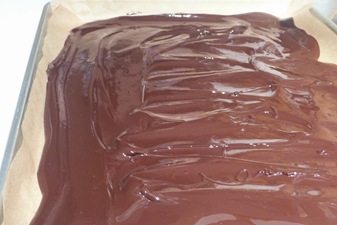
Spread the melted chocolate out on parchment paper to be about ¼ inch thick.

choc spread in pan

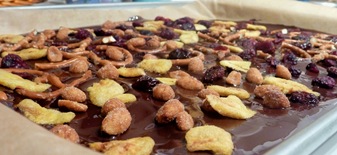
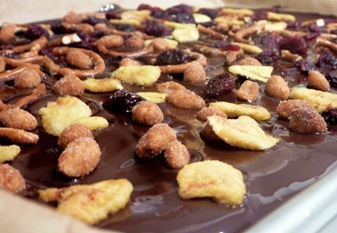
As soon as it is smoothed out, decorate it with your toppings.  Lightly push the nuts/candies/cereal pieces, etc. into the chocolate so that they will stay when it gets hard.  Imagine what you want to get in one bite and let that be your inspiration for how dense you want your toppings to be.

toppings on choc 2

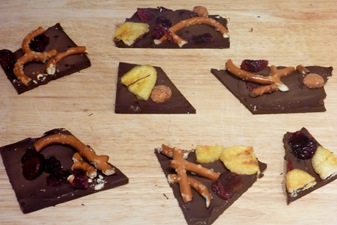
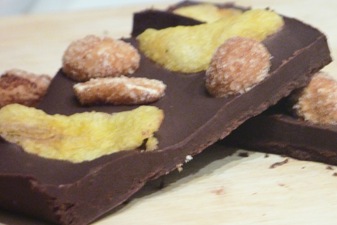
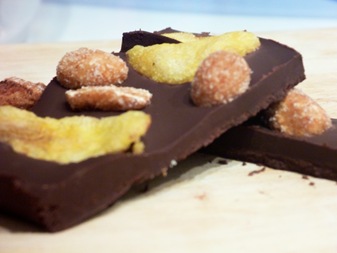
Once you finish, let the chocolate cool and harden.  Cut bars to desired size.  I actually made mine more like bark because I thought it would be better for serving.

pieces 1

pieces 4

pieces 5

Store finished product in an airtight container (5 days) or refrigerator (up to 2 weeks).

Oh, and buy yourself something nice because you saved money on fancy candy bars!

Notes:

Don’t let the chocolate get wet at any point.  Your chocolate will discolor.

You can customize this recipe to do as much or as little as you want at a time.

This could make a great gift for the holidays .  Use crushed candy cane or ginger snaps for a festive theme.

[print_this]

Mix and Match Chocolate Bars

Ingredients:

1 pound of chocolate of your choice

3 cups of fun toppings

Directions:

Line jelly roll pan with parchment paper and set aside.

Layout toppings to be easily accessible.

Melt the chocolate on stovetop or in microwave, being careful not to burn.

Spread the melted chocolate out on parchment paper to be about ¼ inch thick.

As soon as it is smoothed out, decorate it with your toppings.  Lightly push the nuts/candies/cereal pieces, etc. into the chocolate so that they will stay when it gets hard.  Imagine what you want to get in one bite and let that be your inspiration for how dense you want your toppings to be.

Let the chocolate cool and harden.  Cut bars to desired size.

Store finished product in an airtight container (5 days) or refrigerator (up to 2 weeks).

[/print_this]

What is an expensive food product that you refuse to buy even though you REALLY REALLY want it?

Matt’s Chocolate Chip Banana Bread

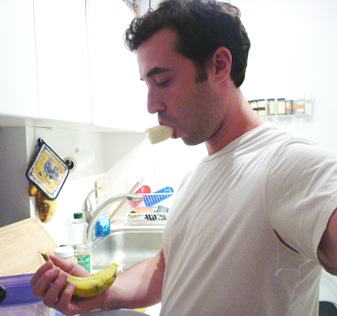
matt tasting banana

I like bananas…

Last week we were going to my godparents house for dinner and Lauren said she would make banana bread. She was feeling a little under the weather, so I said I would do it.

I basically did Lauren’s Upside Down Banana Bread Recipe without the caramelized bananas plus chocolate chips (my favorite).  I didn’t think the caramelized bananas would travel well, so I dropped that part of the recipe.  Here is a link to the original recipe, which I doubled to make two loaves.

Sooo, it turns out that baking is really hard.  I’m normally pretty good in the kitchen when it comes to cooking. I like to experiment with different spices and usually just improvise with whatever ingredients are available. Then there is my basic rule of thumb, “when in doubt add cheese.”

However, I discovered this is not really how baking works. You have to follow recipes and be exact.  I am bad at that. I am used to just throwing a little bit of this and a little bit of that into whatever I’m making and see how it comes out!

First step, “raisin bran…” What?! Raisin Bran?! The first obstacle was reading Lauren’s handwriting. It actually said “mash bananas,” Lauren got a pretty good laugh out of that one. I’m glad she was there to answer all my questions.

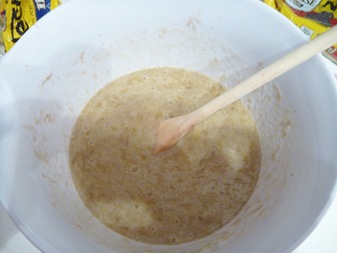
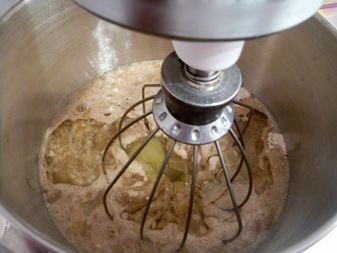
I combined the dry ingredients in the mixing bowl and then did the wet ingredients in a different bowl. I mashed the bananas, added sugar, eggs, oil, applesauce and vanilla and mixed it all together. I poured the wet ingredients on top of the dry ingredients, flipped the switch on the mix master and done!

I definitely made that seem much easier than it was. It took me like 15 minutes to mash the bananas together, was a wooden spoon the right tool to use? Probably not. I switched to a fork and that didn’t help much. Can anyone help tell me what I should use next time?

Here are a few pictures to document the experience.

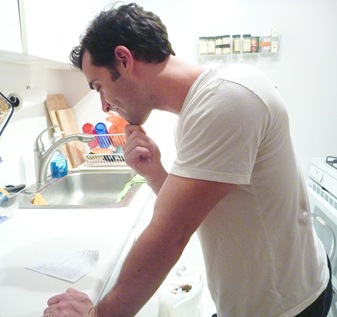
matt studying recipe

Following Lauren’s advice – reading through the whole recipe before doing anything.  If I could only decipher her handwriting…

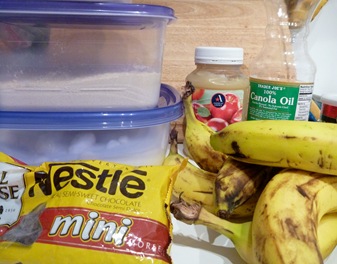
all ingredients

What you’ll need…

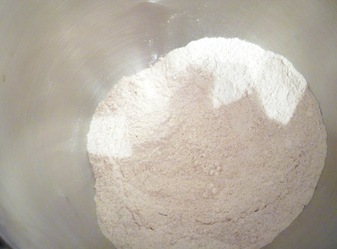
dry ingred

Mix the dry ingredients

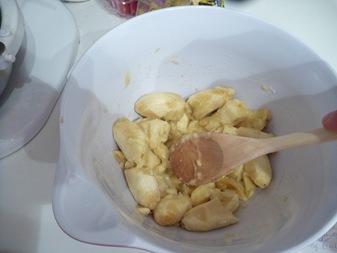
mixing banana

I can make chicken parm, roast a turkey or braise a brisket, but I seemed to be having trouble mashing bananas!

mixing wet

Add all the wet ingredients and mix.  Apparently sugar is a wet ingredient?

mixing all ingred

Put them on top of the dry ingredients and whisk

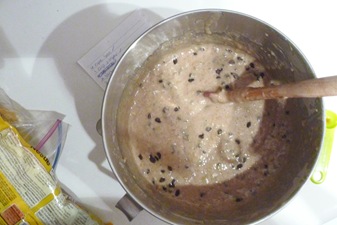
batter with chips

To finish it off, I reverted to my brand new baking rule of thumb, “when in doubt, add chocolate chips.” I added almost a whole bag. Lauren thought this was funny, but I like chocolate chips!  No need to measure, that’s just how I roll…

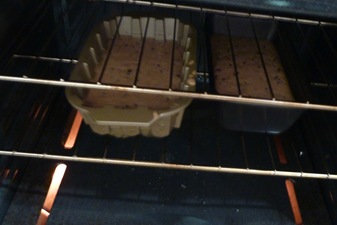
in oven

Bake at 350 for ~35 minutes, I had to ask Lauren to check if they were done.  Just like she asks me when the chicken is done.  Role reversal!

done

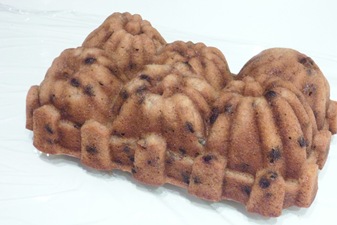
I baked them in this Williams Sonoma pan. Lauren says they are pumpkins, but I say bring it to the beach to make sand castles!

I’m going to let Lauren do the baking from now on, she definitely makes it seem easier than it is.  So, if you think baking is hard, you are NOT alone!

From now on, I will stick to what I’m really gifted at: tasting!

[print_this]

Matt’s Chocolate Chip Banana Bread

Ingredients:

5 medium extra ripe bananas (to make 2 cup mashed)

1 cup of sugar, separated

2 large eggs + 2 large egg whites

2 tsp vanilla

1/2 cup vegetable or canola oil

1/2 cup unsweetened applesauce

1 cup all-purpose flour

1 cup whole wheat flour

2 tsp baking powder

2 tsp cinnamon

1/2 tsp salt

1 1/2 cups mini semi-sweet chocolate chips

Directions:

Preheat oven to 350 degrees.

Spray 2 loaf pans with cooking spray.

Combine flours, baking powder, cinnamon and salt.

Mash together bananas and sugar.

Whisk remaining wet ingredients into banana mixture (vanilla through applesauce).

Add wet ingredients to the dry and combine.

Stir in chocolate chips.

Pour batter into pans and bake for 25-30 minutes or until knife comes out clean.

Allow to cool in pan before removing.

Slice and enjoy!

[/print_this]