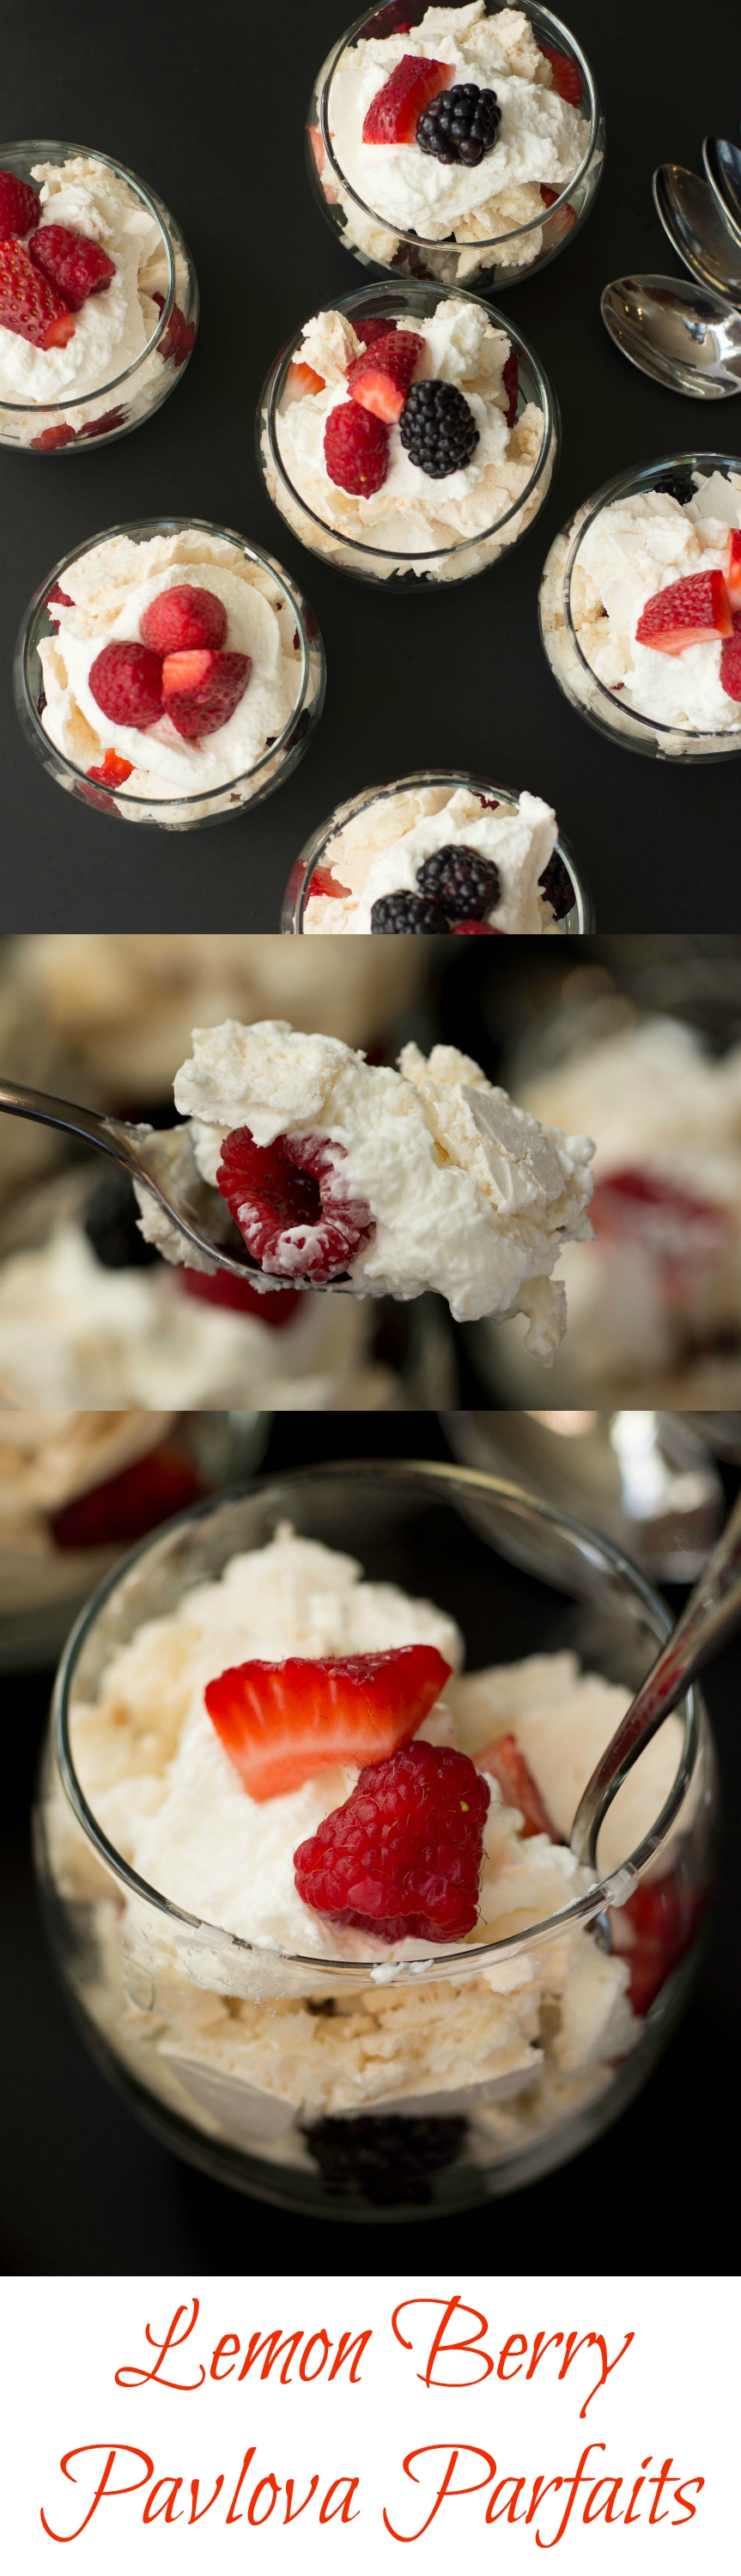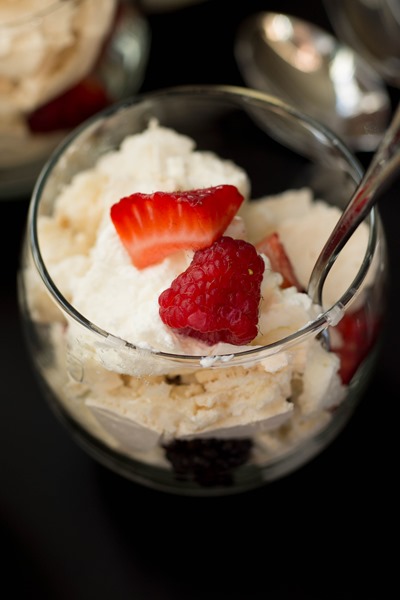
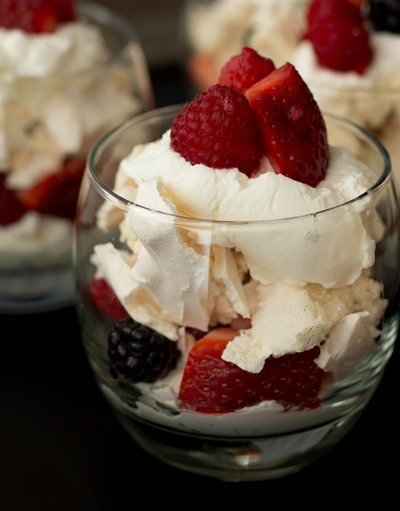
The prettiest parfaits layered with lemon whipped cream, fluffy meringue and fresh berries.

I’d love to say that I had this big “creative” idea to turn a pavlova into a parfait but that would be a lie. In fact, I had all intentions of sharing a perfectly pretty pavlova with you until mine crumbled a bit too much and looked like an all around hot mess.
But while it looked eh it tasted perfect. The baked meringue was light and crispy on the outside and fluffy and soft on the inside. It was way too delicious to throw away. And while the resulting dessert wasn’t exactly what I planned, it actually worked out better. I really enjoyed serving the individual glasses to friends. It’s not my usual serving choice but it was just right.

- 6 cocktail glasses or glass bowls
- 1 pavlova broken into bite sized pieces (can substitute broken meringue cookies as well)
- 355 milliliters (1½ cups) heavy whipping cream
- 44 milliliters (3 tablespoons) lemon juice (~1 lemon)
- 53g (~1/4 cup) granulated sugar
- 2½ cup fresh berries washed and dried (I used a mix of raspberries, blackberries and sliced strawberries)
- Prepare lemon whipped cream; in the large bowl of an electric mixer with whisk attachment, beat cream and lemon juice at medium speed until foamy; increase speed to medium-high, and slowly add granulated sugar, beating until stiff peaks form
- Put about ⅓ of a cup of whipped cream on the bottom of each glass; layer with ⅓ cup of berries in each glass; follow that layer with crumbled pavlova (enough to reach the rim of each glass)
- Dollop remaining whipped cream on top of each parfait along with a couple of berries
- Serve immediately or chill in refrigerator until ready to enjoy
Parfaits prepared and served on same day but can be enjoyed within three days

Get some of everything at once for the perfect bite!
Make something from the blog? Be sure to share it on Instagram with the tag #KeepItSweetDesserts.
You might also like:

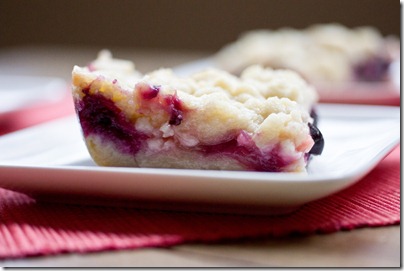
Blueberry Rhubarb Shortbread Bars