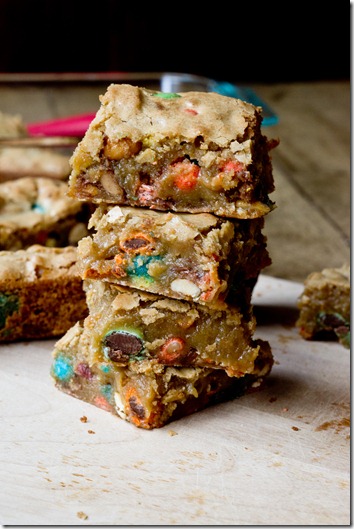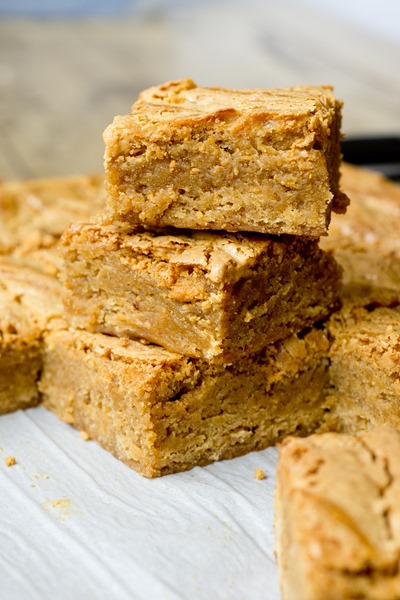
Dense and fudgy pumpkin blondies with a rich caramelized white chocolate swirl.

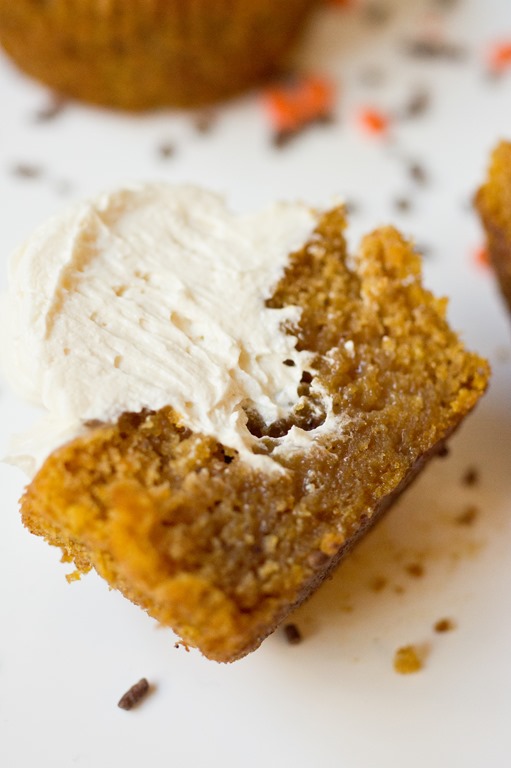
About a year ago, I absolutely fell in love with caramelized white chocolate. Luscious, creamy, sweet, decadent; so many reasons to love it. And thanks to that wonderful ingredient, these pumpkin cupcakes are one of my favorite recipes on the blog. This time around, I’m taking one of my favorite things, a dense and fudgy blondie, and infusing it with those fantastic flavors. The pumpkin blondies are enhanced with cinnamon and nutmeg but seriously, the caramelized white chocolate swirl is where it’s at.

I know, I know, it might be a little early for pumpkin, but I made these blondies a couple of months ago and I didn’t think you would want to wait. Pumpkin makes me happy year-round, but I figured that September was the socially acceptable time to start sharing my pumpkin sweets on the blog.

- Caramelized white chocolate*:
- 280g good quality white chocolate
- 5g (1 teaspoon) sea salt
- Blondies:
- 700g (~3 cups firmly packed)
- light brown sugar
- 170g (3/4 cup) unsalted butter
- 120g (½ cup) canned pumpkin (NOT pumpkin pie filling)
- 460g (~3 cups + 6 tablespoons) all-purpose flour
- 5g (1 teaspoon) baking powder
- 5g salt (1 teaspoon)
- 4g (2 teaspoons) ground cinnamon
- 1g (½ teaspoon) ground nutmeg
- 220g (~4 large) whole eggs at room temperature
- 10 milliliters (2 teaspoons) vanilla extract
- Prepare the caramelized white chocolate; pre-heat oven to 250 degrees and place wrack in center of oven
- Spread white chocolate evenly over a clean rimmed baking sheet
- Put in oven for ten minutes; remove pan and use a rubber spatula to stir and spread white chocolate
- Place in oven again and repeat for additional twenty to thirty (stirring every five to ten minutes) minutes or until white chocolate begins to darken into a light brown
- I recommend reducing the increments to five minutes towards the end of caramelizing to prevent burning
- When caramelized white chocolate is done, stir in sea salt; place in a microwave safe bowl and cover with seran wrap until ready to use
- Prepare the blondies; pre-heat oven to 350 degrees
- Line a 13×9 pan with parchment paper; set aside
- In a medium heavy duty saucepan, heat brown sugar, butter and pumpkin over medium heat and stir constantly until melted into a thick golden brown mixture; set aside
- Whisk flour, salt, baking powder, cinnamon and nutmeg in a medium bowl; set aside
- In a separate large bowl, whisk eggs and vanilla until combined
- Whisk brown sugar butter mixture into bowl with eggs and vanilla
- Slowly whisk in flour mixture just until combined
- Pour batter into prepared pan; drizzle caramelized white chocolate over batter and use the back of a knife to cut through and create a white chocolate swirl
- Bake for 38-42 minutes or until top begins to crack and a knife or toothpick comes out clean
- Allow to cool before removing from pan and slicing; wrap leftovers tightly in seran wrap or tin foil and enjoy within one week; can be frozen for up to one month

Make something from the blog? Be sure to share it onInstagram with the tag #KeepItSweetDesserts.
Note: This post contains affiliate links.