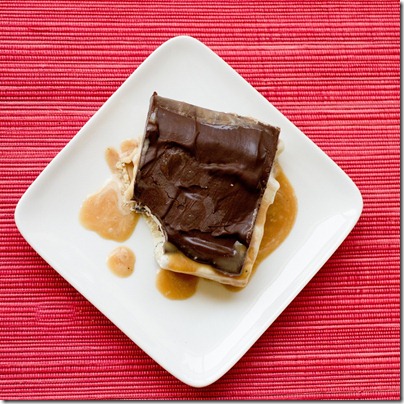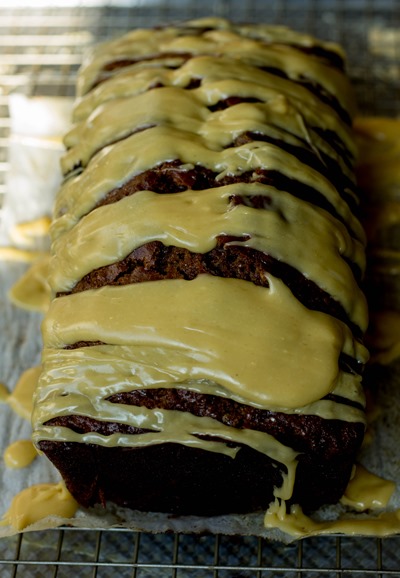
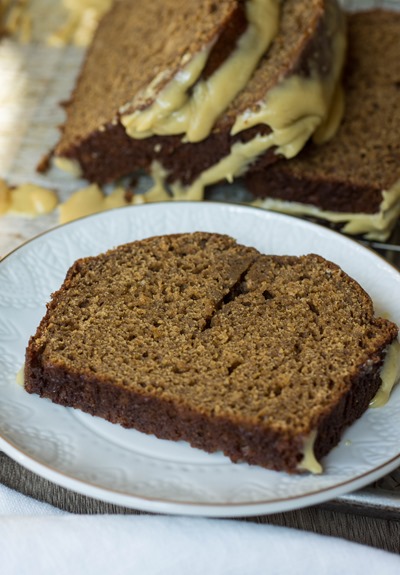
This Christmas dessert is a lightened up gingerbread loaf topped with an indulgent caramelized white chocolate ganache.

Something very major happened this weekend.
I had an entire day (over six hours straight!) to myself. If you are wondering why this is such a big deal I must tell you, this is the longest period of time I’ve had to do whatever I wanted since before L (almost 14 months old) was born. Seriously, it was blissful. I went to the gym, got a pedicure, painted my finger nails (who has the patience to sit at a nail salon for both?) and got a little work done. In fact, I am really proud of myself for not working the whole time.
After a full year plus of breastfeeding, it’s weird to be able to just be able to be away from L. I got so used to working everything around his feeding schedule that I forgot how to live otherwise. Freedom!
And let’s be honest, I still spent twenty minutes of my me time watching L videos. I couldn’t help myself.
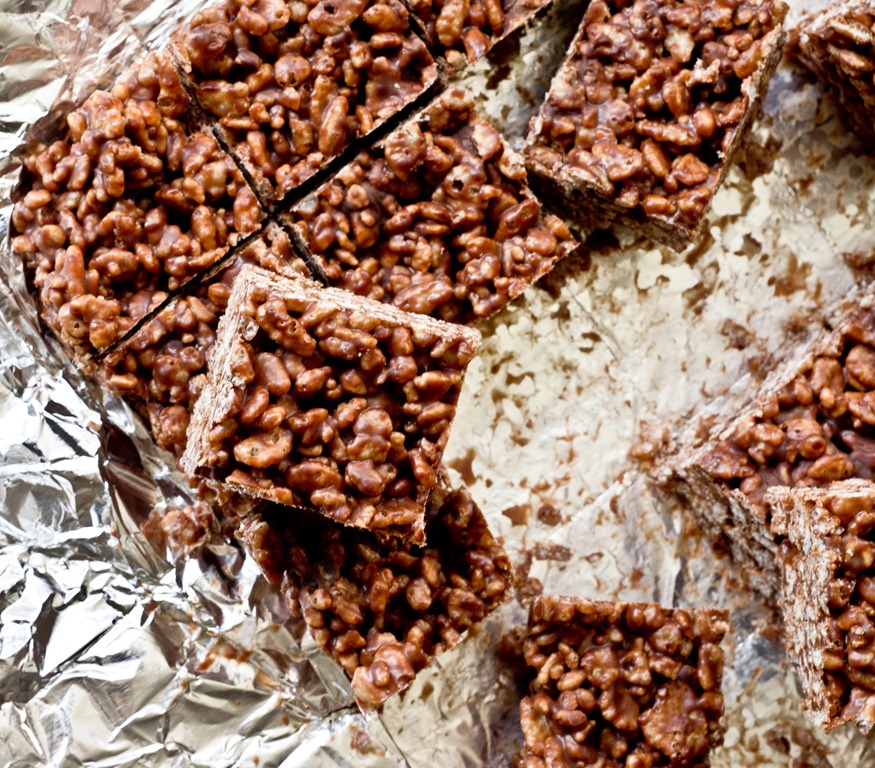
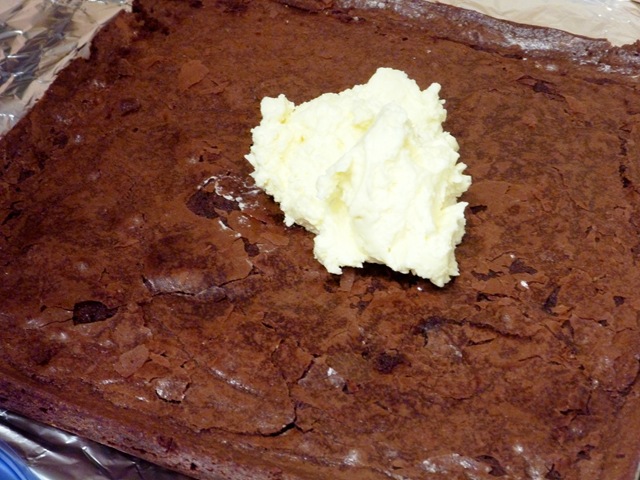
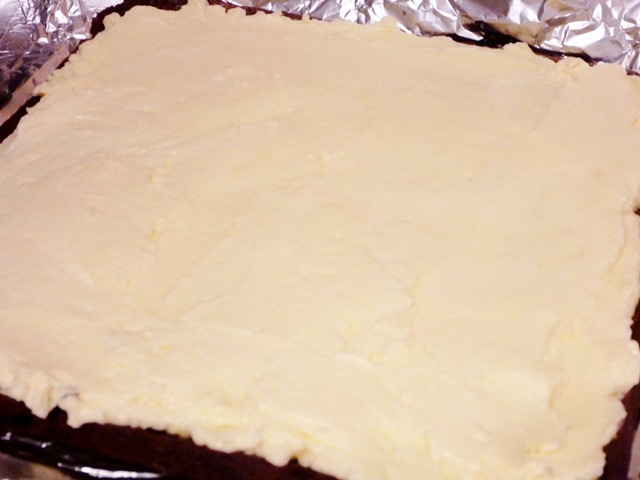
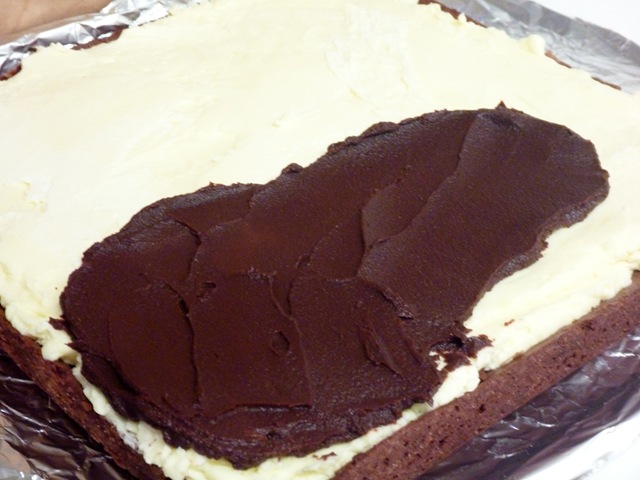
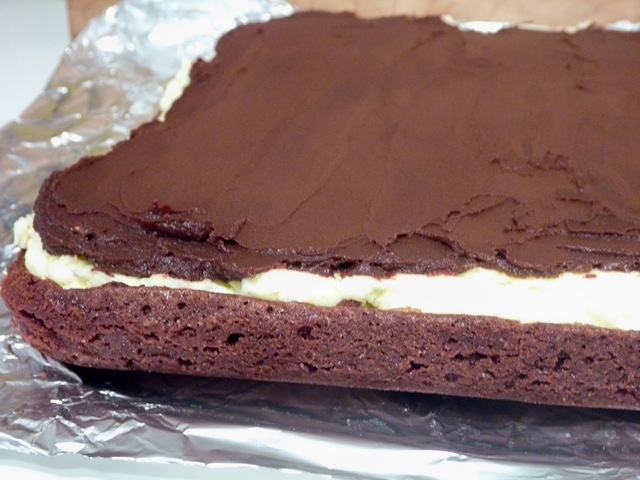
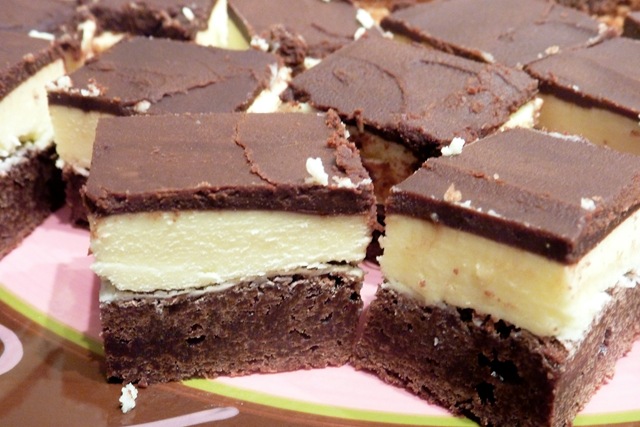
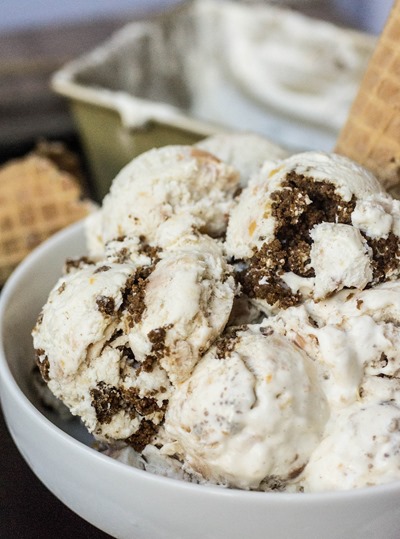
 white chocolate gnache")
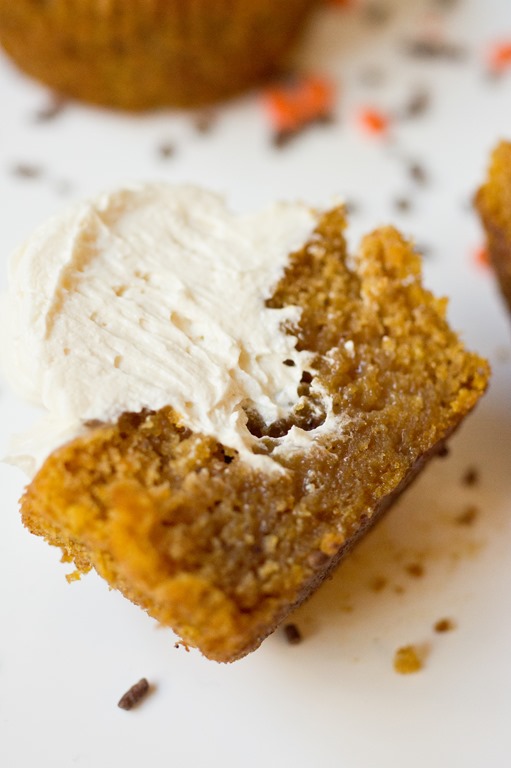
I did put together this post in the final hour of my alone time so that it would be ready to publish and kick off the week. It’s a little Christmas treat that I am excited about because it you can convince yourself that it is brunch food or dessert food. The gingerbread loaf itself is sort of healthy. Some whole wheat flour snuck into the batter and I even replaced some of the butter with applesauce. As a result, it pairs perfectly with the caramelized white chocolate ganache. Together you get a wonderful sweet and spiced bite. It’s not too much sweet for a holiday brunch but it’s indulgent enough to end your Christmas dinner.

The gingerbread loaf is easy to make, it’s a basic quick-bread. The caramelized white chocolate ganache isn’t hard, but it does require a little extra attention. Caramelized white chocolate might just be one of my favorite dessert surprises (and seriously, I dislike white chocolate very much). It’s flavor is so much more complex than you might expect. It’s definitely worth the little bit of time it takes to get the white chocolate just right. Once it’s done caramelizing, you just mix it with some boiled heavy cream and pour it over your loaf! Your family and holiday guests will love this treat.

- · 135g (~1 cup) all-purpose flour
- · 155g (~1 cup) white whole wheat flour
- · 5g (1 teaspoon) baking soda
- · 1½g (1½ teaspoons) ginger
- · 1½g (¾ teaspoon) nutmeg
- · 2½g (½ teaspoon) salt
- 57]g (4 tablespoons) unsalted butter, softened at room temperature
- · 175g (2/3 cup) unsweetened applesauce
- · 50g (¼ cup) granulated sugar
- · 30g (2 tablespoons, packed) light brown sugar
- · 80 milliliters] (1/3 cup) molasses (original unsulphered)
- · 110g (2 large) whole eggs, at room temperature
- · 7 milliliters (1 ½) teaspoons vanilla
- 237 milliliters·(1 cup) buttermilk
- 140g good quality white chocolate, roughly chopped (make sure to use real white chocolate, white chocolate chips will not work as well)
- 2½g (1/2 teaspoon) sea salt
- 45 milliliters (3 tablespoons) heavy cream
- Pr-heat oven to 350 degrees; grease a 9x5 inch loaf pan with butter or non-stick cooking spray and set aside (you can also line the pan with parchment paper for easy removal)
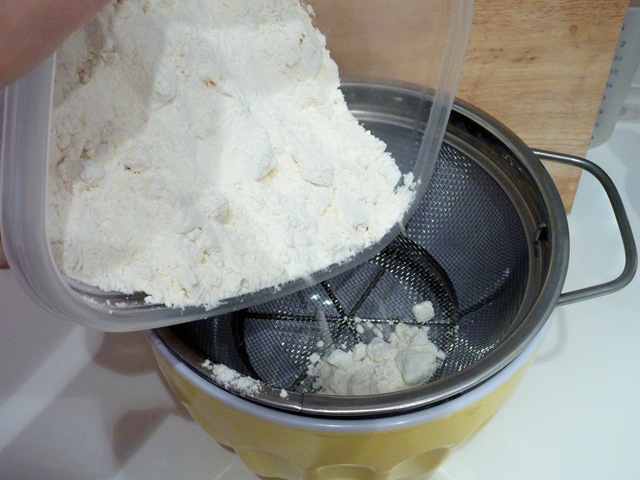
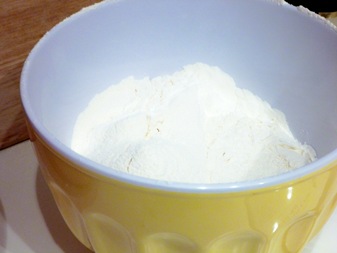
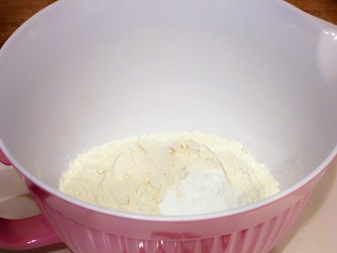
- In a medium bowl, whisk together flours, baking soda, ginger, nutmeg and salt; set aside
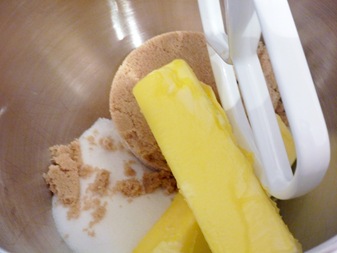
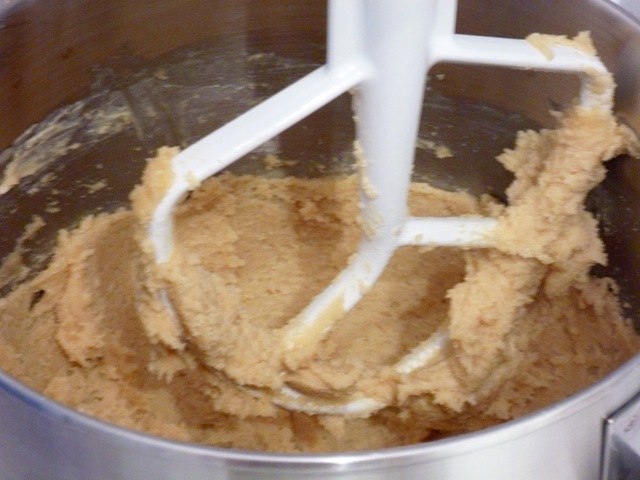
- In the large bowl of an electric mixer with paddle attachment, mix together butter, applesauce and sugars on low-medium speed until well combined
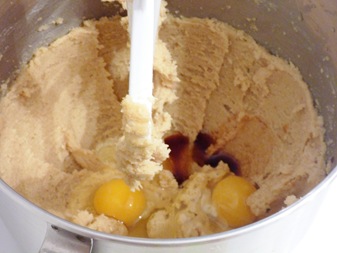
- Mix in molasses on medium speed until combined; mix in eggs and vanilla
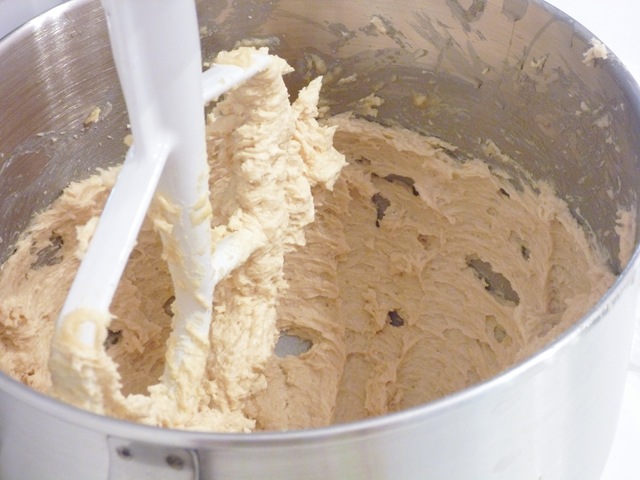
- Add half of the dry ingredients and mix on low speed just until combined; slowly add buttermilk while mixer is on low speed; add remaining dry ingredients and mix just until combined; do not overmix
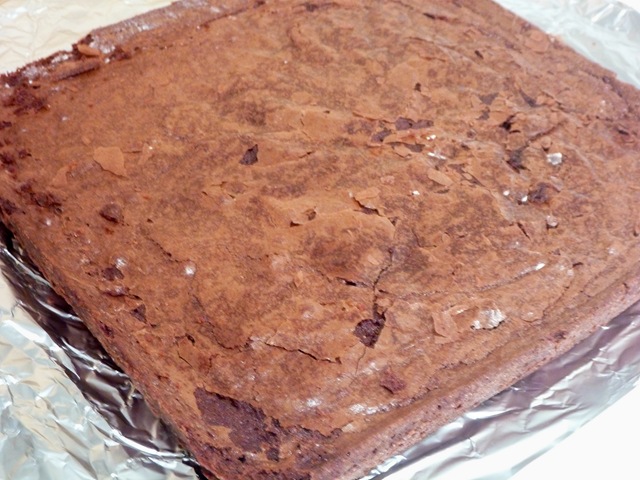
- Pour batter into prepared pan and bake for 50-55 minutes or until a knife comes out clean from center, do not overbake; allow to cool for ten minutes before running a knife along the edges and removing from pan
- While loaf is cooling, make ganache
- Make caramelized white chocolate
- Pre-heat oven to 250 degrees and place wrack in center of oven
- Spread white chocolate evenly over a clean rimmed baking sheet
- Put in oven for ten minutes; remove pan and use a rubber spatula to stir and spread white chocolate
- Place in oven again and repeat for additional fifteen to twenty (stirring every five to ten minutes) minutes or until white chocolate begins to darken into a light brown
- I recommend reducing the increments to five minutes towards the end of caramelizing to prevent burning
- When caramelized white chocolate is done, place in a heat-safe bowl and stir in sea salt
- In a small sauce pan, place cream over medium-high heat and bring to a rolling boil (do not stir); immediately pour over white chocolate
- Allow cream and chocolate to sit for one minute then whisk vigorously until smooth
- Drizzle ganache over loaf and serve
- Best enjoyed that day
- Make ahead tips: Bake gingerbread loaf and wrap well in seran wrap; store at room temperature for one day before making ganache or in freezer up to one month

This post contains affiliate links.
Make something from the blog? Be sure to share it on Instagram with the tag #KeepItSweetDesserts.
You might also like:
Gingersnap Cookies with Lemon Cream Cheese Icing

Gingersnap Peach Crumble Ice Cream
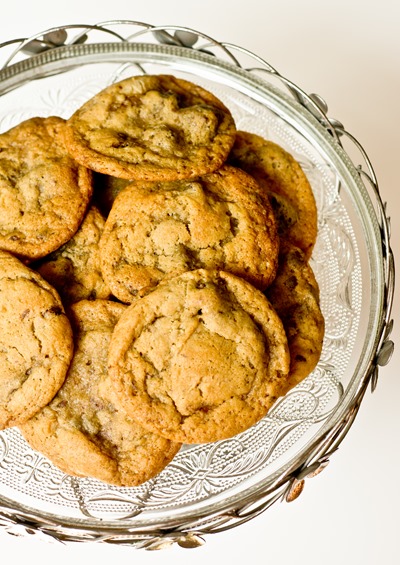
Chewy Milk Chocolate Ginger Cookies