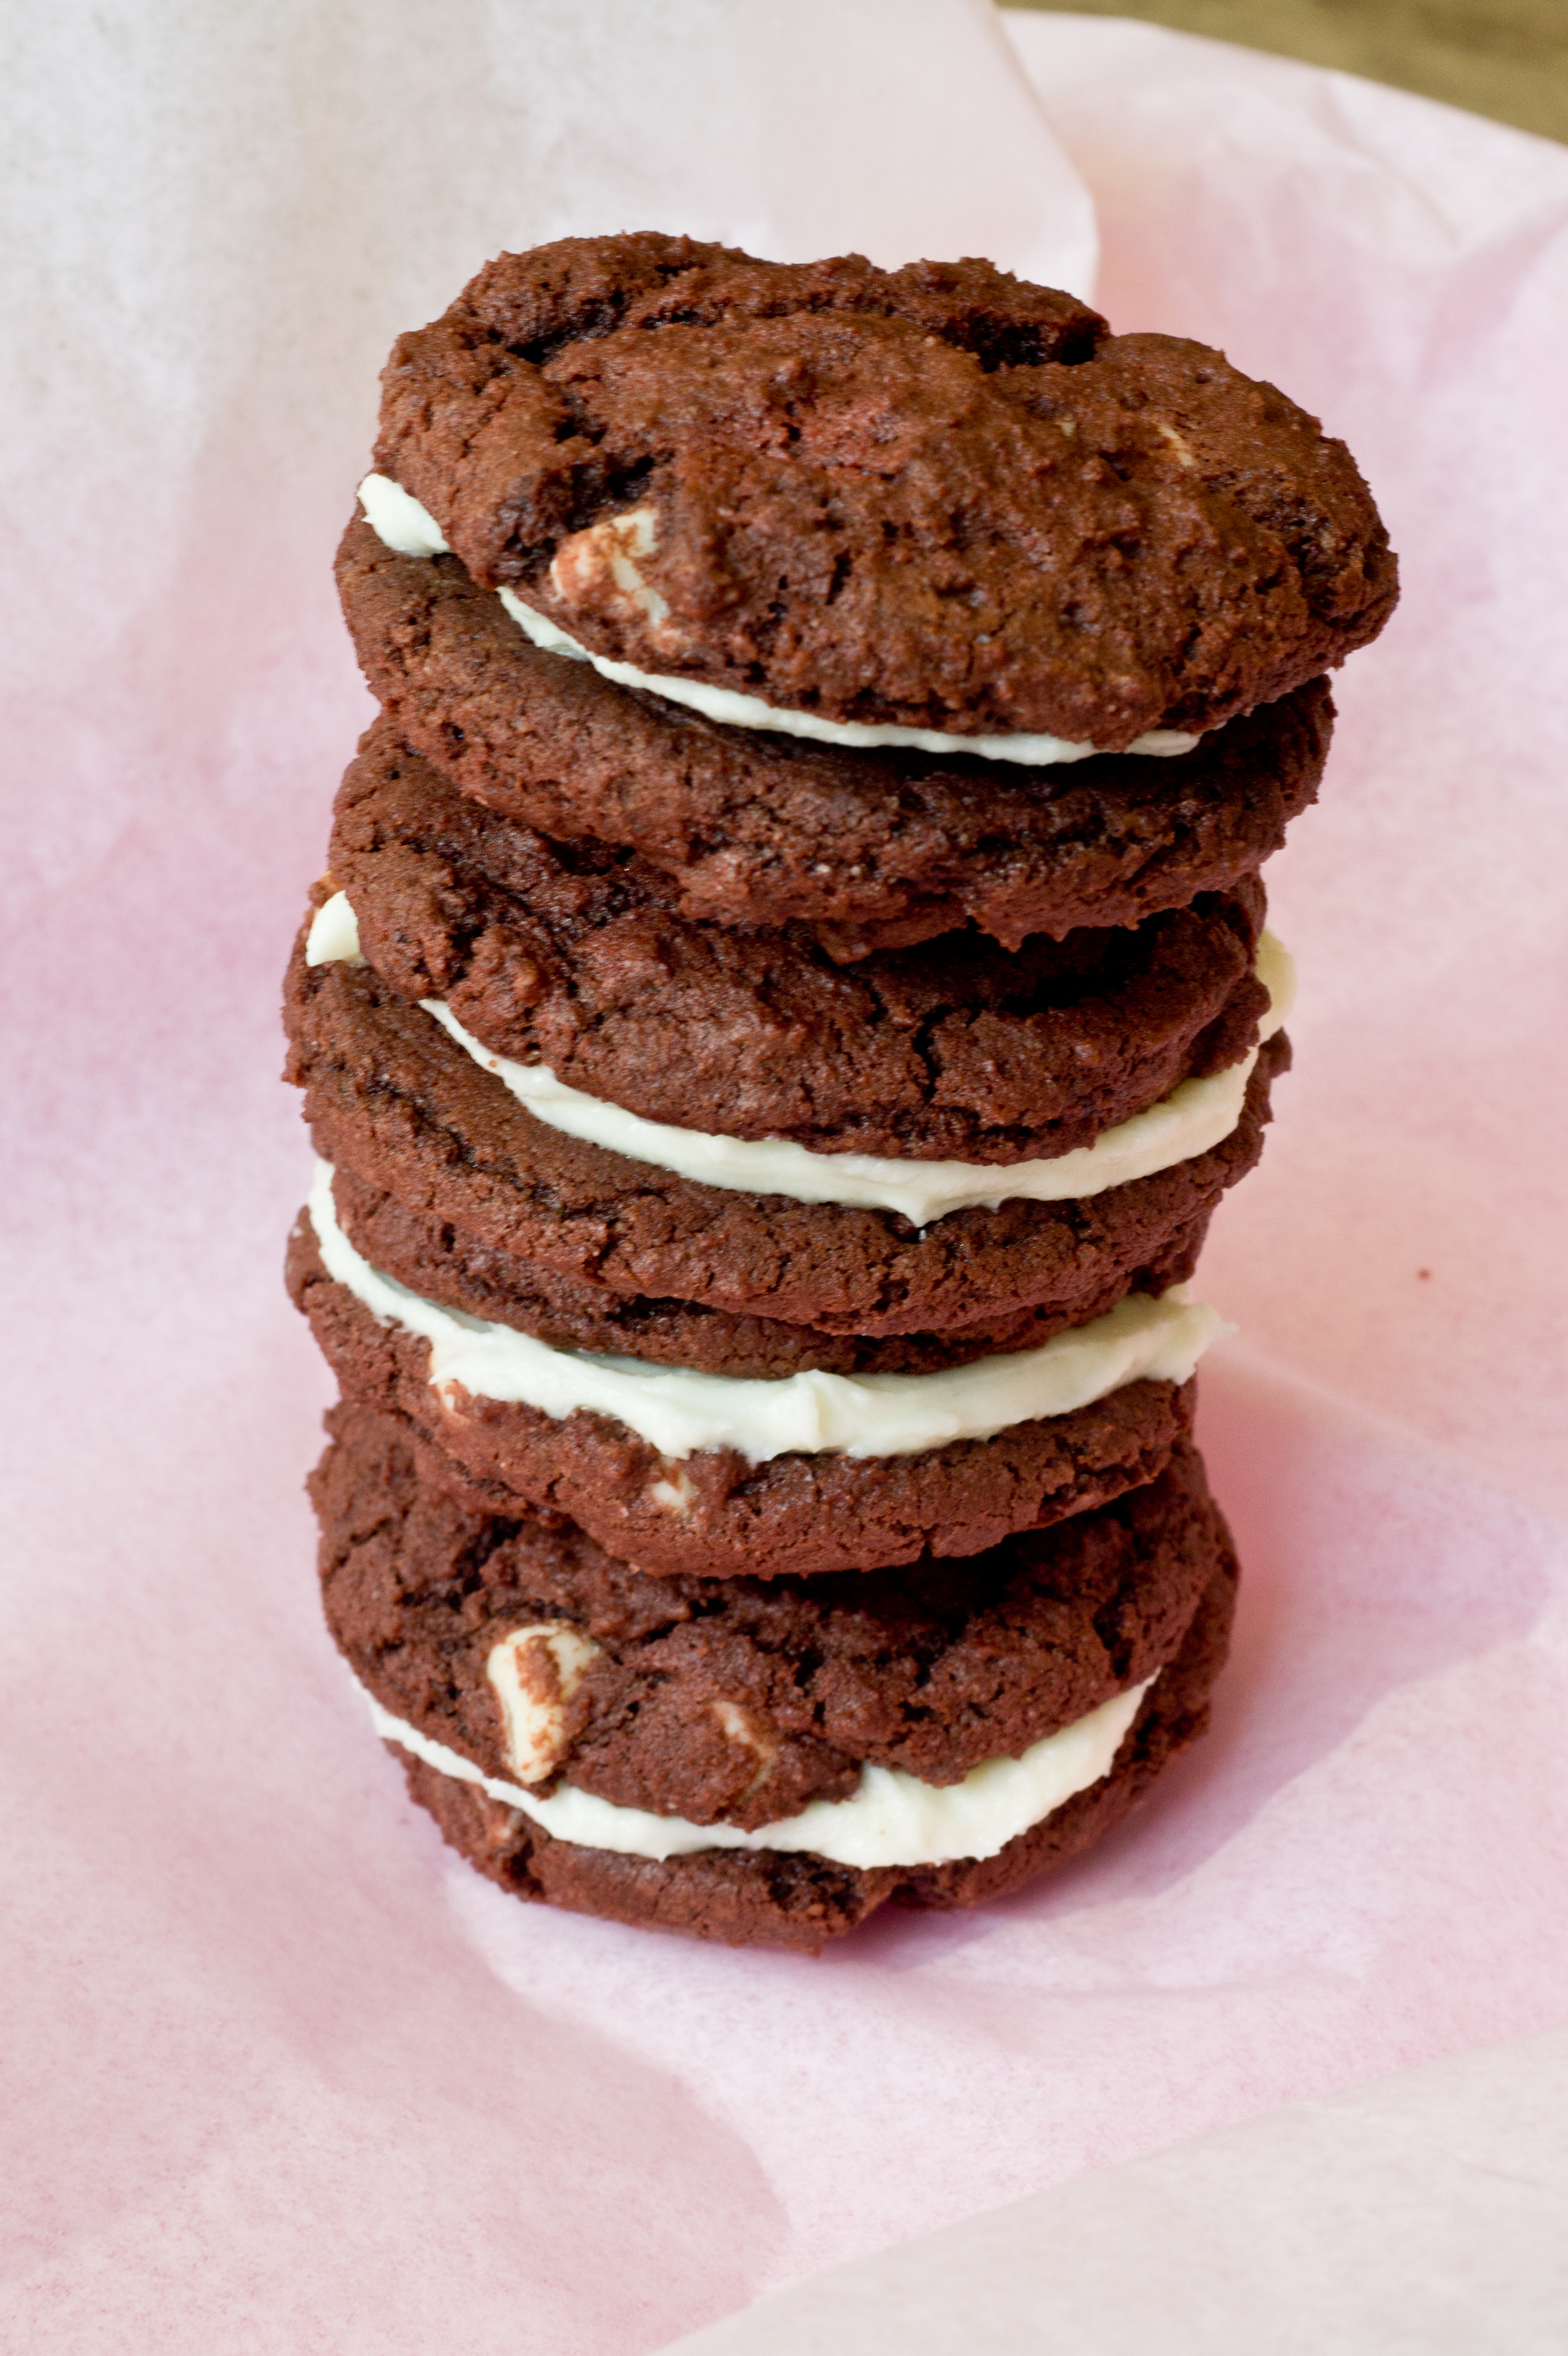
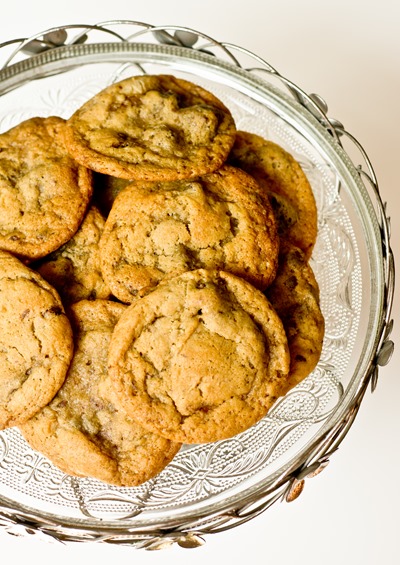
Crispy, chewy and loaded with three types of chocolate chips, these triple chip cookies are divine!

Life has felt a little bit all over the place lately. Things are really good, but having a toddler has kept me on my toes to say the least! L’s the best little one-year-old you will ever meet, but to describe him as “busy” is an understatement. We’re building blocks and playing with stickers. We are climbing the bed and reaching for all the things I didn’t realize were at arms length. On non-freezing days we are at the park. He tells me to “sit” when we are playing at home (and you better believe he has a specific place for me to land). We talk and sing and dance and pull out all the pots and pans. There are booboos, toddler tantrums and frustrating meals in-between. And when I get the opportunity, hugs and kisses galore. It’s all so much good stuff but let me tell you, it’s exhausting!

And for me, when I feel a little crazed, and don’t have time for complicated recipes, I come back to the classic comforts in the kitchen. At the top of that list, always, is chocolate chip cookies.
These Triple Chip Cookies, are chocolate chip cookies to the max. Don’t even dare to look for a chipless bite because you won’t find one. Packed with semi-sweet, milk chocolate and white chocolate chips, these perfect little cookies are just what I needed to find my moment of peace in all the mom-of-a-one-year-old chaos! They are oh so crisp right around the edges but chewy and chocolaty in the middle. They taste incredible as they melt in your mouth right out of the oven, but save some for later to dip in a glass of milk and you will be oh so happy. Cookie zen as I like to call it!


- 262g (~2 cups) all-purpose flour
- 5g (1 teaspoon) salt
- 3g (½ teaspoon) baking soda
- 170g (3/4 cup) unsalted butter, melted
- 350g (~1½ cups, packed) light brown sugar
- 15 milliliters / 1 tablespoon vanilla extract
- 75g (~1 large egg + 1 yolk) eggs at room temperature
- 75g (2/3) cup semi-sweet chocolate chips
- 75g (2/3) milk chocolate chips
- 75g (2/3) white chocolate chips
- In a medium bowl, whisk flour, baking soda and salt; set aside
- In the large bowl of an electric mixer with a paddle attachment, beat butter and sugar until well-combined
- Beat in eggs and vanilla until a mixture is a light creamy color
- Reduce speed to low and stir in flour mixture (do not overmix); fold in chips
- Chill dough in refrigerator for 24-48 hours for best texture and flavor results
- Once dough has chilled, pre-heat oven to 325 degrees; cover baking sheets with parchment paper
- Scoop cookie dough with medium cookie dough scoop(about 2 tablespoons) onto prepared baking sheets
- Bake cookies 14-17 minutes or until brown around good portion of edges
- Set aside to cool
Texture of cookies best when eaten within 24 hours; cookies can be enjoyed up to one week at room temperature or one month frozen if stored in an air-tight container
Make something from the blog? Be sure to share it on Instagram with the tag #KeepItSweetDesserts.
This post contains affiliate links.
You might also like:
Comfort Food Chocolate Chunk Cookies

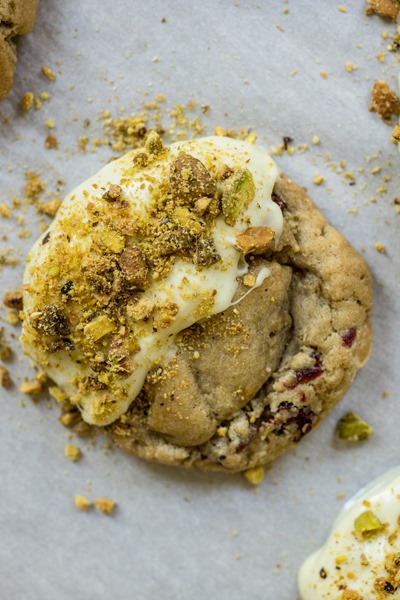
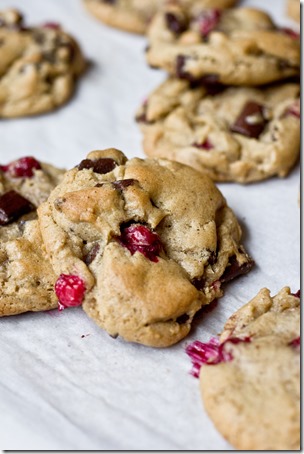
Cranberry & White Chocolate Cookies
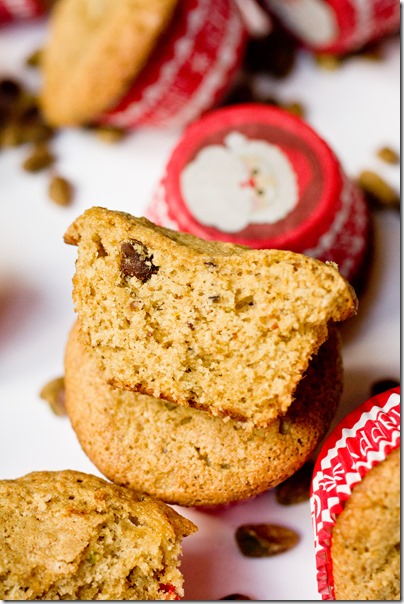
Chewy Milk Chocolate Ginger Cookies
")


 white chocolate gnache")


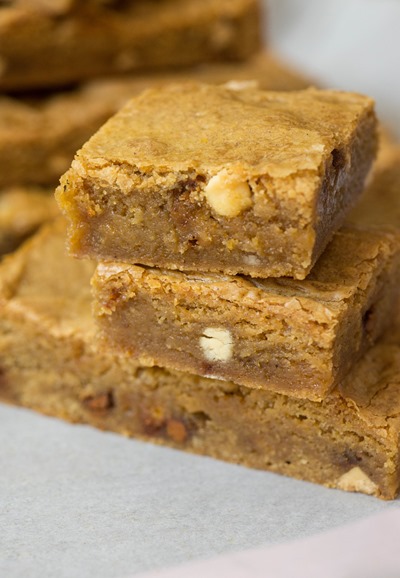
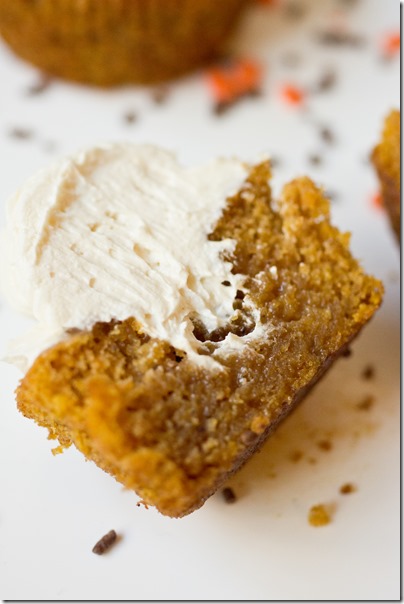
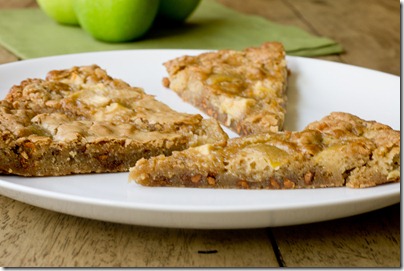
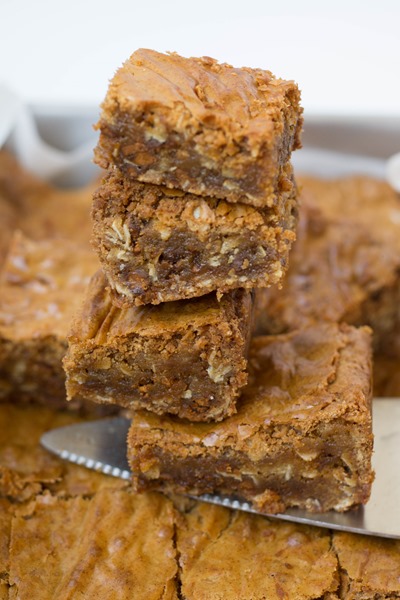
 Pumpkin Blondies")
 Pumpkin Blondies")
 Pumpkin Blondies")


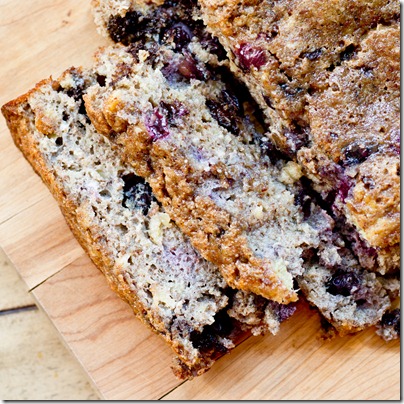


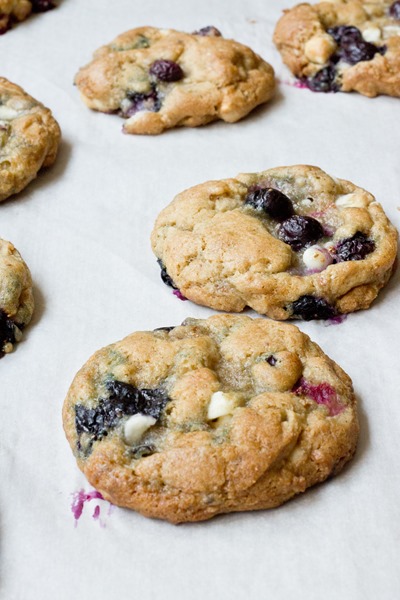
 Blueberry White Chocolate Brown Butter Cookies - the cookie of the summer!")
 Blueberry White Chocolate Brown Butter Cookies - sweet, chewy, crispy edges, everything you could want in a cookie!")
 Blueberry White Chocolate Brown Butter Cookies - basically cookie perfection")