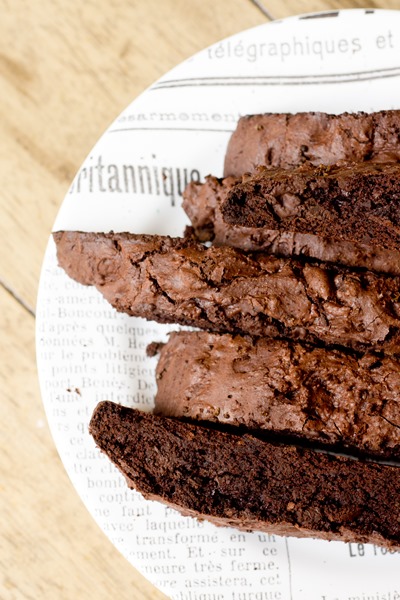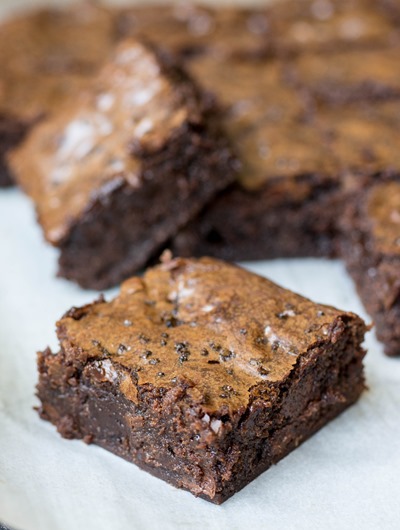
The fudgiest brownies with a hint of mocha and touch of salt to kick any chocolate craving in the butt.

Kind of like my beloved blondies, it’s been too long since I’ve made brownies. I know it’s summer and time for light fruit desserts or frozen ice cream treats, but all I wanted last week was a rich fudgy chocolaty brownie.
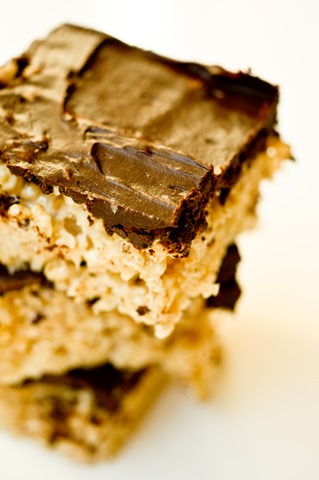
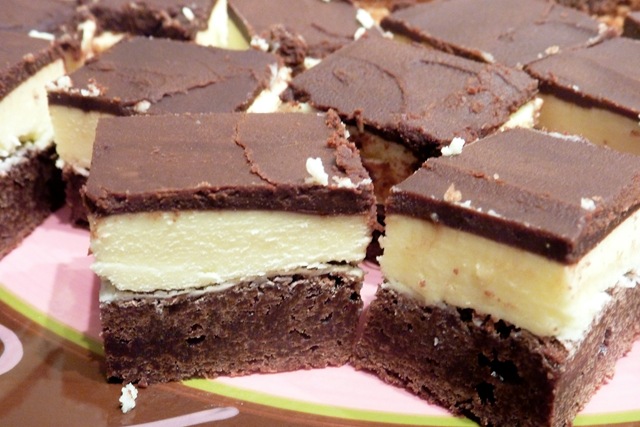
These brownies turned out to be perfect. They are thick and crazy fudgy. If anyone was looking for an end piece, I’m sorry but I pretty much ate all of the edges while cutting them for photos. I just couldn’t help myself and I don’t regret it one bit. And even though I don’t usually choose to put chips in my brownies, for some reason they seemed appropriate here. The dark chocolate mocha brownies are full of semi-sweet chips (you could use milk chocolate if you want to go sweeter) and they help the brownie to have layers of flavor. The mocha flavor is more an essence than overpowering and the espresso salt helps enhance it. If you don’t have espresso salt don’t expect too much coffee to come through.

- 256g unsweetened chocolate, roughly chopped
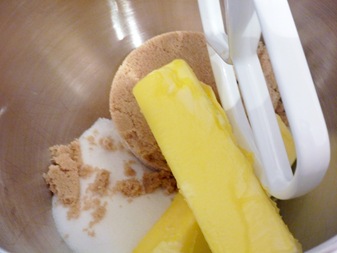
- 340g (1½ cups / 3 sticks) unsalted butter
- 415g (~2 cups) granulated sugar
- 400g (~1¾ cups, packed) light brown sugar
- 275g (~5 large) whole eggs, at room temperature
- 89 milliliters (6 tablespoon) strong brewed espresso (4 grams (1½ tablespoons) espresso + 89 milliliters (6 tablespoons) water))
- 10 milliliters (2 teaspoons) vanilla extract
- 290g (~2 cups + 2 tablespoons) all-purpose flour
- 2g (1/2 teaspoon) salt
- 270g (1½ cups) semi-sweet chocolate chips*
- ½g (1 teaspoon) espresso salt (can substitute flaky sea salt**)
- Pre-heat oven to 350 degrees;
- Line a 9x13 baking pan with parchment paper; set aside
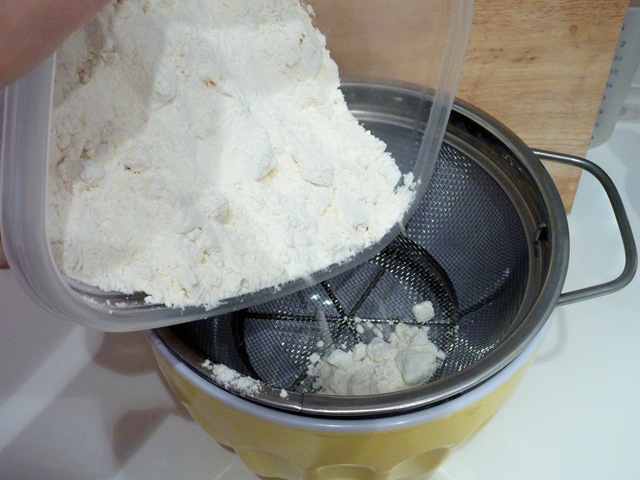
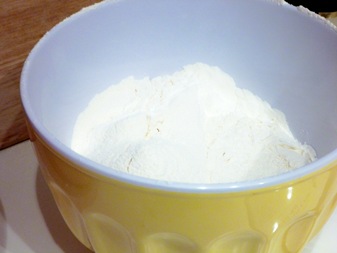
- In a medium bowl, whisk together flour and salt; set aside
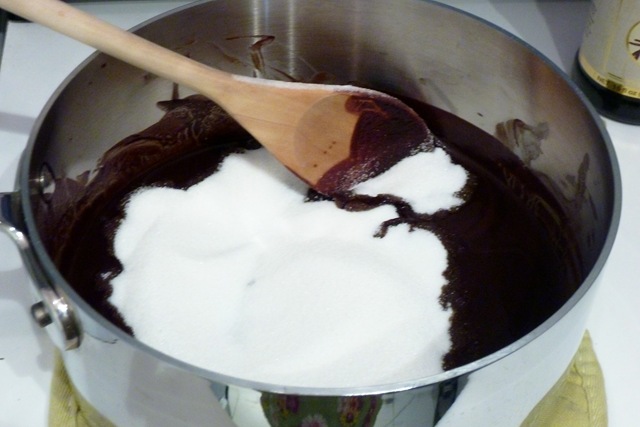
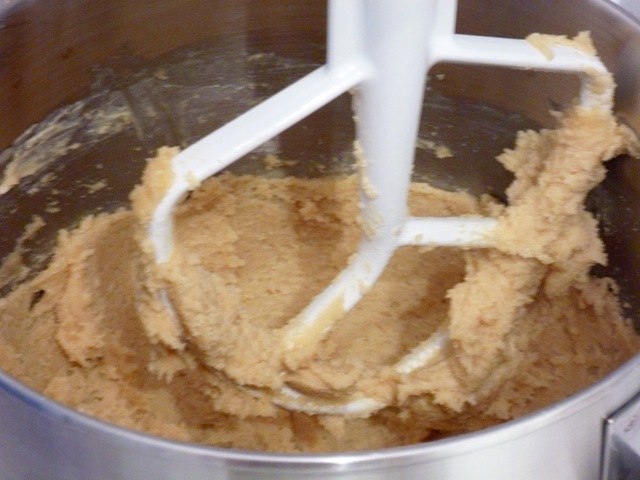
- Melt butter and chocolate in large pot over low to medium heat; remove when melted
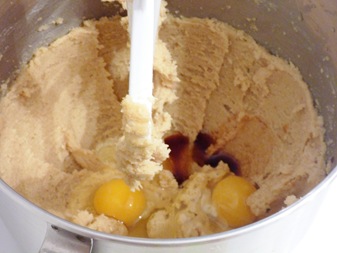
- Stir in sugar until combined; stir in eggs, espresso and vanilla until smooth
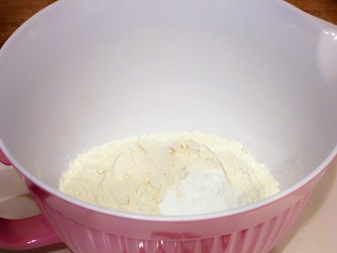
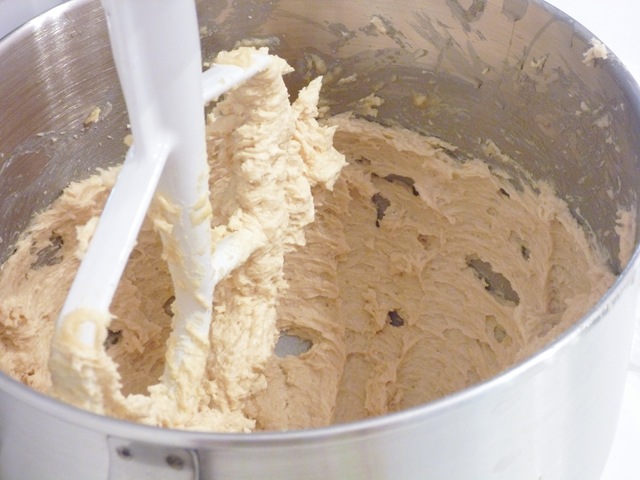
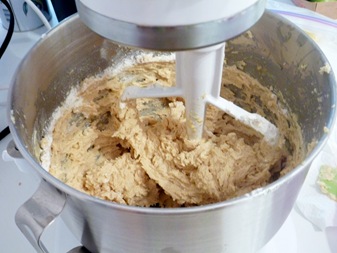
- Whisk in flour mixture just until combined; do not overmix; fold in chocolate chips
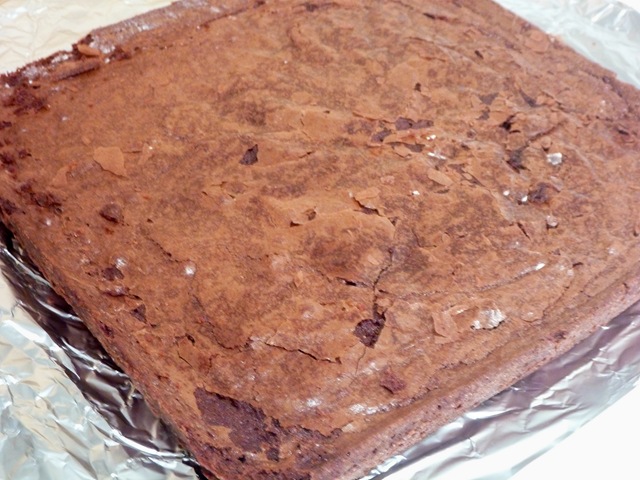
- Pour batter into prepared baking dish and sprinkle with espresso salt
- Bake 40-45 minutes or until a knife comes out clean
- Set brownies aside to cool completely before slicing and serving
- Notes:
- *You can use milk chocolate chips instead if you want to enhance the sweetness of the brownies instead of the rich chocolate flavor
- **If you don’t have espresso salt don’t expect too much coffee to come through
- These brownies are great for making in advance. Just wrap them tightly in foil and store them in the freezer for up to one month. They might also taste good right out of the freezer. Not like I would know.
Make something from the blog? Be sure to share it on Instagram with the tag #KeepItSweetDesserts.
This post contains affiliate links
You might also like:
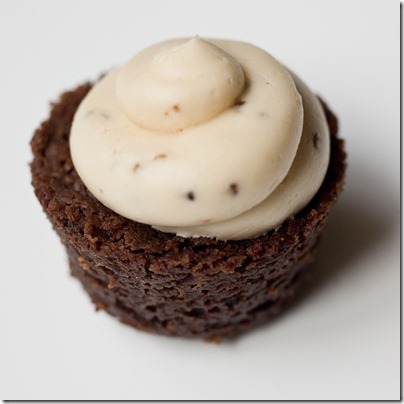
Espresso Salted Caramel Buttercream Brownie Bites
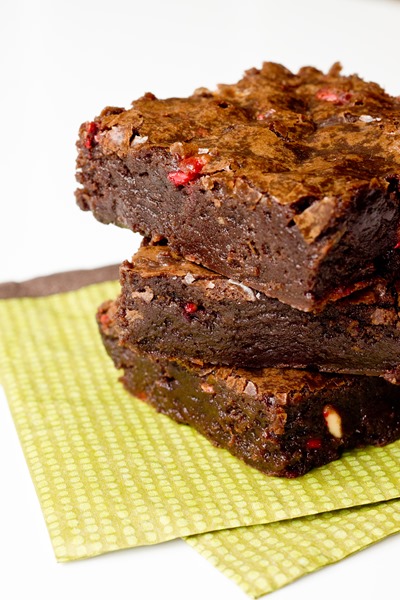
Thick and Fudgy Peppermint Mocha Brownies
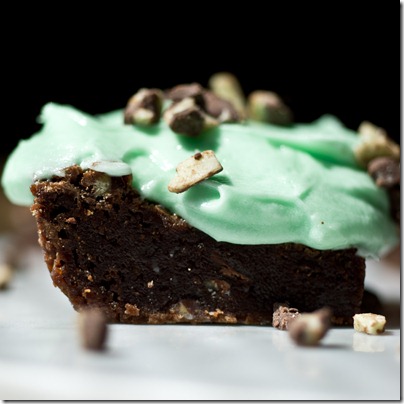
Fudgy Double Creme de Menthe Brownies