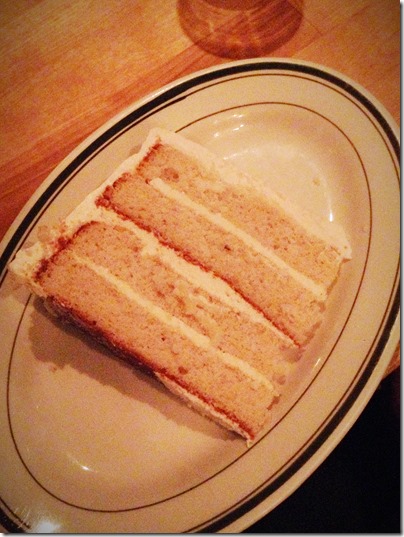
Light but satisfying vanilla bean cake layered with vanilla buttercream and covered in a wonderful strawberry cream cheese whipped frosting!

I may not have any real quality photos of this cake, but it was such a hit and so delicious that I wanted to post the recipe anyway. Plus, if I made it again just to photograph, I would absolutely eat half of the cake with a fork by myself. To save my unborn baby from going into a sugar coma, I figured I probably should just work with what we’ve got.
So I had a few different cakes in mind to make for Samara’s 30th birthday celebration, but when Kris raved about a cake she had eaten with this frosting, I knew I had to work around that for the dessert. I wanted the cake to be something that was light enough to let that frosting shine, but still a bit special. The vanilla bean cake felt perfect in terms of light texture and balanced flavor. For the filling I kept it really simple with thin layers of vanilla buttercream. This cake was definitely a winner.

- 237 milliliters (1 cup) milk, at room temperature separated (skim, low fat or whole will work)
- 120g (~4 large) egg whites, at room temperature
- 50g (~1 large) whole egg, at room temperature
- 20 milliliters (4 teaspoons) pure vanilla extract
- 350g (~3 cups) cake flour, sifted
- 300g (~1-1/2 cups) granulated sugar
- Inside of one vanilla bean
- 19½g (4 teaspoons) baking powder
- 5g (3/4 teaspoon) salt
- 85g (6 tablespoons) unsalted butter, softened at room temperature
- 85g (6 tablespoons) vegetable shortening
- Vanilla Buttercream Filling (see below)
- Whipped Strawberry Cream Cheese Frosting (see below)
- Pre-heat oven to 350 degrees
- Grease and flour two 9-inch round pans and line bottoms with parchment paper
- In a medium bowl whisk together the egg whites, whole egg, ¼ cup of milk and vanilla; set aside
- In the large bowl of an electric mixer with the paddle attachment, combine the sifted flour, sugar, vanilla bean, baking powder and salt together on low speed for just 30 seconds
- Add the butter and shortening; mix on low speed for 30 seconds; add remaining milk and mix again on low speed until just moistened, about 30 seconds
- Increase mixer to medium speed and beat for 1½ minutes
- Scrape the sides of the bowl add the egg/milk mixture in 3 separate batches; beat on medium speed for 20 seconds after each addition; do not overmix
- Divide the batter into prepared baking pans; bake for 29-32 minutes or until a toothpick comes out clean from center of each layer
- Set cake layers aside to cool for 10 minutes then carefully remove each layer from pans; run a knife around the edge of each layer for easier removal
- Once cake layers are completely cooled, use a serrated knife to carefully cut each layer in half horizontally, creating 4 cake layers; set aside and make buttercreams
Be careful with the thin cake layers when lifting as they will be fragile
- 187g (13 tablespoons) unsalted butter, softened at room temperature
- 200g (1 3/5 cups) powdered sugar
- 22 milliliters (1½ tablespoons) milk, any type
- 7 milliliters (1/2 tablespoon) vanilla extract
- 1g (1/8 teaspoon) salt
- In the bowl of an electric mixer with a paddle attachment, beat butter on medium speed for eight minutes or until pale and creamy
- Add half of powdered sugar, mix on low for 30 seconds
- Add remaining powdered sugar, milk, vanilla and salt; mix on low for one minute and then increase speed to medium and beat for six minutes or until very light and fluffy
- Use a flat metal spatula to frost the first layer of cake; top with second layer and repeat; top with third layer and repeat; top with fourth layer of cake and set aside to make whipped strawberry cream cheese buttercream
- 227g cream cheese, softened at room temperature
- 280g (2/3 cup) granulated sugar, divided
- 100g (2/3 cup) chopped fresh strawberries
- 355 milliliters (1½ cups) heavy cream, cold
- 44 milliliters (3 tablespoons) fresh lemon juice (~ 1 lemon)
- In the large bowl of an electric mixer with a paddle attachment, beat cream cheese and half of granulated sugar on medium-high speed with until smooth; add strawberries beat for 30 seconds(some strawberries should blended in, but some chopped strawberries should still remain intact)
- In a separate bowl of an electric mixer with whisk attachment, beat cream and lemon juice at medium speed until foamy; increase speed to medium-high, and slowly add remaining granulated sugar, beating until stiff peaks form
- Gently fold half of cream mixture into cream cheese mixture; fold in remaining cream mixture
- Use a flat metal spatula to frost outside of cake
- Best served immediately; store leftovers in refrigerator and bring to room temperature until ready to eat (within three days)
Note: This post contains affiliate links.
Make something from the blog? Be sure to share it on Instagram with the tag #KeepItSweetDesserts.
You might also like:
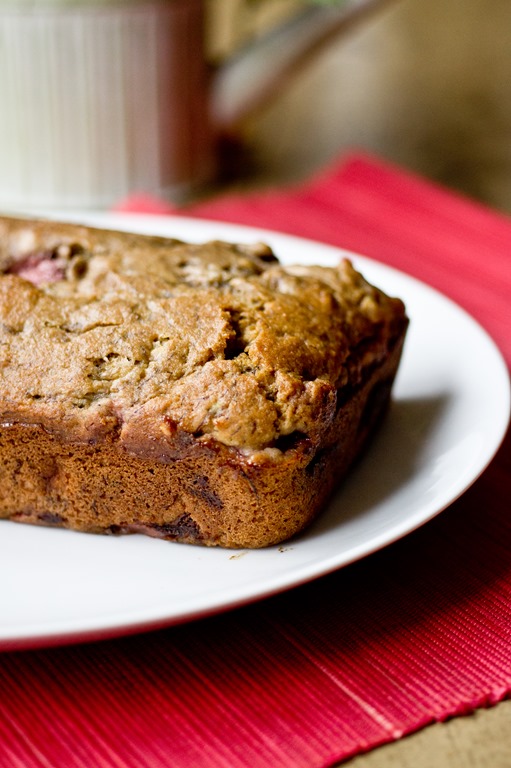
Vanilla Roasted Strawberry Banana Bread
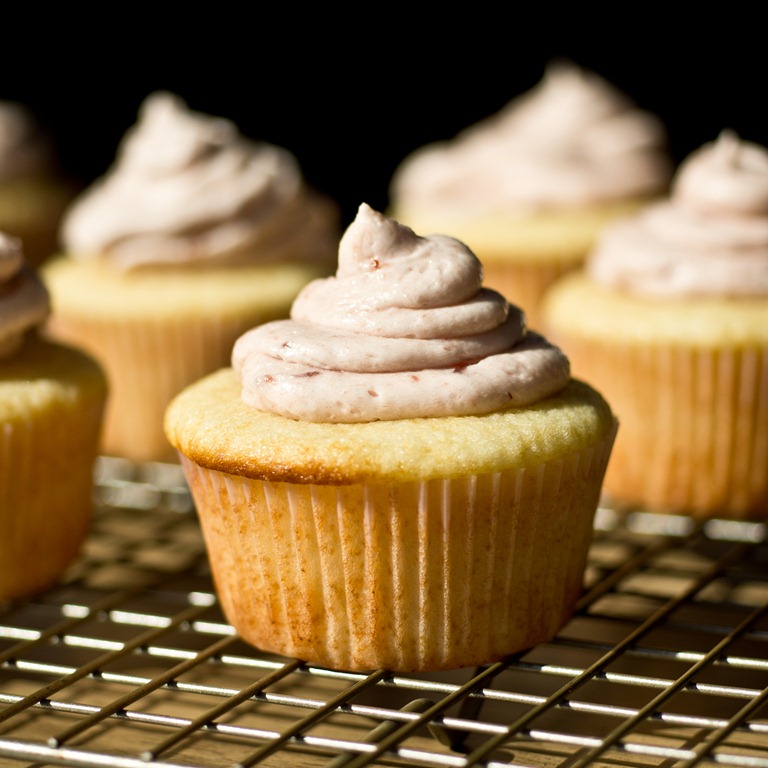
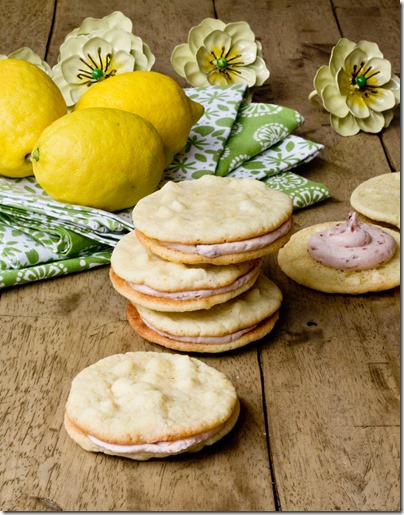
Lemon Cookies with White Chocolate Chips & Strawberry Buttercream

The combination of vanilla and strawberry is the essence of spring!
This is one of my absolute favourite combinations!
awwww it looks and sounds fabulous!
Now THIS is what I’d call a celebration cake!! I really must make that strawberry cream cheese frosting, apparently!
I may have eaten the leftovers with a spoon…
Sounds amazing! I’m such a sucker for cream cheese frosting of any kind!
Strawberry buttercream?! I die.
Mmm strawberry frosting would be a great way to use up some of the 16 pounds fo strawberries my dad and I picked yesterday. Already used half to make jam and strawberry syrup. But that leaves 8 pounds!
Kind of jealous of all of your strawberries!
Ahh….yes. The best flavors rolled into one delicious cake.
Have a beautiful Wednesday!
Now this is the type of cake I would want on my birthday! Love the flavor combo. You can’t go wrong with vanilla and strawberry. Thank you for sharing!
Thank you, Monet!