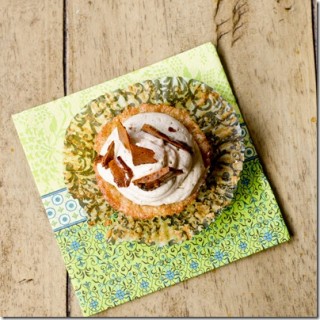
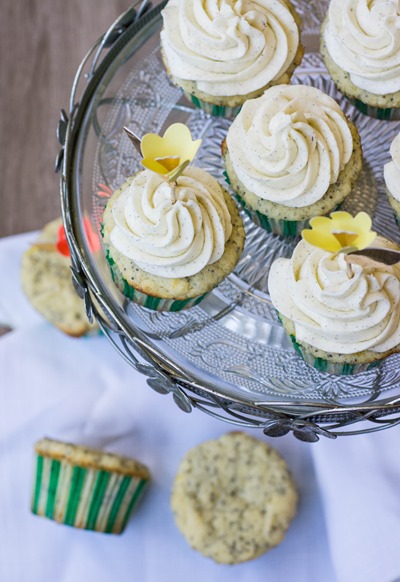
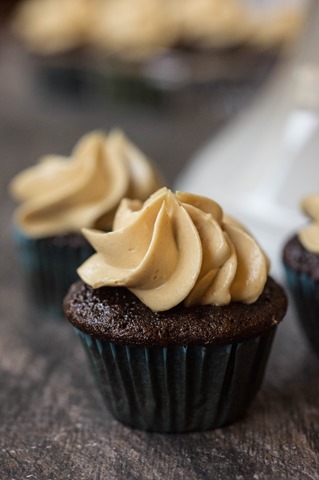
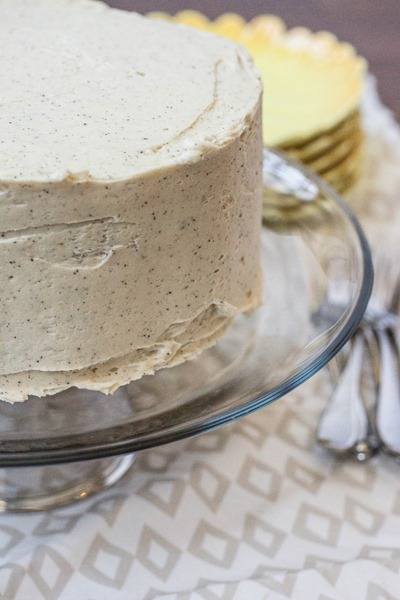
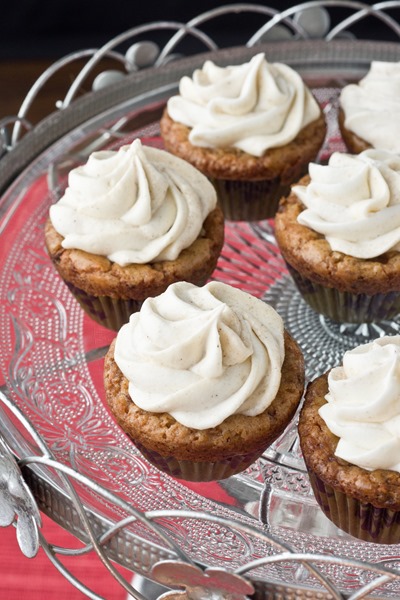
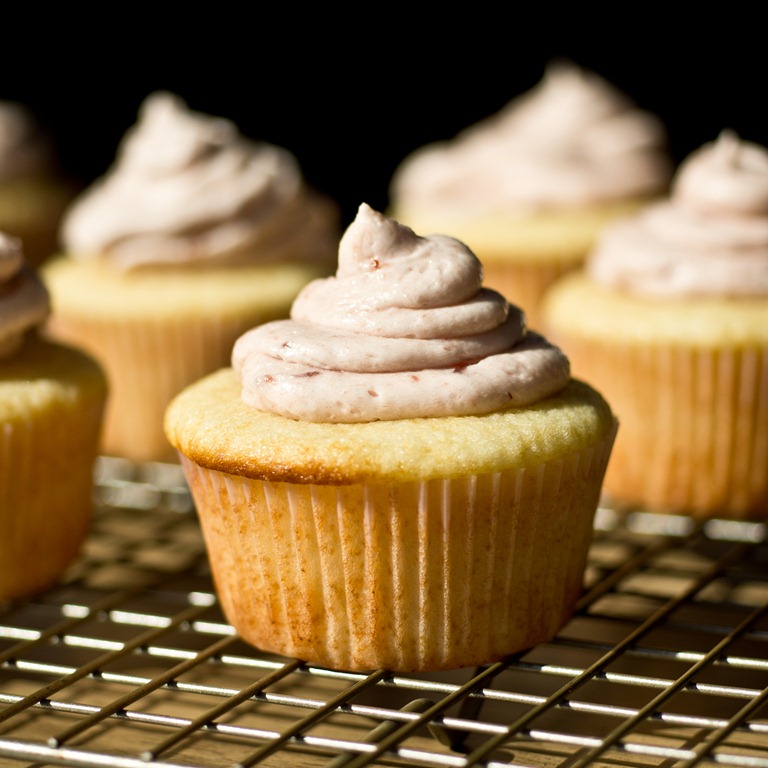
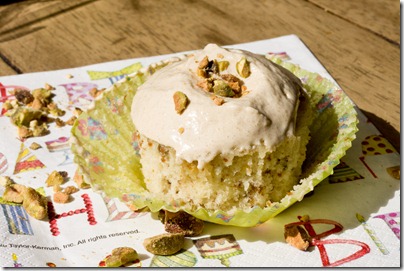
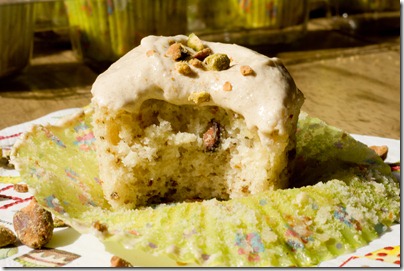
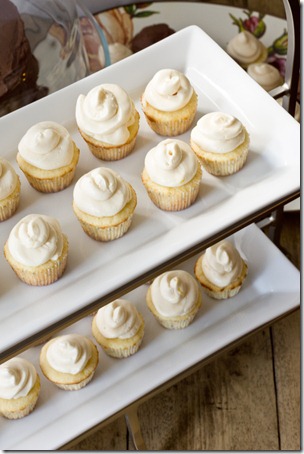
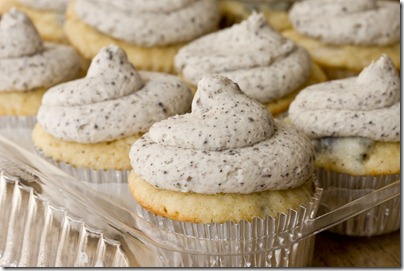
Moist cupcakes bursting with lemon flavor and bursts of poppy seeds are topped with a creamy vanilla bean frosting.

Before I tell you all about these pretty spring cupcakes, we have to talk about a special cookbook that is officially launching TODAY. My friend Andie (author of this book that I love), just published her brand new cookbook, Eating in the Middle: A Mostly Wholesome Cookbook. Not only is the cookbook beautiful (every recipe is accompanied by a gorgeous photo), but it’s also full of stories and background on Andie, her life, and how she eats.
The overall theme is that of balance. The book starts off with recipes for delicious food made with healthy ingredients. Think Brown Sugar & Chili-Rubbed Salmon and Creamy Farro with White Beans & Kale. The lighter section of the book is then followed by more indulgent recipes for special occasions and sharing with friends like Barbecue Chicken Pop Pie and Peanut Butter Mousse Pie. Her balanced approach to eating that prioritizes health without deprivation is so refreshing. It’s the way I try to live and so much more liberating than a life of diets and restrictions. I never really understood that until recently but am so happy that I now have a cookbook that embraces all of that.

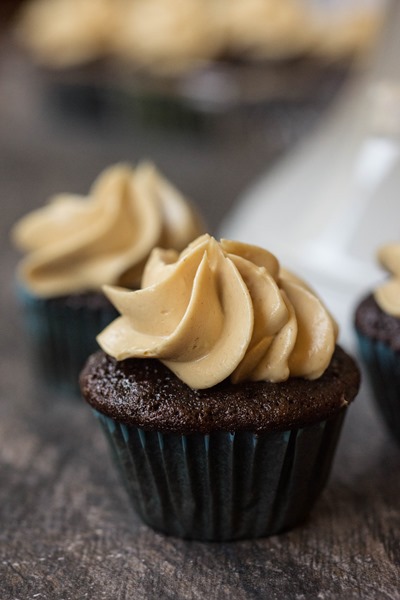
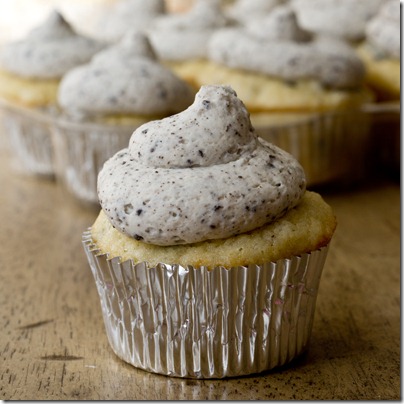
Now onto the cupcakes! These moist little cakes pack an intense citrus punch for the true lemon dessert lover in your life! They are a little on the denser side (in a rich and satisfying way), thanks to the sour cream / Greek yogurt in the recipe. They were made especially for my dad who has always adored lemon poppy seed desserts. He enjoyed his cupcakes sans frosting, but for the rest of us, they were topped with a light and creamy vanilla bean frosting. Such a lovely spring birthday treat!

- 197g (1½ cups) all-purpose flour
- 9g (1¾ teaspoon baking powder
- 3g (1/2 teaspoon) salt
- 142g (10 tablespoons) unsalted butter, softened at room temperature
- 212g (1 cup) granulated sugar
- 100g (2 large) whole eggs
- 113g (1/2 cup) sour cream (I substituted nonfat plain greek yogurt)
- 59 milliliters (1/4 cup) fresh lemon juice
- 1g (2 tablespoons) grated lemon zest (from 1 lemon)
- 5 milliliters (1 teaspoon) pure vanilla extract
- 17g (2 tablespoons) poppy seeds
- [ ] 6 ounces (12 tablespoons) unsalted butter, softened at room temperature
- 56g light cream cheese, cold
- 1 vanilla bean, seeds scraped
- 160g (1 cup) powdered sugar
- Pre-heat oven to 350 degrees; line a regular-sized cupcake tin with paper or foil liners
- In a medium bowl, whisk together flour, baking powder and salt; set aside
- In the large bowl of an electric mixer with paddle attachment, beat together butter and sugar at medium-high speed for several minutes or until light and fluffy
- Add eggs and mix on medium speed for one minute; add sour cream or yogurt, lemon juice, lemon zest, vanilla and poppy seeds and mix on medium speed just until combined
- Reduce mixer to low and slowly add flour mixture but do not overmix; batter will be thick
- Spoon batter evenly between cupcake liners (each should be almost full); bake for 16-20 minutes or until a toothpick comes out clean from center of cupcake
- Let cupcakes cool for two minutes in tin and then move to a wire rack to cool completely; make frosting while cupcakes are cooling
- In the large bowl of an electric mixer with paddle attachment, beat butter and cream cheese on medium-high speed for several minutes or until light, creamy and smooth
- Add vanilla bean and half of sugar, mix on low speed just until sugar is incorporated; add remaining sugar and mix on low speed for one minute then increase to medium-high speed and mix for a few minutes or until frosting is light and creamy
- Pipe frosting onto cooled cupcakes
Store frosted cupcakes in an airtight container in refrigerator up to four days
This post contains affiliate links. I received a copy of Eating in the Middle for free, but all thoughts and opinions are my own.
Make something from the blog? Be sure to share it on Instagram with the tag #KeepItSweetDesserts.
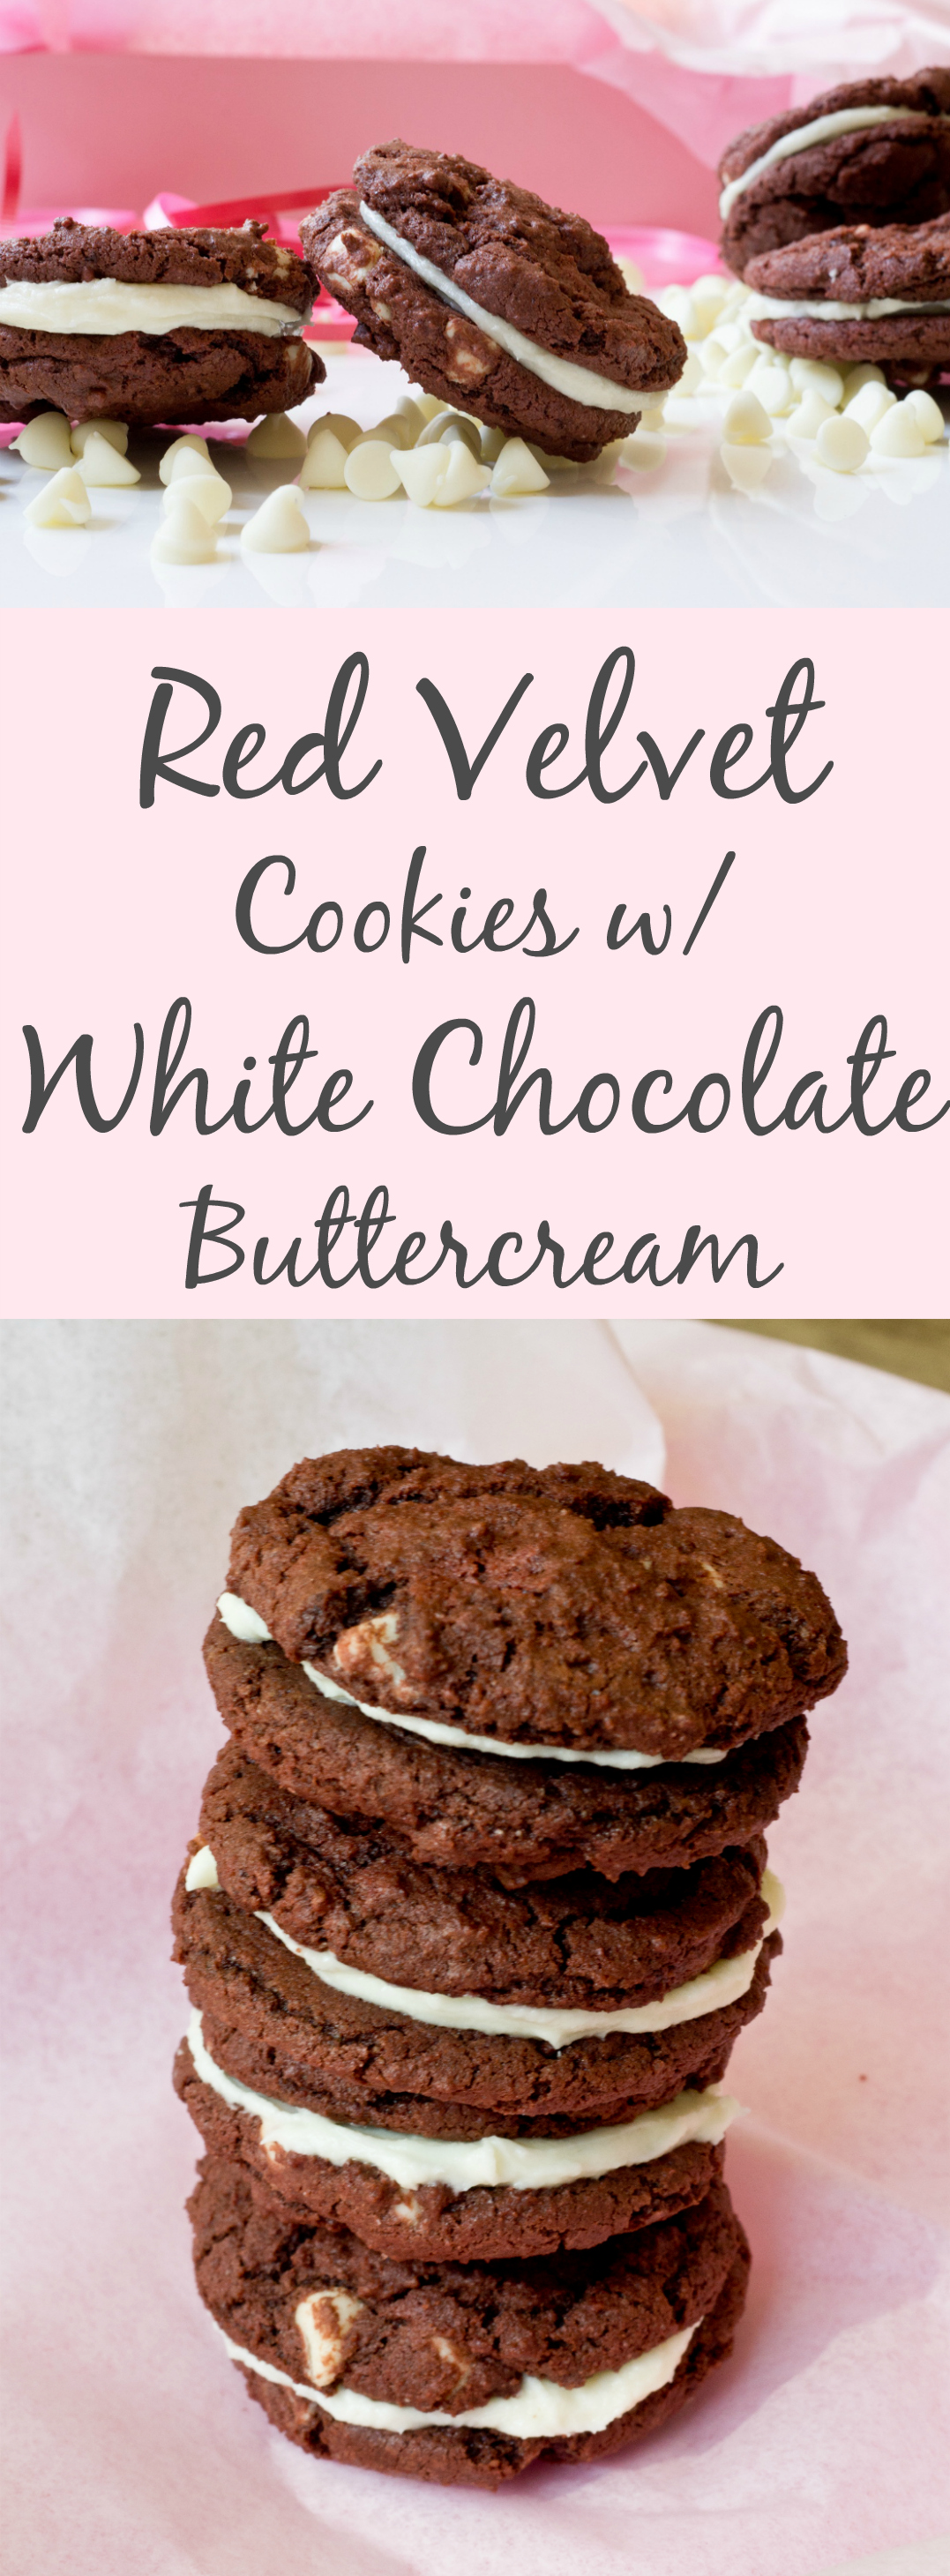
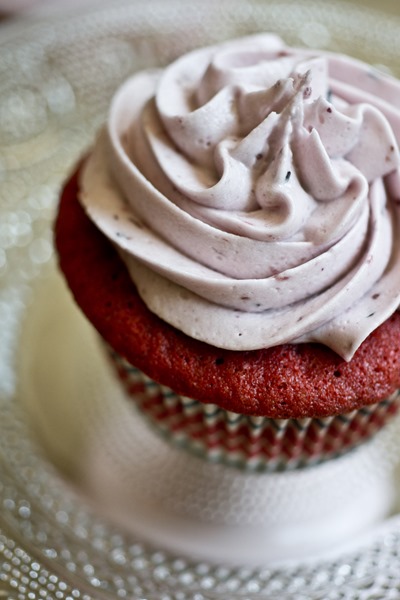
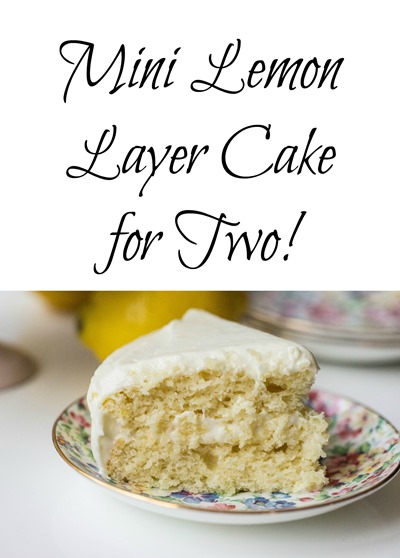
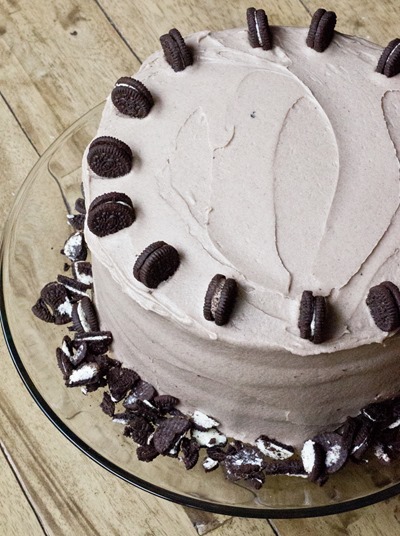
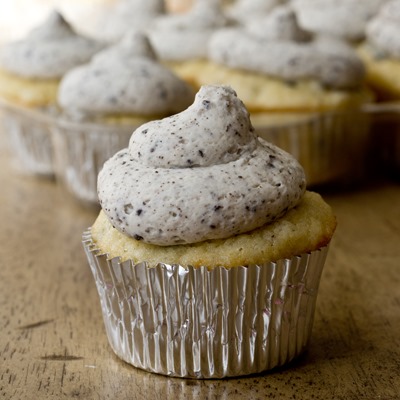
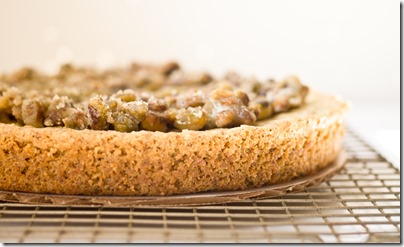
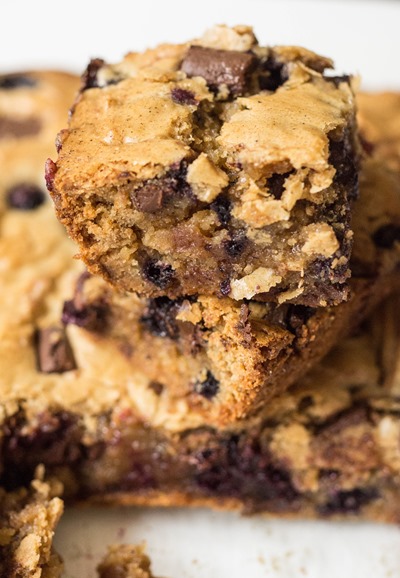
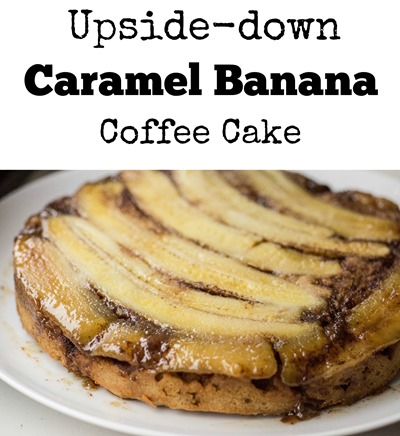
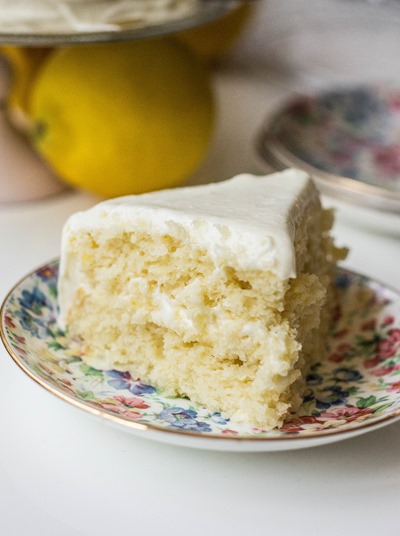
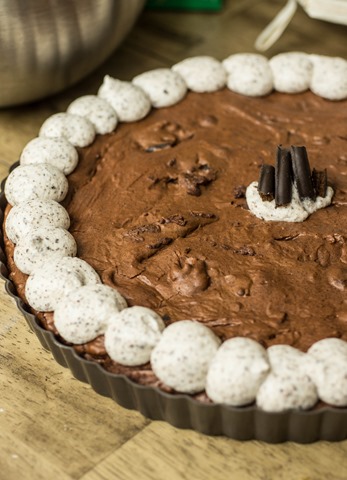
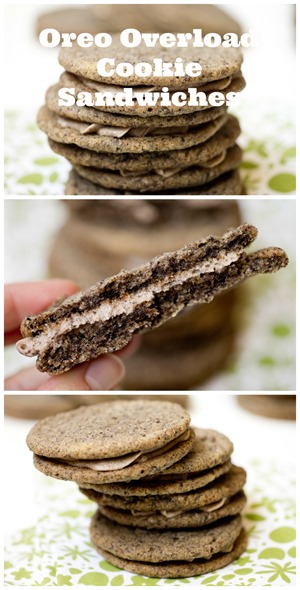
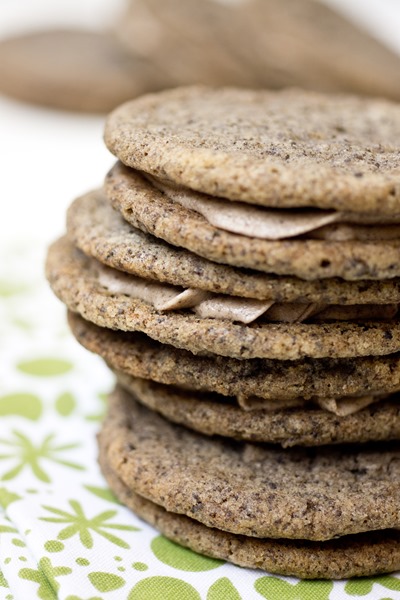
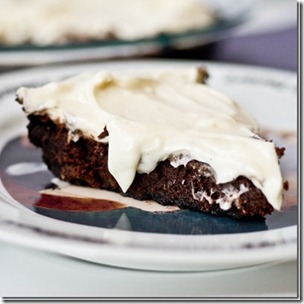
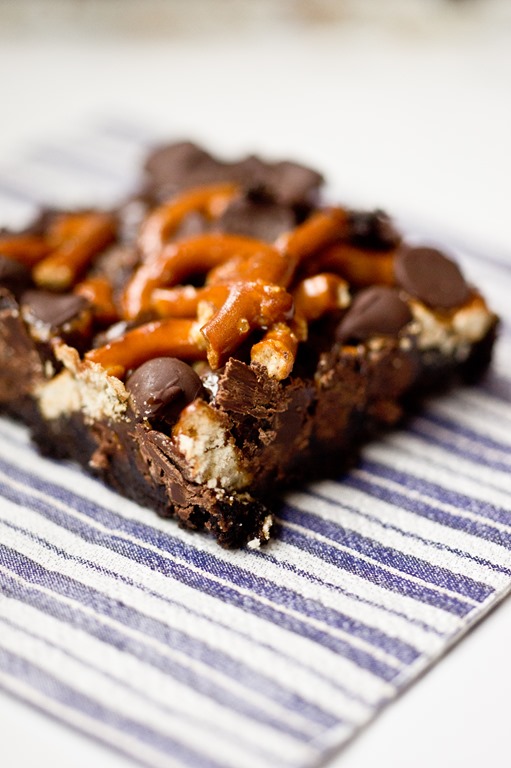
You might also like:
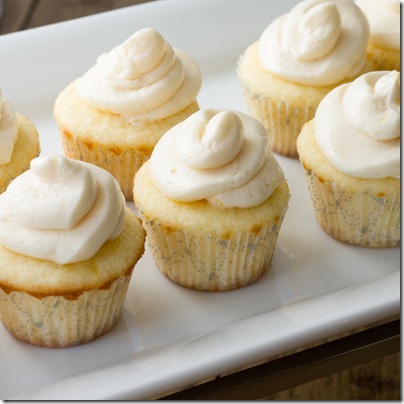


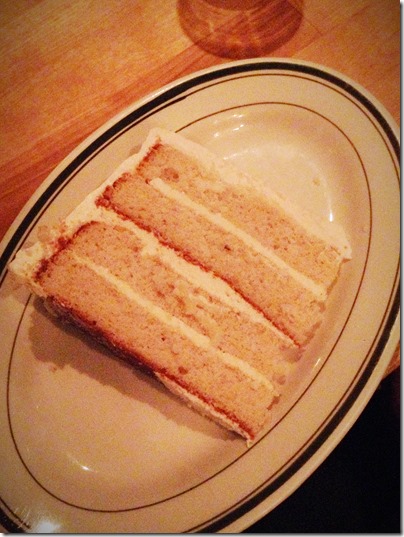
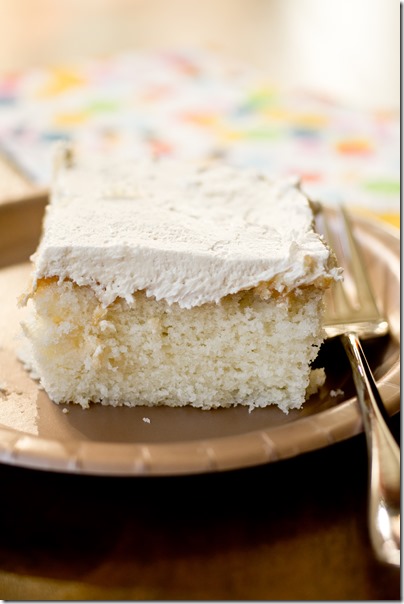
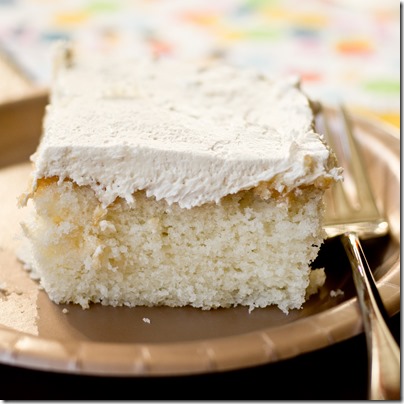
 with a super fluffy vanilla frosting")


")


")


")


")


")
")
")
")


")