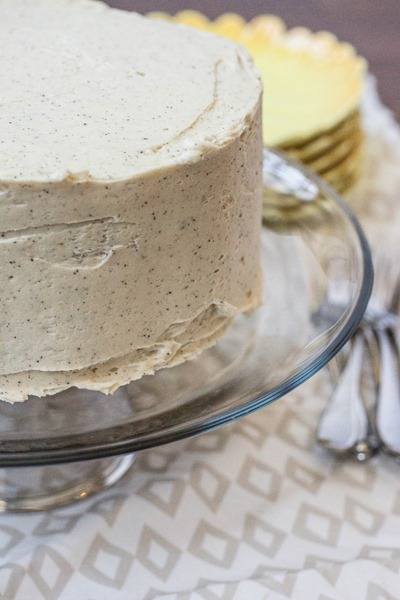
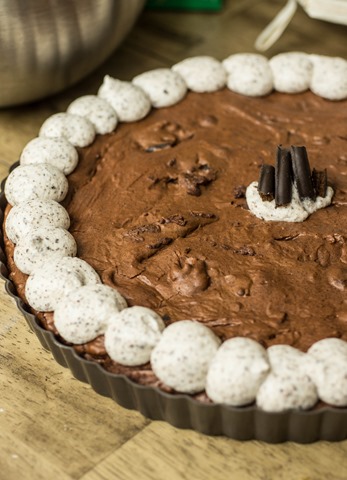
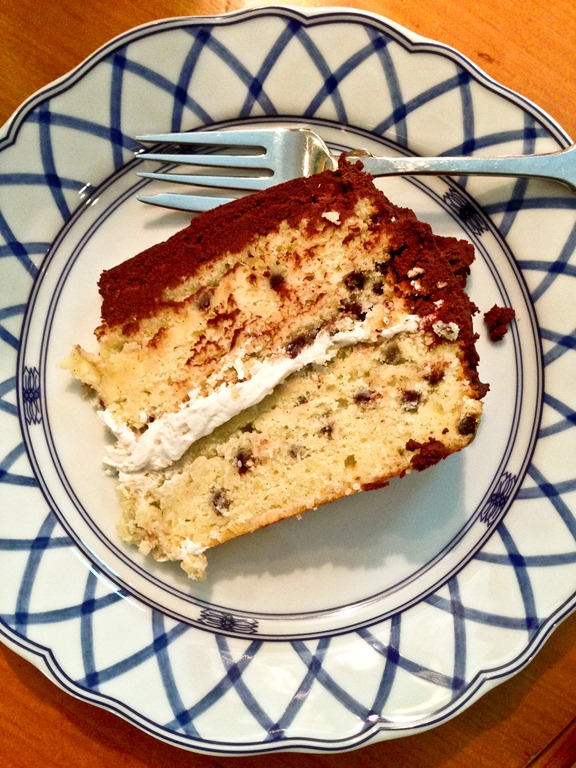
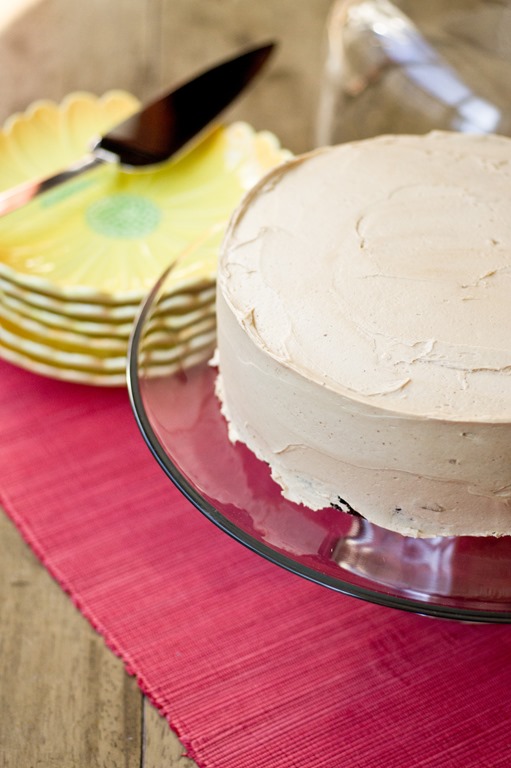
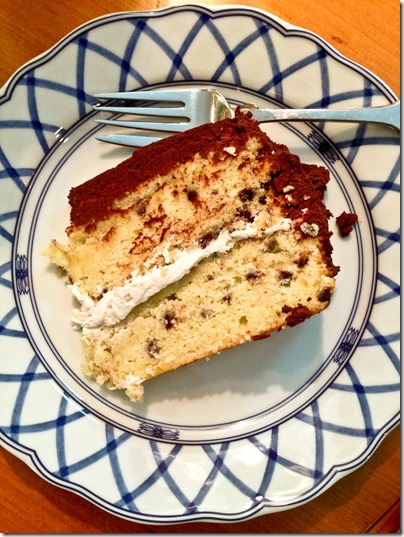
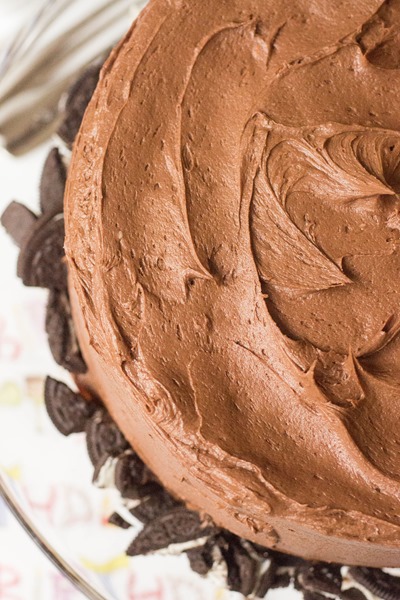
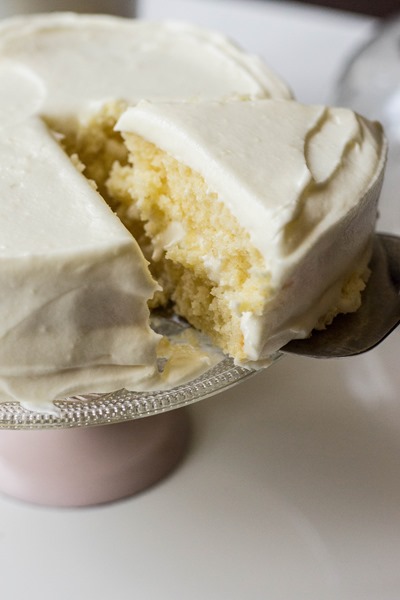
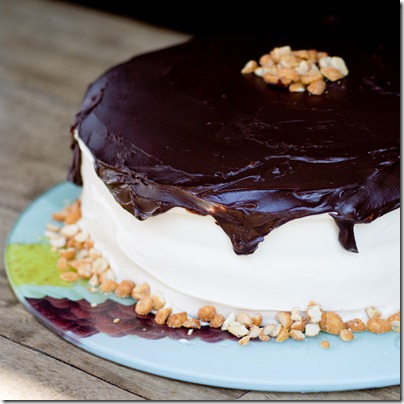
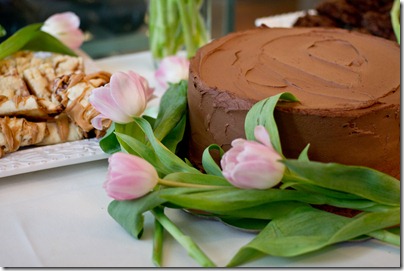
I usually really like the desserts I bake. Sometimes I love them. And then, every once and a while, I make something new that automatically climbs to my list of top desserts. If this cake isn’t one of those, it sure is close. And without a doubt, I WILL be making the ganache again, and soon!
When I saw this recipe, I knew I had to try it. Coffee and banana together? That was a flavor combination I had yet to try but was very intrigued. I’ll tell you right now, I was not disappointed! Make this Banana Cake with Mocha Ganache and you will not be either.

This recipe is time consuming, but not very difficult if you have some baking experience. I actually thought the ganache was much easier than the last time I made one (that could be because I was relaxed and not rushed, though).
This banana cake is worth trying, even if you already have a favorite go-to recipe. The flavors are a little different with a richness from the coffee and the delicious scent of cinnamon. This is what you need:

Pre-heat the oven to 350 degrees
Spray your cake pans with non-stick cooking spray and line the bottoms with parchment paper

You then need to sift your dry ingredients; I don’t have a sifter, so I improvised!

This worked out perfectly- goes to show you that you don’t need fancy tools to make delicious desserts

Sift all of your dry ingredients together

Flour, baking soda, baking powder, cinnamon and salt

Then whisk the dry ingredients together and set aside
Next up, cream together the butter and sugar

Do it for a few minutes, until the mixture is light and fluffy

Then add the coffee grinds and vanilla

I’m telling you, this makes an excellent addition to the banana cake

Add in your eggs, one at a time

Then add in the half the dry ingredients, banana, and sour cream, mixing between each addition


Mix in the remaining dry ingredients just until combined; don’t overbeat

Divide batter evenly between two 8 or 9-inch cake pans

Bake for ~30 minutes, or until lightly browned and a knife comes out clean

Meanwhile, your ganache is made up of 3 simple ingredients:

You can get started on this while your cake is in the oven

Chop up the chocolate, coarsely, and prepare extra-strong coffee

Slice up your butter and set aside

Now set up your double boiler; bring water to a simmer

Place heat-proof bowl over the pot

Pour the coffee over your chocolate

Continuously stir until chocolate is melted and smooth

Remove bowl from heat and whisk in the butter

Your ganache will get very creamy

Then allow ganache to cool, stirring occasionally

You know it is ready when the mixture gets nice and thick

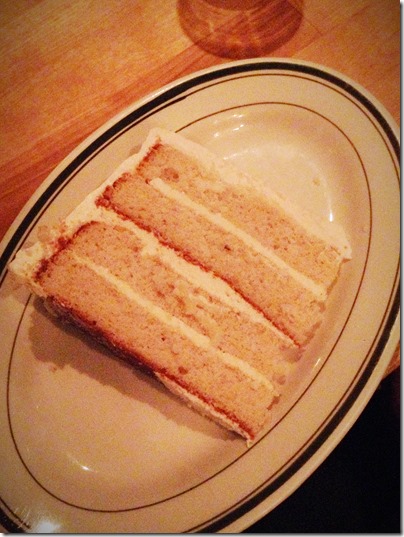
Time to put together your cake!
Run a knife along the edges of each layer to loosen cake from the pans

Take your serving platter and put it over your bottom layer

Hold pan and platter together as you turn over the pan; the cake layer should come right out

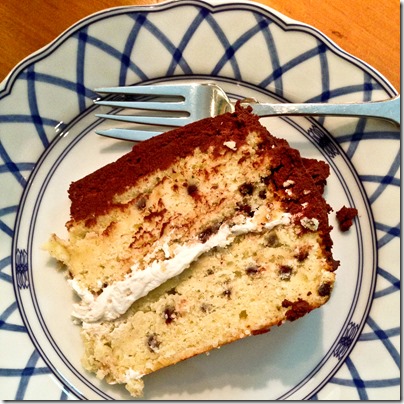
Remove parchment paper; notice that the bottom of the cake is nice and flat which will work nicely for layering


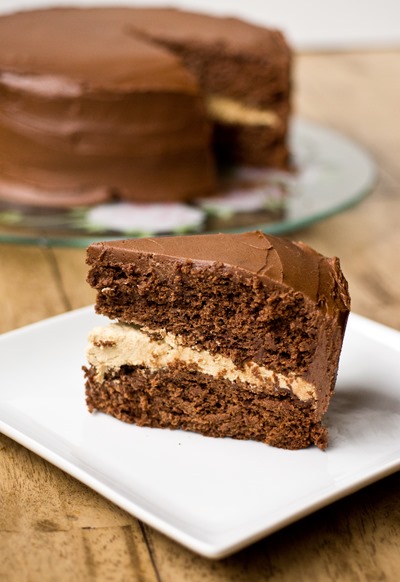
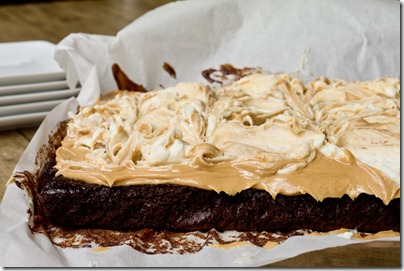
Use a large spatula to spread the ganache

Cover the entire layer

Use the same methodology to flip your top layer onto a separate plate


This way you will have the top layer right-side-up on the cake

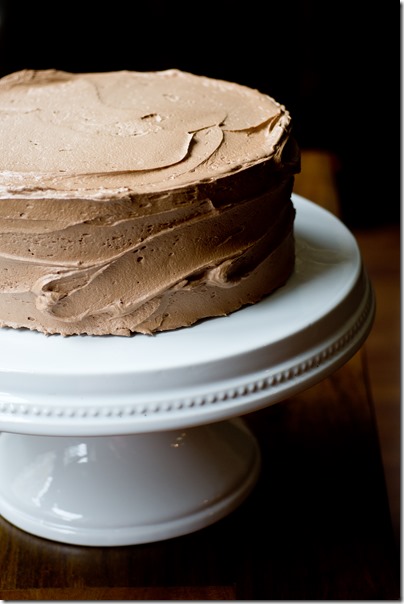
To ice the rest of the cake, pour generous amounts of ganache on top and then spread

Be careful not to spread to thin, this will keep you from collecting crumbs on the outside of your frosting


Use up all the ganache, because you can never have too much frosting on a cake

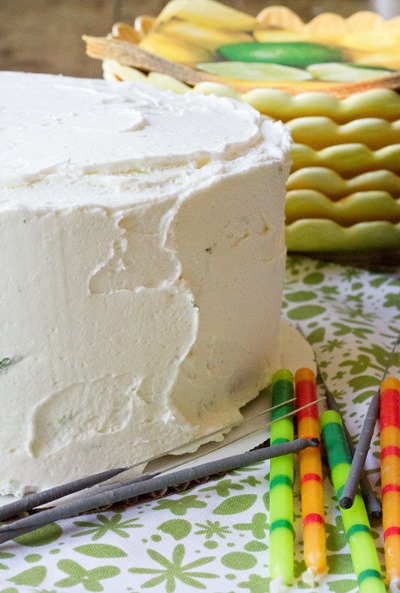
Run the spatula gently around the sides of the cake to smooth out the edges

Store cake at room temperature for up to three days


Banana Cake with Mocha Ganache
Recipe from La Mia Vita Dolce, and originally from David Lebovitz
Serves 12-16
Ingredients:
Banana Cake
2 1/2 cups all-purpose flour
1 1/2 teaspoons ground cinnamon
1 1/2 teaspoons baking powder
3/4 teaspoon baking soda
1/2 teaspoon salt
1 cup (2 sticks) unsalted butter, softened
1 1/2 cups sugar
1 teaspoon vanilla
1 tablespoon instant coffee grinds
2 large eggs
6 tablespoons sour cream (I used reduced fat)
2 cups mashed ripe bananas (~5 medium bananas)
Ganache
10 ounces semi-sweet baking chocolate
1/2 cup extra-strong brewed coffee
10 tablespoons unsalted butter, softened
Directions:
Banana Cake
Pre-heat the oven to 350 degrees
Spray your cake pans with non-stick cooking spray and line the bottoms with parchment paper
Sift dry ingredients (flour, baking soda, baking powder, cinnamon and salt)
Then whisk the dry ingredients together and set aside
Cream together the butter and sugar for a few minutes, until the mixture is light and fluffy
Then add the coffee grinds and vanilla and mix
Add in your eggs, one at a time
Then add in the half the dry ingredients, banana, and sour cream, mixing between each addition
Mix in the remaining dry ingredients at low speed, just until combined; don’t overbeat
Divide batter evenly between two 8 or 9-inch cake pans
Bake for ~30 minutes, or until lightly browned and a knife comes out clean
Ganache
Make ganache while cake is in oven
Chop up the chocolate, coarsely, and prepare extra-strong coffee
Slice up your butter and set aside
Now set up your double boiler; bring water to a simmer in medium pot over low-medium heat
Place heat-proof bowl of chocolate over the pot
Pour the coffee over your chocolate
Continuously stir until chocolate is melted and smooth
Remove bowl from heat and whisk in the butter until creamy
Then allow ganache to cool, stirring occasionally
Ganache is ready when the mixture gets nice and thick
Build Your Cake
Run a knife along the edges of each layer to loosen cake from the pans
Take your serving platter and put it over your bottom cake layer
Hold pan and platter together as you turn over the pan; the cake layer should come right out
Remove parchment paper from cake
Put just under a cup of ganache onto the cake layer
Use a large spatula to spread the ganache, covering the entire layer
Use the same methodology to flip your top layer onto a separate plate
Then place layer gently over frosted cake
To ice the rest of the cake, pour generous amounts of ganache on top and then spread
Run the spatula gently around the sides and top of the cake to smooth out the edges
Store cake at room temperature for up to three days
Do you have any new favorite recipes?


")


")


")


")


