Note: This post is a reflection of my week-long Vegan Challenge. I thought it would be an interesting change of pace from the norm. This post does not cover the ethical rationale behind a Vegan diet.
I’m not Vegan. I’m not even Vegetarian. I don’t keep kosher either. When I diet, I use plans like weight watchers for the very reason that I can eat “whatever” I want. Restriction from any particular foods just doesn’t work for me. You should see me a few days into Passover when I’d kill for a bowl of oatmeal!
For one week, however, I took what I like to call, “the Vegan Challenge”. The Husband wanted to go meatless for 7 days as a post-meat-eating binge-drinking-Vegas weekend cleanse of sorts and I figured I’d do it with him. But then I thought, meatless is too easy, why not take this to the next level?
Let me tell you, that isn’t just one level. I’d argue that there are a lot of little steps between avoiding meat and going full-out Vegan that make the latter extremely challenging. Among other things, you can’t eat fish, dairy, eggs, or even honey. There are probably a ton of other rules that I don’t even know, but those were the basic guidelines I used.
To be honest, I didn’t think that one week would be hard. I often go days or weeks at a time without eating meat or fish so this didn’t seem like a big deal. I also already eat a lot of nut butters, nuts and beans, so I could keep those protein sources in my diet. However, I am highly dependent on dairy (Greek yogurt and string cheese) and eggs for protein as well, especially for snacking.

Here is a recap of my week in terms of what I ate and how I felt:
Day 1:
Pre-workout snack- Apple with almond butter
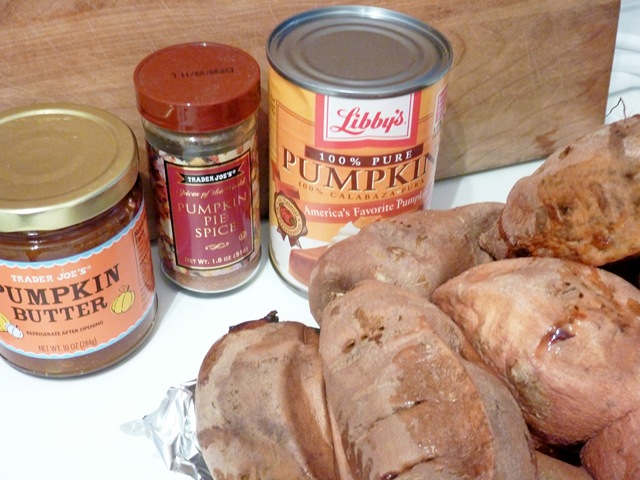
Breakfast- Oat bran with almond milk, pumpkin, chopped apple and chia seeds topped with peanut butter (fairly consistent with a normal breakfast)
Lunch- Lentil soup, chopped pineapple
Snacks- vegan protein bar; baby carrots; apple; almonds, dried fruit bar
Dinner-Pasta (eggless) with beans and a nutritional yeast sauce
Thoughts: Forgot that there was only cow’s milk in the office and had to drink black coffee. Felt very hungry all day but could have been related to morning workout. Happy I happened to have a vegan protein bar in my desk at work! Being Vegan makes it easier to turn down office birthday cake since no one can challenge you on declining a piece.
Day 2:
Pre-workout snack- Banana
Breakfast- Oat bran with almond milk, pumpkin, chopped apple and chia seeds topped with peanut butter
Lunch- mixed vegetables with beans and nutritional yeast sauce, roasted butternut squash, soy crisps
Snacks- almonds; low carb wrap w/ nut butter and banana; mini protein bar*
Dinner-Kale chips sprinkled with nutritional yeast, soy meatballs w/ tomato sauce
Thoughts: Picked up almond milk for my coffee, though not quite as good as regular skim. Was very hungry all day again. Was starving at night at the office and ate the *protein bar. As soon as I finished I realized it wasn’t Vegan!
Day 3:
Breakfast- Oat bran with pumpkin, chopped apple and chia seeds topped with peanut butter
Snack- apple
Lunch- roasted butternut squash, low carb wrap w/ nut butter and banana; high protein cereal w/ almond milk*
Snacks- Peanut Butter & Chocolate Larabar**
Dinner-Lentil soup
Dessert- mango
Thoughts: *Lunch was a little weird but very filling! Had to start getting creative with my protein sources. **As soon as I finished the Larabar I realized it wasn’t Vegan (because of the chocolate chips). I had figured it was since most flavors are. I wasn’t as hungry in general but starting to miss my dairy! Definitely realizing how it is a little easier to “restrict” “bad” foods since there aren’t as many available to eat on a Vegan diet.
Day 4:
Pre-workout snack- Apple
Breakfast- Oat bran with pumpkin, chopped apple and chia seeds topped with peanut butter
Lunch- roasted butternut squash, low carb wrap w/ nut butter and banana; high protein cereal w/ almond milk*
Snacks- pear; Peanut Butter & Jelly Larabar
Dinner- Edamame appetizer; Salad with avocado, pepitas and salsa as a dressing**
Thoughts: *Repeat of the strange lunch because it worked the first time! **Dinner was challenging because we went out to eat. Luckily I had looked at the menu in advance to strategize. I had to order the salad with a few alterations but I do that all the time anyway. There was only one other Vegan option on the menu.

Day 5 (Saturday!):
Breakfast- Oat bran with pumpkin, chopped apple and chia seeds topped with peanut butter
Pre-workout snack- Banana
Lunch- low carb wrap with veggies and hummus, roasted butternut squash, cereal with almond milk and blueberries
Snacks- low carb wrap with peanut butter and blueberries; pop chips; kale chips with nutritional yeast*
Dinner-Baked sweet potato with vegetarian baked beans
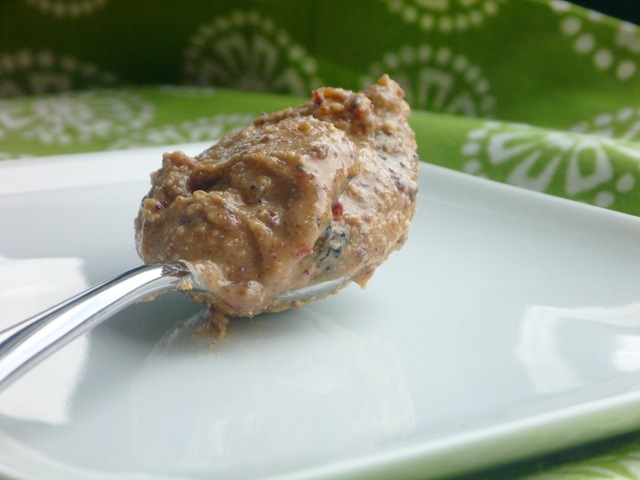
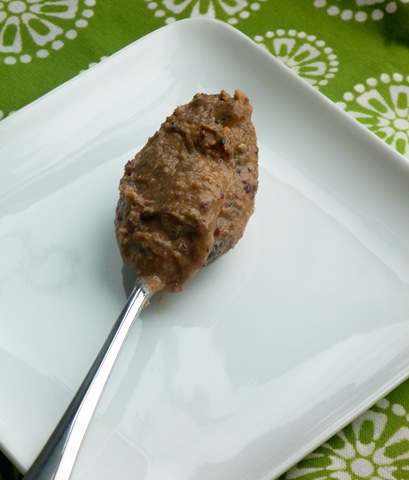
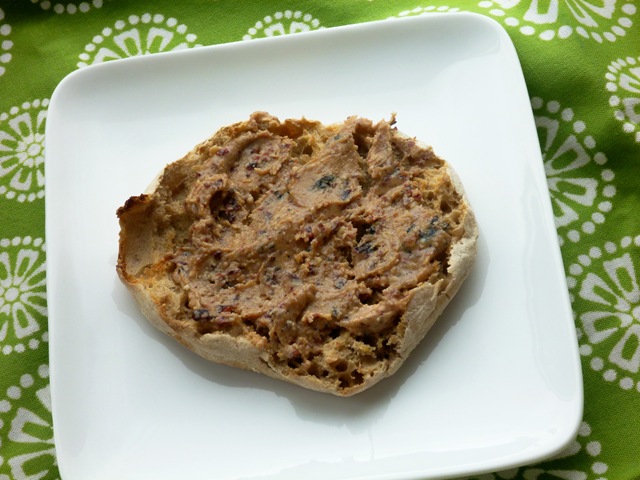
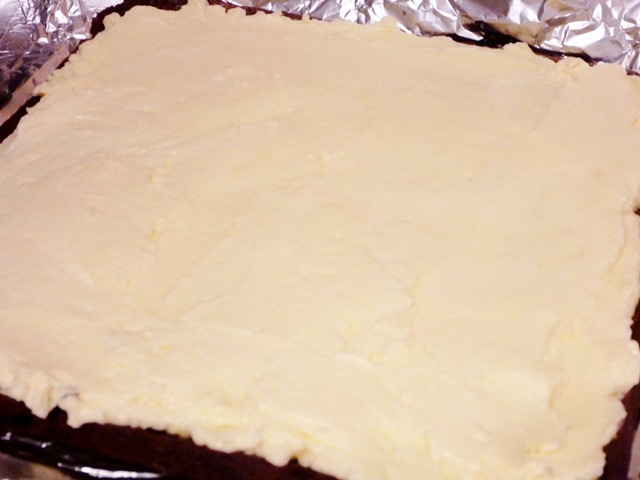
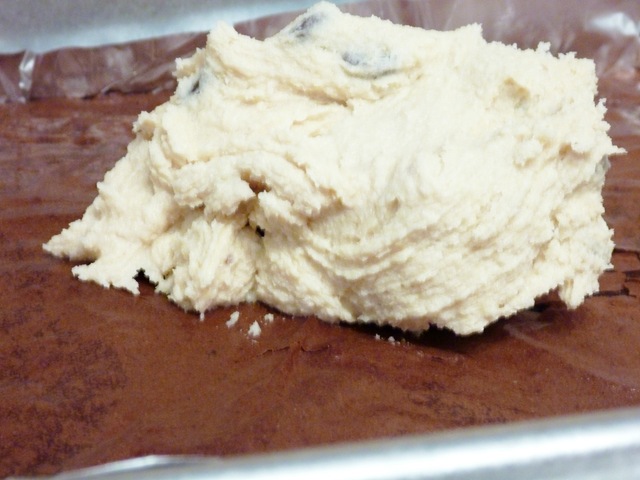
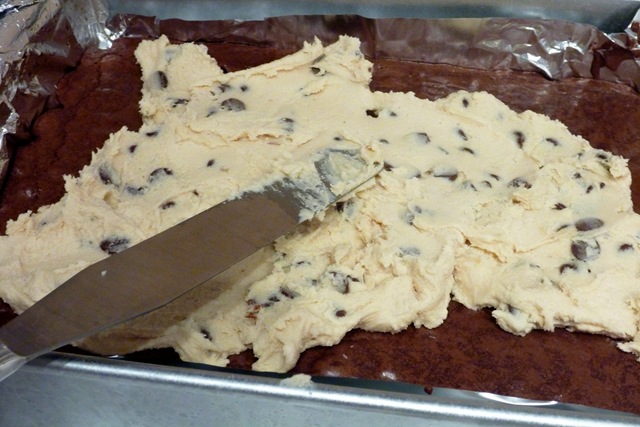
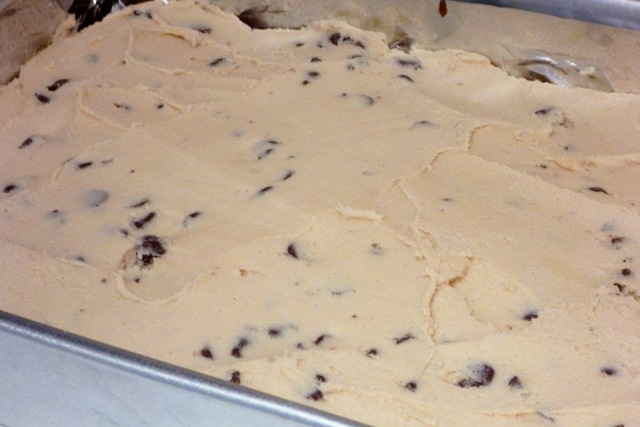
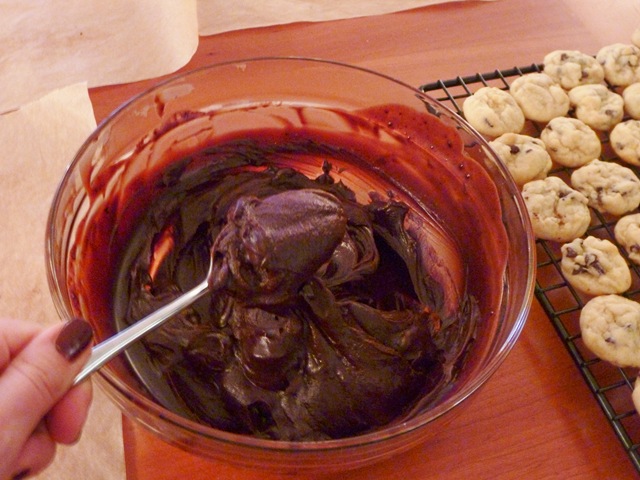
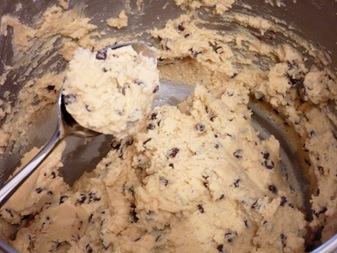
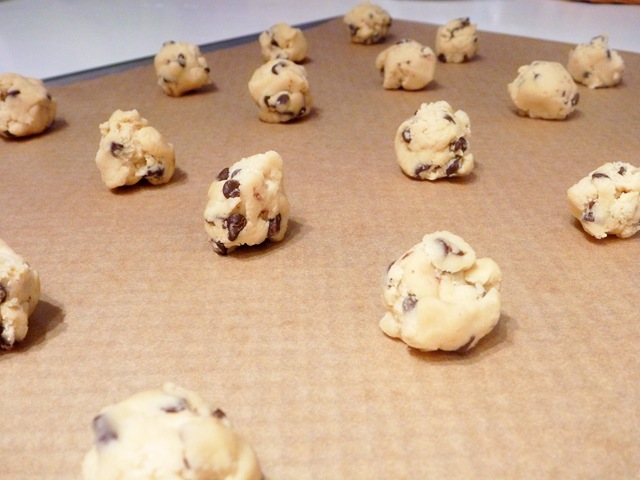
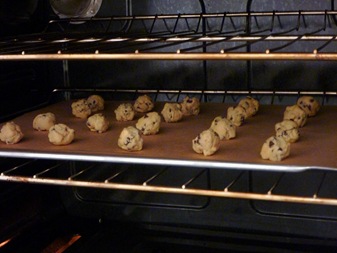
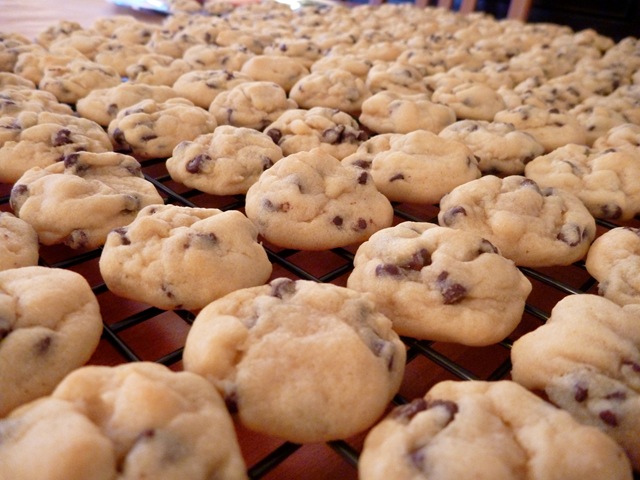
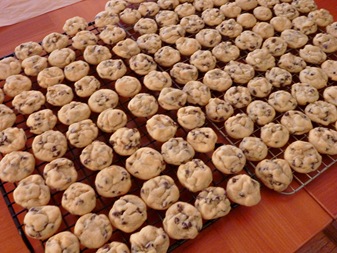
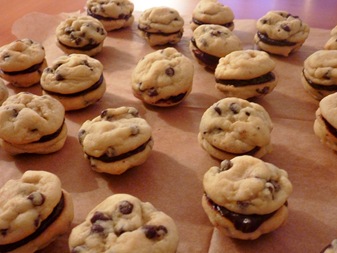
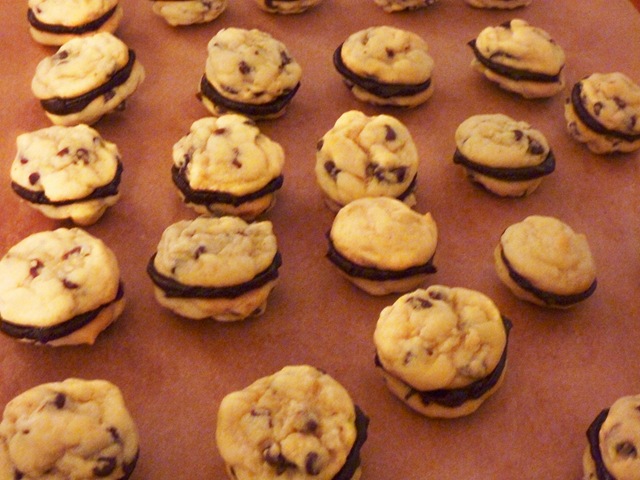
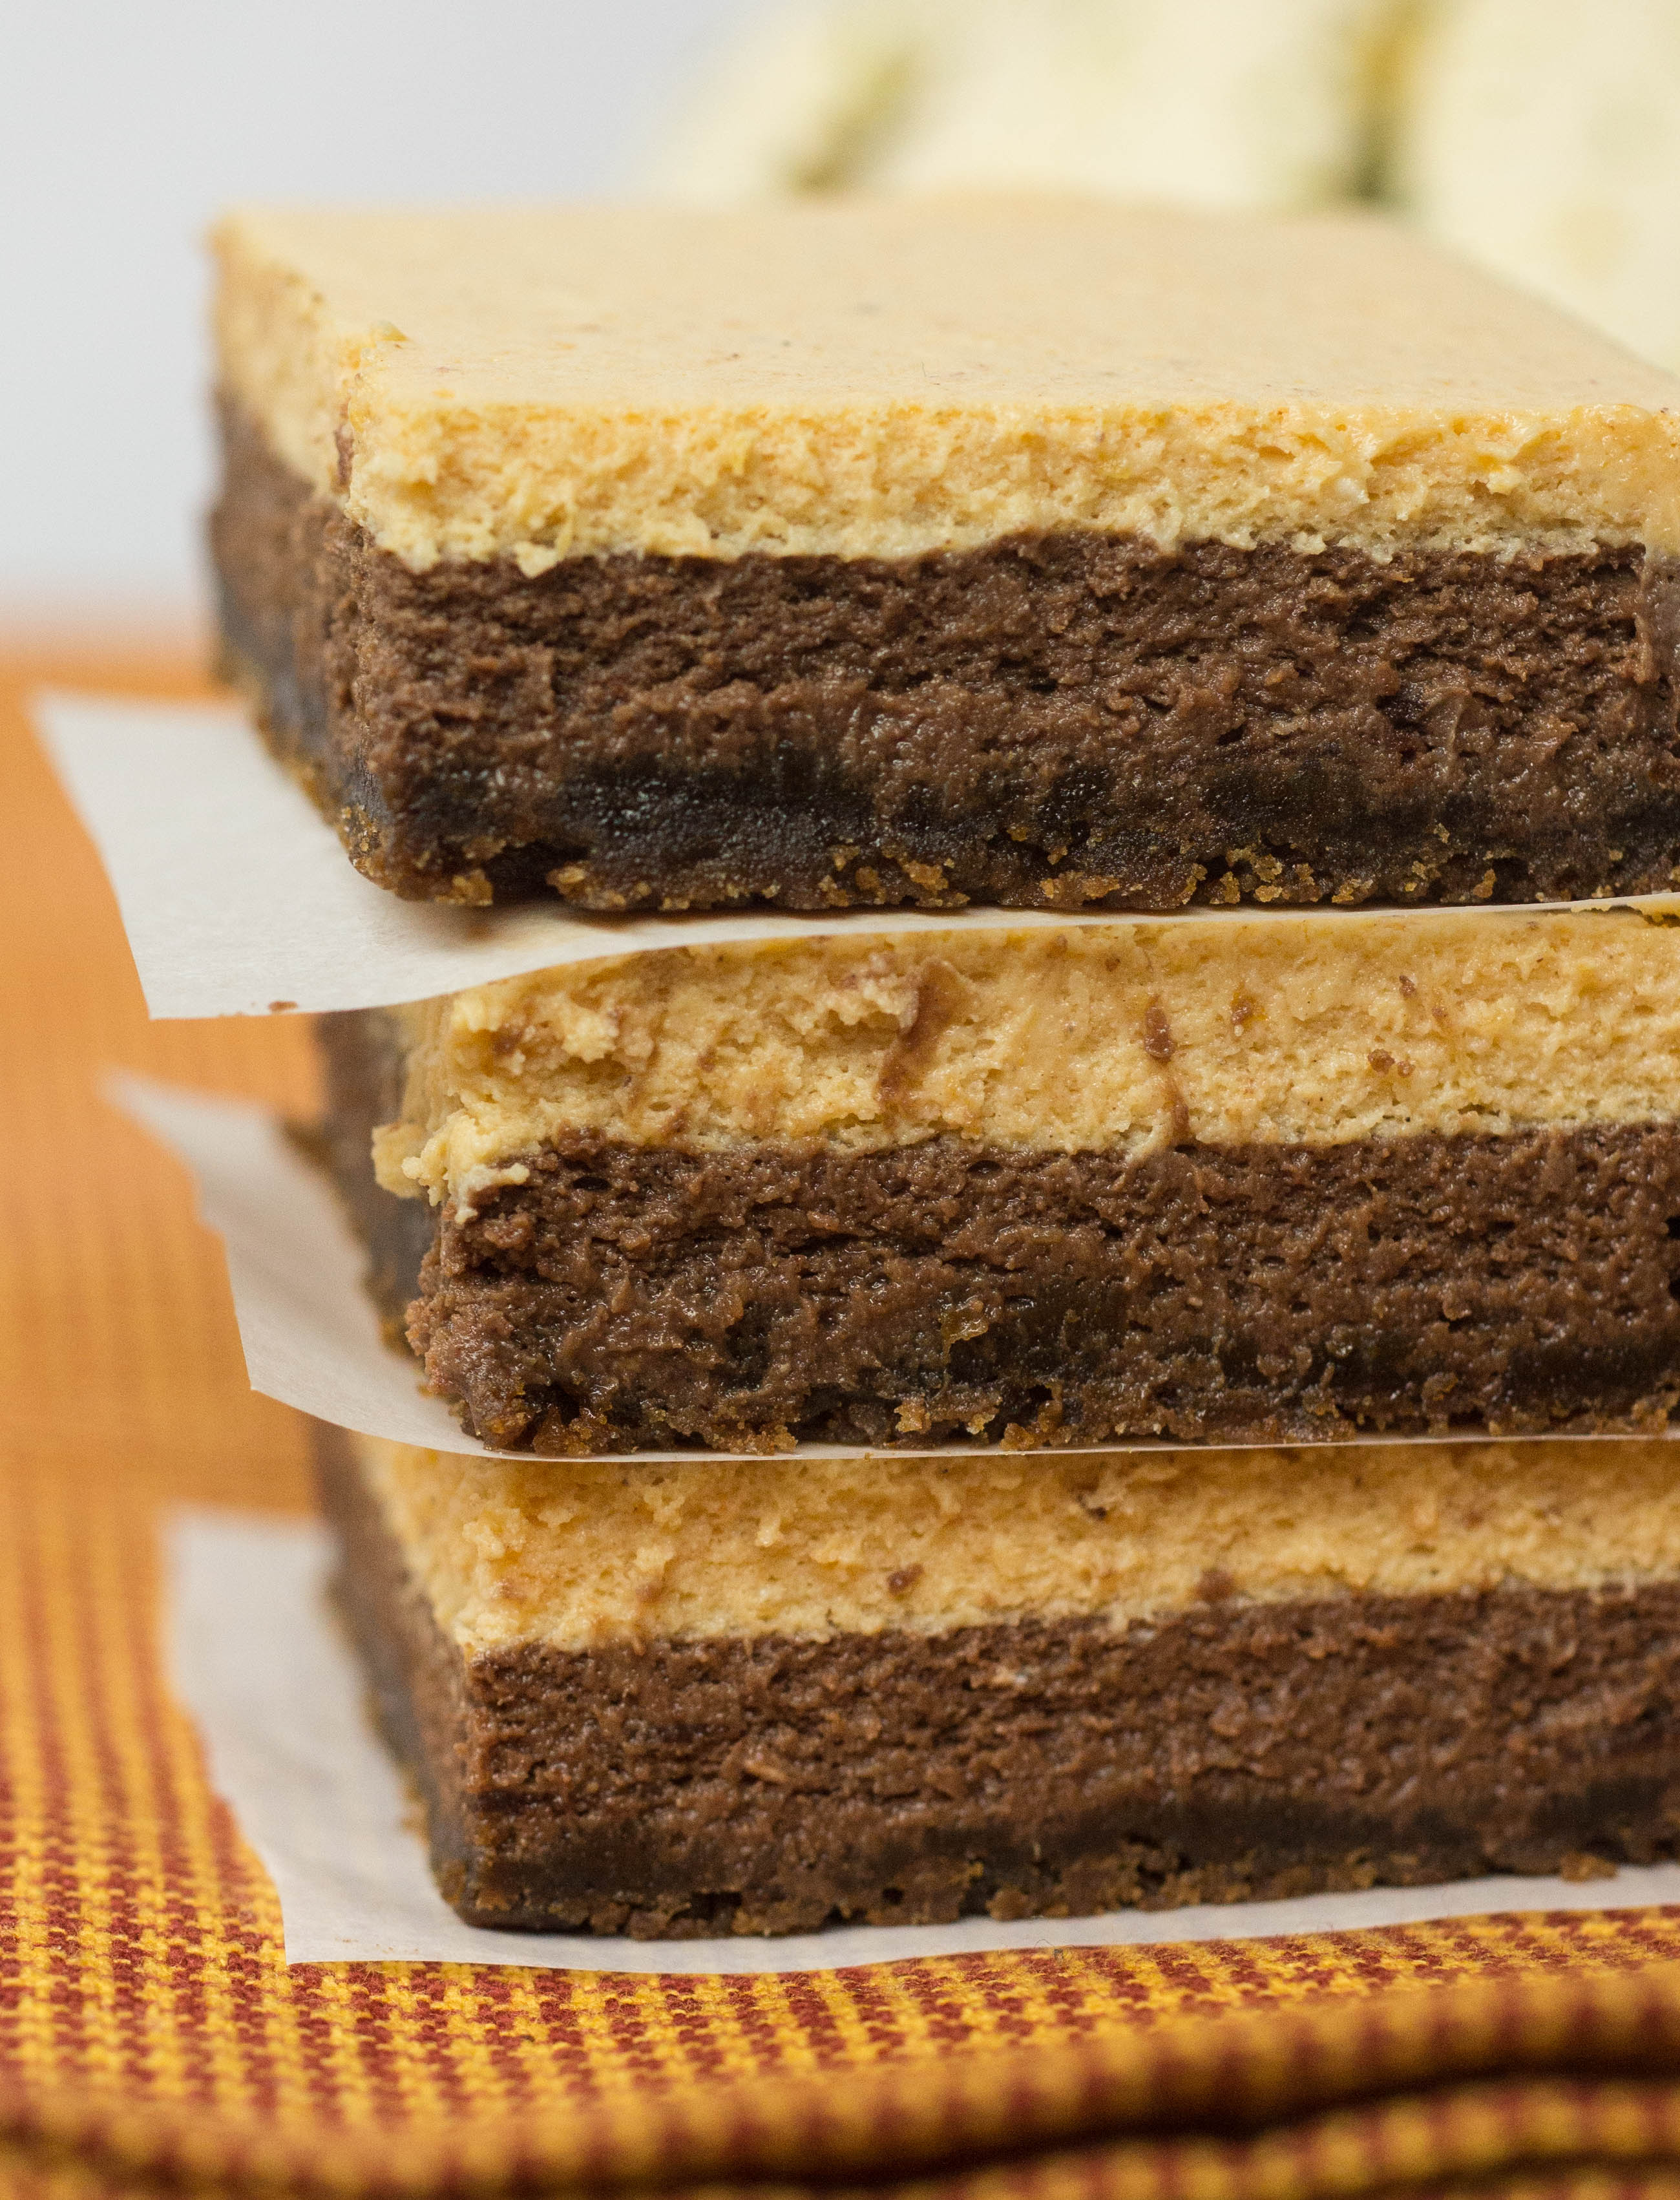
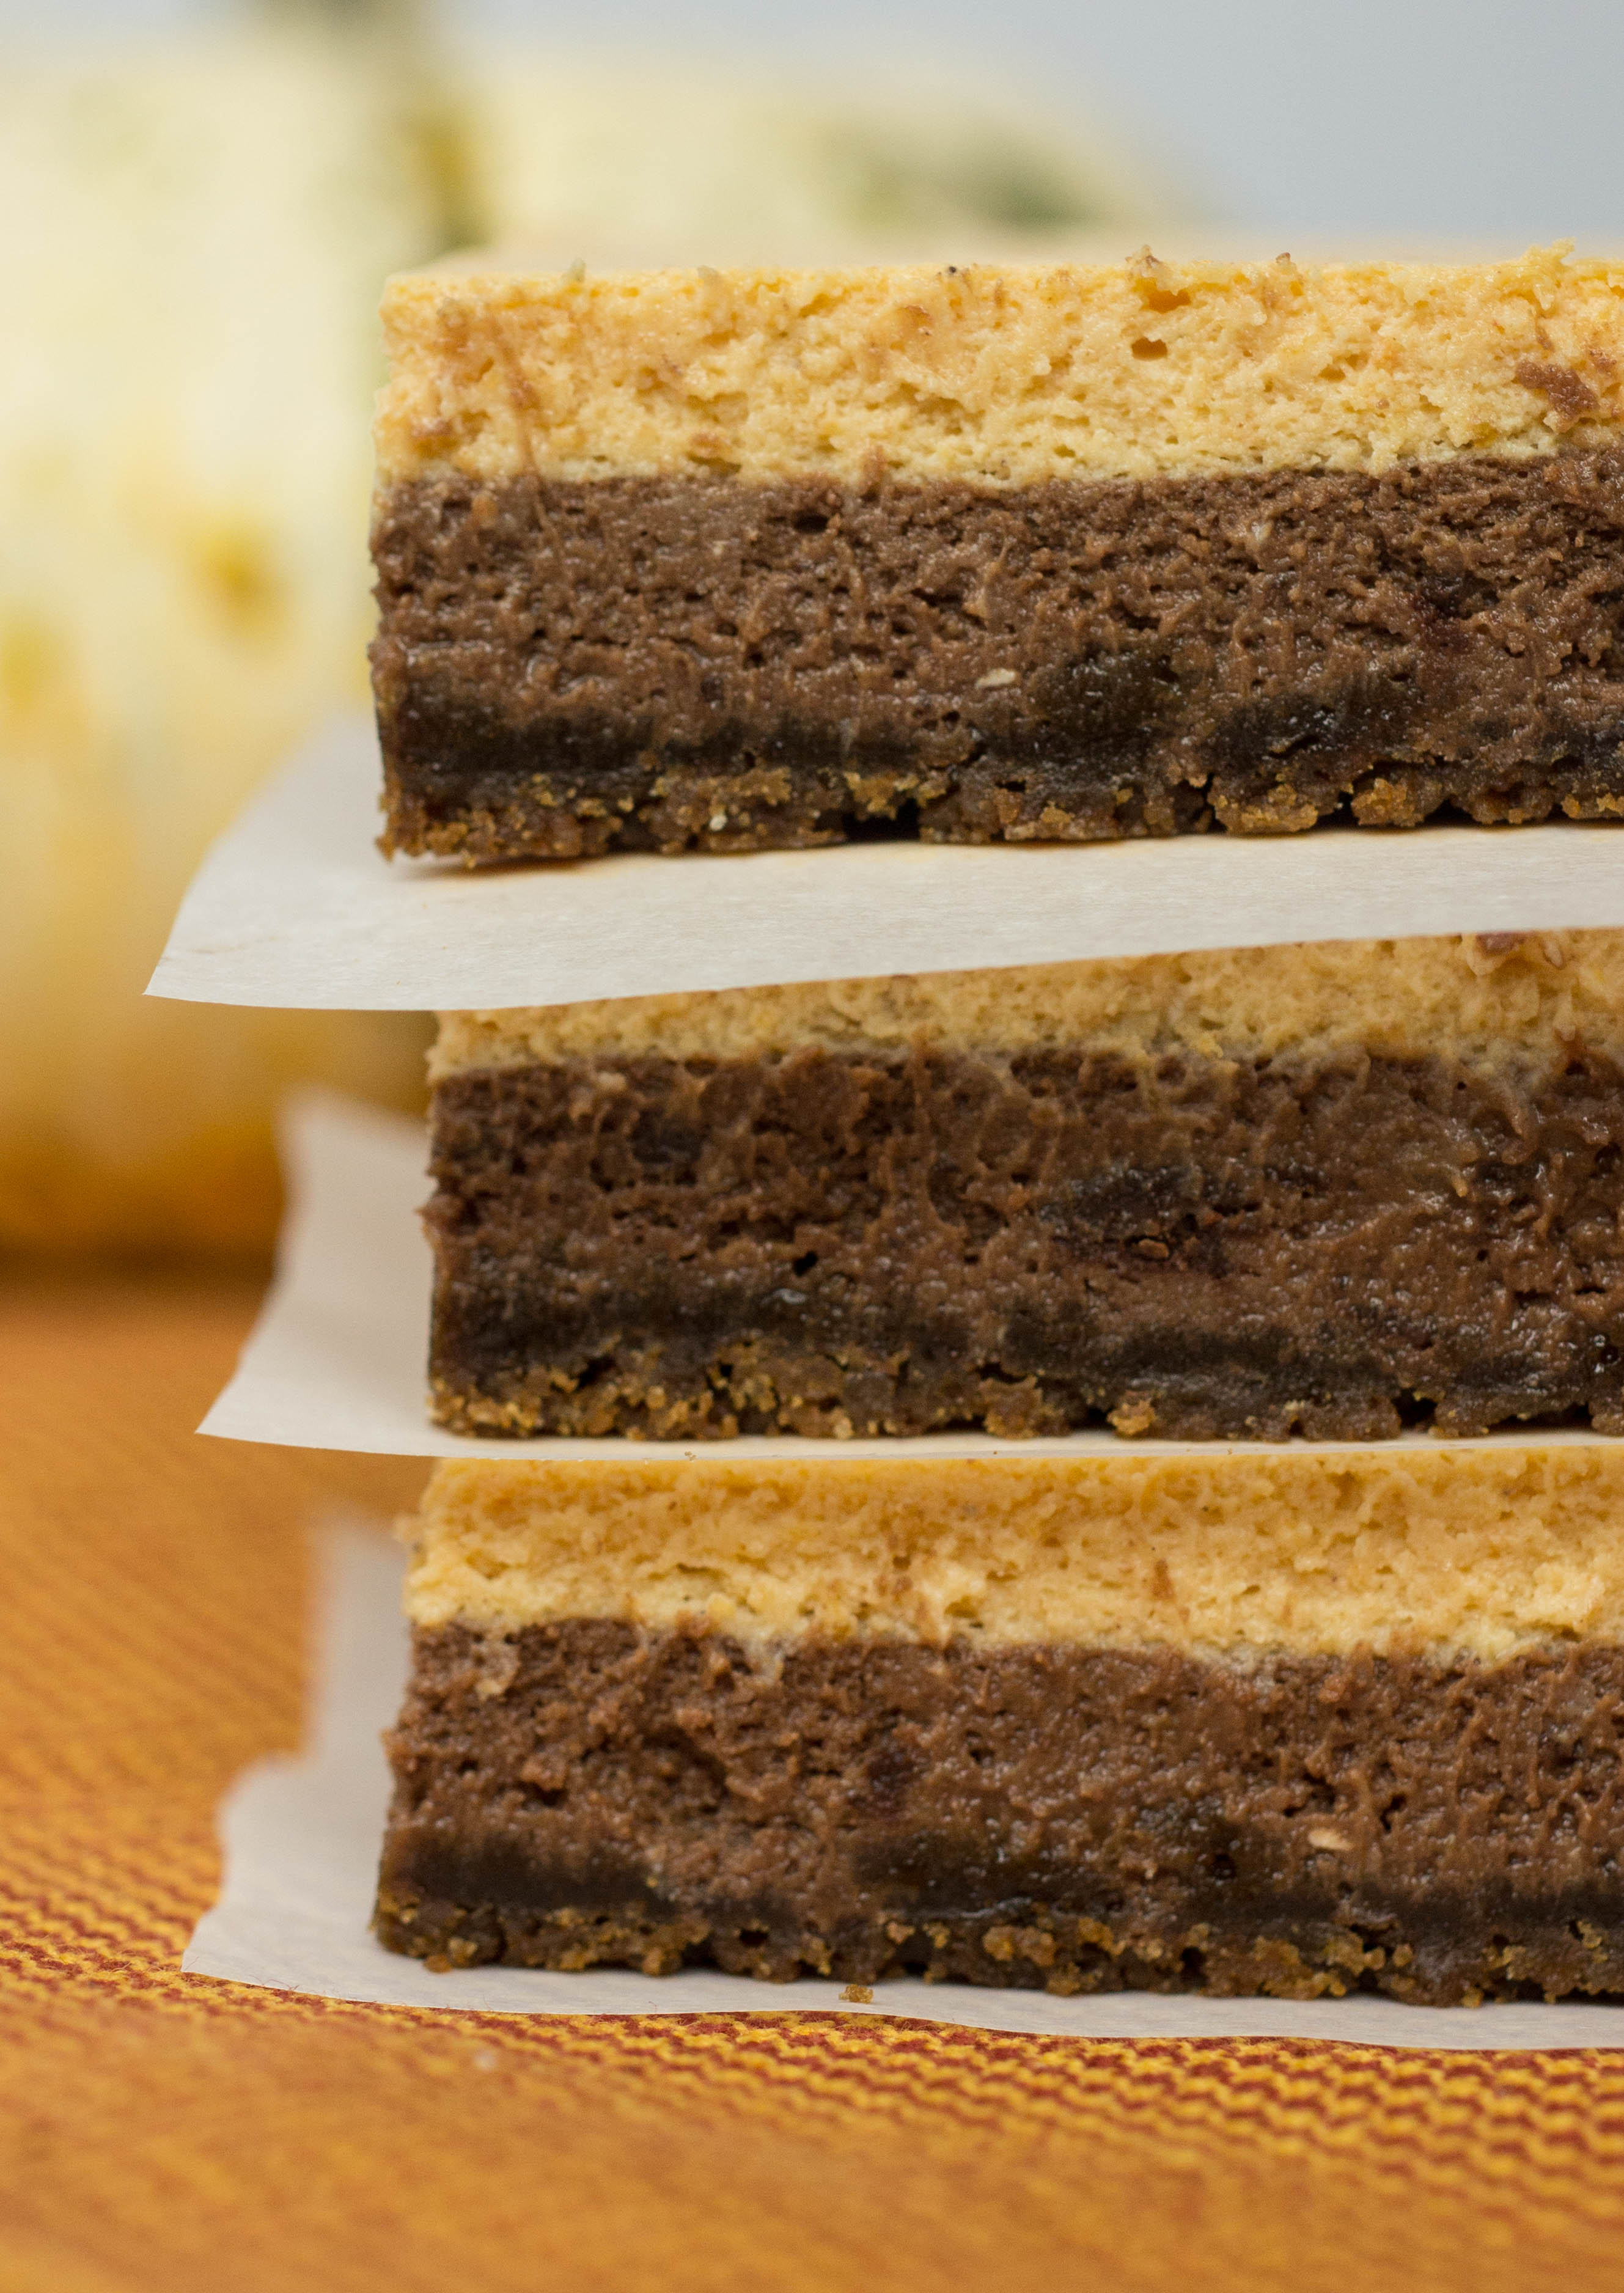
Dessert- Peanut Butter Dough Balls**
Thoughts: *I was really snacky/unsatisfied. I was also starting to get very cranky as a result of the restrictions. I didn’t like having a limit to what I could eat and didn’t know what to eat anymore. I especially missed my high-protein Greek yogurt as a snack. **These saved me, see details below.
Day 6:
Breakfast- Oat bran with almond milk, banana, blueberries and chia seeds topped with peanut butter
Mini-Lunch- low carb wrap with veggies and hummus
Pre-workout snack- almond butter
Snacks- leftover edamame; popcorn
Dinner-Toast, vegetarian baked beans, corn, butternut squash and broccoli
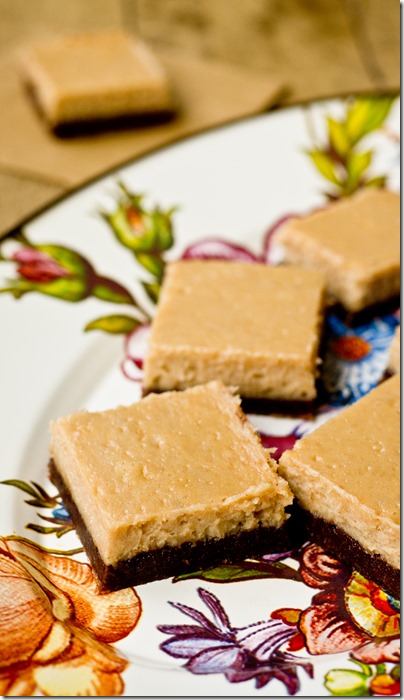
Dessert- Blueberries with peanut butter, Peanut Butter Dough Balls, Trader Joes Cat Cookies*
Thoughts: *Day 6 was extremely challenging. I had a super hard workout that left me hungry all afternoon and really needed a big protein boost. Instead, I ended up grazing my way through “dessert.”
Day 7!!!!!!:
Breakfast- Oat bran with almond milk, pumpkin, blueberries and chia seeds topped with peanut butter
Mini-Lunch- Butternut squash, low carb wrap with banana and peanut butter
Snack- Protein bar*
Dinner-Salad with blue cheese and grilled shrimp**
Thoughts: I didn’t mean to finish Vegan week on such a miss, but I was travelling for work and had limited options. I had packed lunch but thought there would be Vegan- (or AT LEAST Vegetarian) friendly options at the airport. *When I didn’t find anything that worked, I ate a non-Vegan protein bar. **Dinner didn’t take place until late at night at a hotel in Oklahoma City (not exactly veggie-town). There were no Vegetarian or Vegan options on the menu. The only thing that could have worked would have been a plain house salad which would have left me starving.
In summary, I am really glad I took the Vegan Challenge. It helped me take a closer look at what I put into my body. You might have noted that I ate very few processed foods and that definitely was a positive. I really enjoyed the abundance of fruit and vegetables. Although I do eat a ton of that regularly, I liked that there was even more of an emphasis on this. Additionally, I was very diligent about taking my vitamins. I’d probably take more vitamins if I were to eat like this on a regular basis. On the downside, post-Vegan week, I went a little out of control with some desserts in my freezer. I think that was in part the result of a week of restriction, but also some stress I was dealing with.
The thing I learned about being Vegan is that you really need to plan in advance. This actually goes for eating healthy as well, but even more so on a Vegan diet. I tried to stock up on Vegan-friendly foods for the week, but even so, I didn’t feel like I had enough options. The other major theme was that it isn’t very flexible. It is really hard to go out to eat at the average restaurant and find something Vegan and filling.
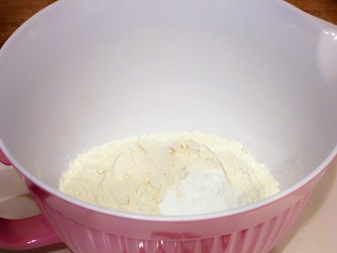
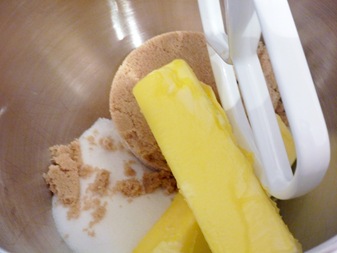
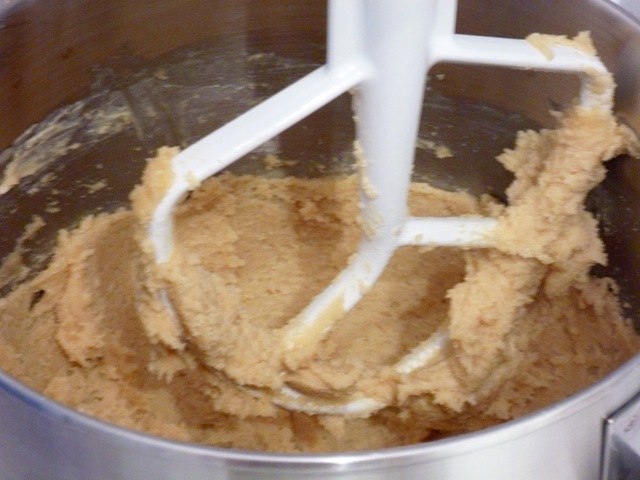
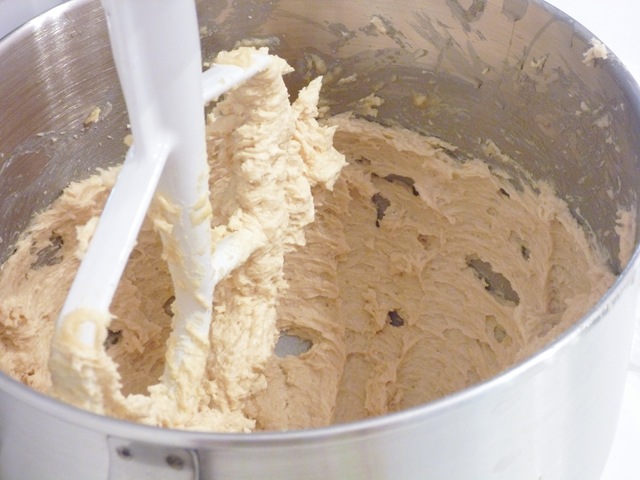
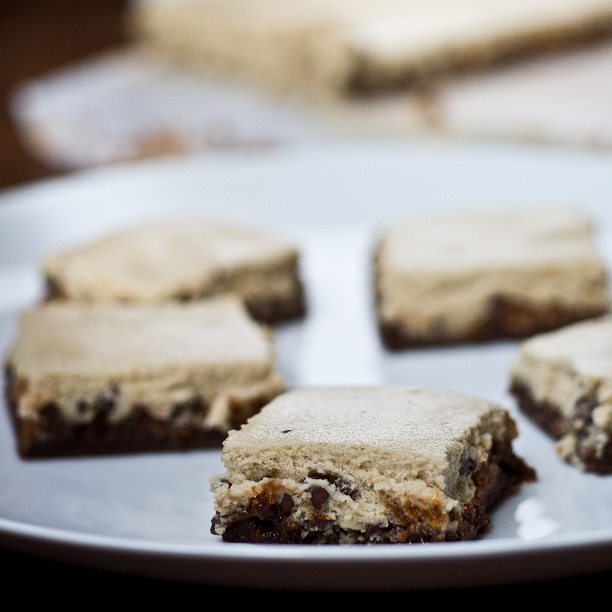
As far as planning goes, one of the best resources I used was Mama Pea’s blog! Whether you are Vegan or not, her blog is wonderfully written and very funny. Oh, and she has the cutest little girls ever. Her Peanut Butter Dough Balls, while not the healthiest option, were the highlight of my Vegan eating. I’d eat them any day!
Do you follow a Vegetarian or Vegan diet? Have you ever tried it?


")

")
")
")


")
")


")
")