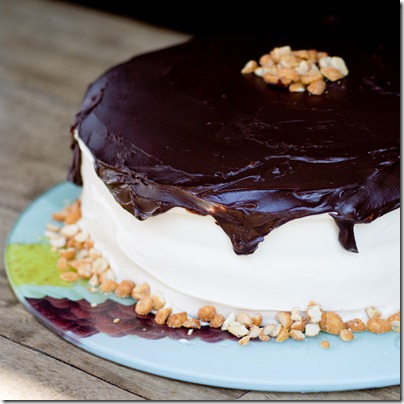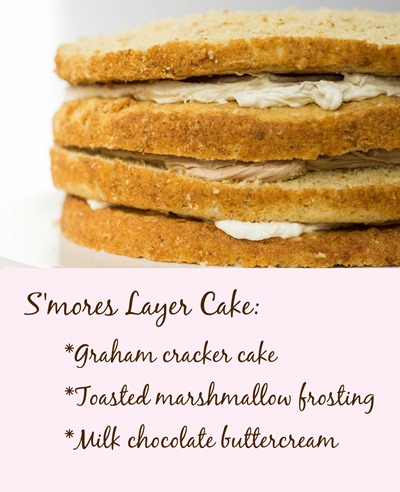
Graham cracker cake layered with toasted marshmallow and milk chocolate buttercreams. This cake embodies the flavors you love in a s’more!

It’s cake birthday season here! We kicked things off with a bang last weekend celebrating Matt’s Mom’s and my sister-in-law’s overlapping birthdays. And since it was a double birthday, I knew that the dessert had to be extra special.

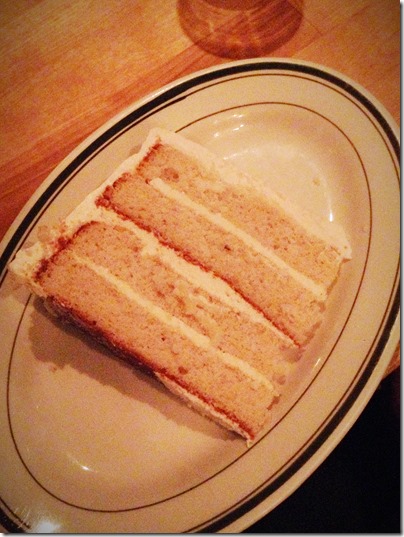
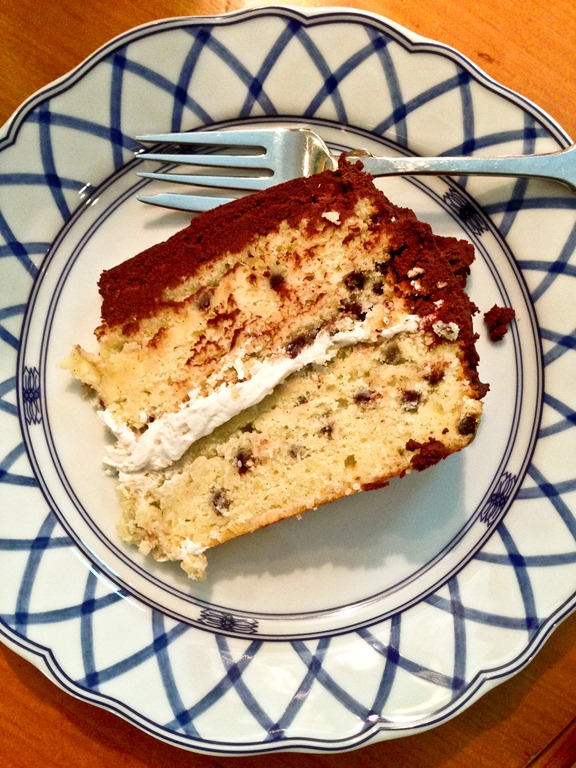
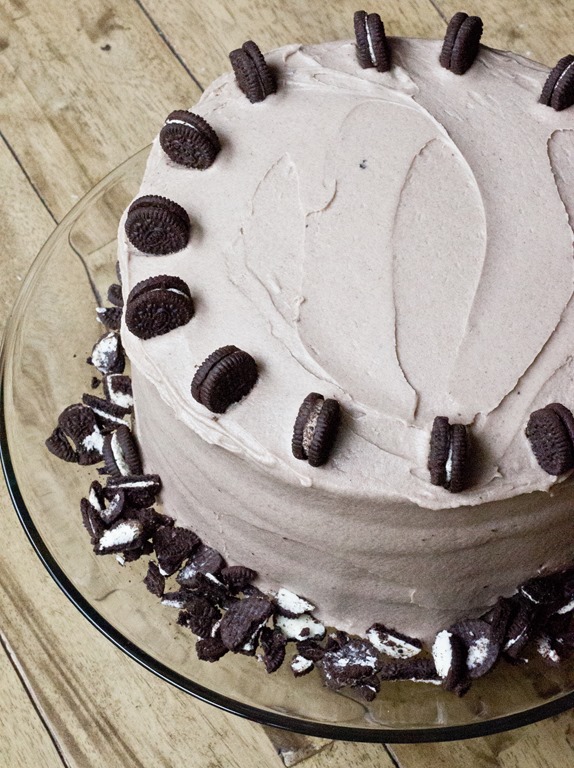
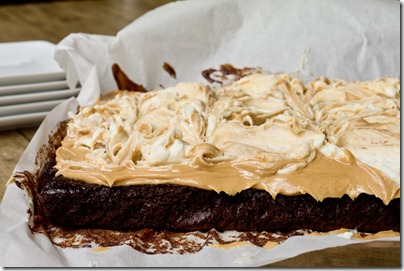
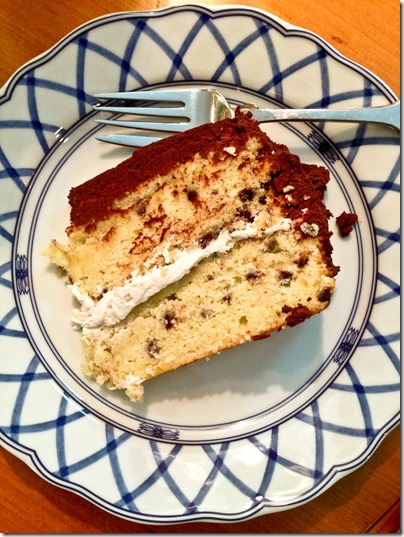
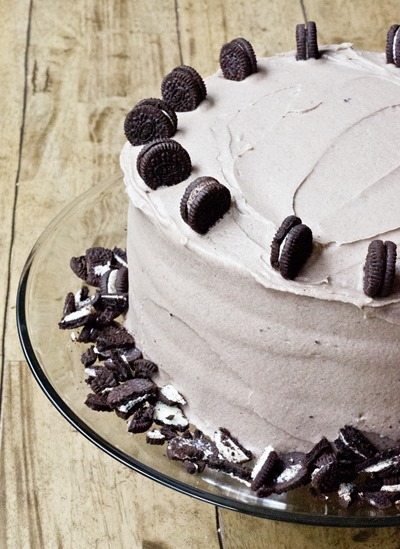
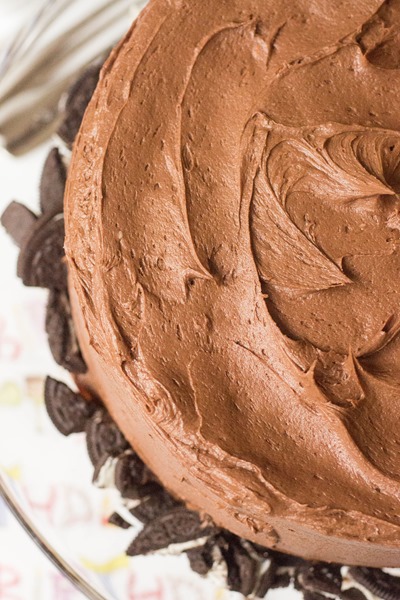
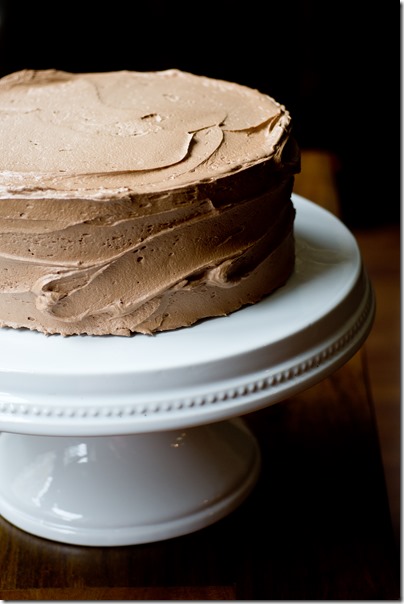
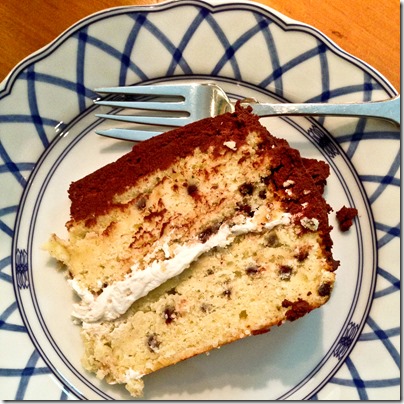
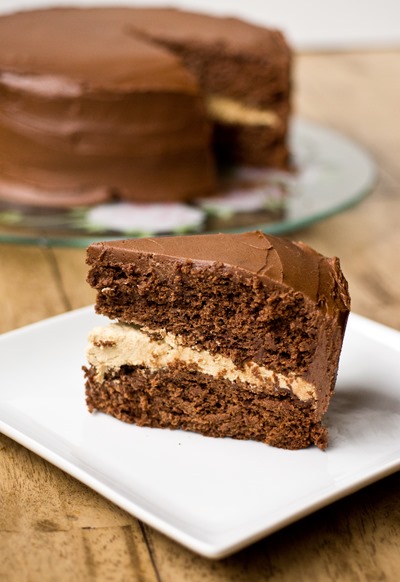
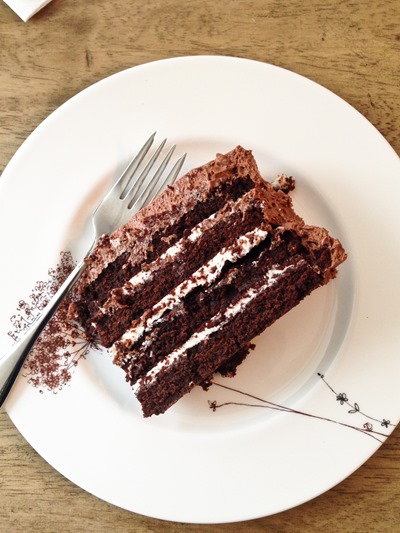
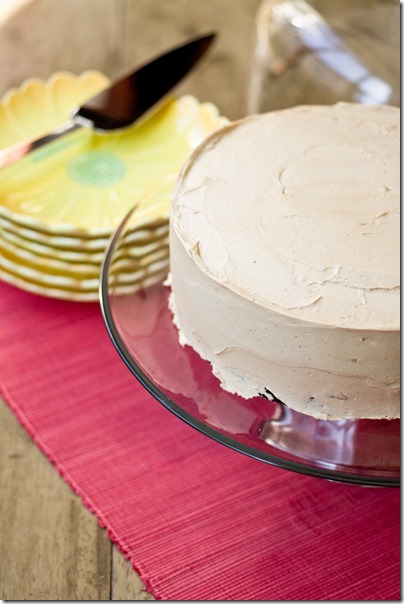
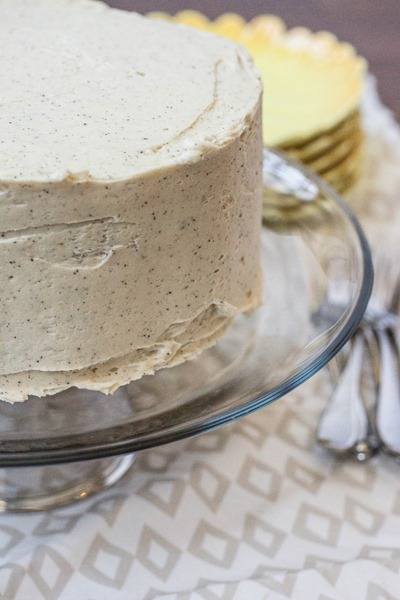
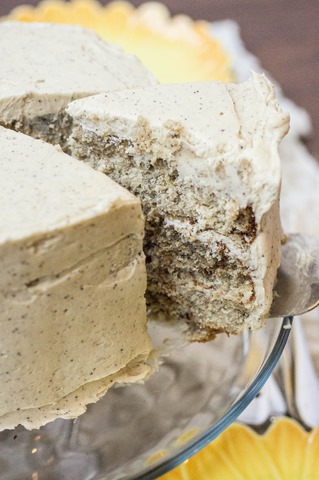
And what could be more special than a four-layer cake made to embody the flavors of a classic s’more? We start with a cake batter infused with graham cracker crumbs, ice a couple of layers with toasted marshmallow buttercream, and then slather the whole thing in the lightest creamiest milk chocolate frosting you will ever have.

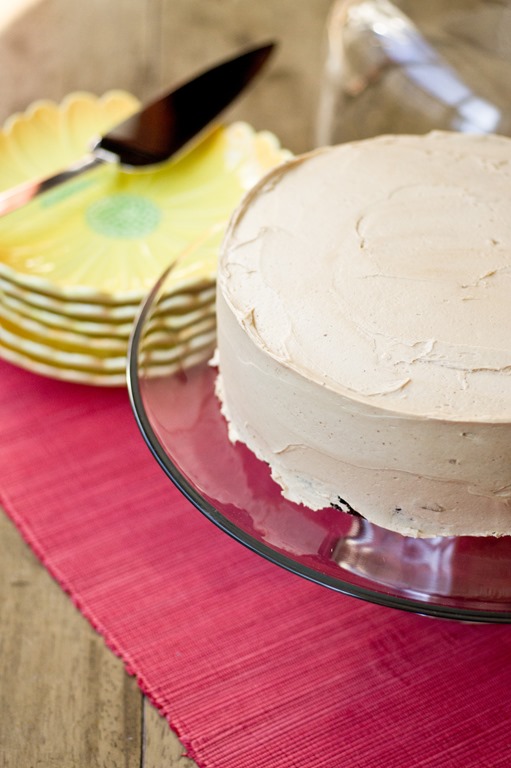
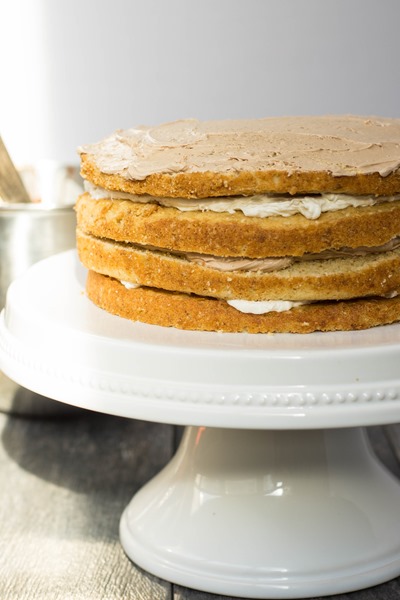
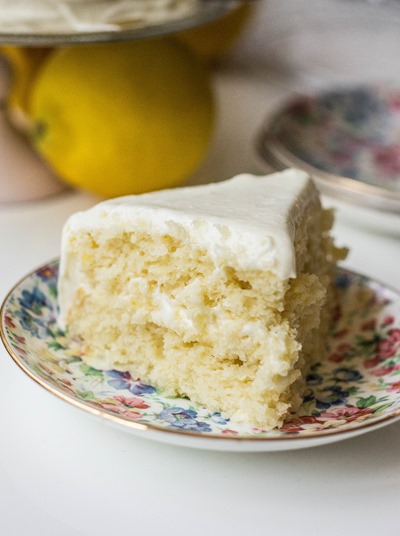
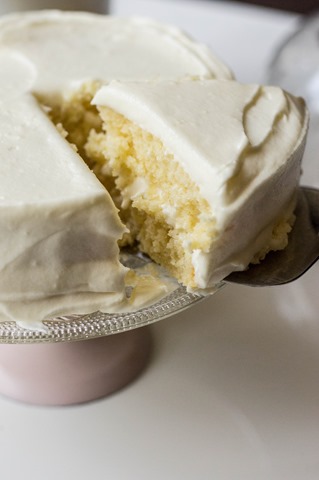
While I don’t believe in “naked” cakes (who ever decided that less frosting was better than more?), it was fun to photograph the pre-frosted cake because the layers were oh so pretty. I didn’t want to slice into the finished product before serving and this ended up working out nicely. But as I said, I’m partial to more frosting than less, so be sure to slather your cake generously. It will insure that you have an extra special cake for any birthday celebration.
- 340g (1 ½ cups) unsalted butter, softened at room temperature
- 212g (1 cup) granulated sugar
- 117g (½ cup) light brown sugar, packed
- 330g (3 cups) cake flour
- 112g (1 cup) finely ground graham cracker crumbs (plus optional additional crumbs for decorating) :
- 7½g (1 ½ teaspoons) baking powder
- 2 ½g (½ teaspoon) salt
- 150 milliliters (10 tablespoons) whole milk
- 330g (6 large) whole eggs at room temperature
- 30 milliliters (2 tablespoons) pure vanilla extract
- 80g (1 ½ cups) mini marshmallows
- 80g (½ cup) powdered sugar
- 113g (½ cup) unsalted butter, softened at room temperature
- 115g (¾ cup) marshmallow fluff
- ½ teaspoon vanilla
- 130g milk chocolate, melted and cooled for 30 minutes
- 225g (1 cups) unsalted butter, softened
- 180g (1 cup plus 2 tablespoons) confectioners' sugar, sifted
- 15 milliliters (1 tablespoons) cold whole milk
- 5 milliliters (1 teaspoon) pure vanilla extract
- ¼ teaspoon ground cinnamon
- Pre-heat oven to 325 degrees; grease and flour two 9-inch round cake pans; line bottoms of pans with parchment paper and grease and flour the parchment paper; set aside
- In a medium bowl, whisk together cake flour, graham cracker crumbs, baking powder and salt; set aside
- In a small bowl, whisk together milk, eggs and vanilla; set aside
- In the large bowl of an electric mixer, beat together butter and sugars on medium-high speed for several minutes until light and fluffy
- Reduce mixer to low speed and slowly add one third of the dry ingredients; add half of the wet ingredients and repeat with both until just combined; do not overmix
- Divide batter evenly into prepared baking pans and bake in center of the oven for 33-37 minutes or until a knife comes out clean or with very few moist crumbs from center of cake
- Let cake layers cool on a cooling rack for ten minutes before carefully removing from pans to cool completely
- When cake layers have completely cooled, use a serrated knife to carefully cot each layer horizontally to create four total cake layers (continue with directions below or see note for advance preparation)
- Pre-heat oven to broil; line a cookie sheet with parchment paper and spray with nonstick cooking spray
- Put marshmallows on prepared cookie sheet and place on lower rack of oven for one to two minutes until nicely browned on top; remove pan and spray a set of tongs with cooking spray; use them to carefully flip marshmallows over onto other sides
- Broil marshmallows again for one to two minutes or until nicely browned on other side; remove from oven and set aside
- In the large bowl of an electric mixer with paddle attachment, beat butter and sugar on low speed just until combined; add marshmallow fluff and vanilla and mix on medium high speed until light and creamy (about three minutes); scrape sides of the bowl with spatula
- Add half of toasted marshmallows and mix on medium speed for thirty seconds; add remaining marshmallows and mix on medium speed two minutes (there will still be bits of crunch marshmallow but they should be mostly combined)
- In the large bowl of an electric mixer with a paddle attachment, beat the butter on medium-high speed until very light and creamy
- Add half of sugar and mix on low speed for one minute; add remaining sugar and mix again on low speed
- Beat on medium high speed until light and fluffy; reduce speed to low and slowly add milk, vanilla, and cinnamon; scrape the sides of the bowl and mix on low again and slowly add the melted chocolate
- Increase speed to medium-high and beat for 2-3 minutes or until frosting is creamy and light
- Place one layer of cake on serving plate; top with half of toasted marshmallow buttercream and spread evenly to cover cake layer; top with second layer of cake and spread ⅔ cup milk chocolate frosting over that layer
- Place third layer of cake down and spread remaining marshmallow frosting over that; place fourth cake layer on top and frost entire cake with remaining milk chocolate frosting
Make sure milk chocolate has cooled for 30 minutes before making chocolate frosting
Frostings best made right before building cake
Store cake in refrigerator and bring to room temperature before serving; best best enjoyed same day
Graham cracker cake slightly adapted from Food and Wine
Toasted marshmallow frosting from Sweetapolita
Milk chocolate buttercream adapted from chile chocolate buttercream
Make something from the blog? Be sure to share it on Instagram with the tag #KeepItSweetDesserts.
You might also like:
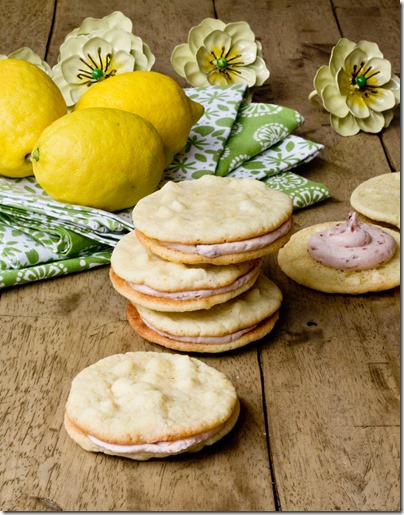
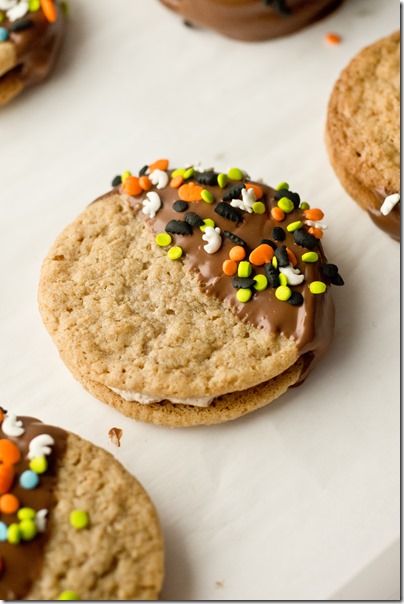
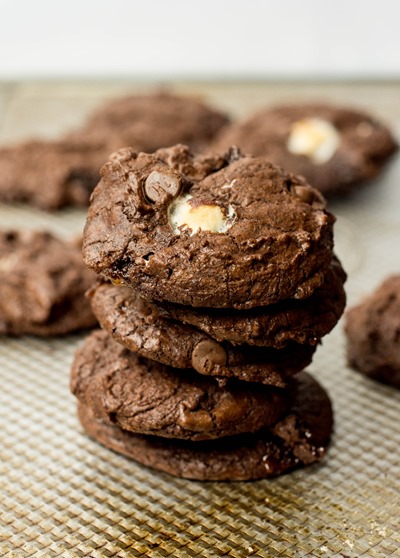
Graham Cracker Cookies with Toasted Pumpkin Marshmallow Filling
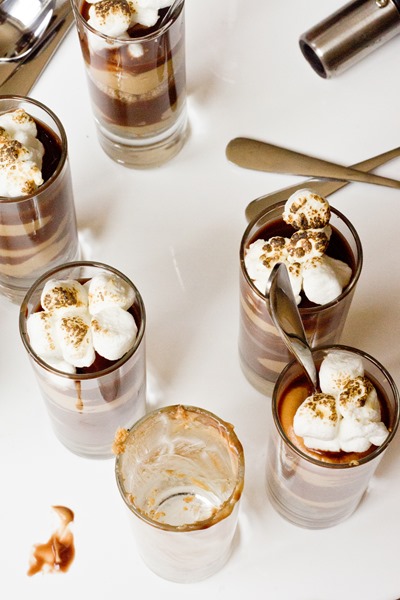
Peanut Butter S’mores Parfaits


")


")