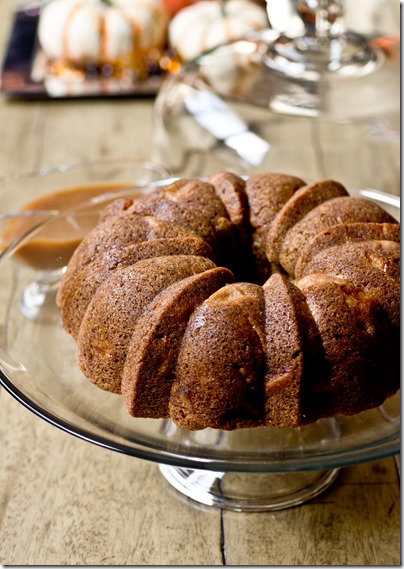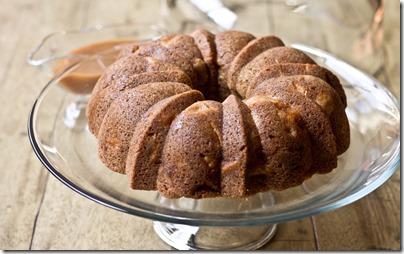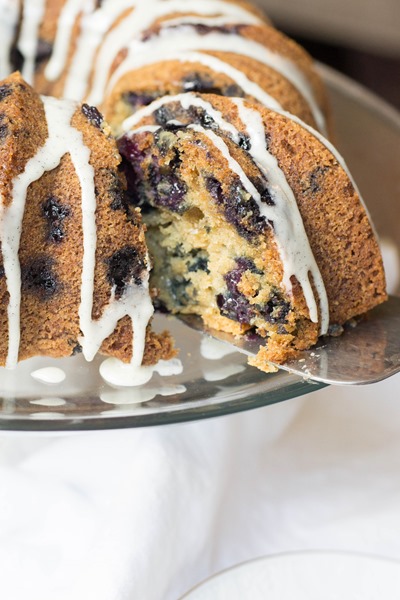
This fresh blueberry bundt cake with a sweet vanilla bean glaze might be the highlight of your summer desserts!

I’ve been so busy making ice cream this summer (seriously, it’s almost embarrassing how much ice cream I’ve made and eaten) that I forgot how much I like to actually bake, you know, with an oven.

Sure, I’ve a couple of quick cookie batches here and there (<- my go-to quick cookie dough base), but sometimes nothing compares to the love, labor and nerves that come along with a cake, especially a bundt cake. I’m sure that many regular bakers would agree that no matter how many bundts you’ve successfully made, every single one will still give you that 10-second anxiety of removing the cake from the pan and hoping that it holds together.
My biggest piece of advice when baking a bundt is to go liberal on the non-stick spray. I like to use the baking spray that contains flour for greasing my cake pans and really coat every crevice. Add to that an adequate cooling time in the pan and you will have a much better chance of your bundt cake coming out in one piece.

This blueberry cake came together beautifully, and despite being super moist and full of berries (they could have made for a gooey mess), it came out of the pan beautifully as well. Before the cake was completely cool, though, I slathered it with a vanilla bean glaze that really complimented the tartness of the blueberries. I ate a slice as soon as I finished taking photos. Matt and L shared one over the counter, not even waiting to find a place to sit to devour theirs.

Of course as soon as we finished the cake, I made yet another batch of ice cream. I just couldn’t help myself!
- 530g (4 cups) blueberries
- 16g (2 tablespoons) all-purpose flour
- 395g (~3 cups) all-purpose flour
- 5g (1 teaspoon) baking soda
- 5g (1 teaspoon) salt
- 227g (1 cup) unsalted butter, softened at room temperature
- 80 milliliters (1/3 cup) vegetable oil
- 235g (~1 cup, tightly packed) light brown sugar
- 105g (~1/2 cup) granulated sugar
- 150g (~3 large) whole eggs at room temperature
- 15 milliliters (1 tablespoon) pure vanilla extract
- 160g (1 cup) powdered sugar
- 30-45 milliliters (2-3 tablespoons) milk (see directions)
- 5 milliliters (1 teaspoon) pure vanilla extract
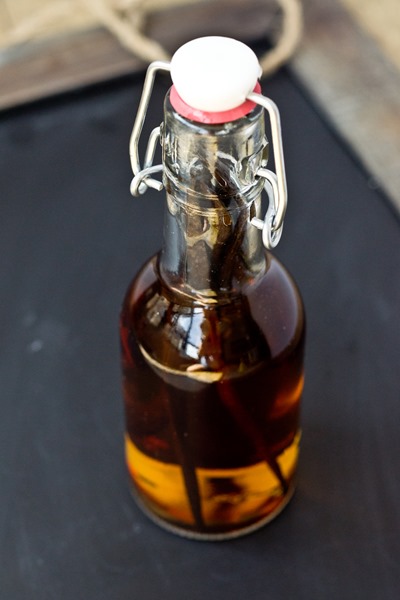
- 1 whole vanilla bean
- Preheat oven to 350 degrees
- Liberally grease and flour a 12 or 14 cup bundt pan; set aside
- In a medium bowl, lightly toss the blueberries with flour, set aside
- In another medium sized bowl, whisk together the flour, baking soda and salt; set aside
- In the large mixing bowl of an electric mixer, beat together the butter, oil and sugars on medium speed for 3 minutes; mix in eggs and vanilla on low-medium speed until combined
- Scrape sides of the bowl with a spatula and carefully add the dry ingredients while mixer is on low speed just until combined
- Remove bowl from mixer and gently fold in the blueberries; do not overmix
- Pour batter into prepared bundt pan and bake for 44-48 minutes, or until cake is lightly browned and a knife inserted into the cake comes out clean
- Allow to cool for 15 minutes before inverting onto a cooling rack and lifting pan off of cake; set aside to cool while preparing glaze
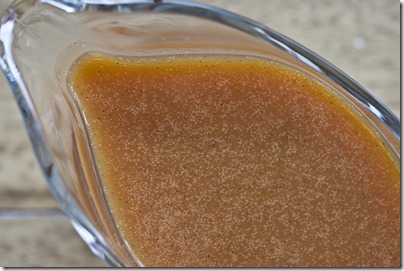
- Whisk together powdered sugar, 2 tablespoons milk and vanilla extract until well combined and smooth; add up to one tablespoon if mixture is too thick (should be able to drizzle from whisk)
- Whisk in the inside of vanilla bean
- Drizzle glaze over cake and serve
Cake best enjoyed same day it is made but leftovers can be stored in an airtight container or well covered for up to three days at room temperature
Make something from the blog? Be sure to share it on Instagram with the tag #KeepItSweetDesserts.
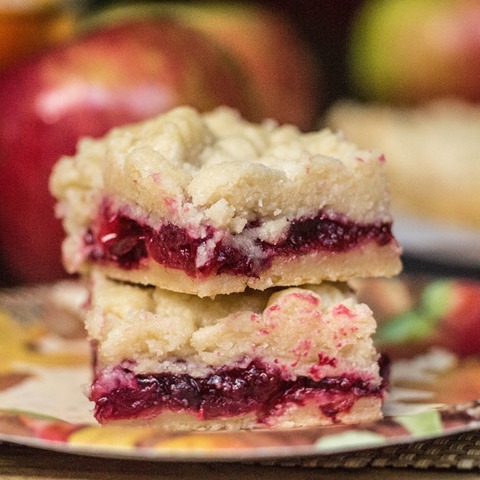
You might also like:
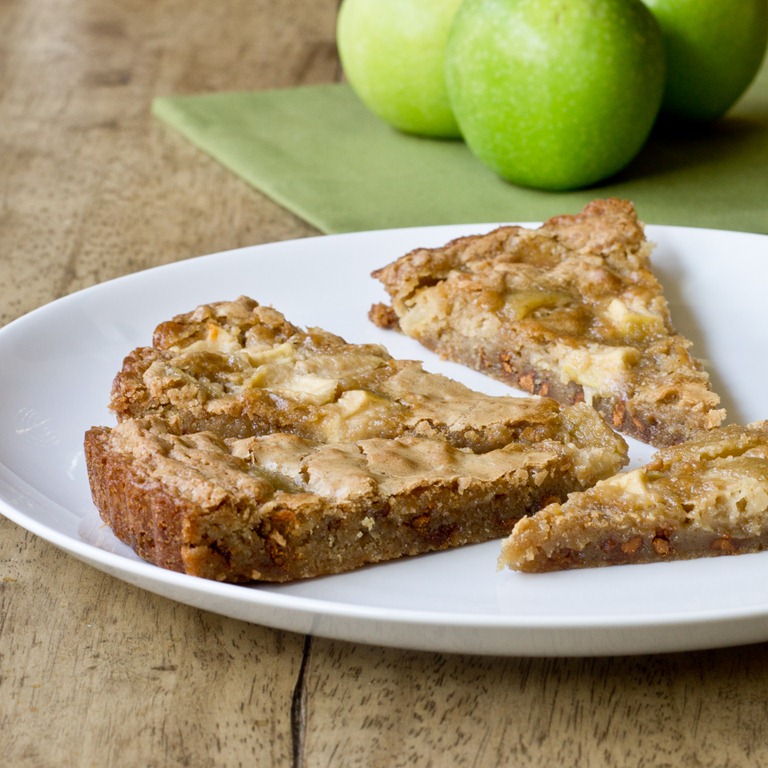
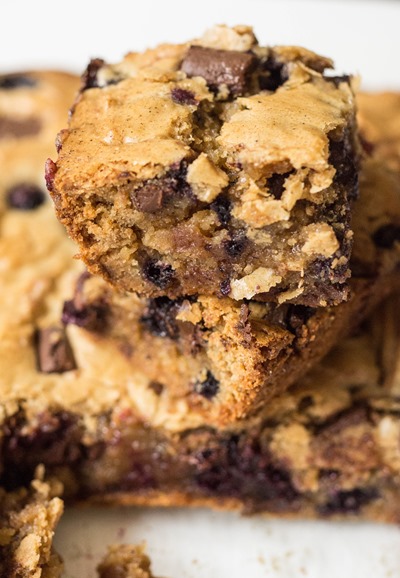
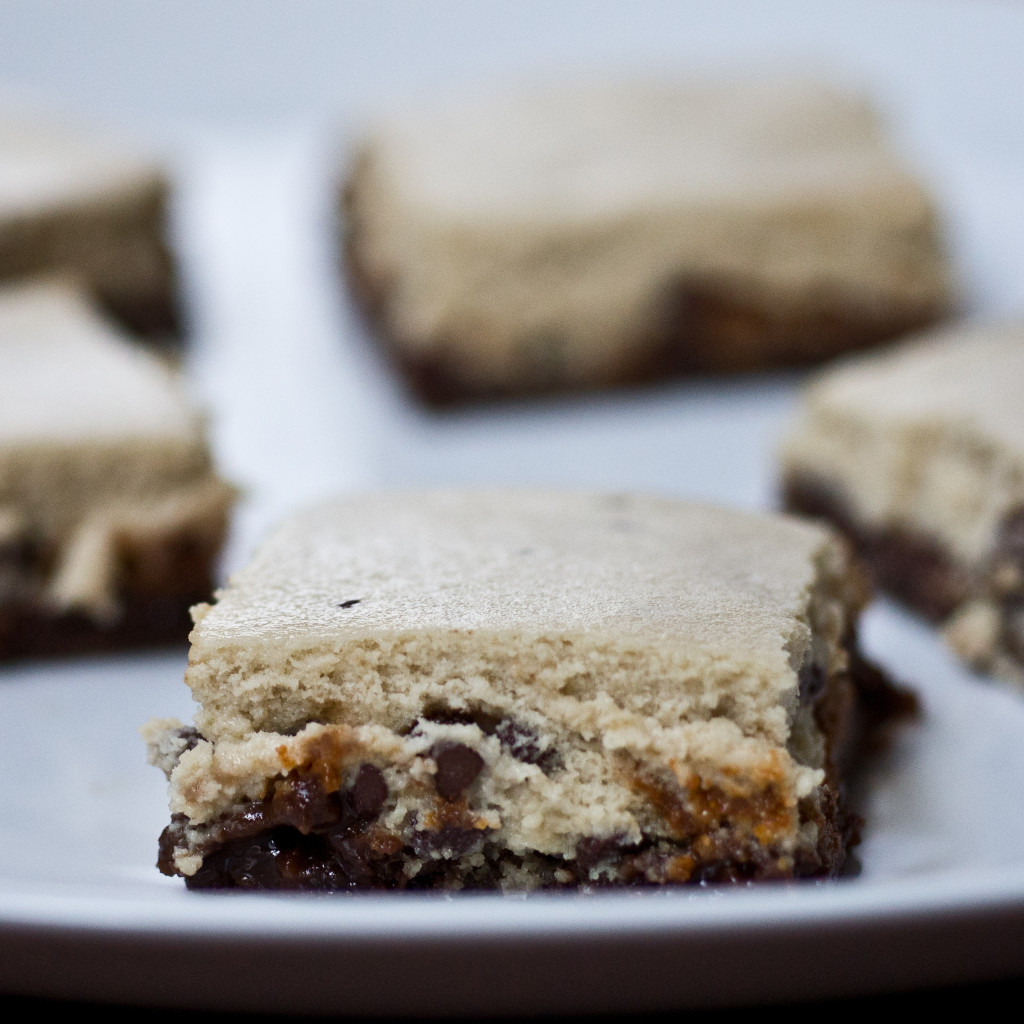
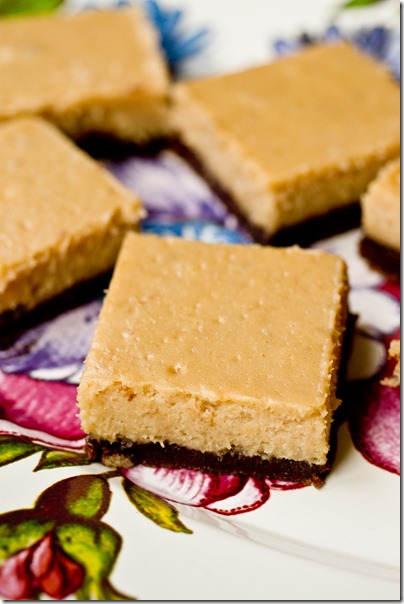
Blueberry Chocolate Chunk Blondies
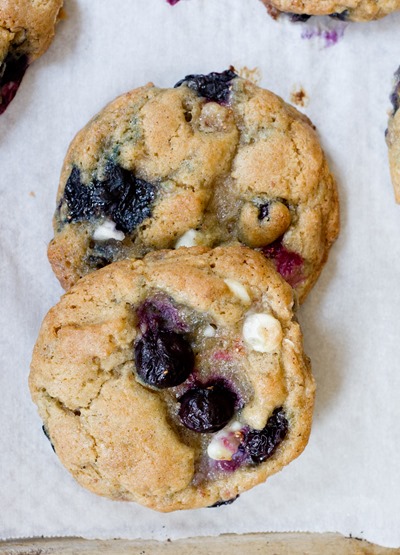
Blueberry White Chocolate Brown Butter Cookies
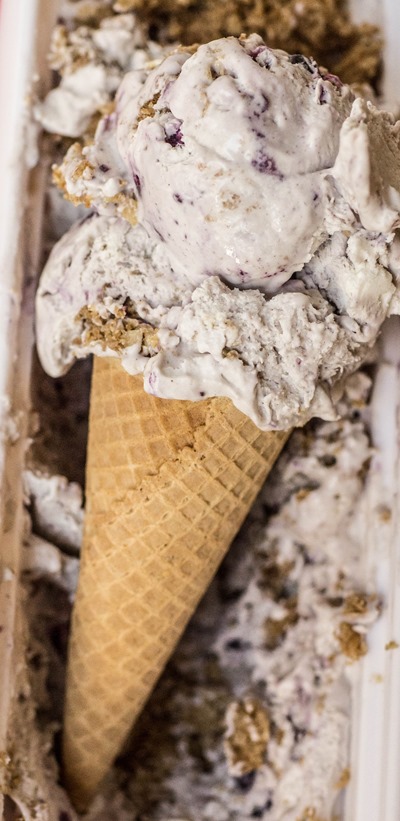
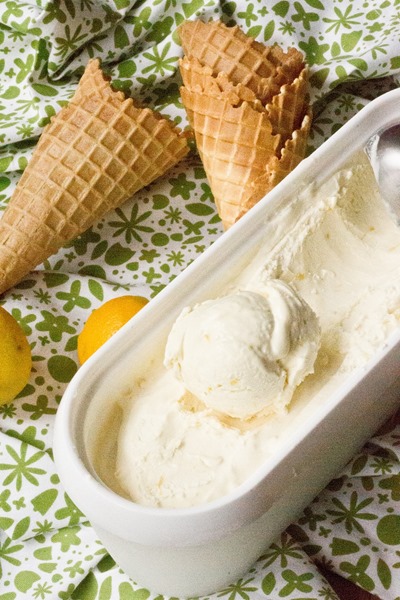
No Churn Blueberry Crisp Ice Cream


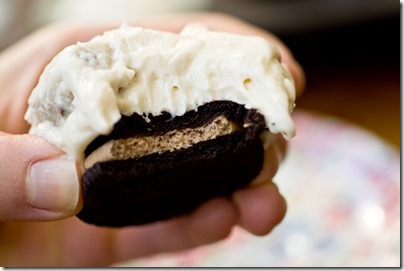


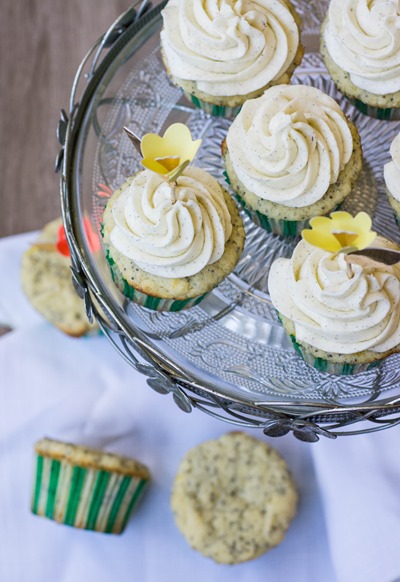
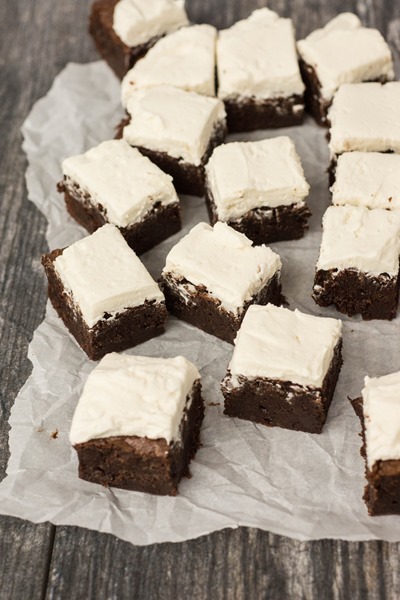
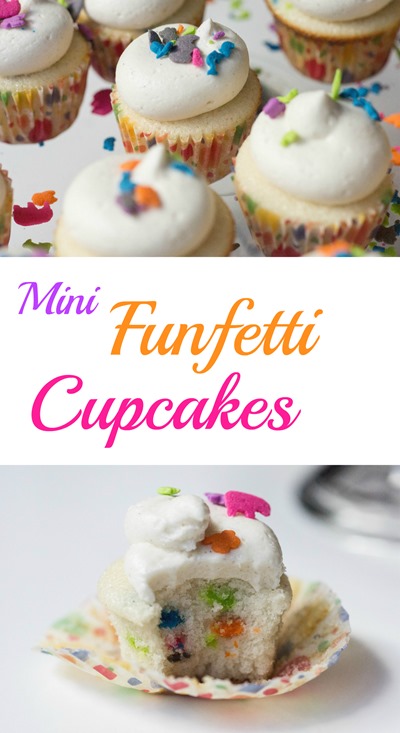
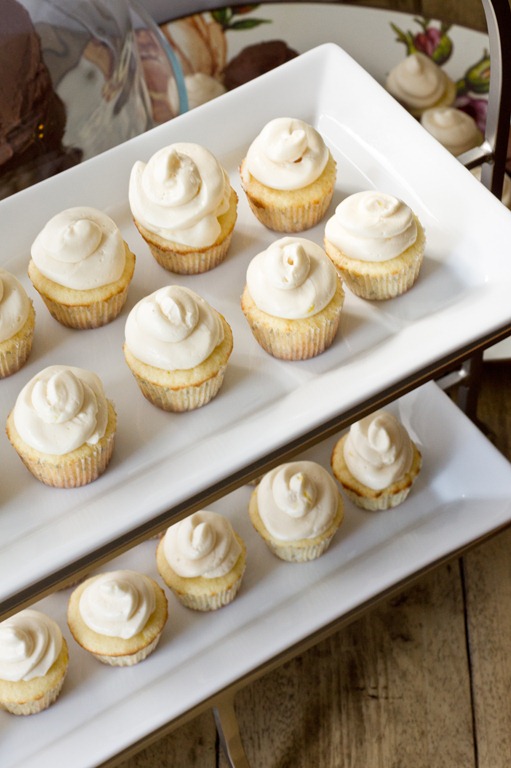
 with a super fluffy vanilla frosting")


")


")