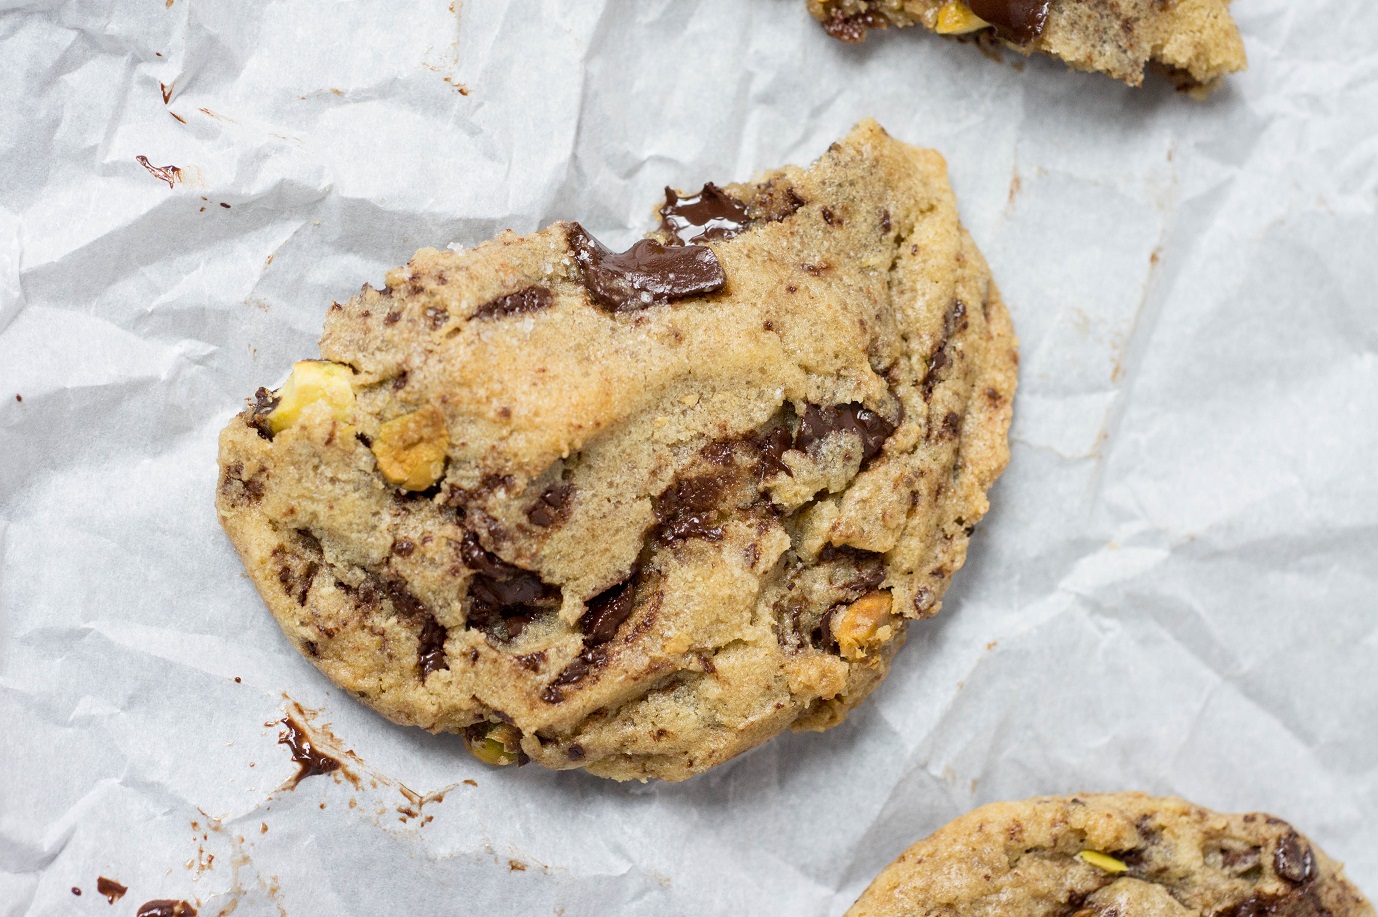
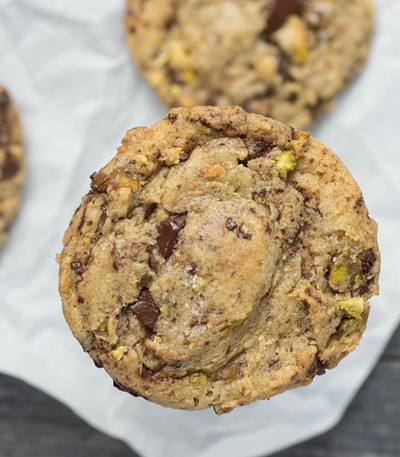
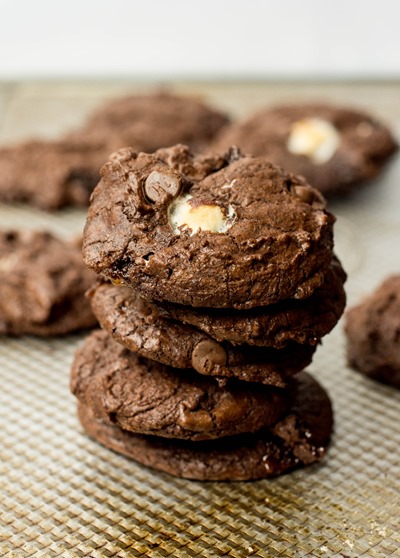
Big bakery-style chocolate and pistachio cookies are the ultimate cookie treat!

I feel a little bad because I’ve been keeping these cookies to myself for a few weeks now.

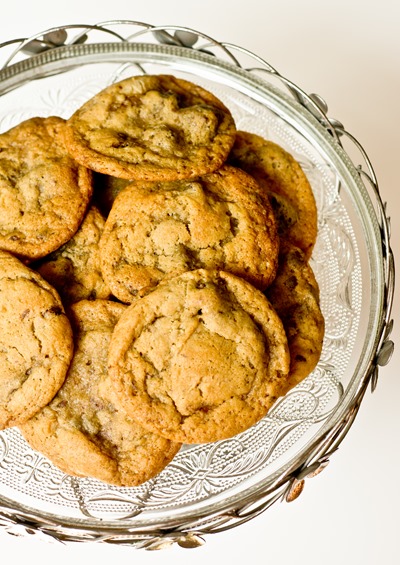
They are exactly what I expect a perfect bakery-style cookie to be:
- BIG (when it comes to cookies, bigger really is better)
- Full of contrasting texture (crispy edges, chewy center and crunchy pistachios)
- Major depth of flavor (deep essence of caramel from the brown sugar in the dough, subtle sweetness and richness from dark chocolate, just enough salty from pistachios and flaky sea salt)

Just look at these beauties! Straight out of the oven the chocolate is just perfectly melted through and through. The chopped dark chocolate makes a huge difference in getting that richness in every bite. However, if you have it in you to let them cool, the texture of the cookie will really develop. It’s a win either way!

Chocolate and Pistachio Cookies
Big bakery-style cookies full of dark chocolate chunks, crunchy pistachios and the perfect hint of salt.
Author: Lauren Lilling
Recipe type: Dessert
Makes: 18 large cookies
Ingredients
- 262g (~2 cups) all-purpose flour
- 5g (1 teaspoon) salt
- 3g (½ teaspoon) baking soda
- 170g (3/4 cup) unsalted butter, melted
- 350g (~1½ cups, packed) light brown sugar
- 15 milliliters / 1 tablespoon vanilla extract
- 75g (~1 large egg + 1 yolk) eggs at room temperature
- 130g (1 cup) dark chocolate, roughly chopped
- 100g (¾ cup) salted pistachios, roughly chopped
Instructions
- In a medium bowl, whisk flour, baking soda and salt; set aside
- In the large bowl of an electric mixer with a paddle attachment, beat butter and sugar until well-combined
- Beat in eggs and vanilla until a mixture is a light creamy color
- Reduce speed to low and stir in flour mixture (do not overmix)
- Fold in chips
- Chill dough in refrigerator for 24-48 hours for best texture and flavor results
- Once dough has chilled, pre-heat oven to 325 degrees; cover baking sheets with parchment paper
- Overfill a large cookie dough scoop (~4 tablespoons total) for each cookie and place onto prepared baking sheets
- Bake large cookies 17-19 minutes or until brown around good portion of edges
- Set aside to cool
- Texture of cookies best within 24 hours; cookies can be enjoyed up to one week at room temperature or one month frozen if stored in an air-tight container
Notes
Dough requires 24-48 hours of chilling time for best results

Make something from the blog? Be sure to share it on Instagram with the tag #KeepItSweetDesserts.
This post contains affiliate links.
You might also like:
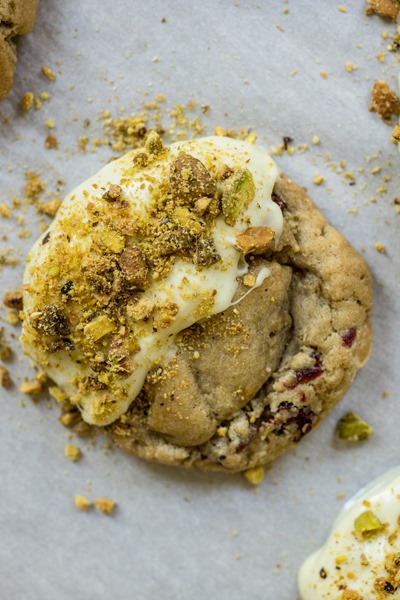
Cranberry and White Chocolate Pistachio Dusted Cookies
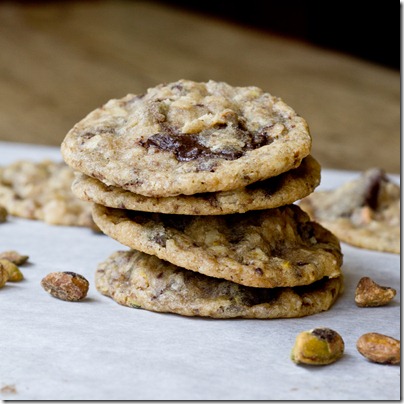
Chocolate Chunk Pistachio Oatmeal Cookies


")


")
")
")
")
")
")
")
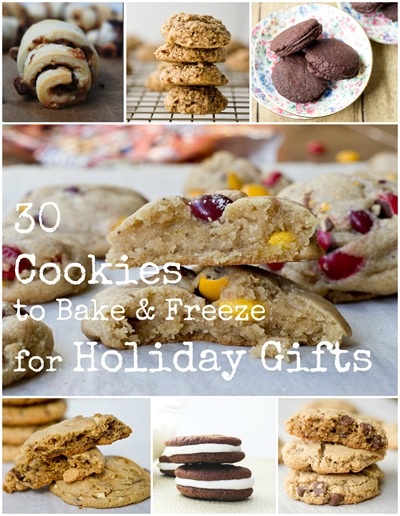
How to Bake and Freeze Cookies for Holiday Gifts (including these")


")
")
")
")