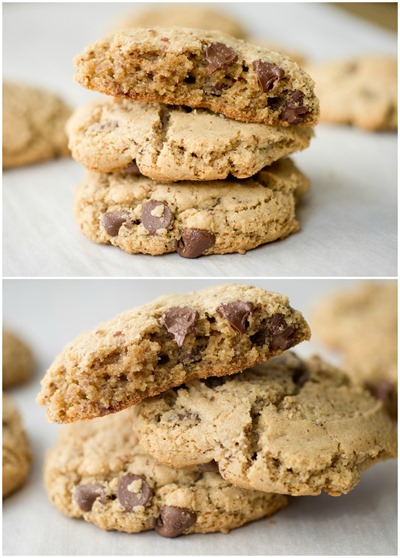
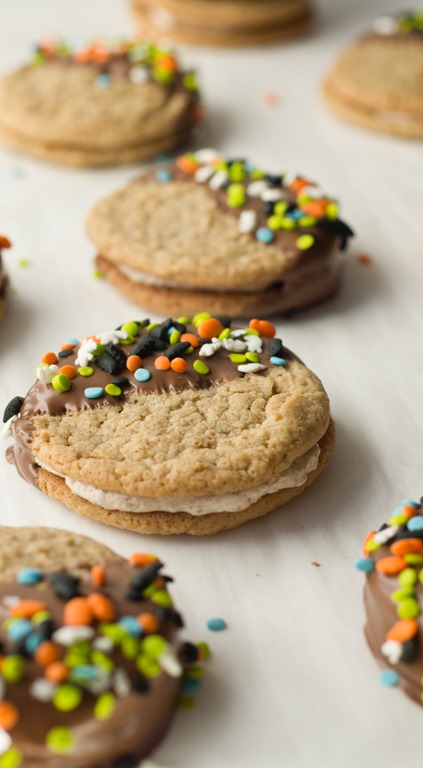
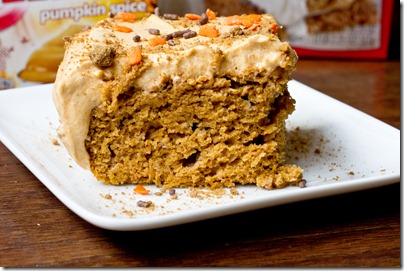
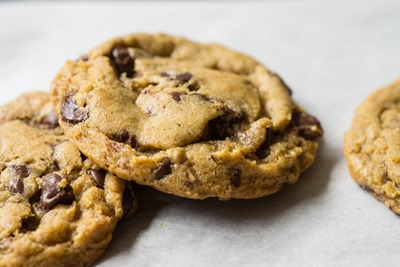
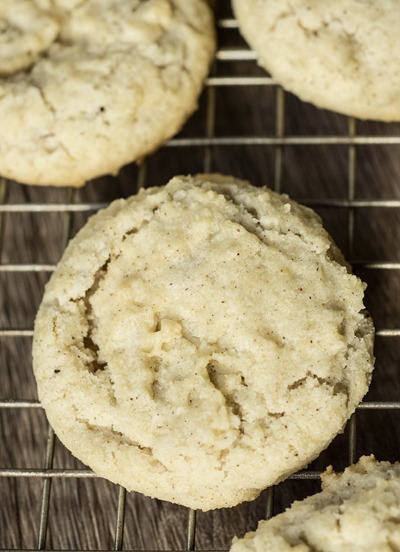
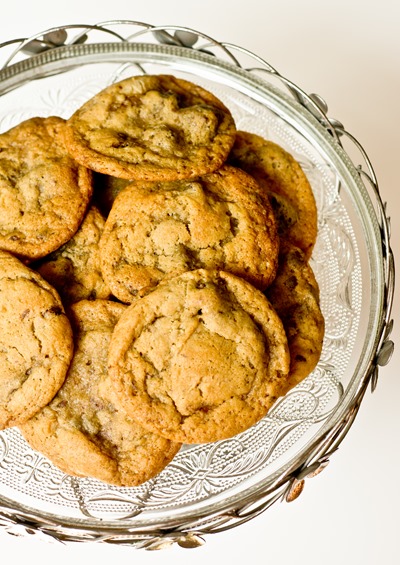
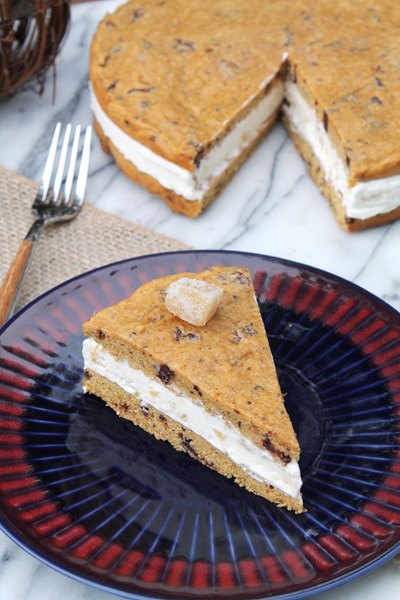
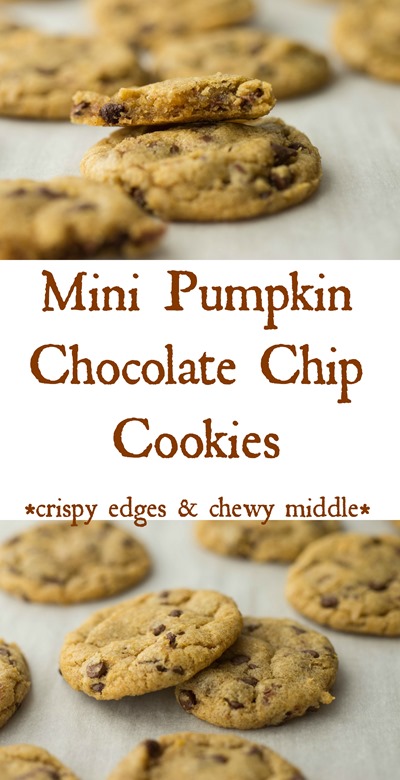
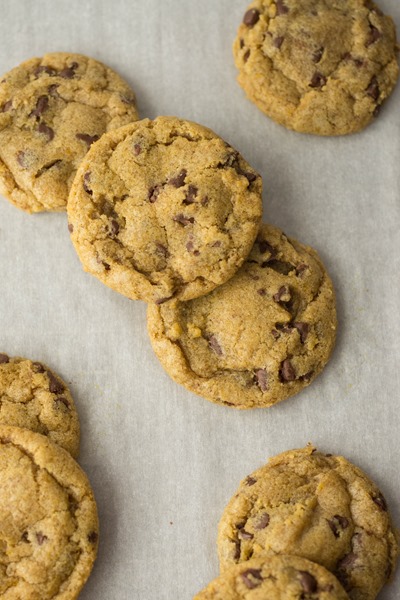
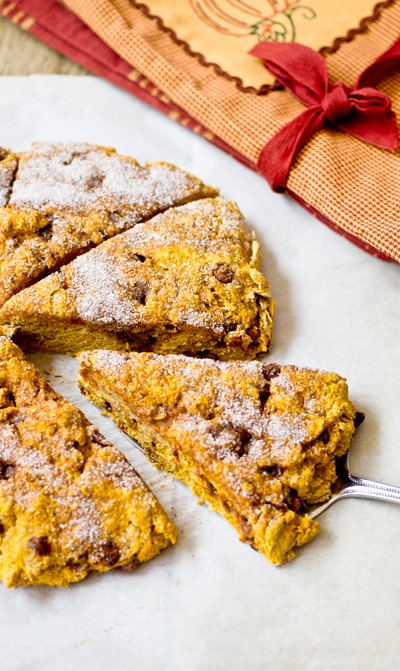
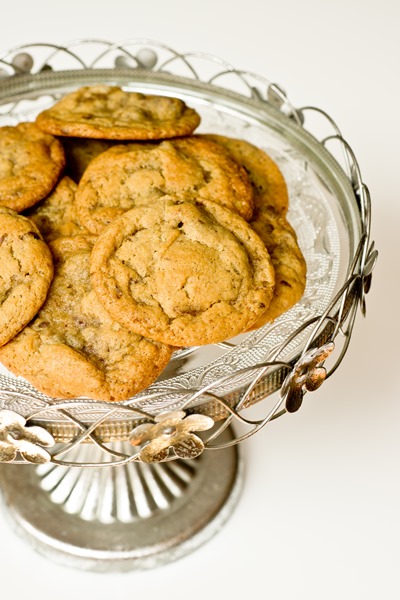
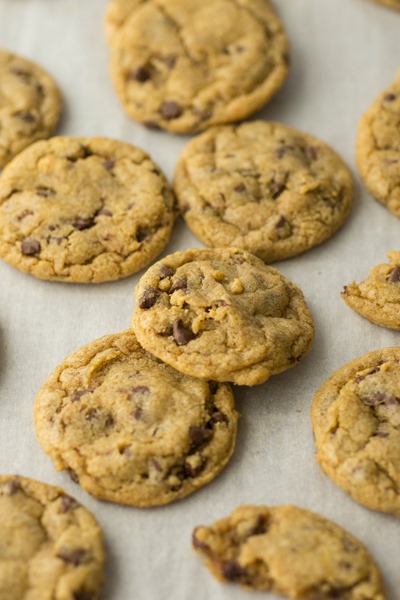
Perfect pumpkin cookies! These pumpkin chocolate chip cookies are chewy in the middle and crispy around the edges.

!!!!! I’m trying not to go crazy with anxiousness right now. We move into our house in just a few days and I can barely believe it. It’s been a long road since we closed early in the summer. Now, after three months of construction, we are moving into a bit of chaos . There are just a few more weeks of work left to go but so much to do. Luckily, L’s bedroom will be completely finished along with one of the other bedrooms that Matt and I will move into. Other than that, everything is still a work in progress and the remainder of our belongings will be in the basement. All food will be takeout cooked via microwave or toaster oven and we are going to try not to bounce off the walls as the work gets completed.

And packing? It’s definitely a different process with a toddler around. Matt stayed home by himself last weekend to get a head start, but there is only so much we can do and only so many boxes we can stack with L running around. We just have to bust our butts next weekend to get it all done!
So to cope with all that, I’ve been emotionally eating like it’s my job. Not my best move, but that’s life. The other night I was very happy to find a few of these pumpkin cookies left in the freezer and the bliss of eating them was exactly what I needed to forget any house-related anxiety. The only thing better would be a full batch of them reappearing before my eyes.

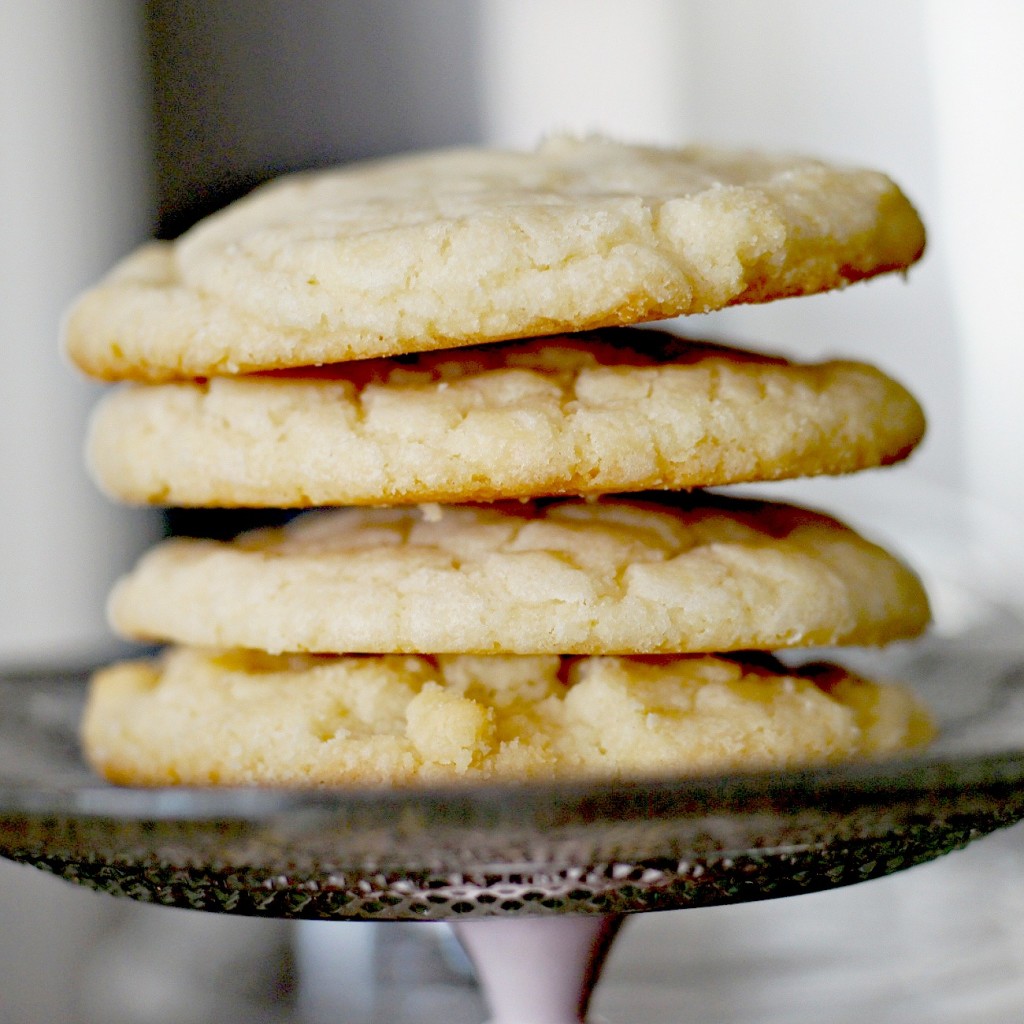
These cookies are outrageous. In all the chaos of moving, I almost skipped sharing this recipe, but it’s just too good to keep to myself. The big pumpkin chocolate chip cookies are spiced to perfection and bake up amazingly. Chewy middles, crispy edges and cookie heaven right there.
- 170g (3/4 cup) unsalted butter, softened at room temperature
- 81g (1/3 cup) canned pumpkin
- 262g (~2 cups) all-purpose flour
- 3g (½ teaspoon) baking soda
- 5 grams (1 teaspoon) salt
- 3g (1 ½ teaspoons) ground cinnamon
- ½g (1/4 teaspoon) ground nutmeg
- 234g (~1 cup, packed) light brown sugar
- 106g (~1/2 cup) granulated sugar
- 15 milliliters / 1 tablespoon vanilla extract
- 240g (~1⅓ cups) semi-sweet chocolate chips
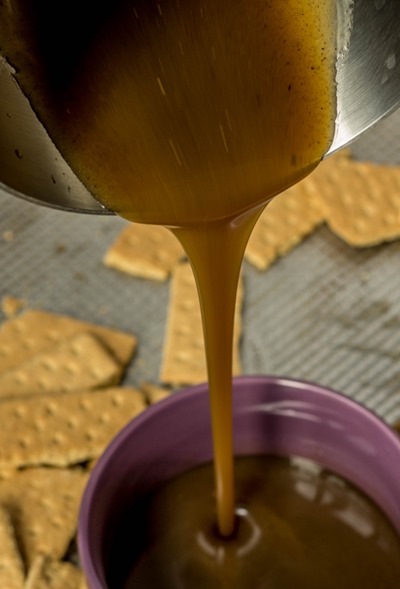
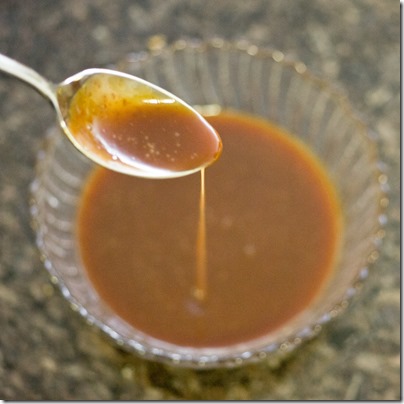
- Melt butter and pumpkin in a saucepan over medium heat, stirring constantly; set aside to cool
- In a medium bowl, whisk together flour, baking soda, salt, cinnamon and nutmeg; set aside
- In the large bowl of an electric mixer with a paddle attachment, beat butter mixture, sugars and vanilla for several minutes on medium speed or until well-combined
- Reduce speed to low and stir in flour mixture (do not overmix)
- Fold in chocolate chips
- Chill dough in refrigerator for at least 24 hours (you can do less chilling, but texture will not be as good)
- Once dough has chilled, pre-heat oven to 325 degrees; cover baking sheets with parchment paper
- Scoop cookie dough with large cookie dough scoop (~1/4 cup) onto prepared baking sheets so that cookies are spaced one inch apart
- Bake cookies 16-18 minutes or until centers are set and appear firm; edges should be slightly browned
- Set aside to cool
- Store cookies in an airtight container at room temperature up to a week (texture best first day or two) or freeze up to two months
Make something from the blog? Be sure to share it on Instagram with the tag #KeepItSweetDesserts.


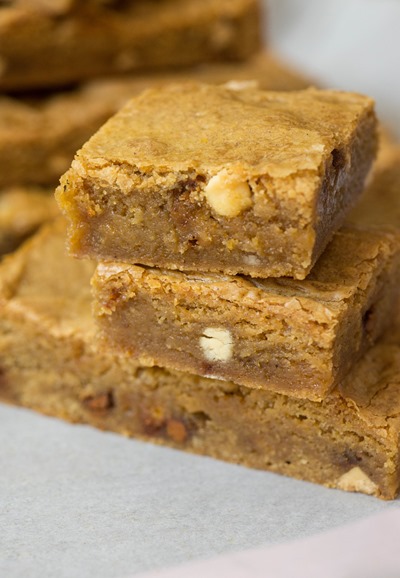
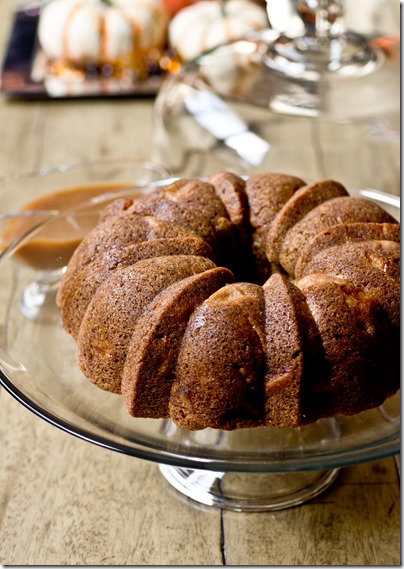
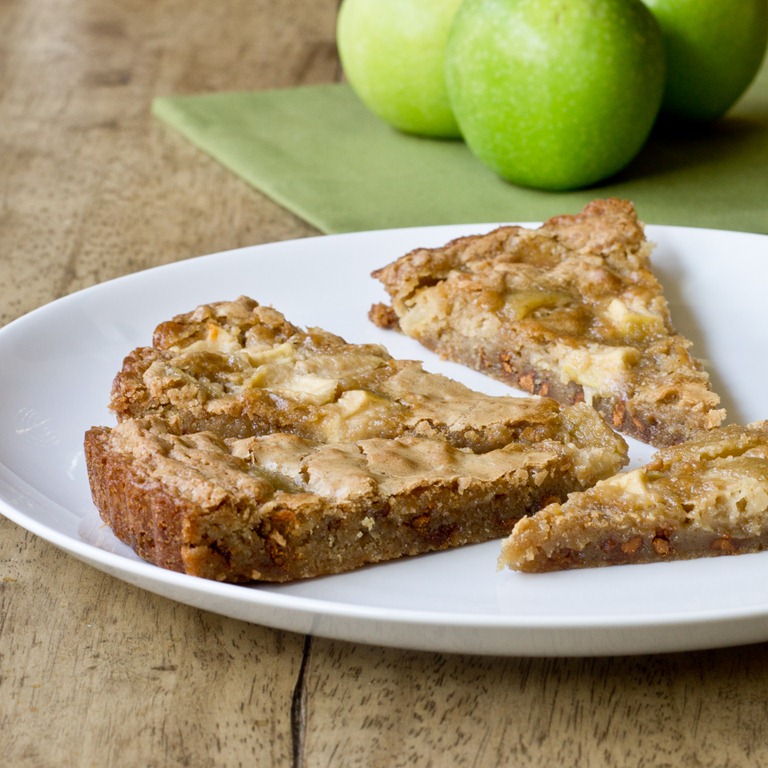
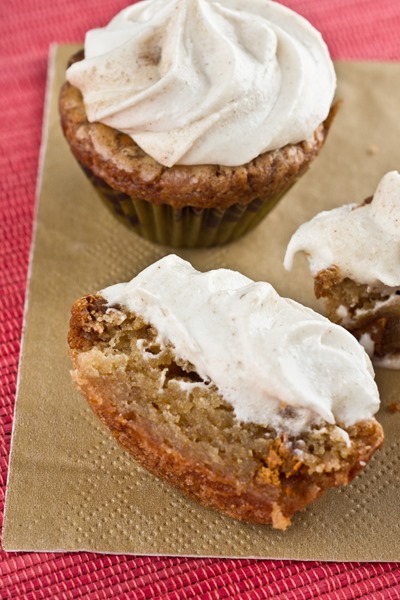
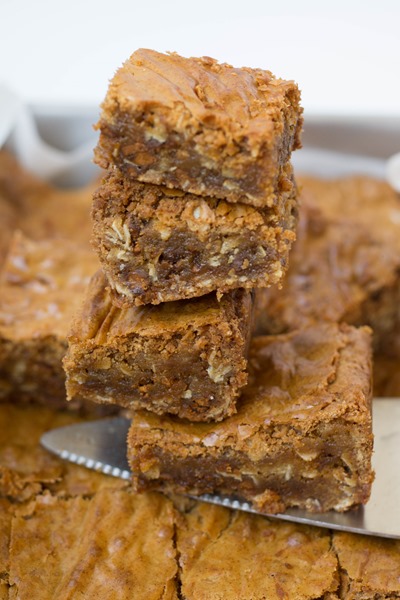
 Pumpkin Blondies")
 Pumpkin Blondies")
 Pumpkin Blondies")


")


")
")
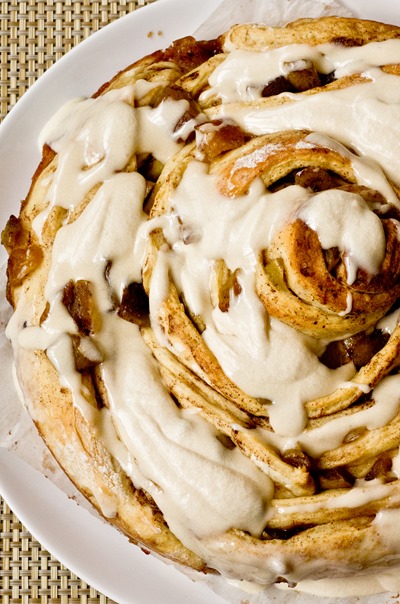
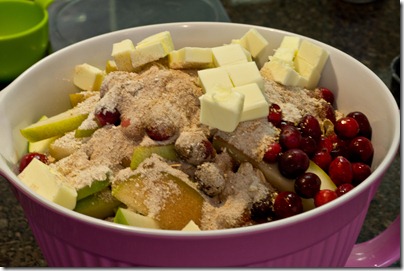
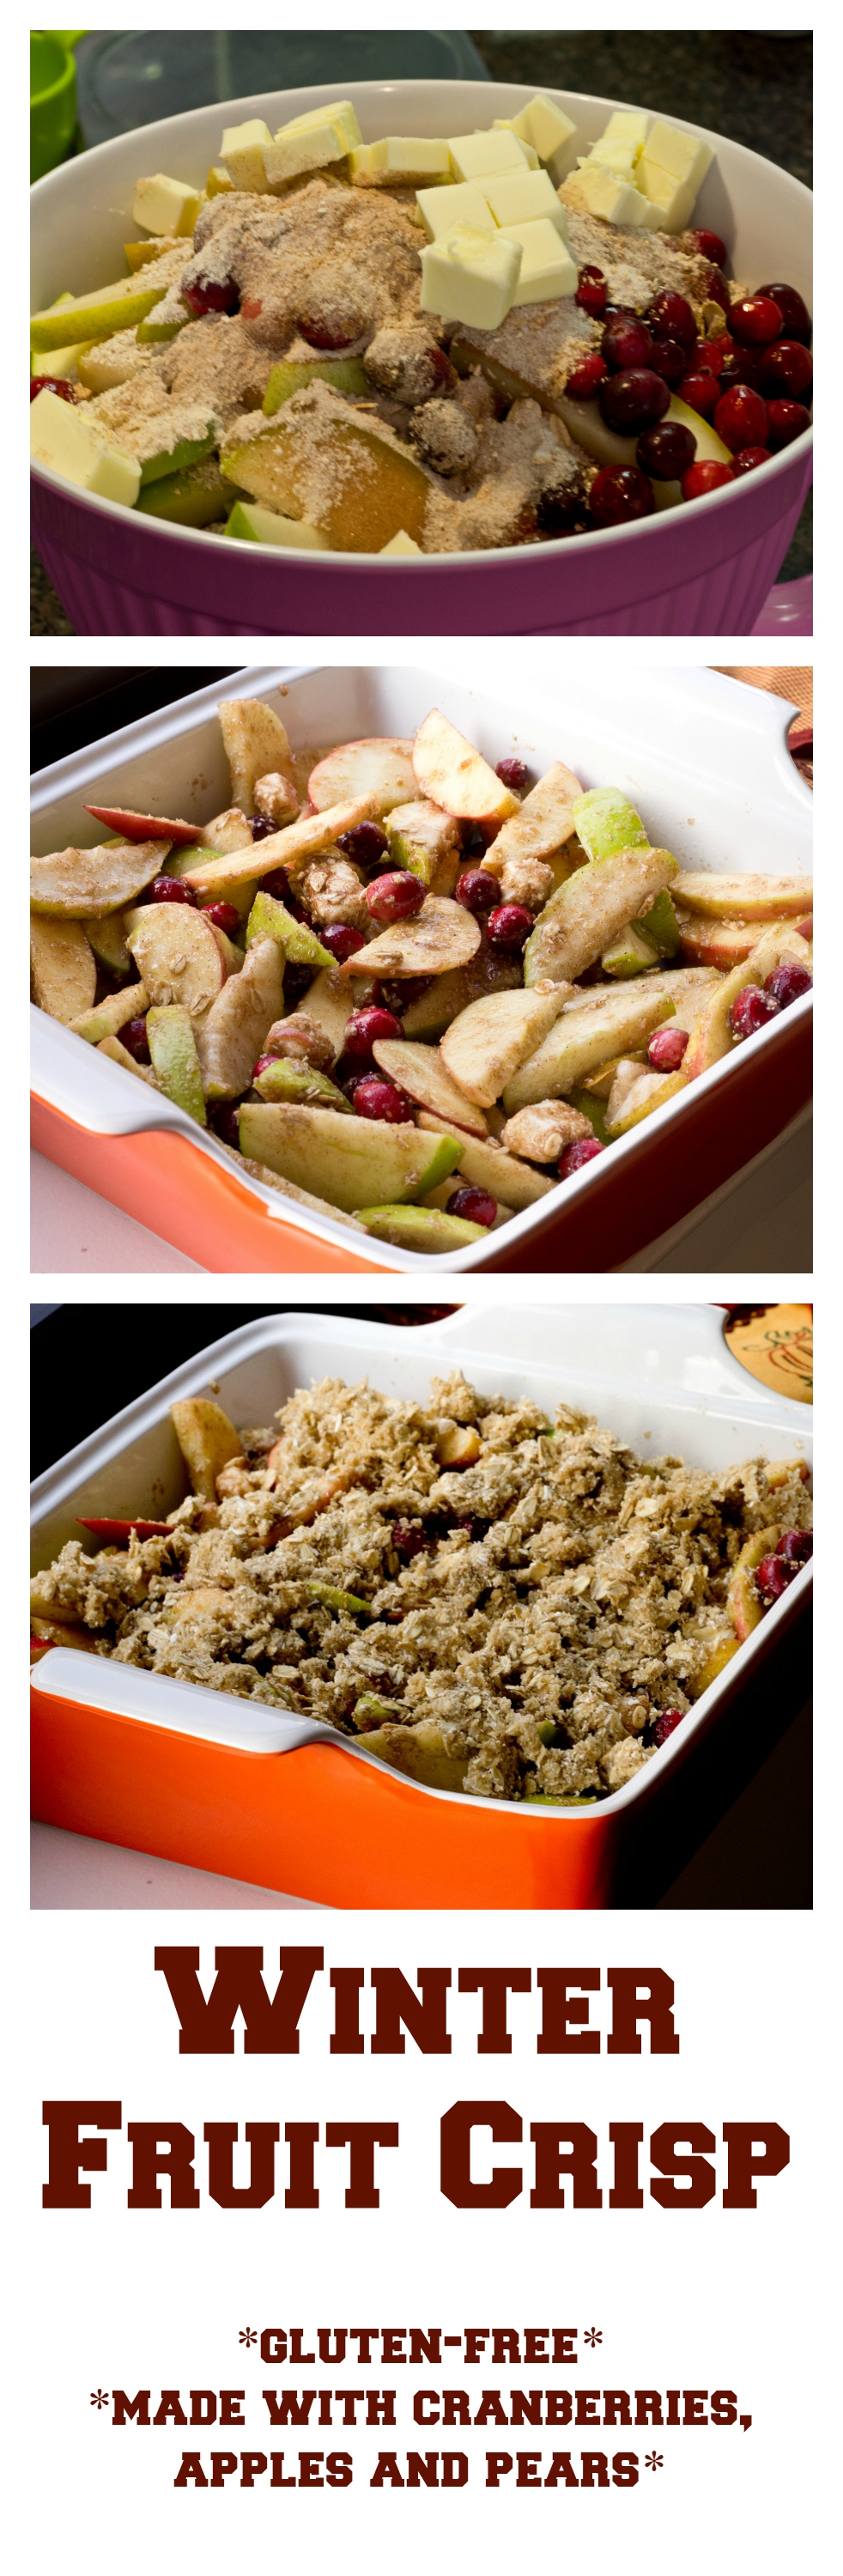
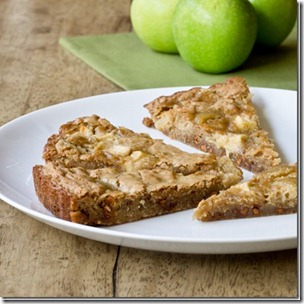
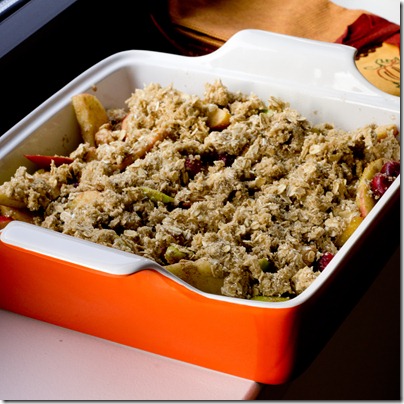
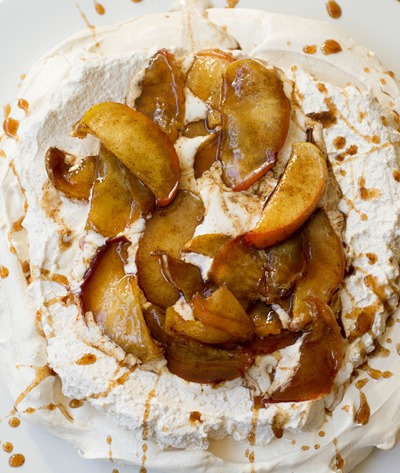
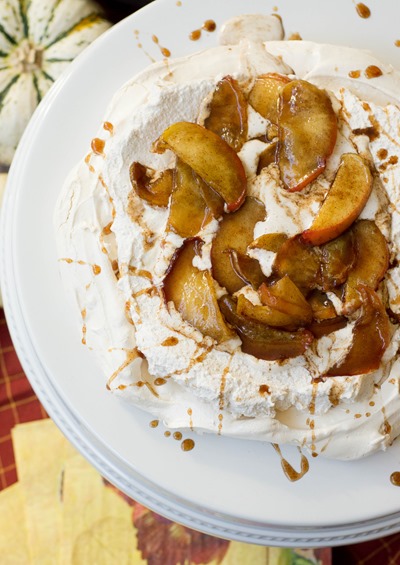
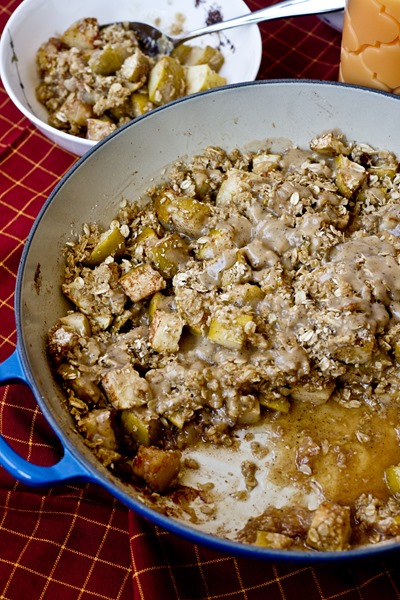
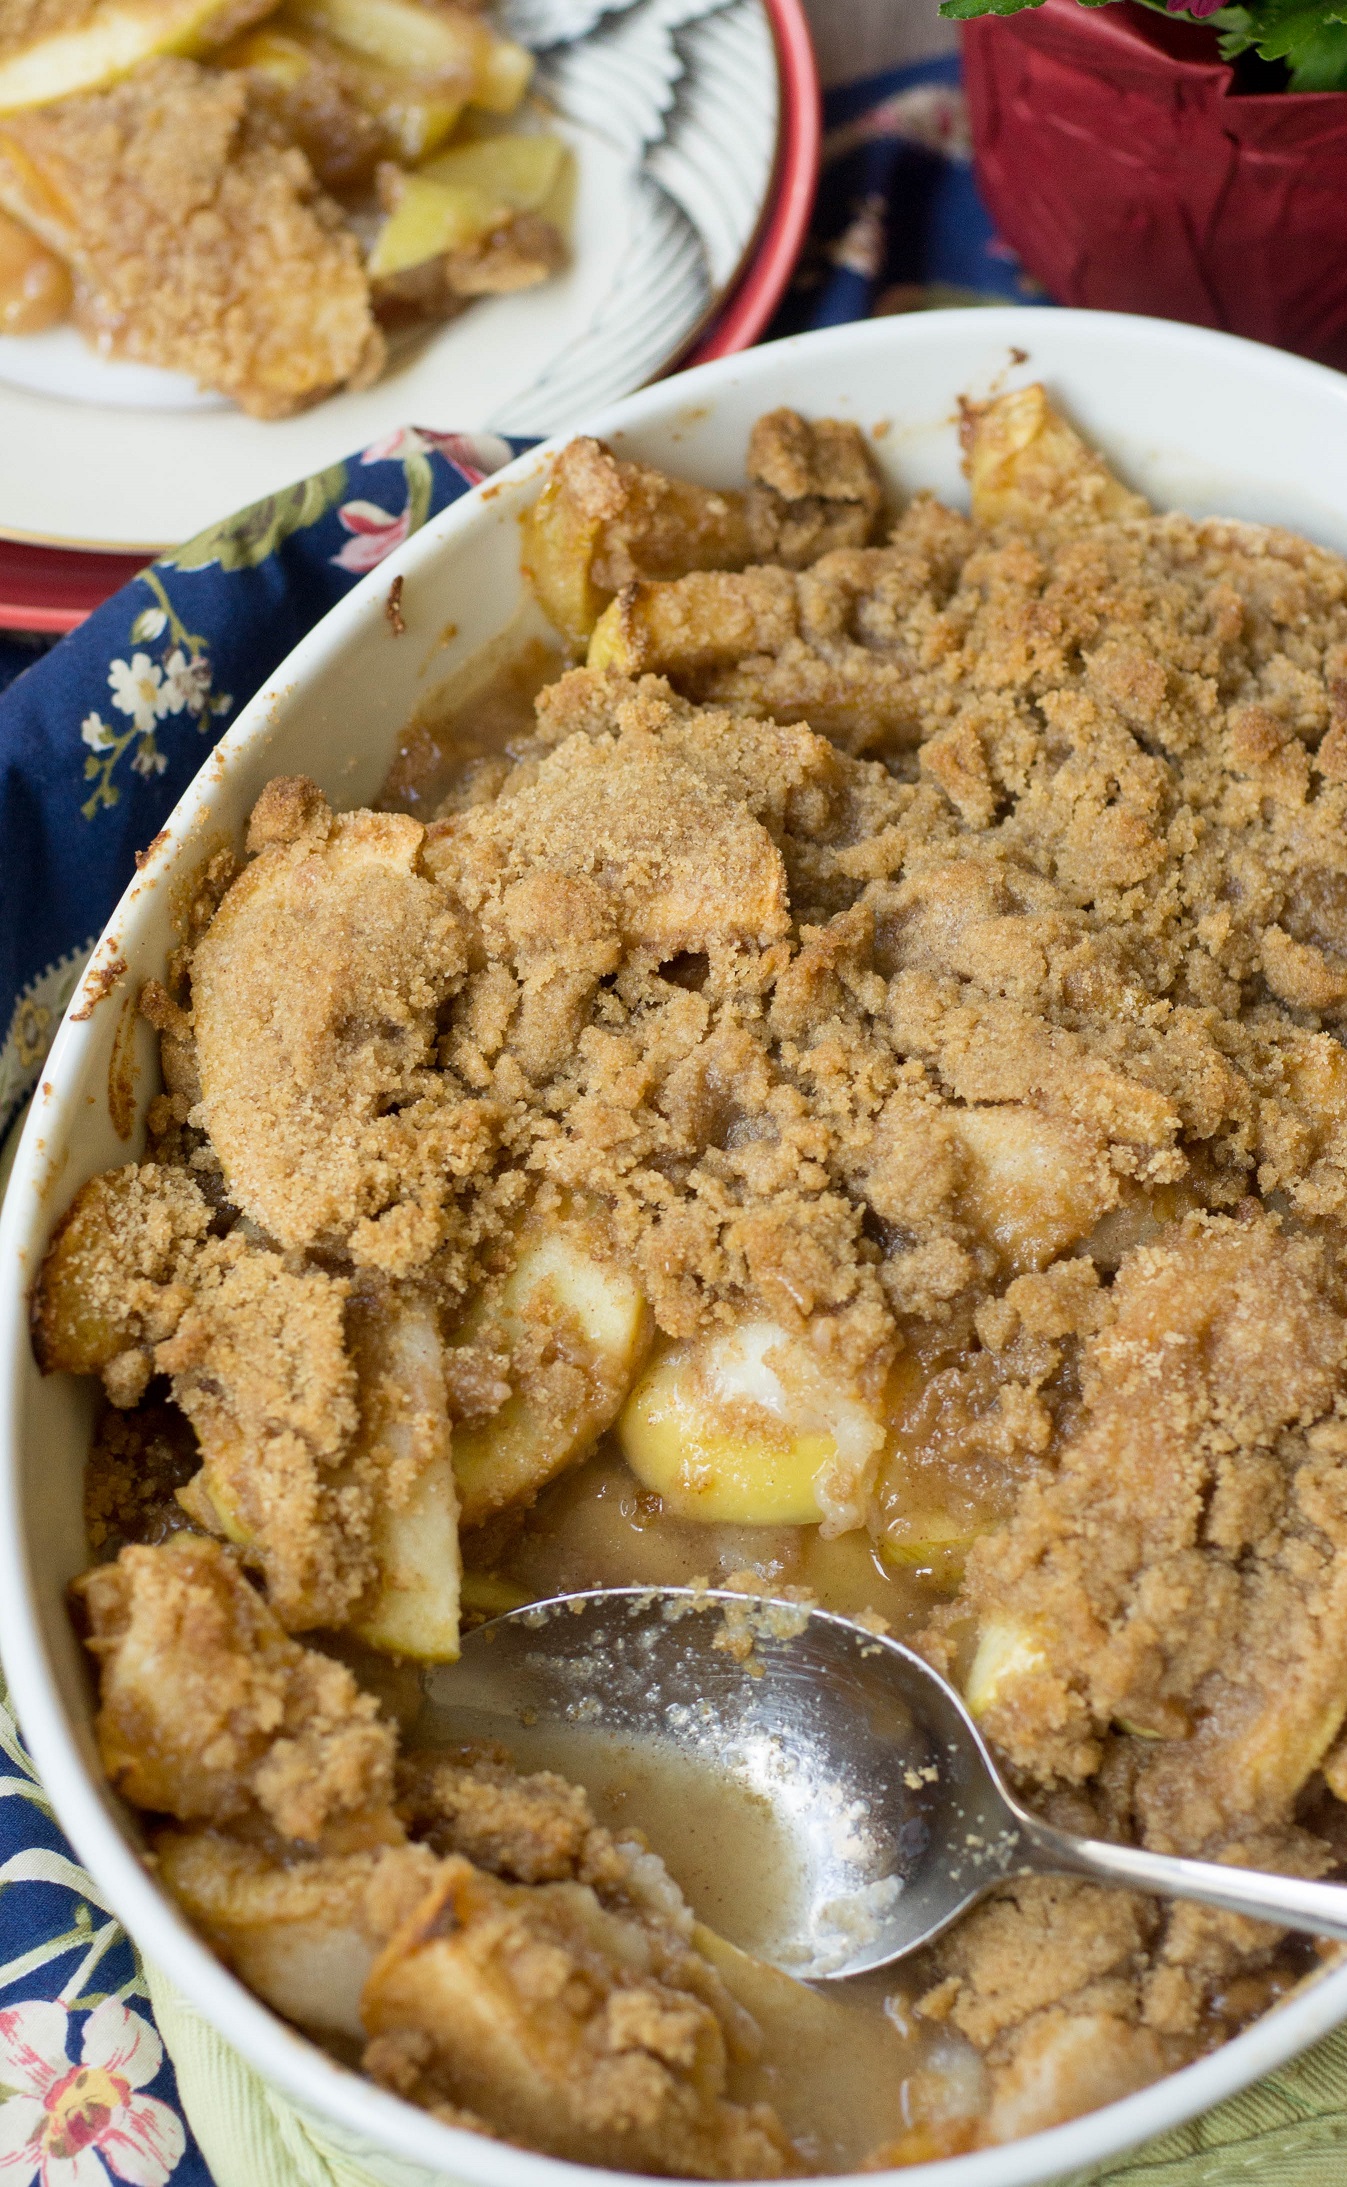
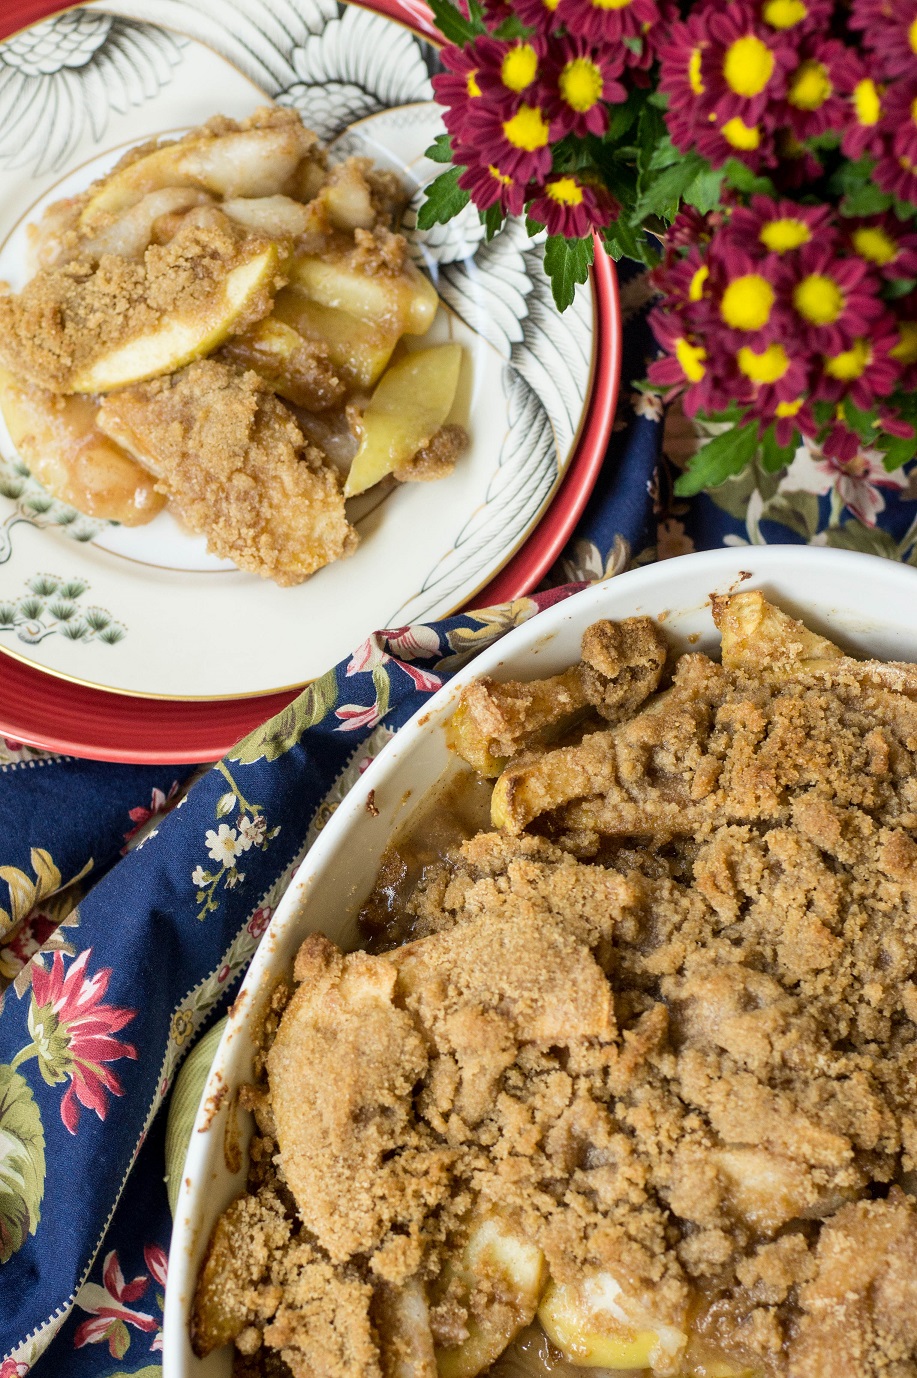
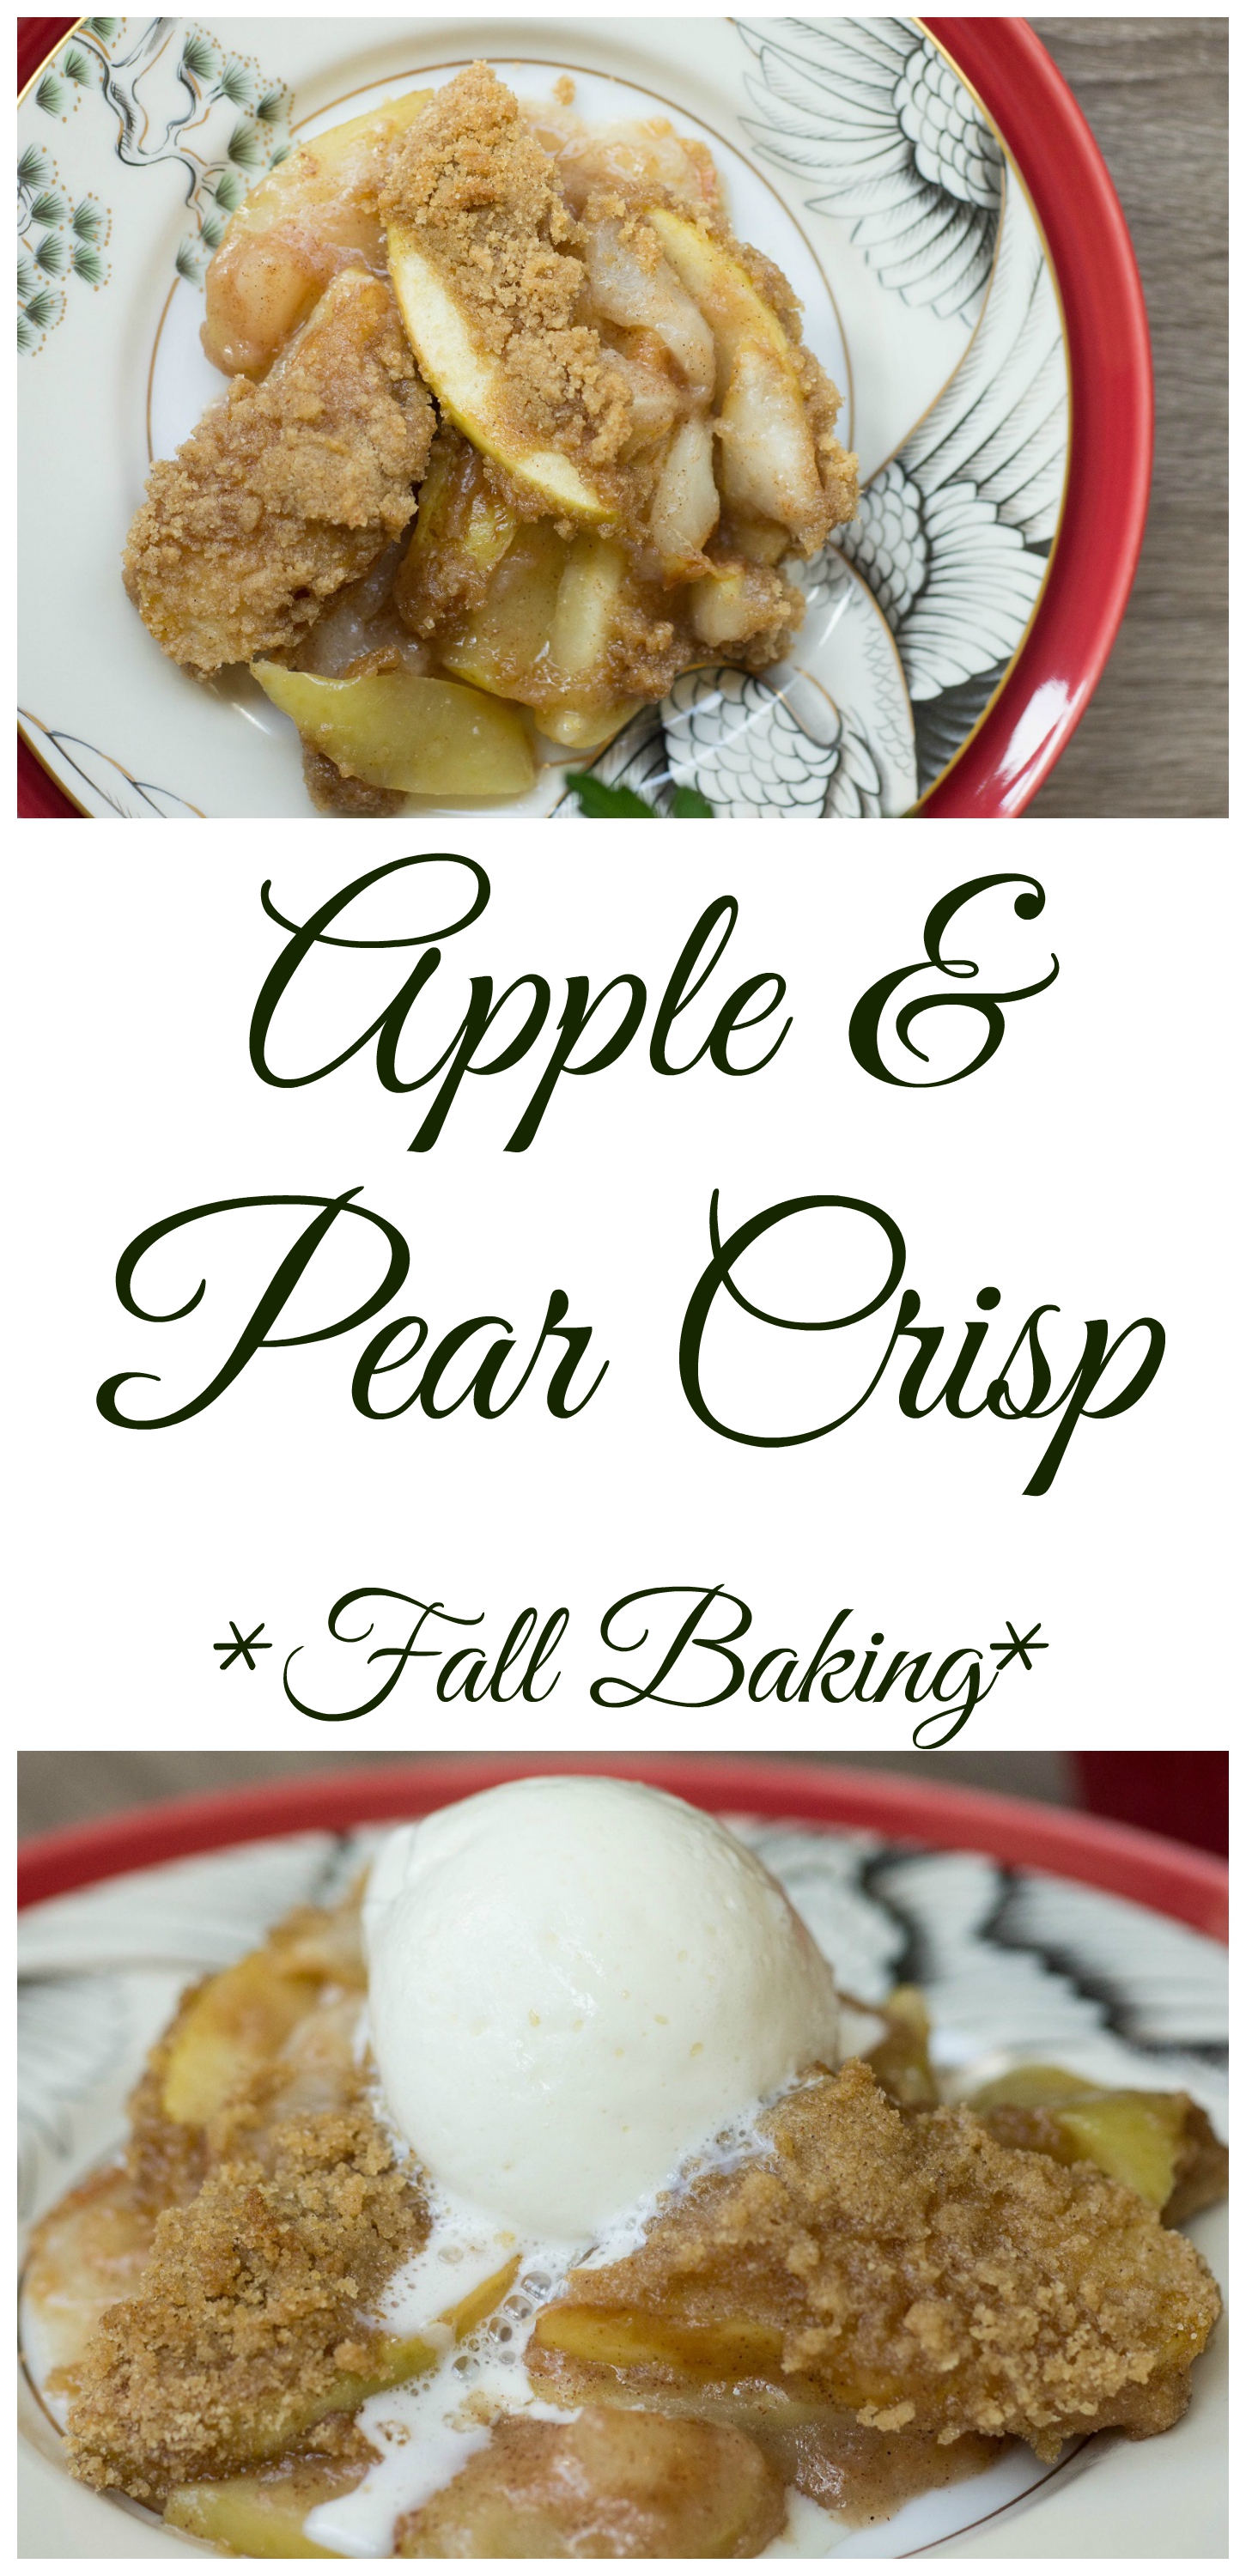
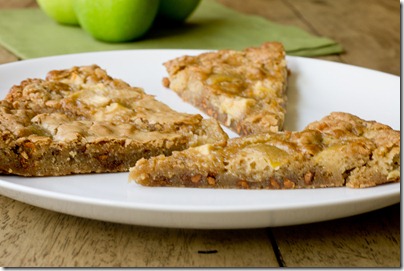
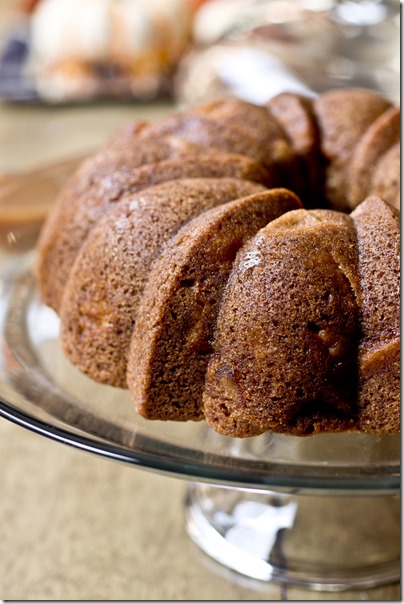
 - so perfect for all of the apples in my kitchen")