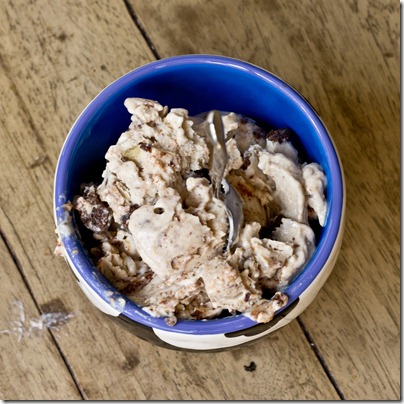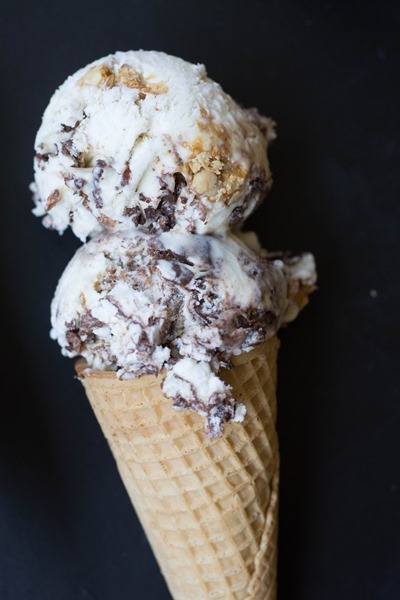
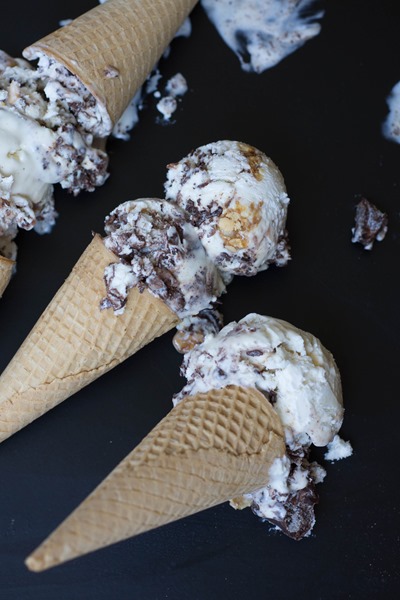
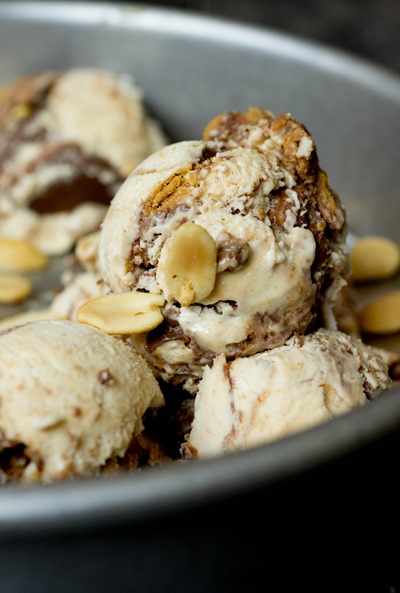
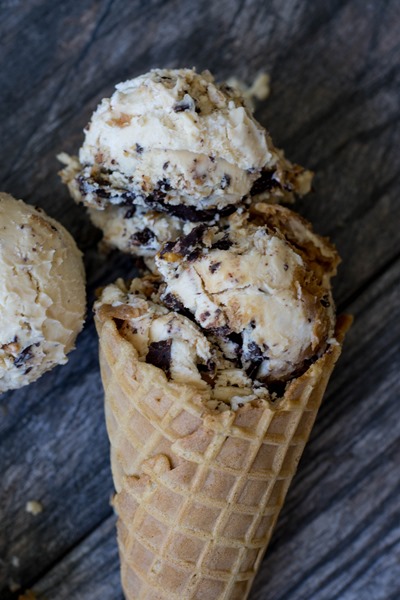
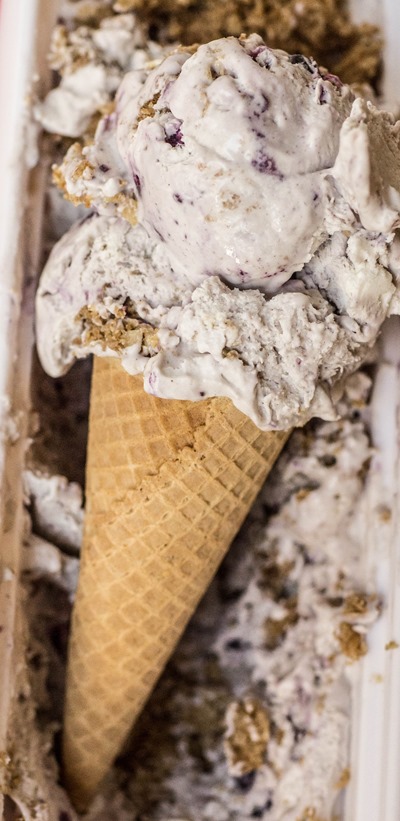
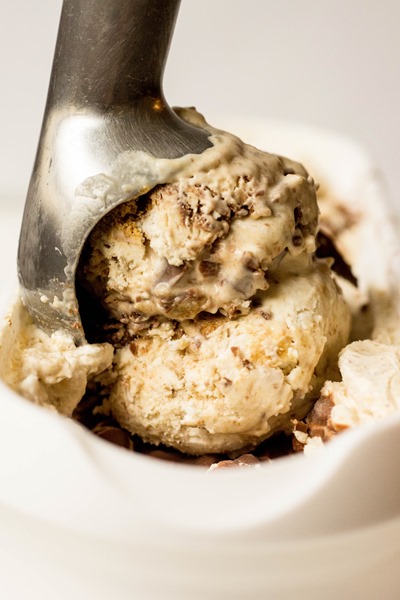
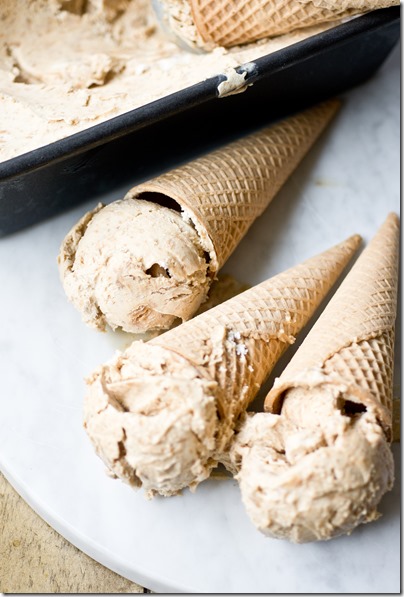
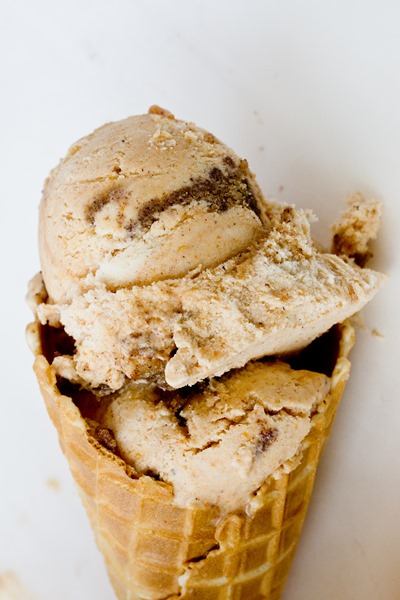
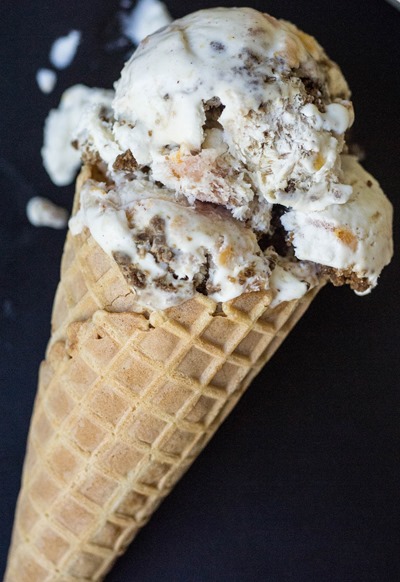
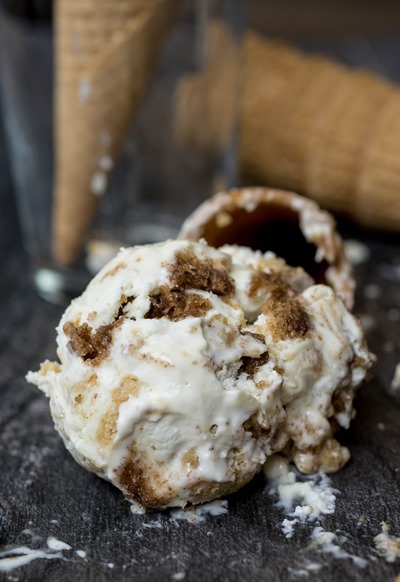
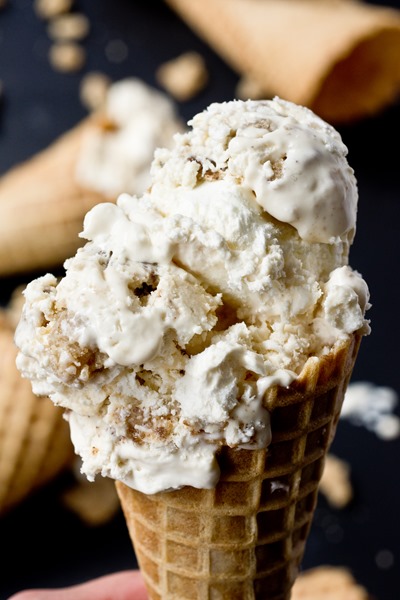
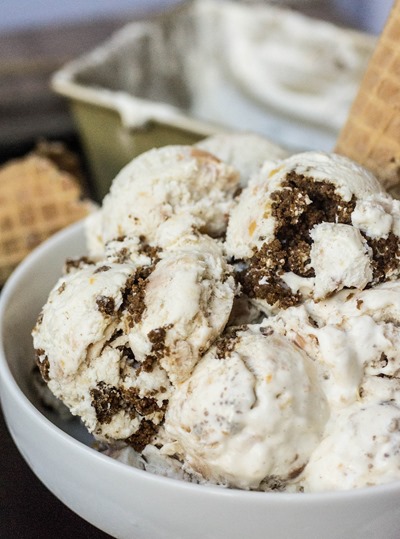
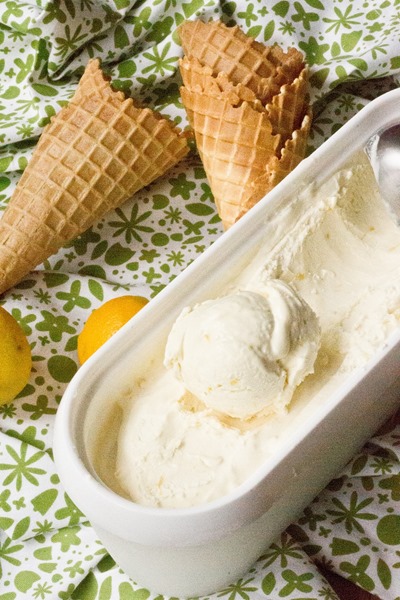
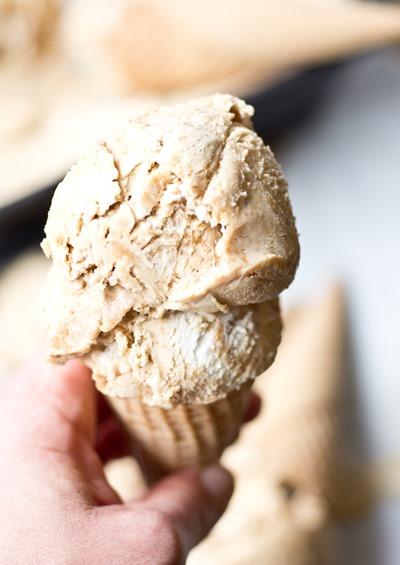
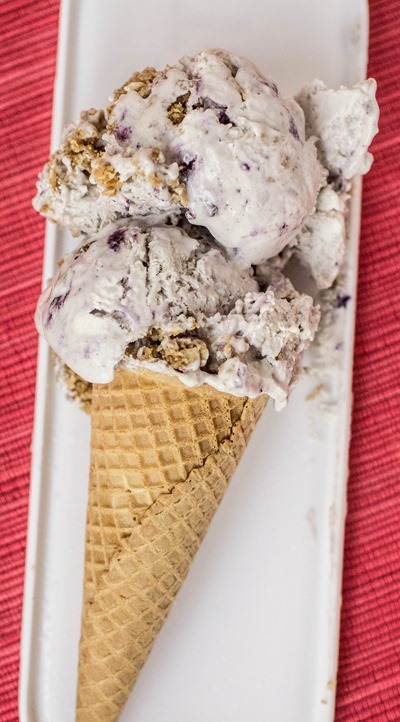
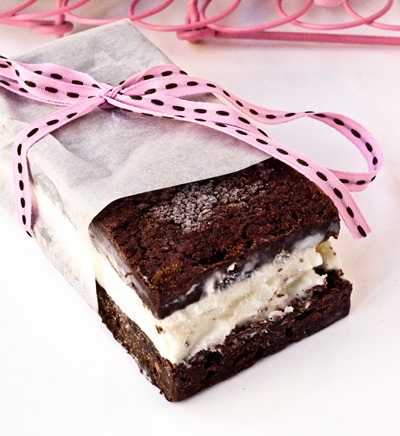
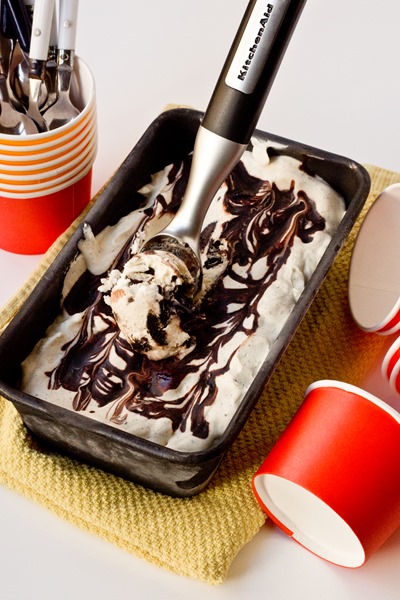
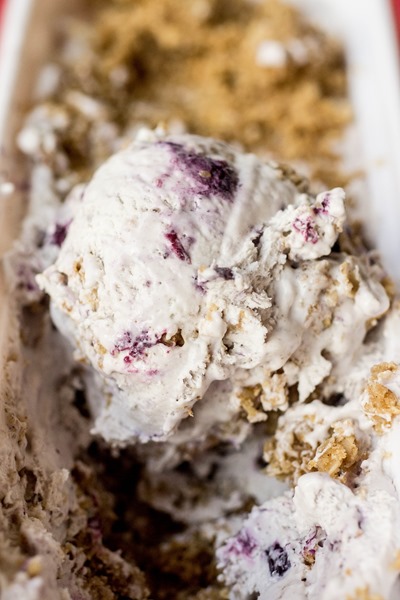
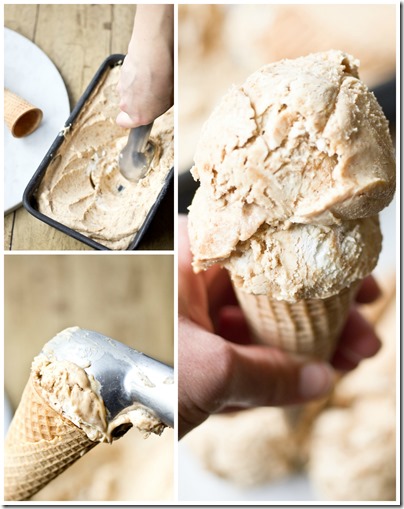
Super creamy no churn vanilla ice cream with salty candied peanuts and dark chocolate chunks.

I had to share just one more ice cream recipe with you before summer is (unofficially) over. Truth be told, I made this ice cream almost two months ago, and ate it so quickly I almost forgot about it. Don’t let that fool you, though, it’s not forgettable at all. This ice cream is creamy, delicious and full of sweet and salty crunch bites. The rich dark chocolate, the salty candied peanuts and the vanilla bean base make for a seriously delicious and satisfying treat.
 vanilla ice cream with salty candied peanuts and dark chocolate chunks")
So if you are like me and eat ice cream all year round, keep this recipe on hand. Otherwise, whip up a batch for the last hurrah and enjoy eating it all Labor Day Weekend long!

Vanilla Ice Cream with Salty Candied Peanuts and Dark Chocolate
Super creamy no churn vanilla ice cream with salty candied peanuts and dark chocolate chunks.
Author: Lauren Lilling
Recipe type: Dessert
Makes: ~1½ quarts
Ingredients
- 16 fluid ounces (2 cups) heavy cream
- 1 14-ounce can sweetened condensed milk (I used fat free, but any type would work)
- 5 millimeters (1 teaspoon) vanilla bean paste (or vanilla extract)
- 125g (1¼ cup) salty candied peanuts peanuts (see recipe below)
- 220g 55% dark chocolate, roughly chopped
Instructions
- In the large bowl of an electric mixer with whisk attachment, beat cream on high speed for several minutes, just until stiff peaks form
- While whipping cream, in a separate large bowl, stir together sweetened condensed milk, candied peanuts and vanilla
- Fold cream into sweetened condensed milk mixture
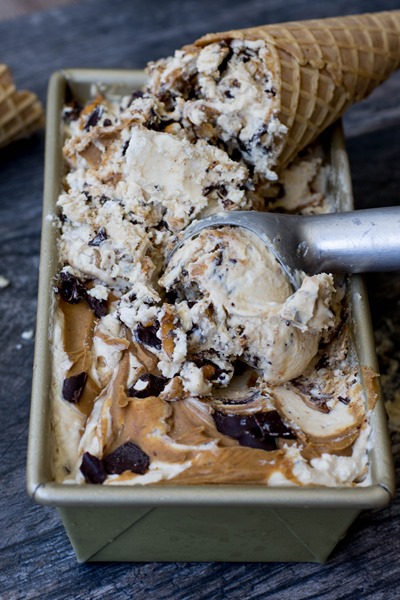
- Pour half of ice cream into a regular-sized loaf pan
- In a small microwave-safe dish, heat chocolate in 30-second increments, stirring after each, until melted
- Pour half of chocolate over ice cream; use a knife to marbleize chocolate and ice cream
- Top with remaining ice cream and repeat
- Wrap well with seran wrap or in an ice cream container and freeze for 6 hours or overnight
Salty Candied Peanuts and Dark Chocolate
Author: Lauren Lilling
Recipe type: Dessert
Makes: 2½ cups
Ingredients
- 150g (1 cup) chopped peanuts, roasted and unsalted
- 110g (~1/2 cup) granulated sugar
- 20 milliliters (4 teaspoons) water
- 2½g (1/2 teaspoon) table or kosher salt
Instructions
- Line a baking sheet with parchment paper and set aside
- Cook peanuts, sugar and water in a small heavy duty sauce pan over medium high heat, stirring regularly until sugar begins to caramelize
- When mixture begins to bubble, stir quickly until sugar is completely crystalized (it will appear very sandy and dry), about 3 minutes
- Continue to cook while stirring constantly until sugar re-melts and turns a dark golden brown (~3 minutes); be careful not to burn
- Remove from heat and stir in salt
- Spread nuts out onto prepared baking sheet and allow to cool for at least 10 minutes; break peanuts up into small chunks and place in an airtight container until ready to use (up to two weeks)
Notes
From Baking Bites


")
")


")


 flavor...")


")


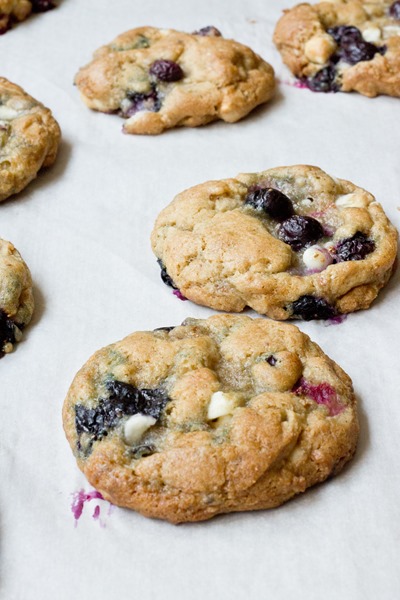
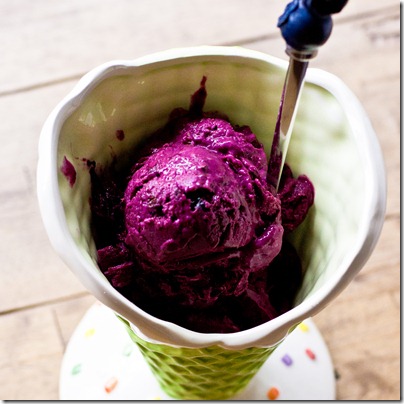
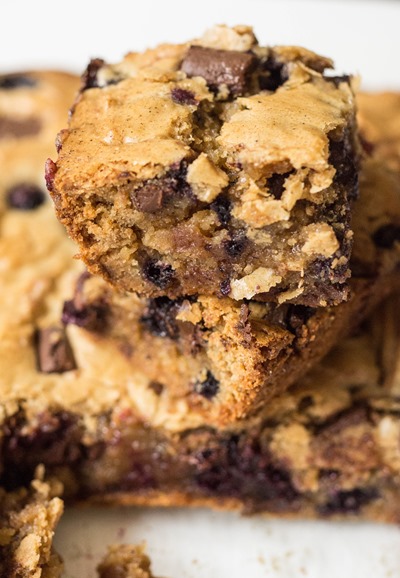
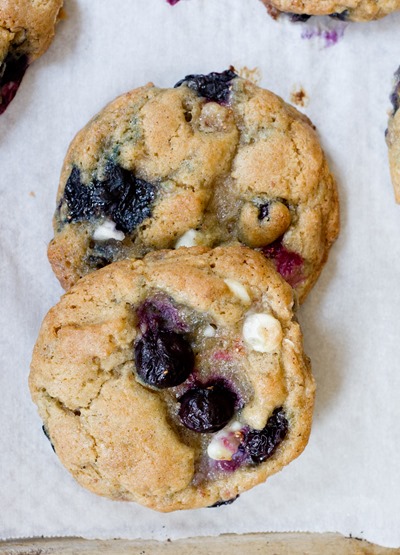
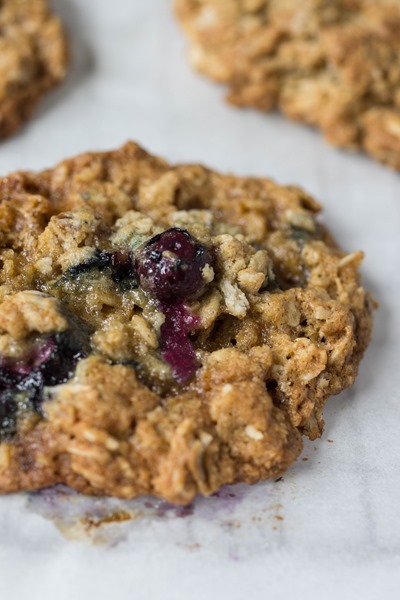
 Blueberry White Chocolate Brown Butter Cookies - the cookie of the summer!")
 Blueberry White Chocolate Brown Butter Cookies - sweet, chewy, crispy edges, everything you could want in a cookie!")
 Blueberry White Chocolate Brown Butter Cookies - basically cookie perfection")


")
")


")
")
")
")

")