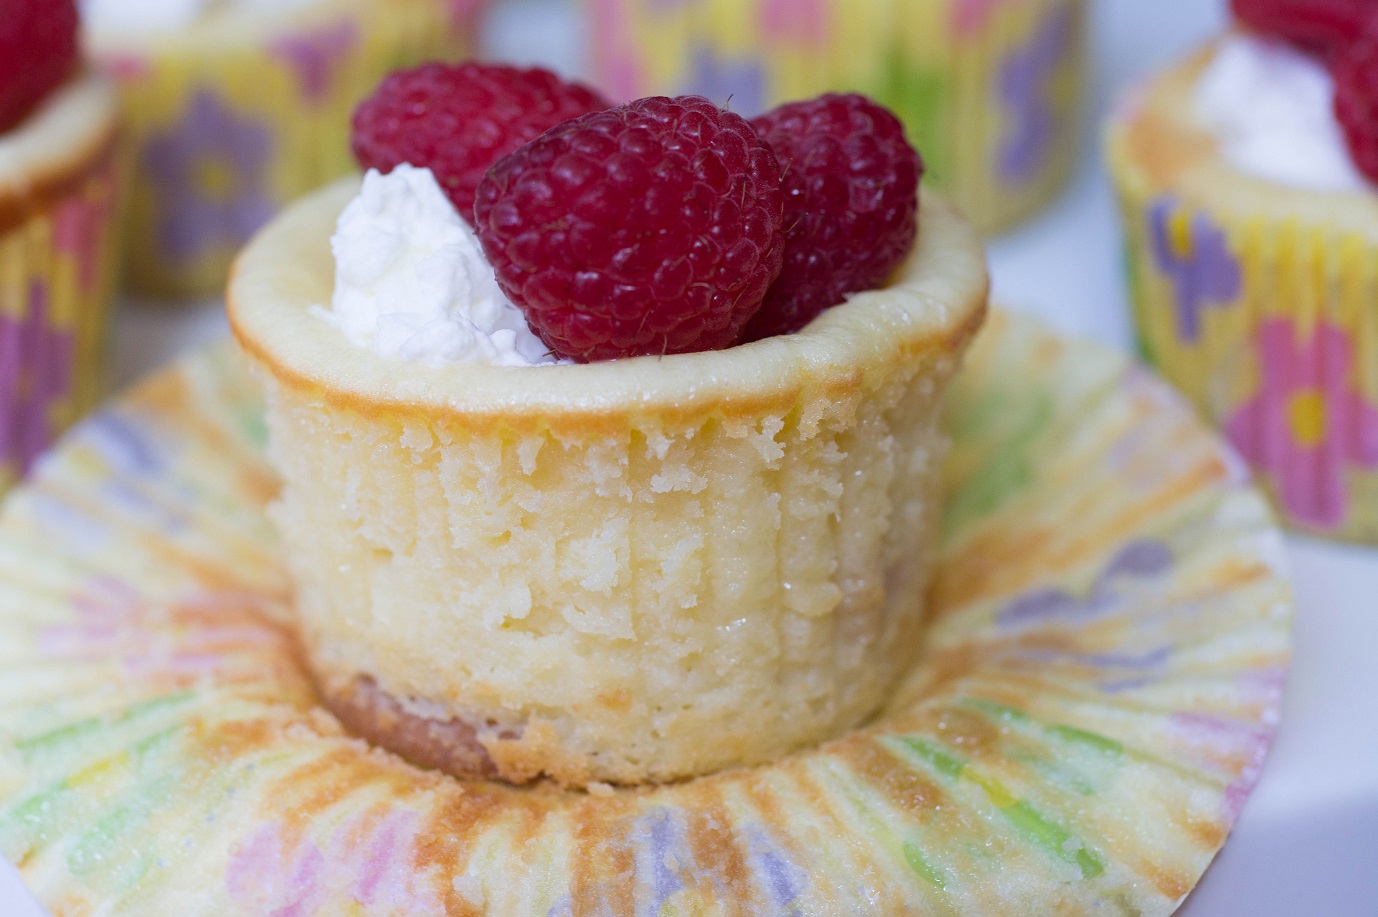
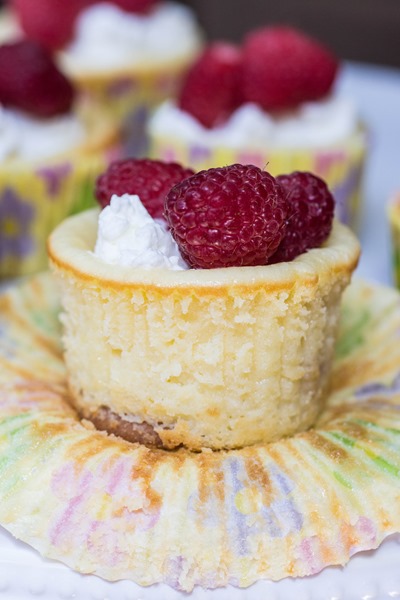
Raspberry-swirled lemon cheesecake cups filled with fresh whipped cream and raspberries are the perfect Spring treat!

Today we are channeling SPRING to celebrate my favorite blogger and good friend, Joanne!

Joanne is for sure one of the nicest people I’ve ever met. She’s a also good friend, so thoughtful, super smart, extremely creative, funny and talented in multiple arenas (blogging, running, SCIENCE). We’ve been friends for several years now and I can say for sure that she is going to be an amazing mom. I’m so excited for her to welcome her baby girl (and to come give that baby lots of snuggles!!!).

Since Joanne is the queen of seasonal cooking, we are channeling her love of fresh produce with a SPRING-themed virtual baby shower (scroll down for the full menu!). I thought that these little lemon cheesecake cups would be perfect because they are fresh and bright and light for the occasion. The lemon cheesecake batter is simple to make (I had mine in the oven within twenty minutes of starting) and swirled with your favorite raspberry jam. They are then topped off with a lightly sweetened whipped cream and fresh raspberries. The tartness from the lemon and berries is perfect for balancing the sweetness of the cheesecake. And for those of you who are timid with lemon desserts (as am I), these are lemony but definitely not lip-puckeringly so.

- 14 vanilla wafer cookies
- 454g (2 8-ounce packages) light cream cheese softened at room temperature
- 370g (1¾ cups) granulated sugar
- 165g (3 large) whole eggs at room temperature
- 16g (2 tablespoons) all-purpose flour
- 5 milliliters (1 teaspoon) vanilla extract
- 1 tablespoon fresh lemon juice (1/2 lemon)
- 1 tablespoon lemon zest (1 lemon)
- ½g (1/8 teaspoon) salt
- 90g (1/3 cup) raspberry jam, stirred
- 158 milliliters( ⅔ cup) heavy whipping cream, cold
- 9g (2 teaspoons) granulated sugar
- 75g (1/2 pint) fresh raspberries, washed and dried
- Pre-heat oven to 325 degrees
- Line two regular-sized muffin tin with 14 paper cupcake liners; place a cookie on the bottom of each cup
- To make your cheesecake filling, beat cream cheese in mixer until light, creamy and lumps are gone (about 5 minutes)
- Add granulated sugar and lemon zest and combine on medium-high speed well until light and creamy
- Beat in eggs, one at a time, on medium speed
- Mix in flour on medium speed
- Add vanilla extract, lemon juice and salt and beat until mixture is thick and creamy
- Spoon cheesecake batter into cups; top each with about a teaspoon of raspberry jam
- Use a toothpick to carefully swirl the jam into the batter
- Bake 25-30 minutes or until edges of cheesecakes are firm and centers are just slightly jiggly
- Refrigerate for at least one hour before removing from pan to fill with whipped cream and berries
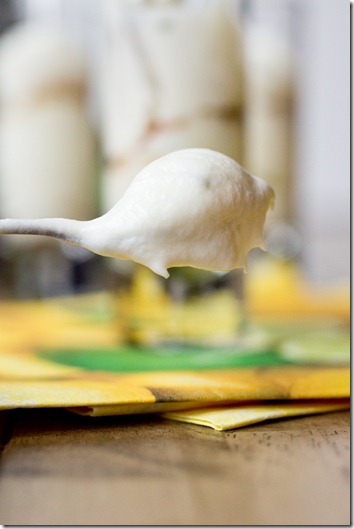
- Beat cream in the large bowl of an electric mixer with whisk attachment on medium-high speed for several minutes or just until foamy; gradually add sugar and continue mixing until stiff peaks form
- Spoon whipped cream into cheesecake cups and top with fresh berries
Be sure to check out the rest of the shower menu!
Orange Ginger Spritzer from The Lemon Bowl
Asparagus and Pea Puff Pastry Tarts from Belly Full
Blood Orange Doughnuts from Cook Like a Champion
Lemon Raspberry Cheesecake Cups from Keep It Sweet Dessert
Meyer Lemon Soufflé from Blahnik Baker
Strawberry Tartlets from The Cooking Actress
New York-Style Rhubarb Crumb Cake from Warm Vanilla Sugar
Berry Fool Tarts From Bake or Break
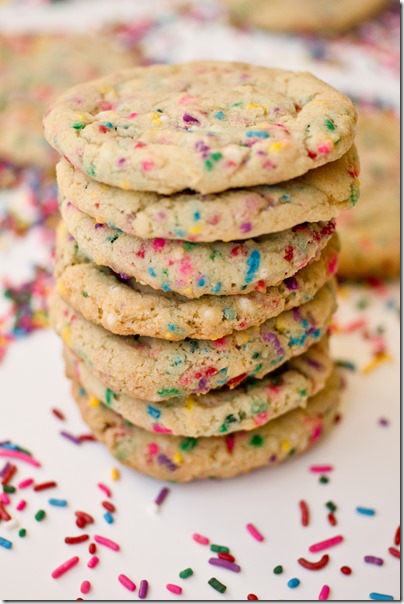
Lemon Raspberry White Chocolate Chip Cookies from The Baker Chick
Mini Pineapple Upside-Down Cakes from Baker by Nature

")


")


")


")


")


