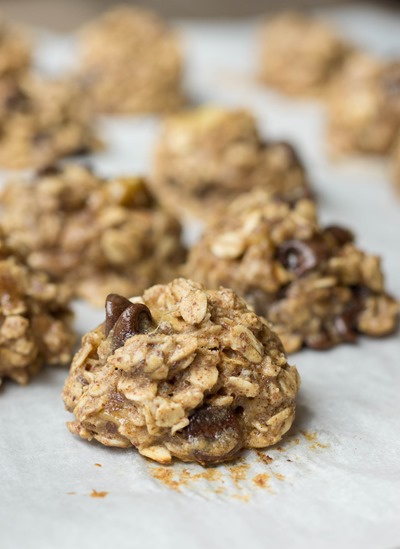
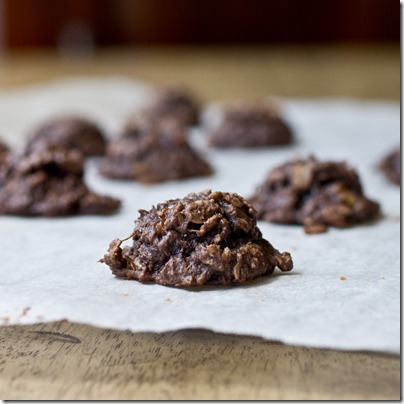
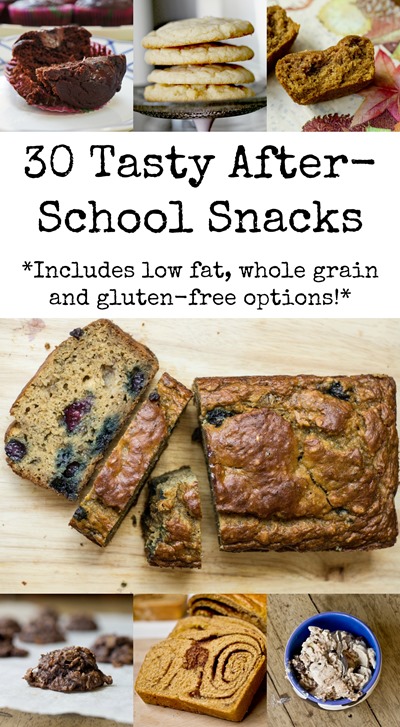
These easy-to-make soft and chewy cookies are made with wholesome ingredients that make them the perfect kid-friendly snack!

Before I tell you all about my new snack obsession these cookies, I need to tell you about the cookbook, Eating Clean: The 21-Day Plan to Detox, Flight Inflammation, and Reset Your Body.

Before you think I’m crazy or hypocritical for talking about a detox book, let me assure you that I’m not telling you to forego all desserts and sweet treats. But I do want to introduce you to this cookbook, written by my friend Amie Valpone, that talks about finding the best diet for you. Amie used her experience and long arduous journey of healing her body (read more here) as the inspiration for her book. In it, she discusses what foods she learned work for her body and what don’t. She then walks you through how to do an elimination diet and slowly add foods back to find out what is best for you. I found this very informative and fascinating because it’s not all about dairy and gluten (the usual suspects), but also addresses peanuts, canned foods and eggs. While eliminating a food group is not right for me, I know there are many people who experience digestive issues and auto-immune diseases that could greatly benefit from the exercise. What I appreciated most from the book is that Amie is thoughtful and knowledgeable and not judgmental at all. She’s sharing her story to help other people that may be suffering like she was.

The book has so many recipes that I want to try (Honey Cinnamon Quinoa Granola, Curried Lentil Soup, Peach Arugula Salad…) but I started with these Chocolate Almond Butter Banana Cookies because they looked super easy and I had most of the ingredients on hand!
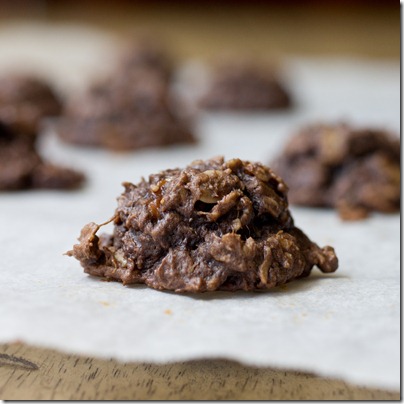
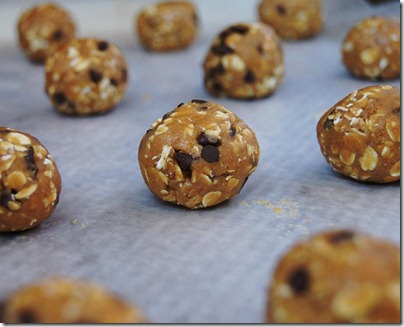
The cookie recipe came together really quickly. You basically just stir a bunch of ingredients together, scoop and bake. No mixer, no chilling dough, easy! Once baked, the cookies are soft and chewy with enough chocolate to feel like a real treat and the warming flavors of cinnamon and cardamom (<- great surprise flavor). However, the other ingredients made me feel good enough to share them with L for snacking. If the chocolate covered hands and mouth was any indication, I’d say he was as much a fan as I was.

- 7g (1 tablespoon) ground flaxseed
- 45 milliliters (3 tablespoons) water
- 250g (2 large) very ripe bananas
- 128g (1/2 cup) almond butter (I used a salted creamy almond butter)
- 30 milliliters (2 tablespoons) maple syrup
- 13g (1 tablespoon) melted coconut oil (I substituted butter because that’s what I had)
- 5 milliliters (1 teaspoon) pure vanilla extract
- 200g (2½ cups) gluten-free rolled oats
- 50g (1/3 cup) gluten-free dairy-free semisweet chocolate chips
- 2½g (1/2 teaspoon) aluminum-free baking powder
- 1g (1/2 teaspoon) ground cinnamon
- Pre-heat oven to 350 degrees and line two baking sheets with parchment paper; set aside
- In a small bowl, combine the flaxseeds and water, let sit for five minutes
- In a large bowl, mash bananas; stir in almond butter, maple syrup, oil and vanilla; add flax mixture and stir until combined
- In a medium bowl, combine remaining ingredients; stir dry ingredients into wet ingredients just until combined (do not overmix)
- Use a tablespoon or small cookie dough scoop to drop small mounds (~2 tablespoons each)onto prepared baking sheet
- Bake cookies 12-14 minutes or until golden brown and center appears set; allow to sit on pan for five minutes before transferring to a wire rack to cool
I found that the cookies were best enjoyed the day of baking and then stored frozen in a ziplock bag after that. I let them thaw for about twenty minutes or in the microwave before enjoying them.
Make something from the blog? Be sure to share it on Instagram with the tag #KeepItSweetDesserts.
This post contains affiliate links. I received the cookbook, Eating Clean, for free but all thoughts and opinions are my own.
You might also like:
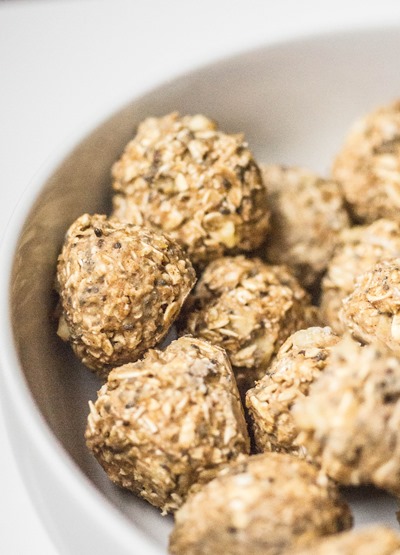
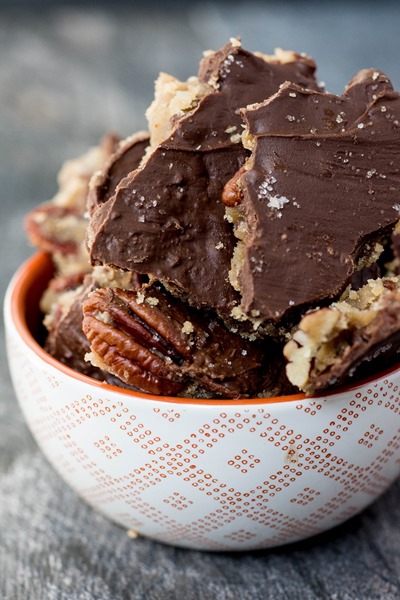
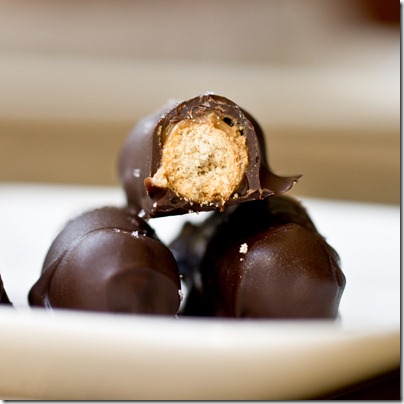
Chocolate Peanut Butter Banana Oatmeal Bites (gluten-free and vegan)
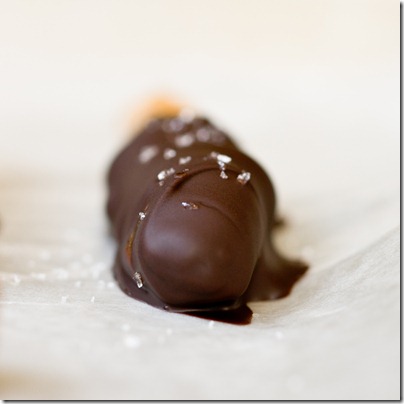
No-Bake Peanut Butter Banana Energy Balls (gluten-free and vegan)
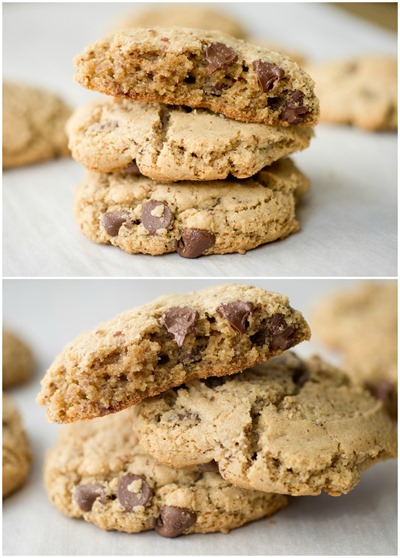
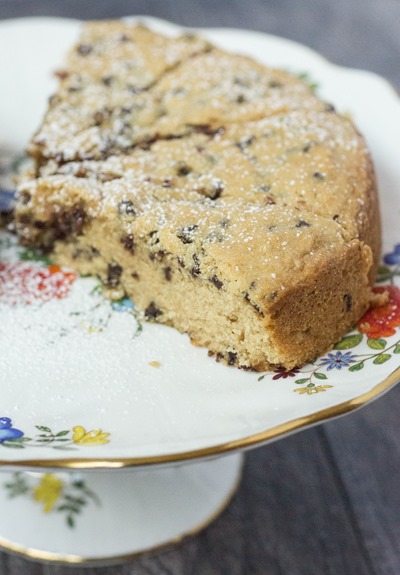
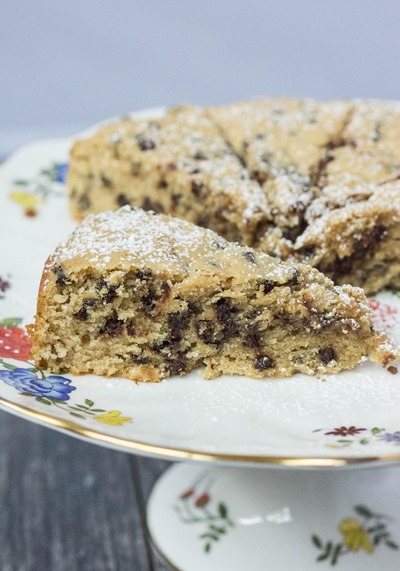
Brown Butter Chocolate Chip Cookies (gluten-free)


")


")


")


")
")