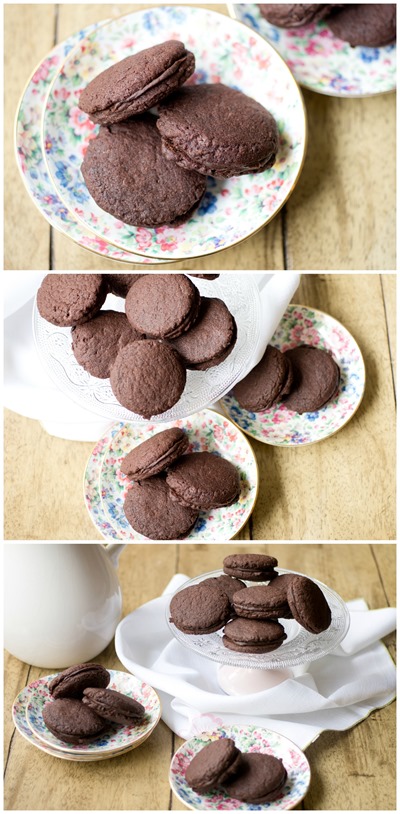
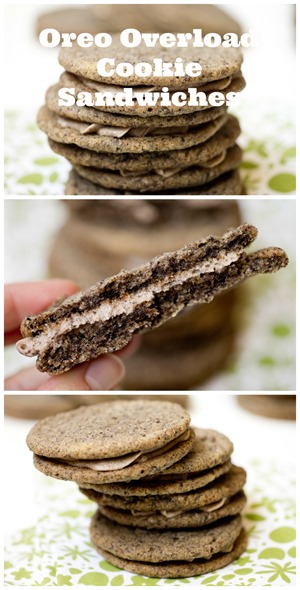
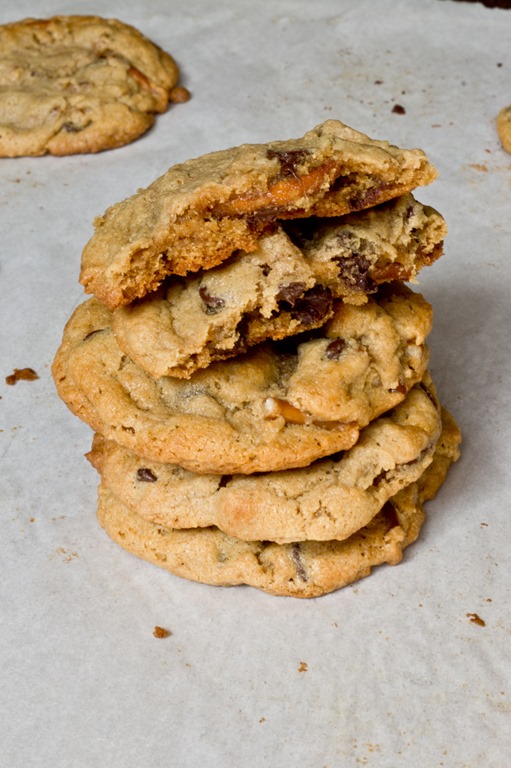
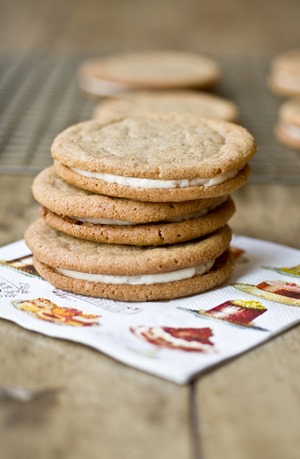
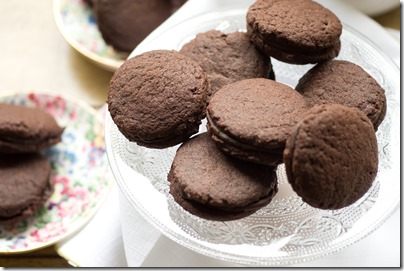
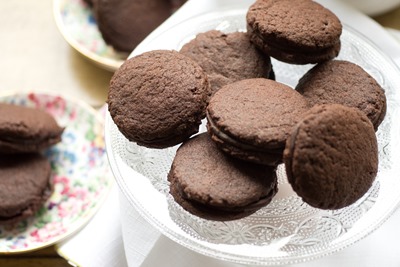
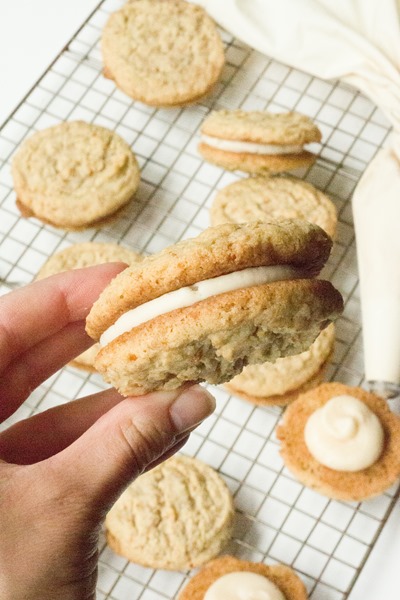
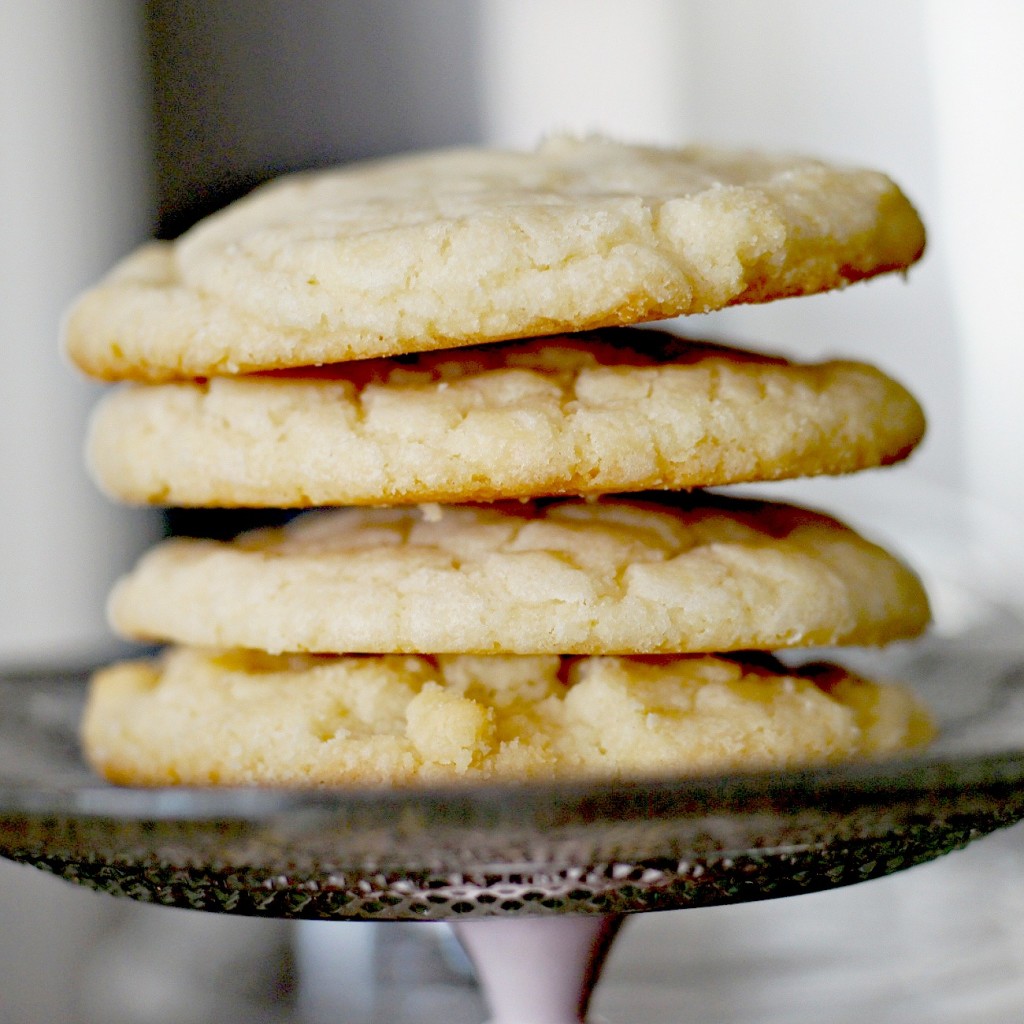
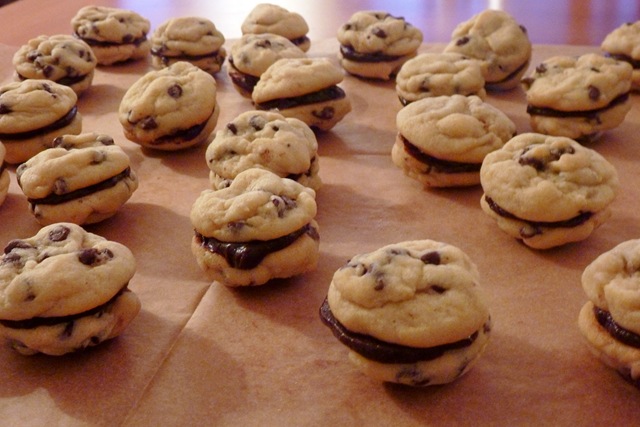
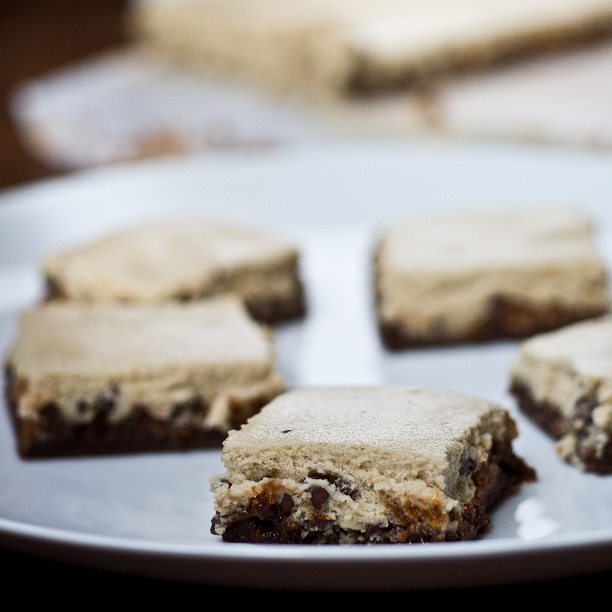
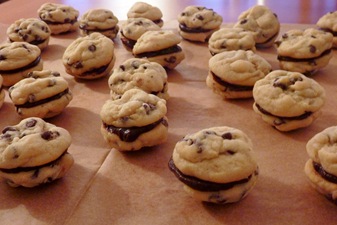
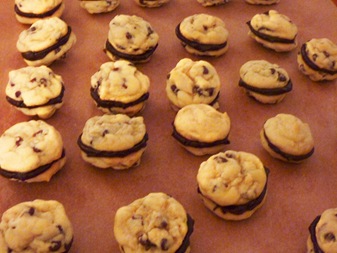
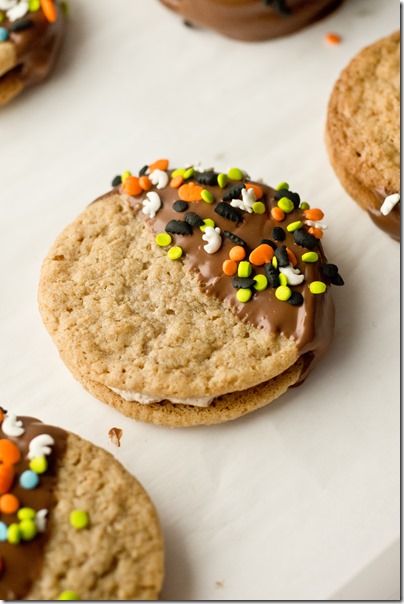
Do you remember the sandwich cookies I served at my Thanksgiving with Friends? Well I am finally sharing my recipe for Chocolate Chip Cookies with Mocha Ganache!
It was all I could do to keep the Taster from popping a dozen of them into his mouth before our party, but luckily this recipe makes A LOT of cookies.
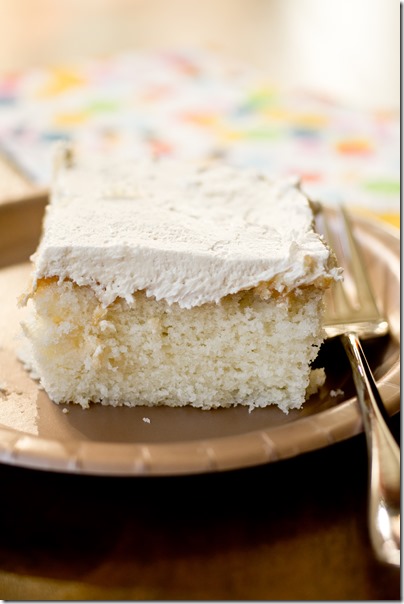
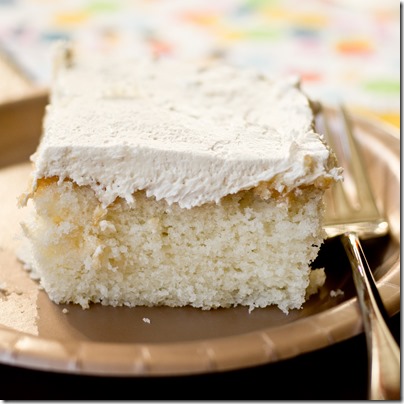
The cookie itself is soft and chewy. It isn’t too sweet and acts as a light balance to the rich mocha ganache. I wasn’t kidding when I said I’d make this ganache again. Ever since I made that banana cake I’ve been trying to find another excuse to slather that rich mocha deliciousness onto something. There is one more recipe coming soon that uses this ganache as well, it is THAT good!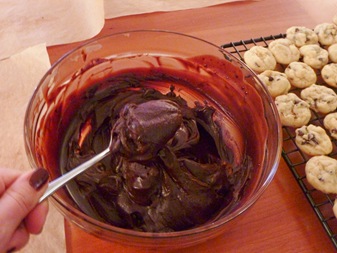
The recipe is time consuming, it probably took me the better part of a day from start to finish. Between baking dozens of cookies, making a ganache and sandwiching them all together, be prepared for a project.

But, they are well worth it. One, they freeze very well so you can make them ahead of time, and two, they make so many you can find a couple of uses for them.
This cookie recipe is adapted from Chocolate Chip Cookies II in this cookbook. Side note, if you are ever in the market for a basic cookie cookbook, this is a great one. My dad bought it for my mom as a gift forever ago, and I had to buy a copy for myself a few years ago.
The first step for making Chocolate Chip Cookies with Mocha Ganache is to make your cookie dough.
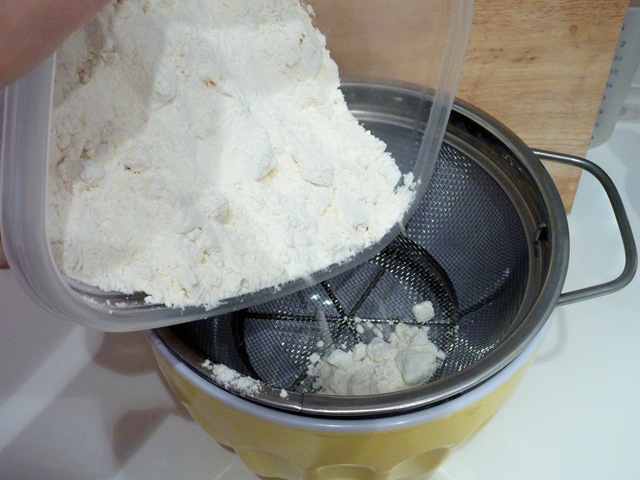
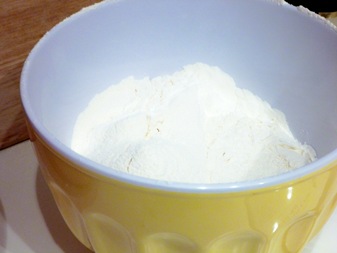
The recipe calls for sifted flour
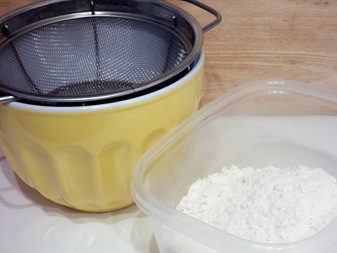
So you will actually need to sift it prior to measuring. When a recipe says “1 cup of flour, sifted” it means you measure the flour first, then sift. If it says “1 cup of sifted flour” it means to sift the flour, then measure it out
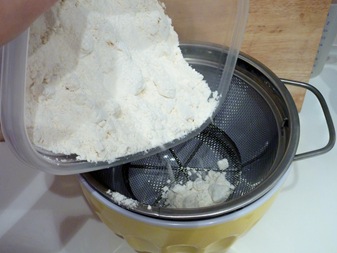
Sifted flour is much lighter so you will get less of it cup for cup than had you not sifted it
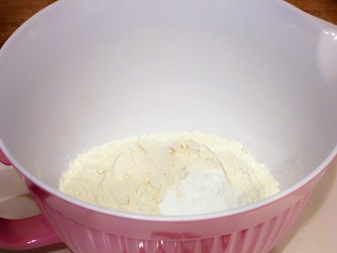
Combine your flour with the other dry ingredients and whisk them together then set aside
Next, combine the butter and sugars
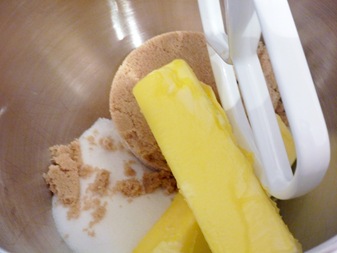
Mix well until light and fluffy
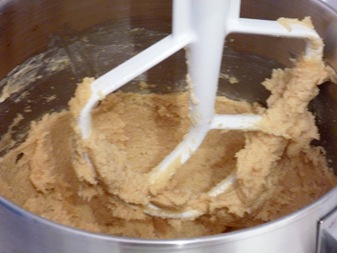
Then add your eggs and vanilla
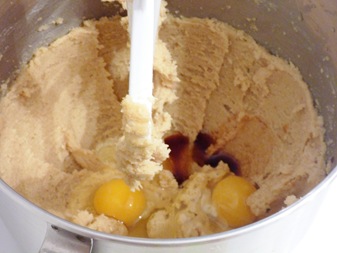
Combine well
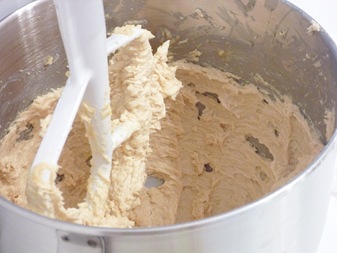
Reduce the speed of your mixer to low and gradually add in the dry ingredients
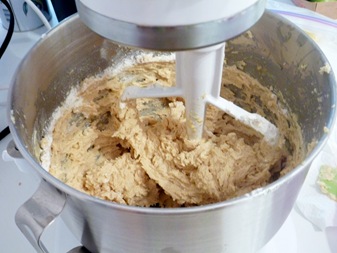
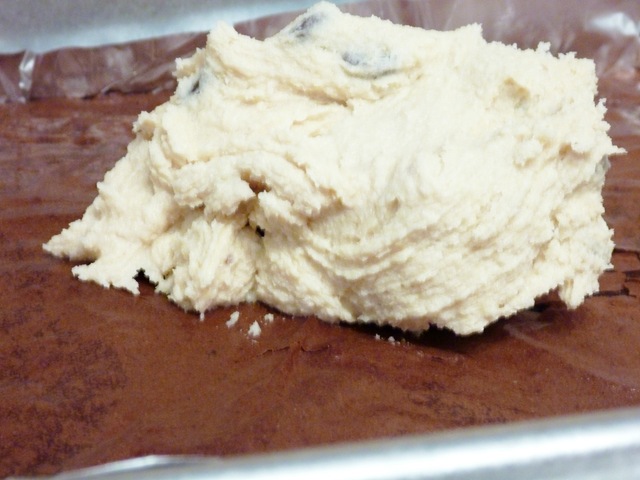
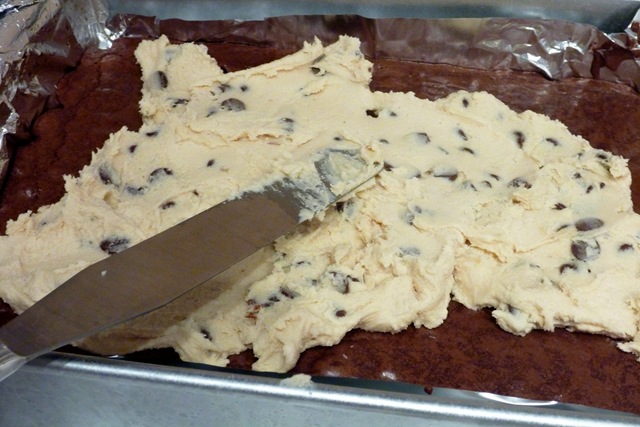
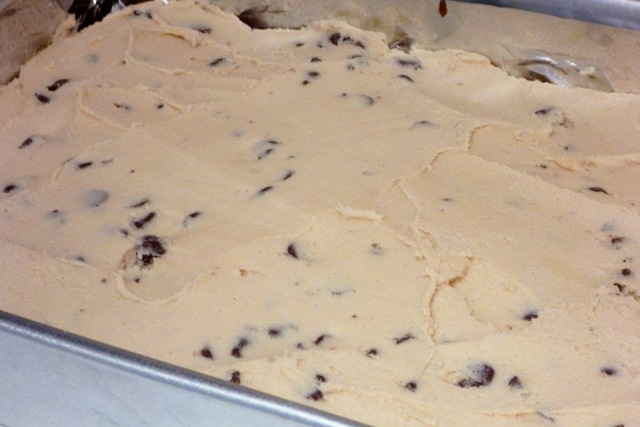
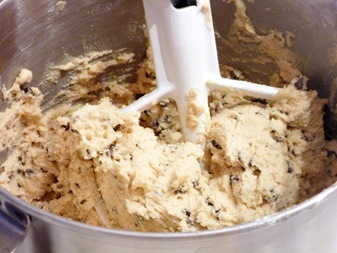
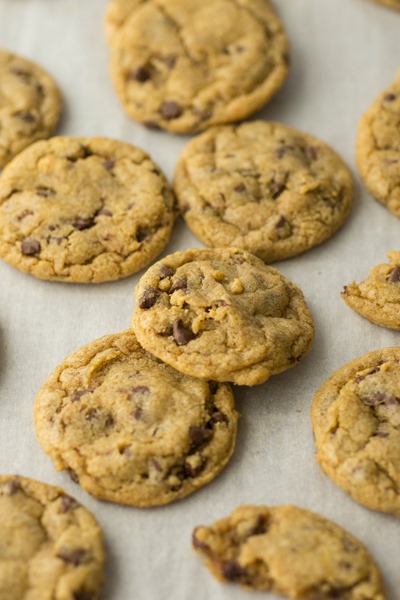
Now, since I made mini cookies, I thought mini chips were more appropriate. Stir them into your batter
Chill your dough in the refrigerator for 2 hours or overnight
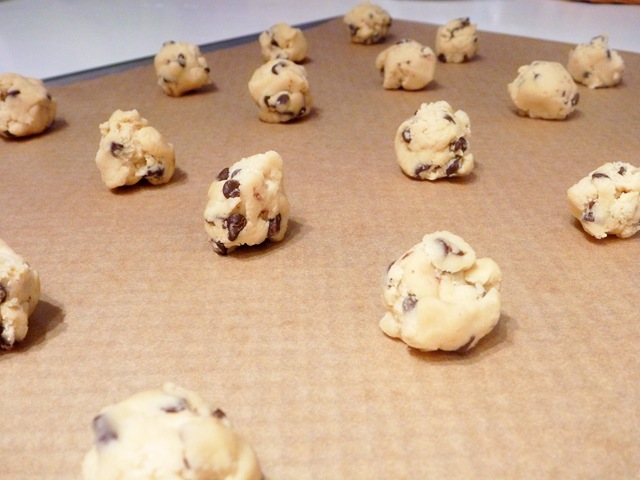
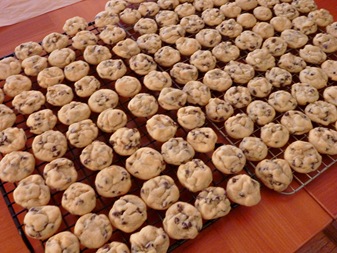
When ready to bake, scoop teaspoonfuls of cookie dough
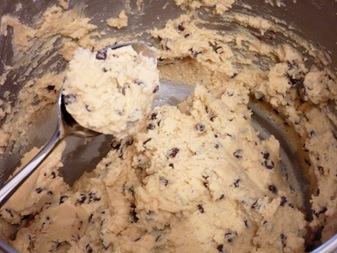
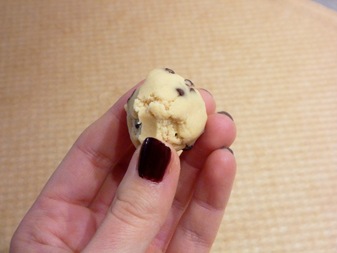
Roll them into balls (see how small?)
And lay them out on a cookie sheet lined with parchment paper

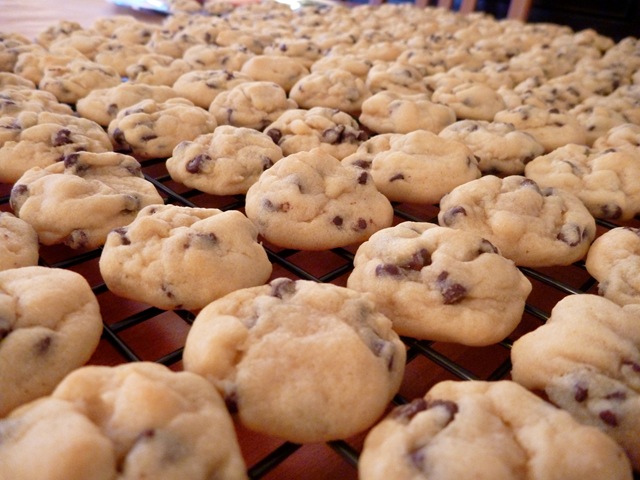
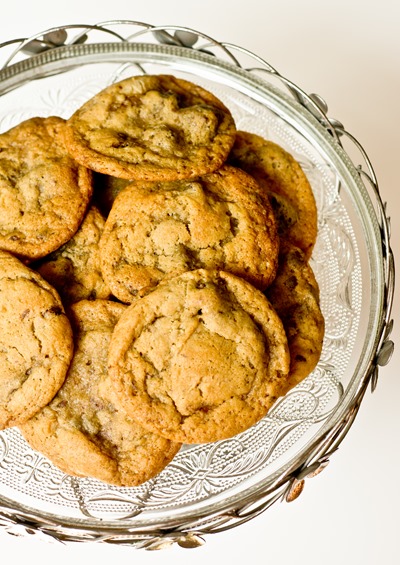
Bake in the oven for 7-8 minutes or until lightly golden around the edges
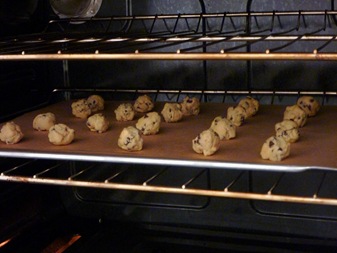
Notice that the cookies barely brown?

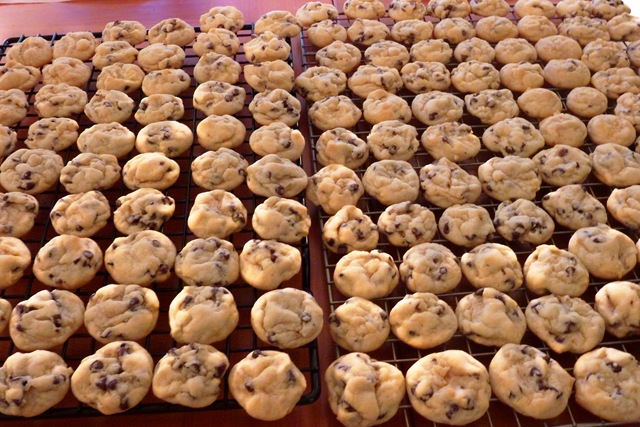
Set the cookies aside on cooling racks

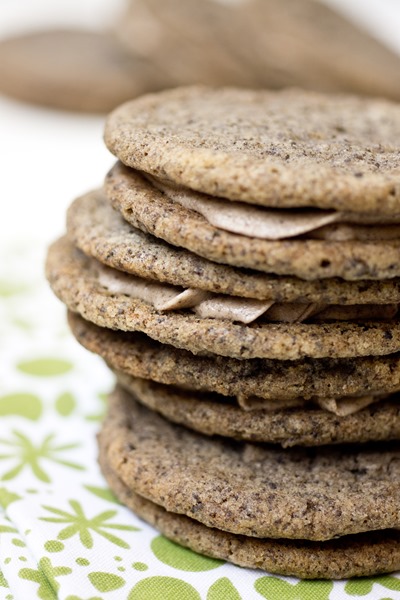
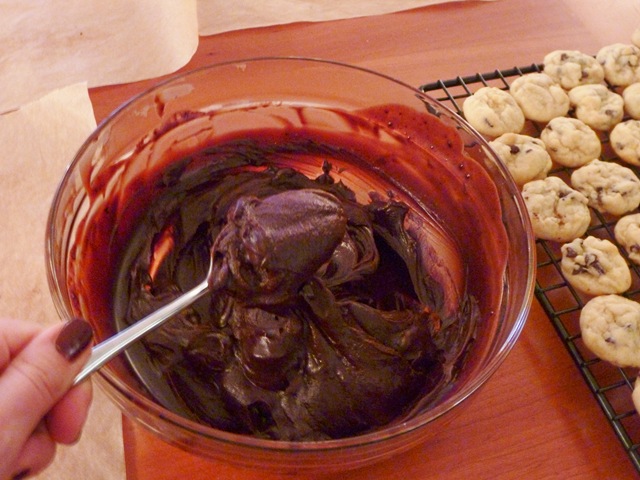
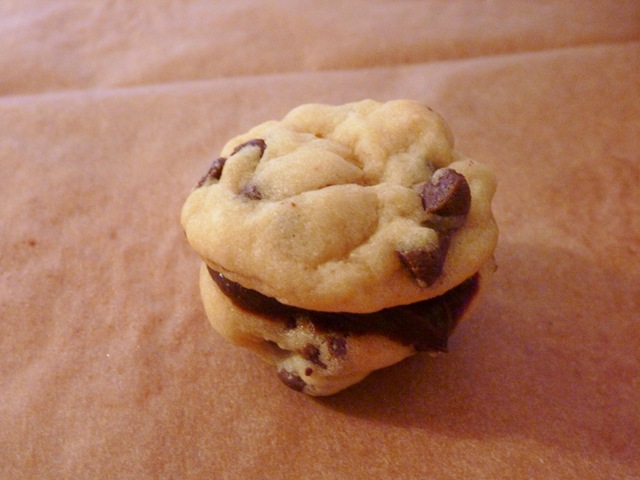
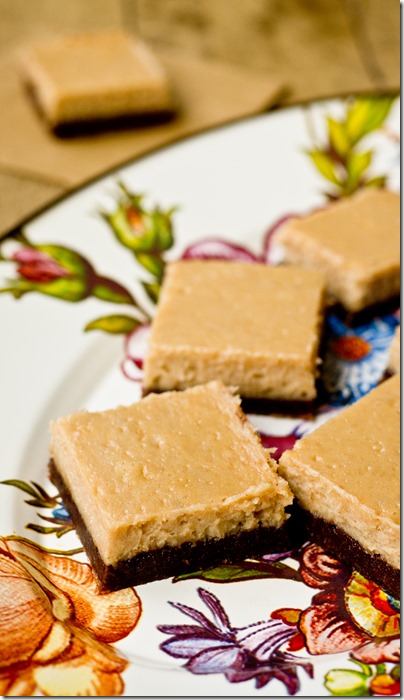
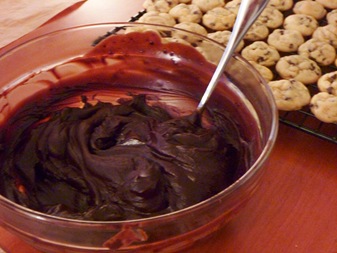
While cookies are cooling, prepare your ganache (Refer to this post for step-by-step photos). Once the ganache is thick, you are ready to make your sandwiches
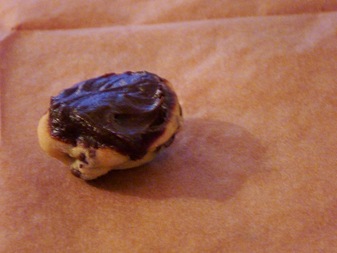
Although the cookies were mostly uniform in size, I lined them up in pairs to make sure each half was as close in size and shape as possible. This made the sandwiching process go more quickly
Spread a layer of ganache onto the bottom of a cookie
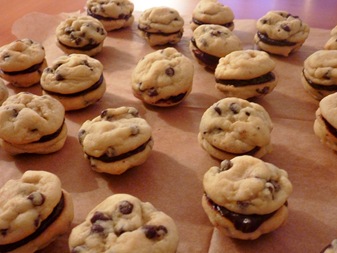
Top with a second cookie and lightly press down

Repeat until all of your cookie sandwiches are complete
[print_this]
Chocolate Chip Cookies with Mocha Ganache
Makes 35-40 sandwich cookies
Ingredients:
Chocolate Chip Cookies
Adapted from Chocolate Chip Cookies II in The Search for The Perfect Chocolate Chip Cookie
3 cups sifted flour*
1 teaspoon baking soda
1 teaspoon salt
1 cup (2 sticks) unsalted butter, softened
1 cup brown sugar, tightly packed
1/2 cup granulated sugar
2 eggs
1 teaspoon vanilla
1 1/2 cups mini semi-sweet chocolate chips
Mocha Ganache**
10 ounces semi-sweet baking chocolate
1/2 cup extra-strong brewed coffee
10 tablespoons unsalted butter, softened
Directions:
Cookies
Combine sifted flour with the other dry ingredients and whisk them together; set aside
Next, combine the butter and sugars; beat well until light and fluffy
Then add your eggs and vanilla and combine well
Reduce the speed of your mixer to low and gradually add in the dry ingredients
Stir chocolate chips into your batter
Chill your dough in the refrigerator for 2 hours or overnight
Once ready to bake, pre-heat oven to 350 degrees
Scoop teaspoonfuls of cookie dough and roll them into balls with the circumference of a quarter
Lay them out on a cookie sheet lined with parchment paper
Bake in the oven for 7-8 minutes or until lightly golden around the edges; cookies will not change color much
Set the cookies aside on cooling racks
While cookies are cooling, prepare your ganache
Ganache
Make ganache while cookies are cooling
Chop up the chocolate, coarsely, and prepare extra-strong coffee
Slice up your butter and set aside
Now set up your double boiler; bring water to a simmer in medium pot over low-medium heat
Place heat-proof bowl of chocolate over the pot
Pour the coffee over your chocolate
Continuously stir until chocolate is melted and smooth
Remove bowl from heat and whisk in the butter until creamy
Then allow ganache to cool, stirring occasionally
Ganache is ready when the mixture gets nice and thick
Cookie Sandwiches
Spread a layer of ganache onto the bottom of a cookie
Top with a second cookie and lightly press down
Repeat until all of your cookie sandwiches are complete
Notes
*When a recipe says “1 cup of flour, sifted” it means you measure the flour first, then sift. If it says “1 cup of sifted flour” it means to sift the flour, then measure it out. So you will actually need to sift it prior to measuring.
**This is actually more than enough ganache than you will need for this recipe. Save your extra cup or so because I have ANOTHER recipe for you to use it!
[/print_this]
These cookies would be perfect for holiday cookie swaps. What do you think, is this a sandwich you can get behind?


")


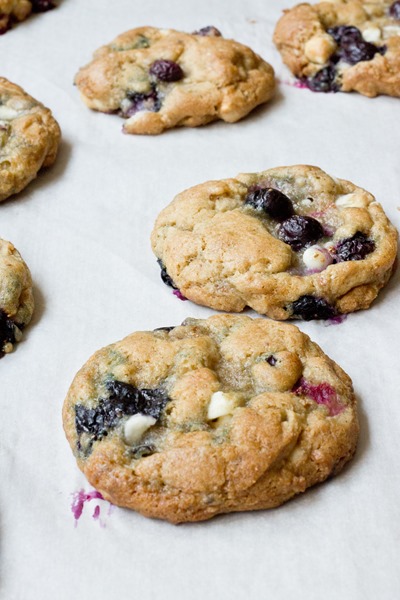
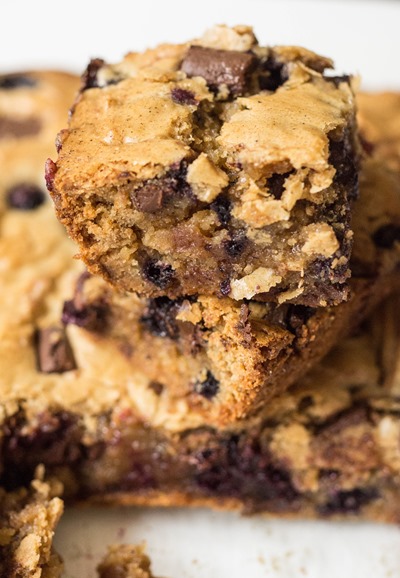
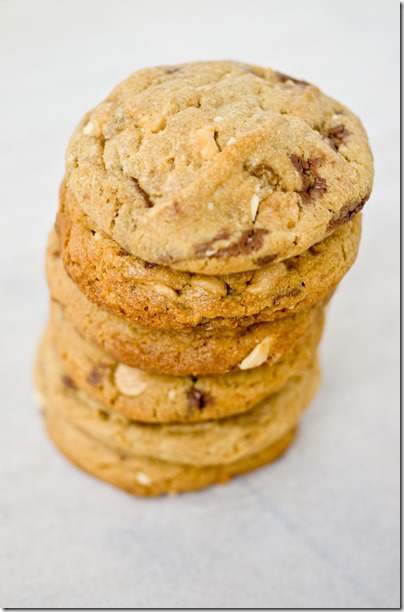
 Blueberry White Chocolate Brown Butter Cookies - the cookie of the summer!")
 Blueberry White Chocolate Brown Butter Cookies - sweet, chewy, crispy edges, everything you could want in a cookie!")
 Blueberry White Chocolate Brown Butter Cookies - basically cookie perfection")