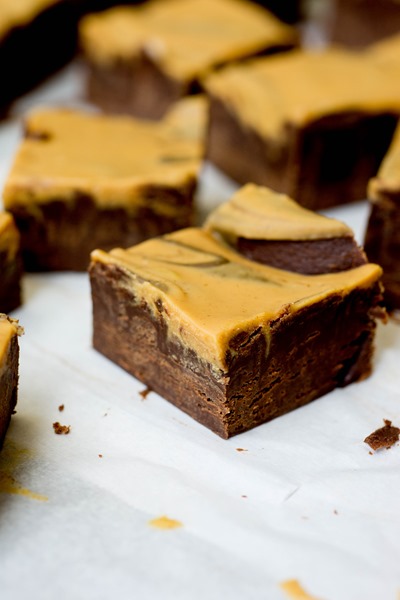
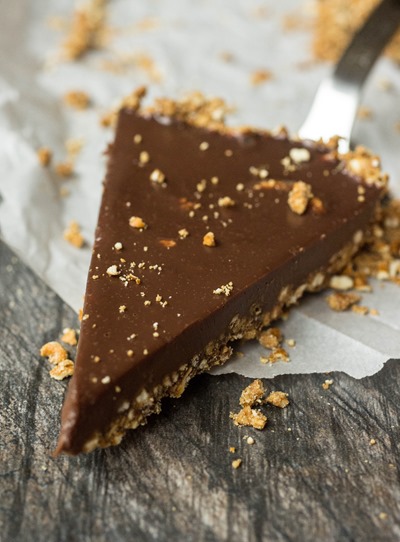
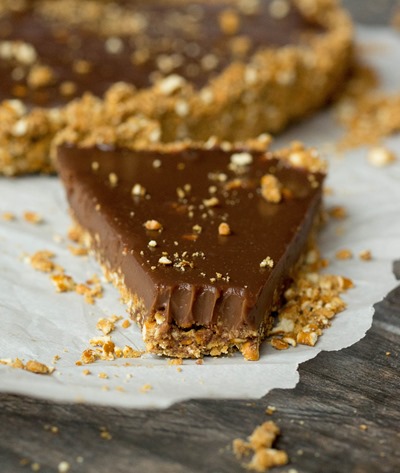
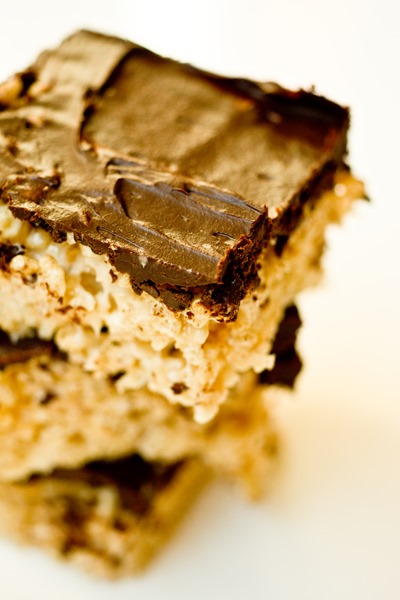
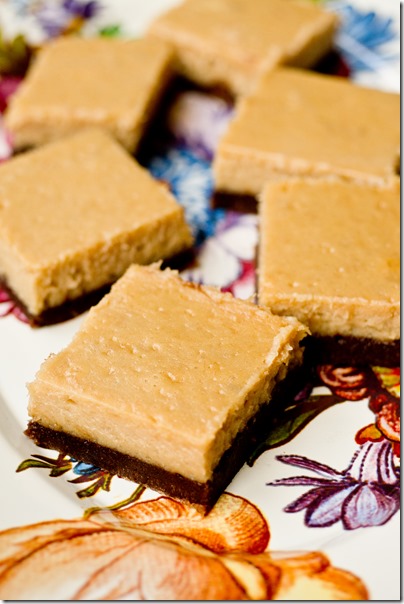
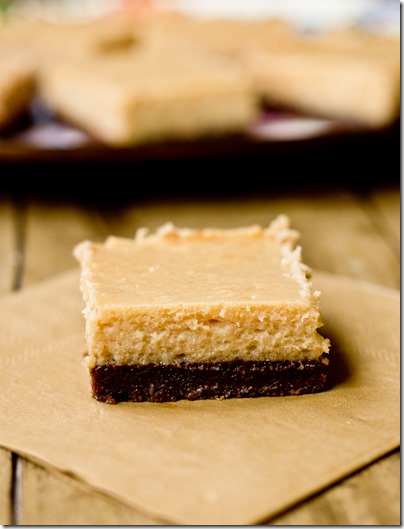
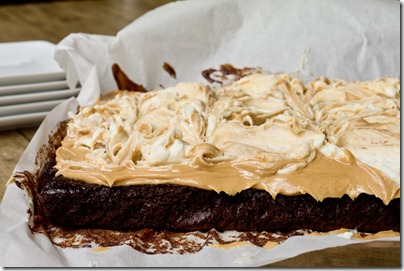
Super easy homemade peanut butter and chocolate fudge made with just four ingredients!

Life has been so hectic here, and I suspect I’m not alone. With busy work schedules, back-to-school time and life in general, sometimes cooking or baking for the family can take a back seat. There are so many weeks that I’m scrambling to find a few things in my fridge to throw together so that L, Matt and I are well fed. Keeping those last minute meals interesting without going crazy sometimes seems to be an impossible task.

That’s why I was really excited to receive a copy of Five-Ingredient Recipes, A Cookbook for Busy People in the mail a few weeks ago. Not only are there interesting dinner recipes that most families will enjoy, but there are also fun and super easy dessert recipes as well. I’ve been seriously slacking in the baking department lately so I was thrilled to find a sweet treat recipe that required minimal time and ingredients. Something that I can make with ingredients in my pantry AND get done while L takes his (sometimes way too short) nap is a huge win.

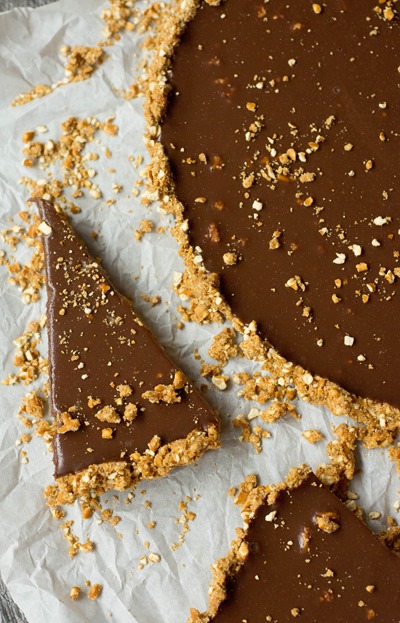
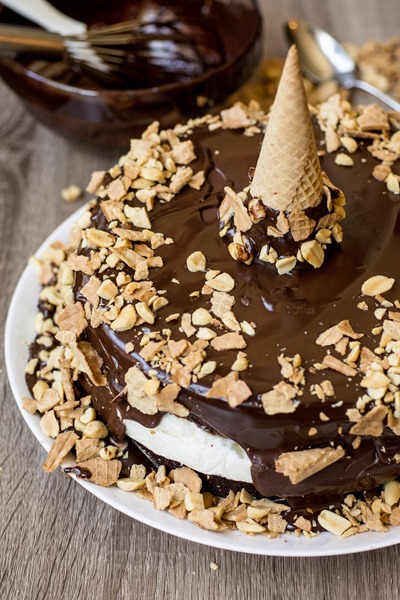
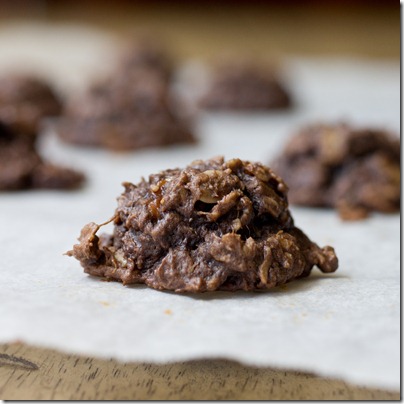
For some crazy reason I’ve never made fudge before, so when I found the recipe for Peanut Butter Fudge in Phi’s cookbook I couldn’t wait to get “cooking.” And I use that term lightly because All I had to do was microwave, stir and chill. This recipe is beyond easy to make and the result is rich, delicious and kind of addicting. Exactly what you want out of a dessert.

- 130g (1/2 cup) creamy peanut butter (not all-natural)
- 20g (2 tablespoons) powdered sugar
- 340g (2 cups) good-quality semi-sweet chocolate chips
- 114-ounce can sweetened condensed milk
- Flaky sea salt (optional, my addition)
- Line an 8 or 9-inch square baking pan with parchment paper, leaving enough overhang for pan removal later; set aside
- In a small microwaveable bowl, heat peanut butter for thirty seconds on high heat; stir in powdered sugar; set aside
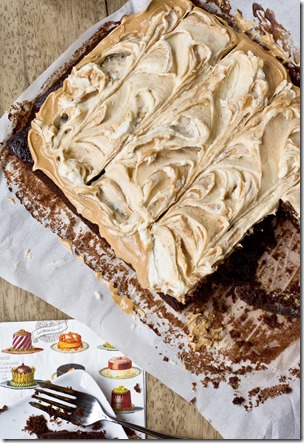
- Place chocolate chips and sweetened condensed milk in a large microwaveable bowl; heat for thirty seconds on high and stir; repeat once or twice until chocolate is completely melted and mixture is smooth (it will get thick quickly); immediately spread in prepared baking pan
- Spoon peanut butter mixture over chocolate and use a knife to swirl peanut butter into chocolate; sprinkle lightly with sea salt if desired
- Chill pan in freezer for thirty minutes or fridge for one hour; once chilled, remove fudge from pan by using sides of parchment paper to lift it up; place on a cutting board and slice
- Serve immediately or store leftovers in fridge for up to a week
Recipe from Five-Ingredient Recipes, A Cookbook for Busy People
Disclaimer: This post contains affiliate links. I received a copy of Five-Ingredient Recipes, A Cookbook for Busy People for free but as always, all opinions are my own.


")


")


")


")
")