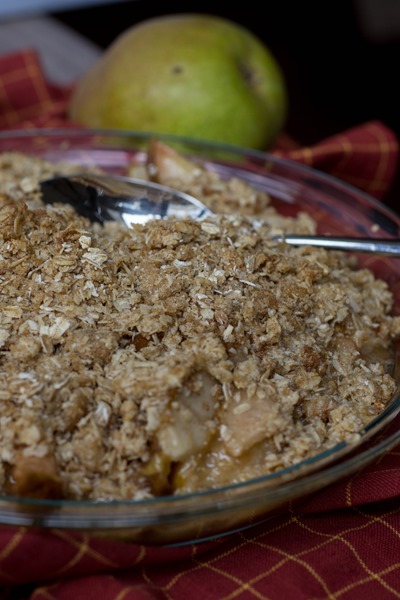
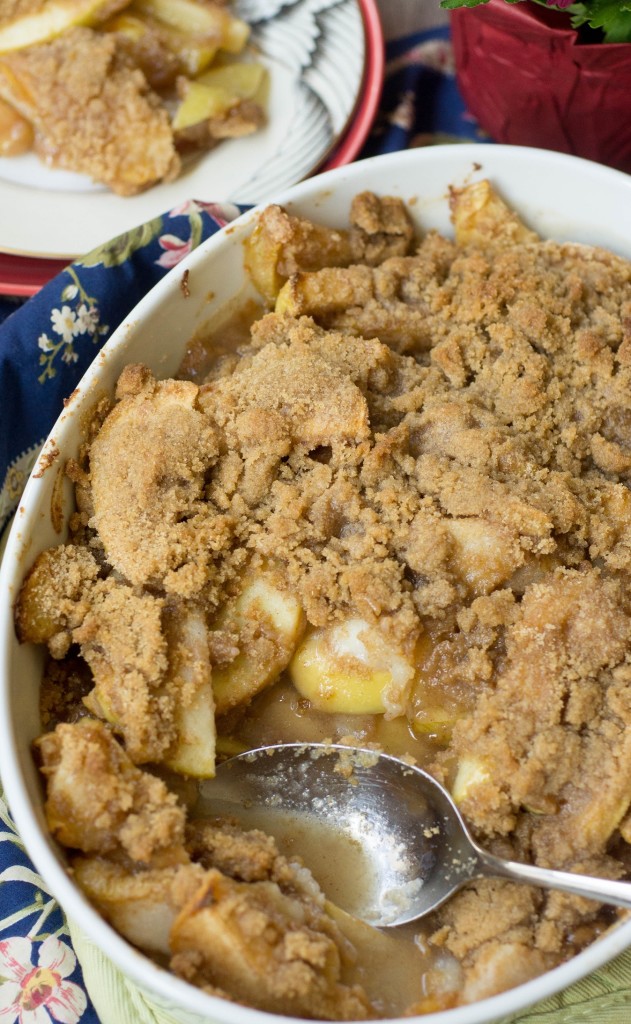
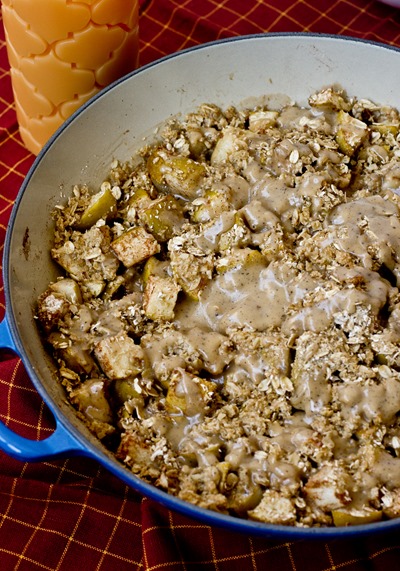
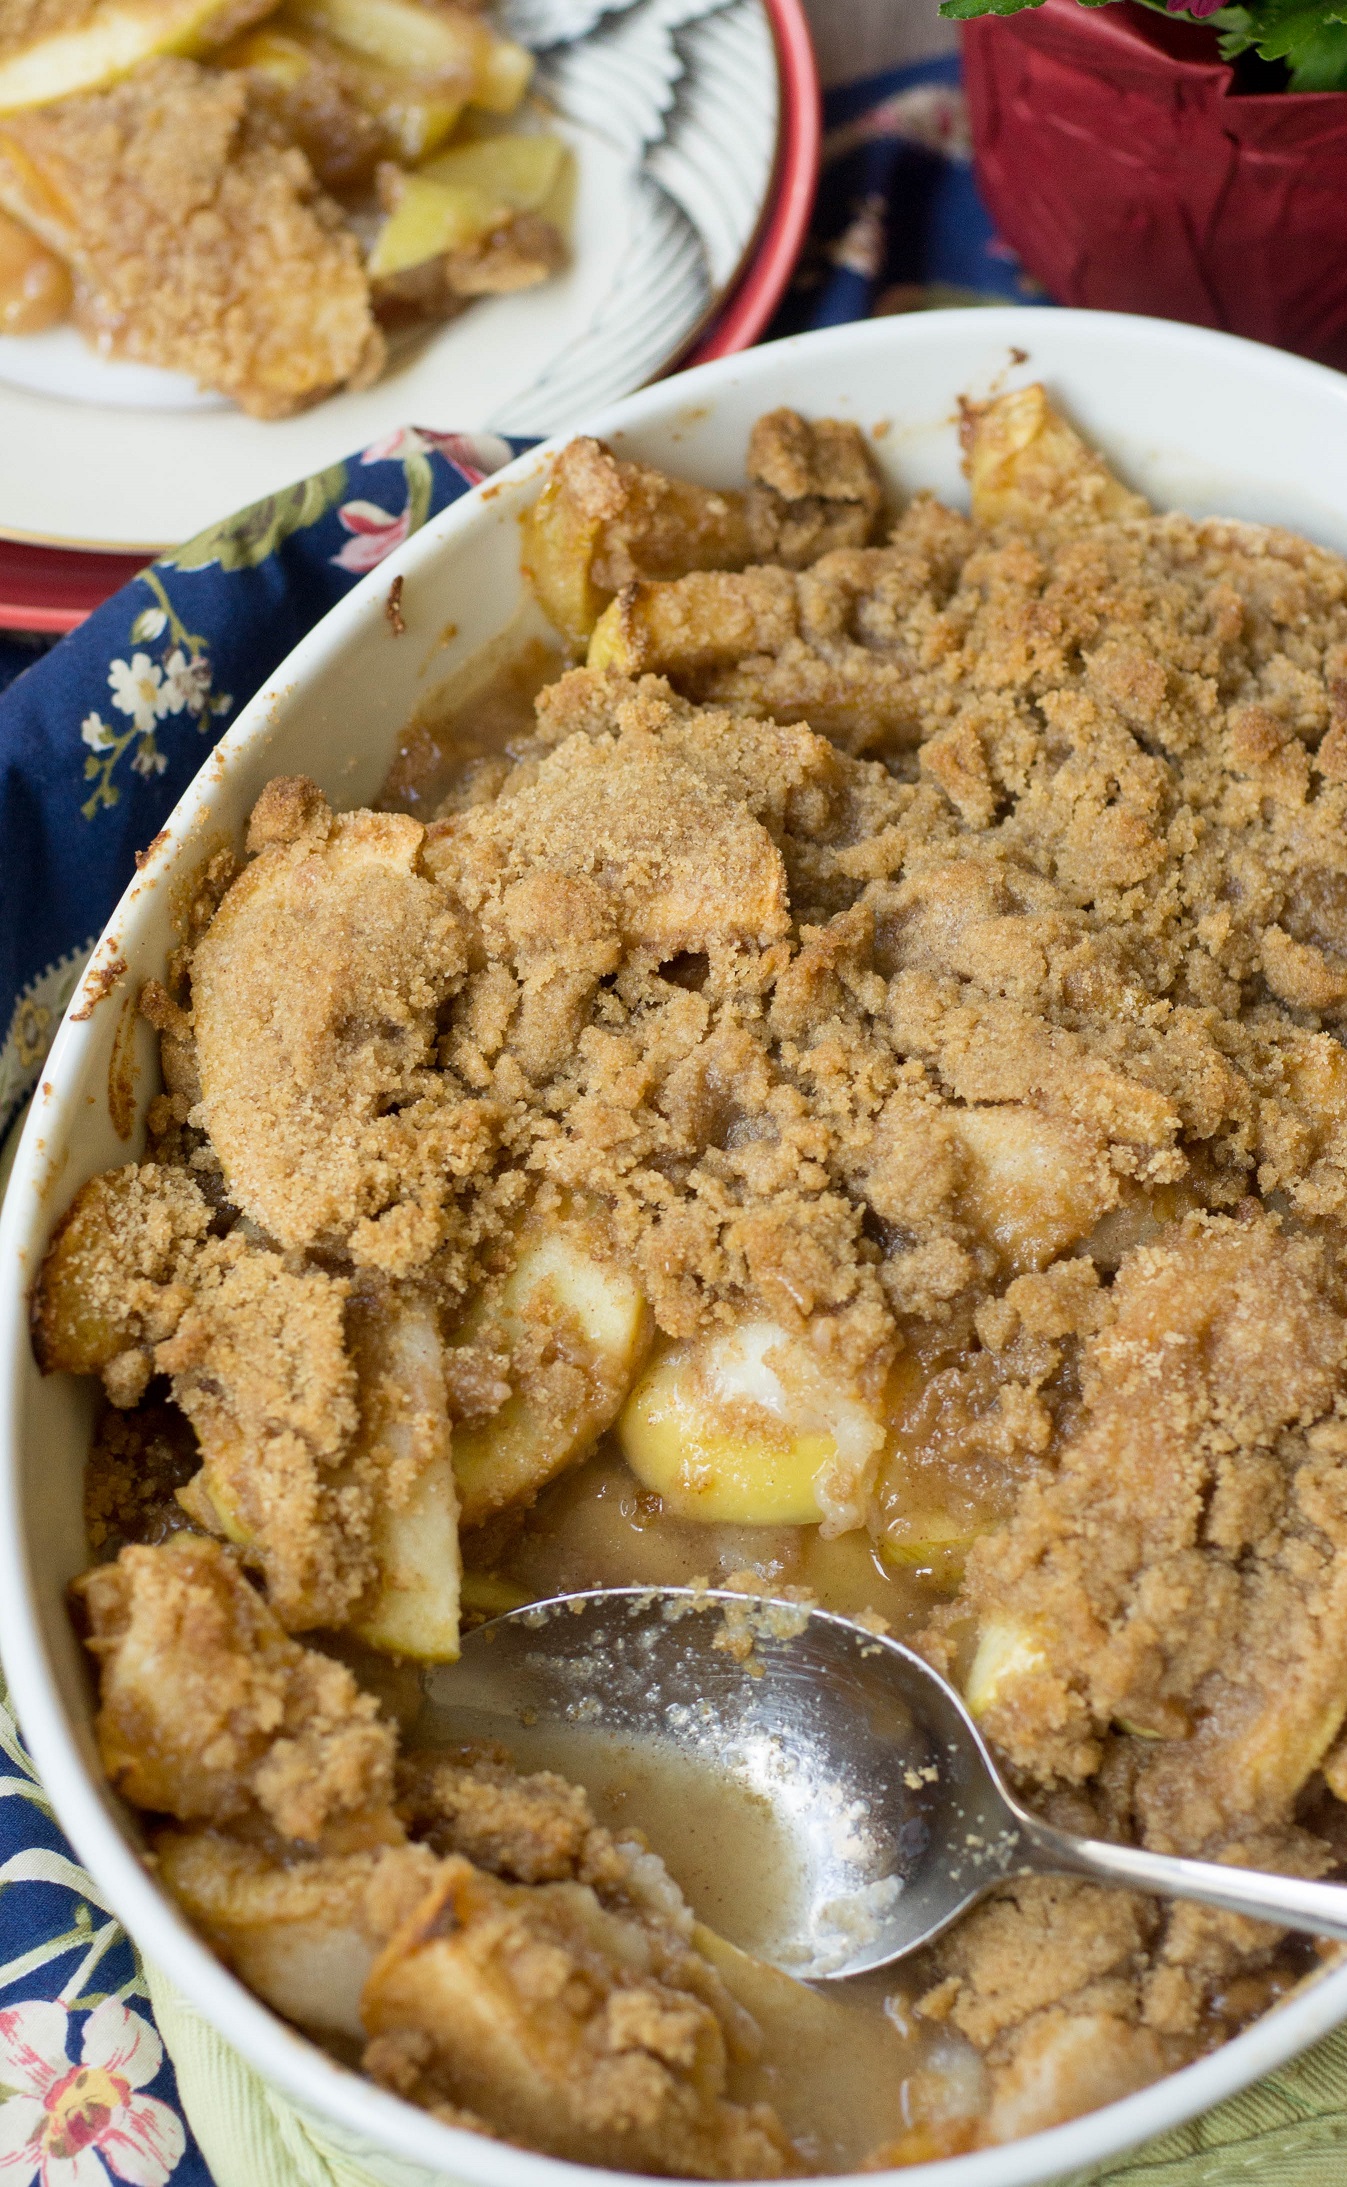
Warm caramel pear crisp topped with a crisp oatmeal topping is perfect the cold late winter days.

Every February I get that feeling that Spring isn’t too far away. And while in some parts of the states that is probably true, here in the Northeast we don’t get real spring weather until close to May. So to make it through that long cold stretch, we need warm, comforting dessert.

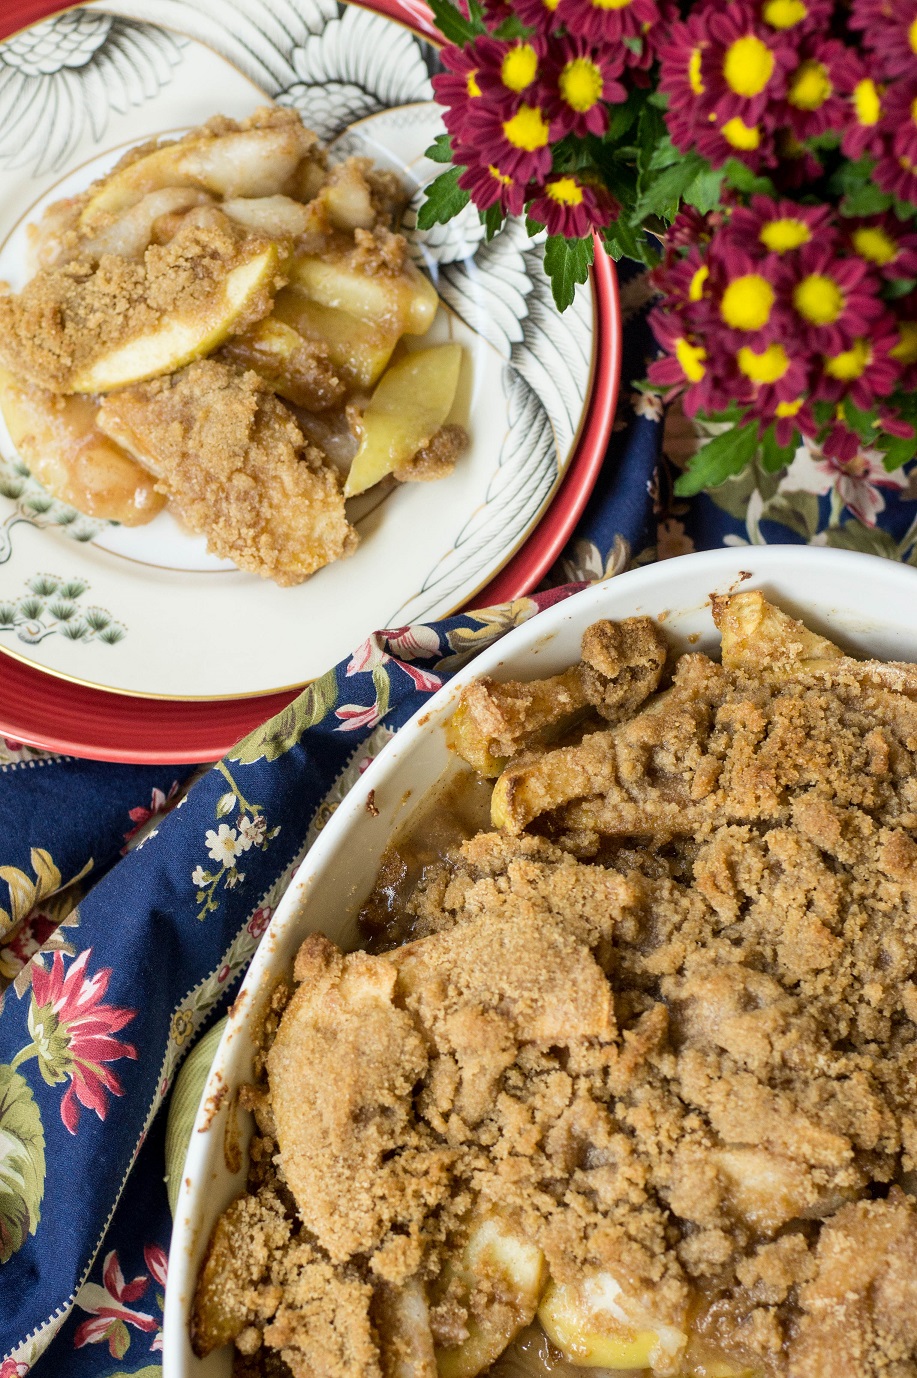
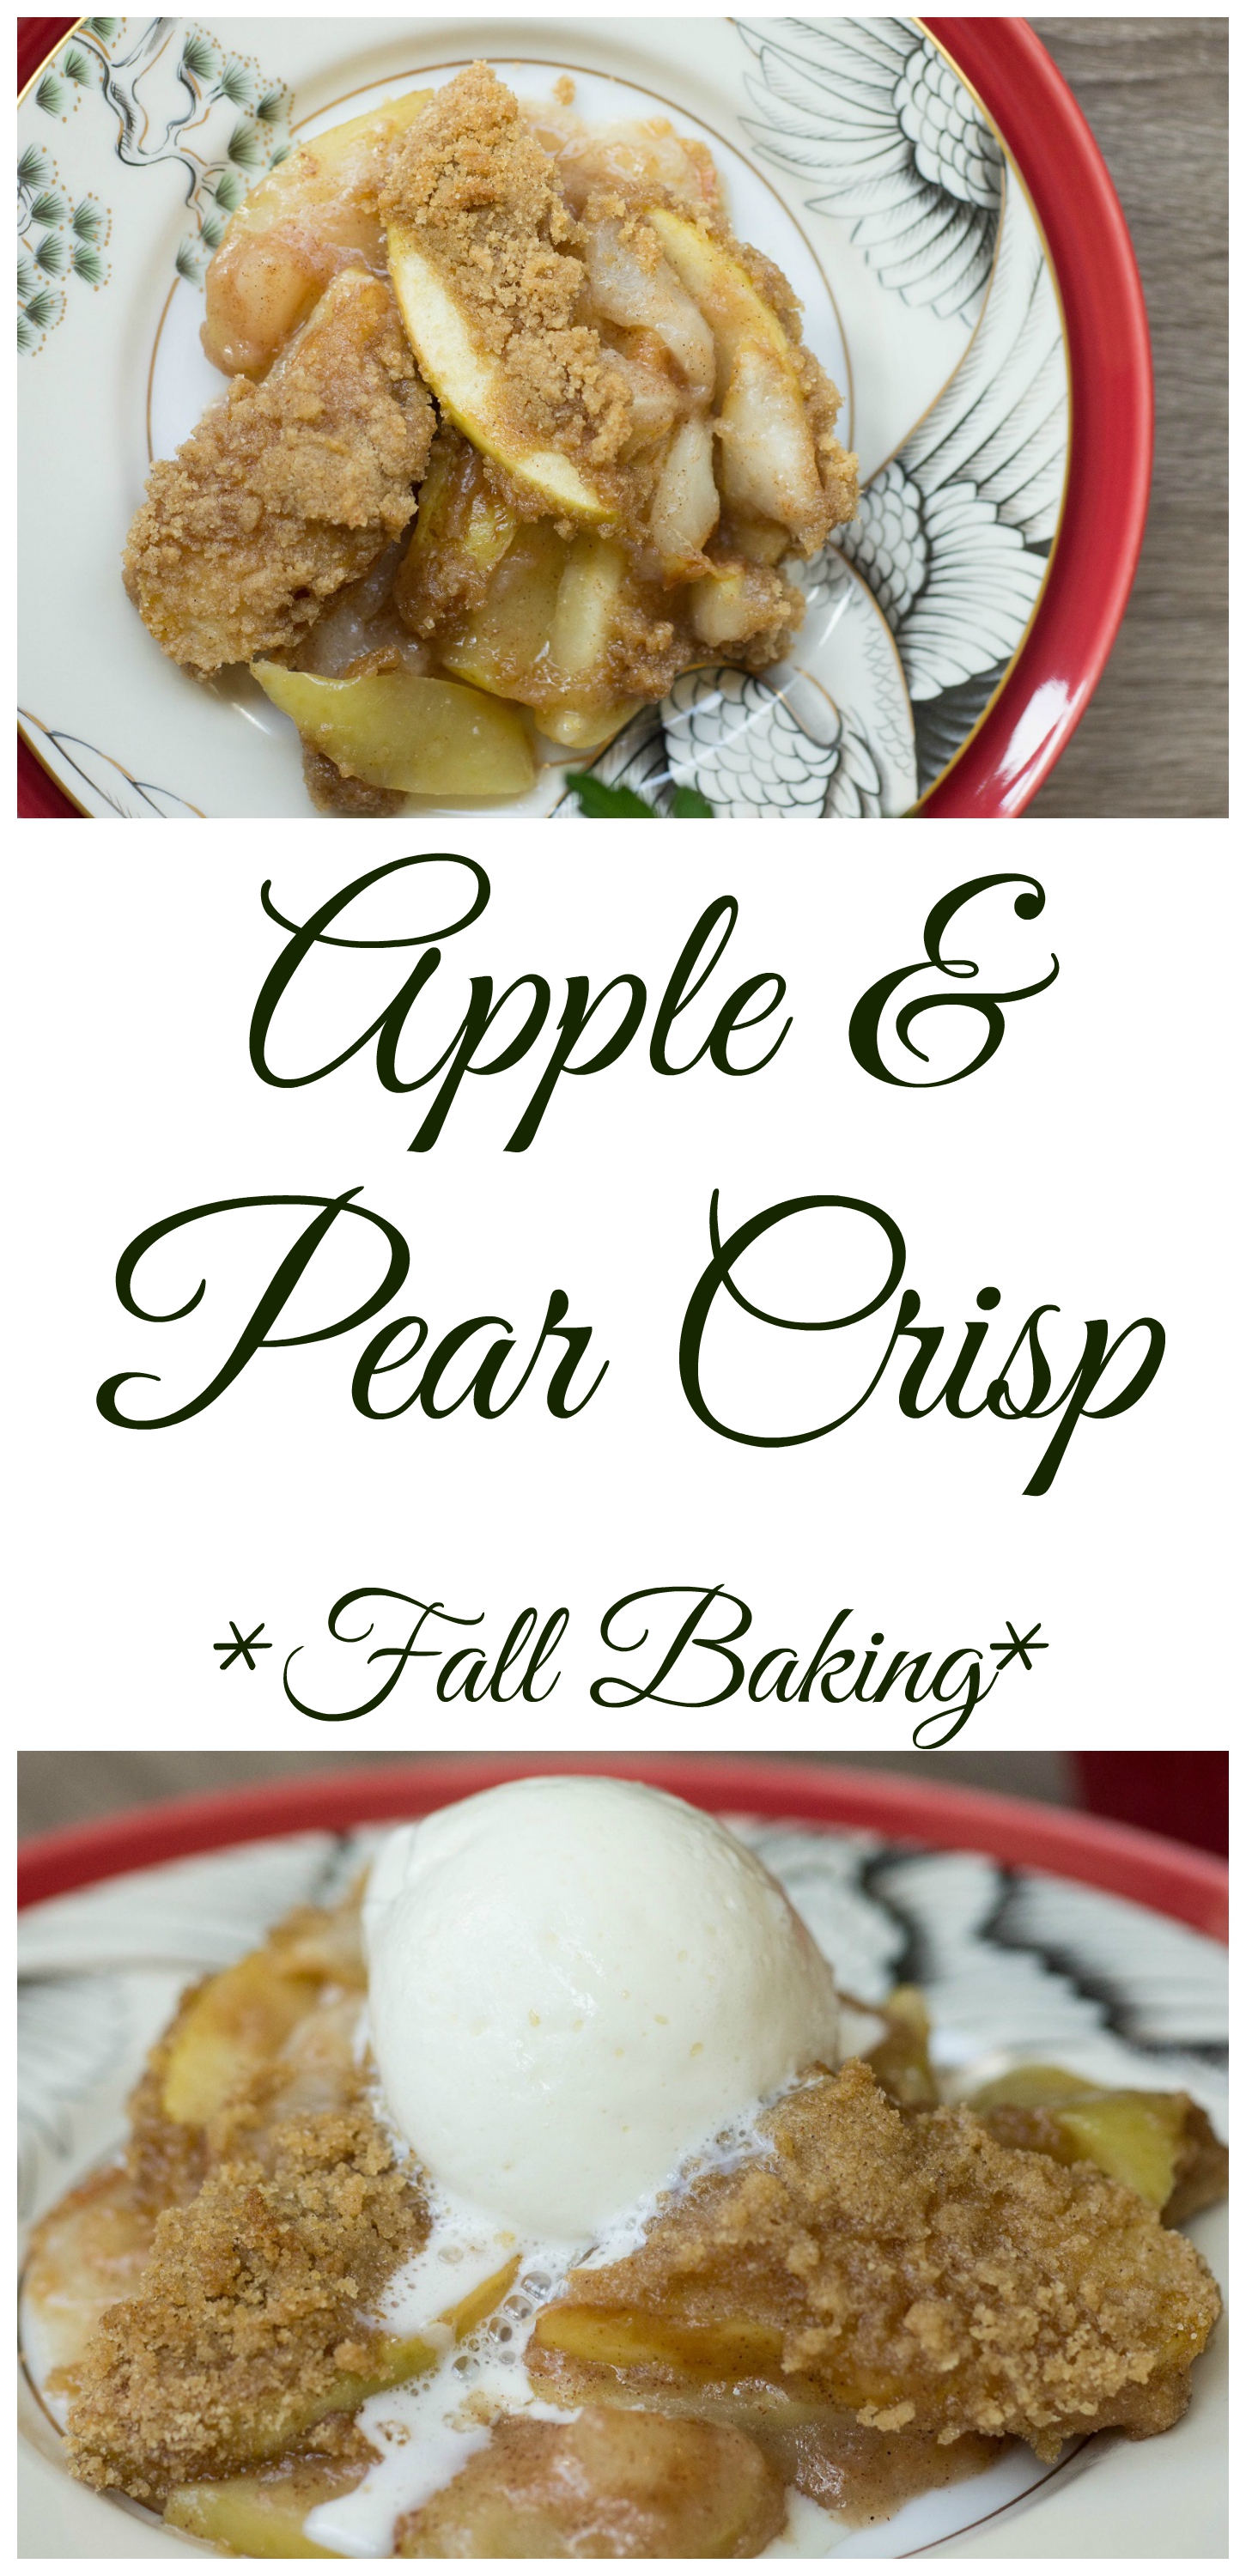
Crisps, crumbles and cobblers never fail to disappoint. Warm sweet fruit topped with a flavorful crumbly topping, often served with ice cream… what’s not to like? Here I took advantage of the plethora of pears we had while they are still in season. They paired so well with a brown sugar caramel. If you want, you can serve the crisp with ice cream and additional caramel sauce (the recipe makes more than enough for the crisp itself). However, this was really good enough to stand on it’s own. The pears almost melt in your mouth and the oatmeal-ful topping is so satisfying.

- 55g (~1/2 cup) oat flour* (I pulsed my oatmeal in the food processor until it was the consistency of flour)
- 40g (~1/2 cup) old fashioned oatmeal*
- 70g (~1/3 cup, tightly packed) light brown sugar
- ½g (¼ teaspoon) ground cinnamon
- 55g (1/4 cup) cold unsalted butter, cut into small cubes
- 700g sliced ripe pears (about 4 large)
- 15g (~2 tablespoons) oat flour* (I pulsed my oatmeal in the food processor until it was the consistency of flour)
- ⅓ cup brown sugar caramel sauce (recipe below)
- Pre-heat oven to 350 degrees
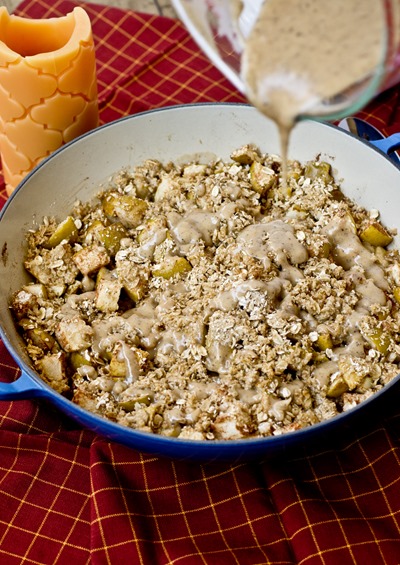
- In a medium bowl, prepare topping; mix together oat flour, oatmeal and brown sugar
- Add butter and use fingers to combine until mixture is slightly lumpy; set aside
- Prepare filling; in 9-inch round shallow baking dish (like a pie plate), stir together pears, oat flour and caramel sauce
- Distribute topping evenly over top of fruit
- Bake for about 20-25 minutes or until filling is bubbling and topping is lightly browned, if you see that topping has started to get to brown early, lightly cover with tin foil for remainder of baking time
- 234g (1 cup tightly packed) light brown sugar
- 113g (1/2 cup) unsalted butter, softened at room temperature
- 118 milliliters (1/2 cup) whole milk
- 5g (1 teaspoon) salt
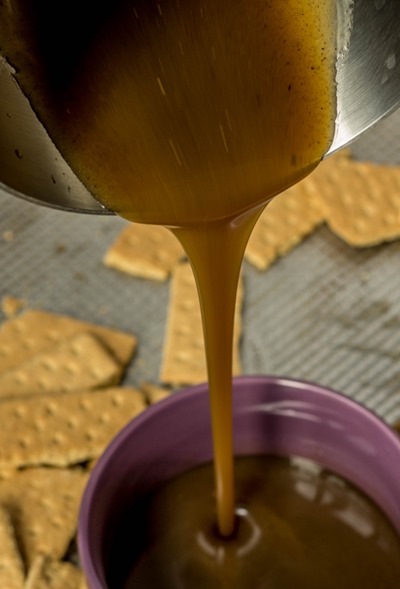
- Place the sugar, butter, and salt in a medium-sized heavy-duty pot over medium heat; stir until the butter and sugar have dissolved
- Sir in milk; increase heat to medium-high and continue to cook for four minutes (mixture should come to a boil within one minute); immediately remove from heat and stir; pour into a heat-proof bowl to cool
- Store in refrigerator up to one week before using; re-heat gently in microwave to loosen before using
Make something from the blog? Be sure to share it onInstagram with the tag #KeepItSweetDesserts.
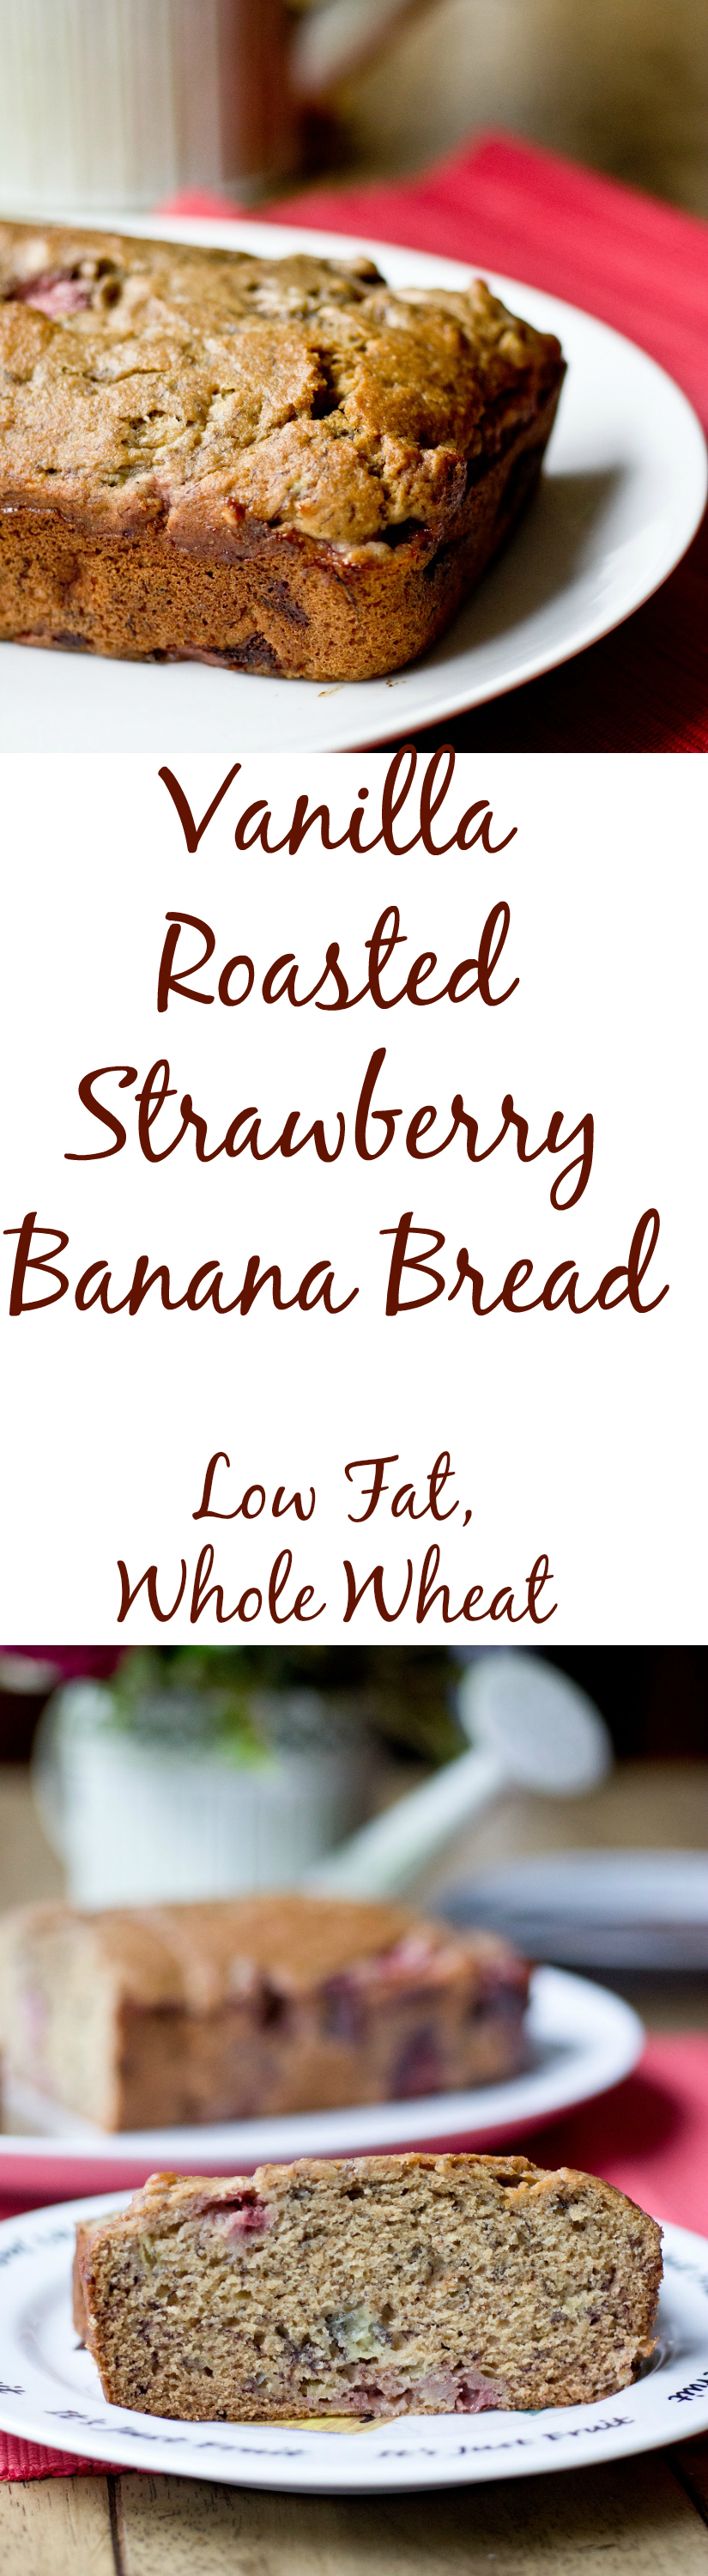
You might also like:
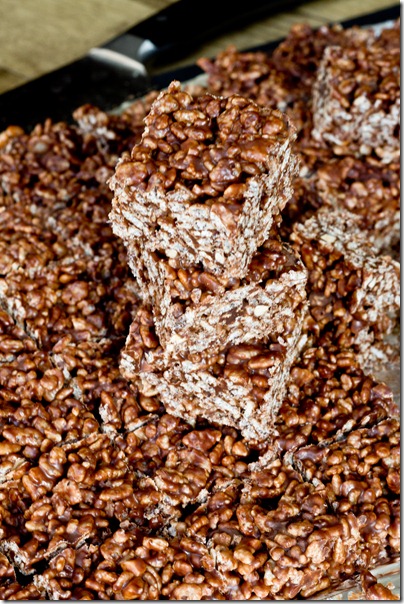
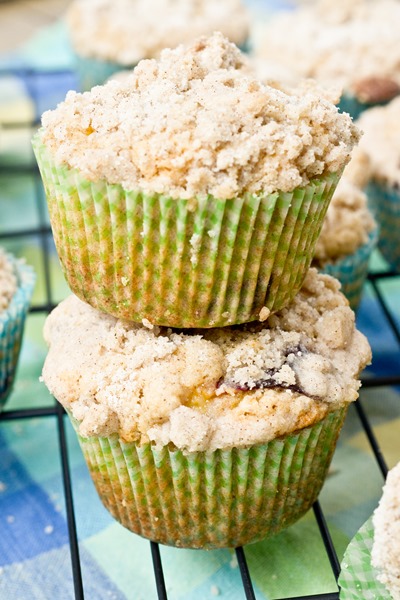
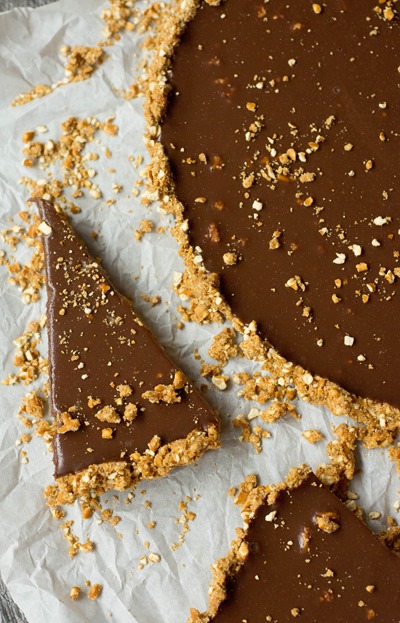
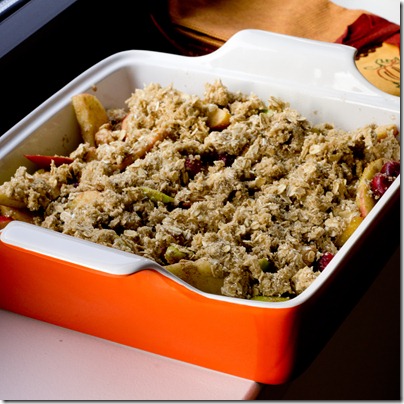
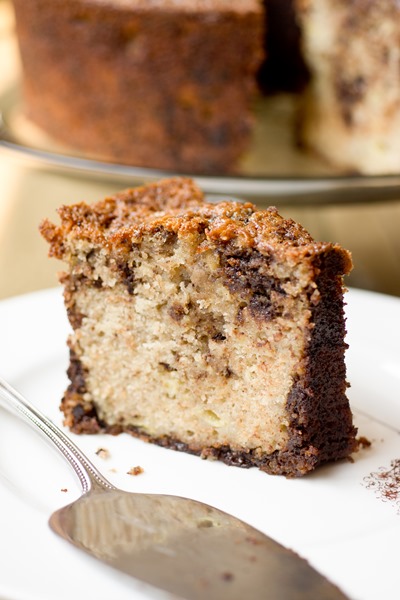
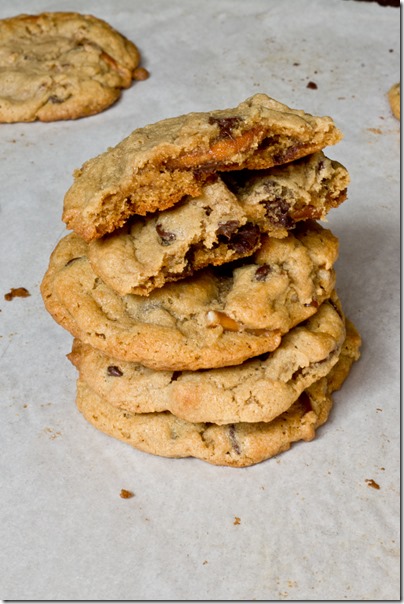
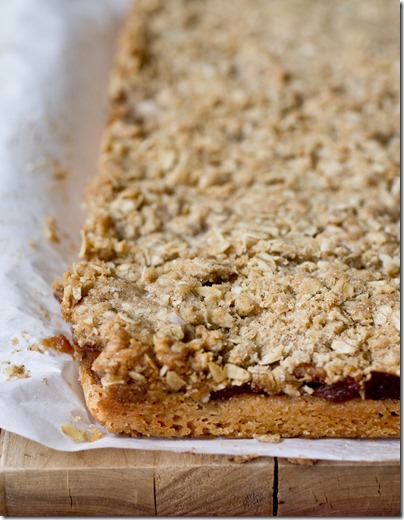
Skillet Apple Crisp with Brown Butter Sauce


")


")


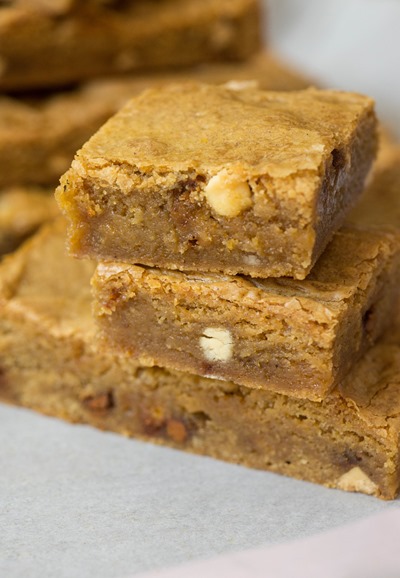
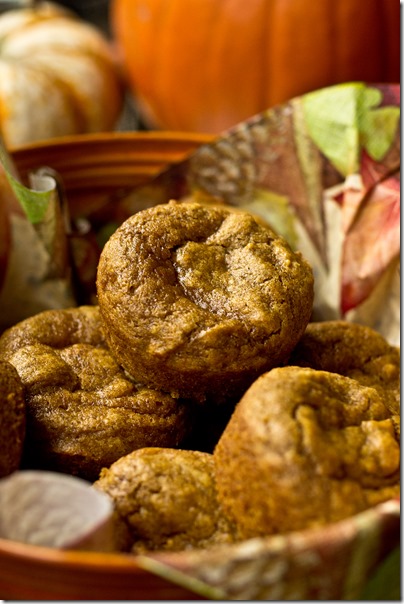
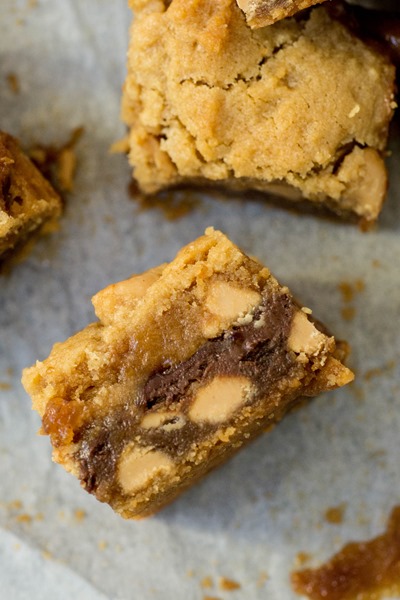
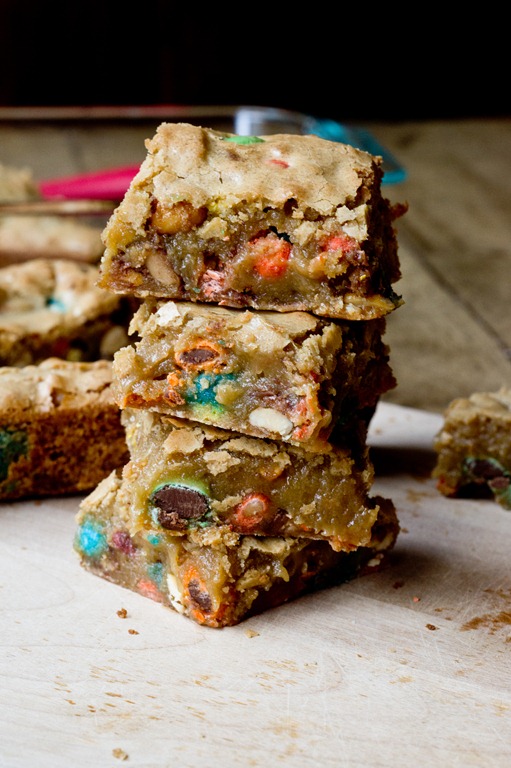
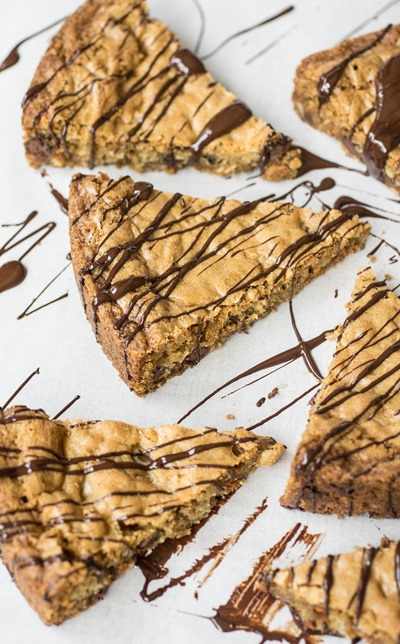
 Pumpkin Blondies")
 Pumpkin Blondies")
 Pumpkin Blondies")


")
")
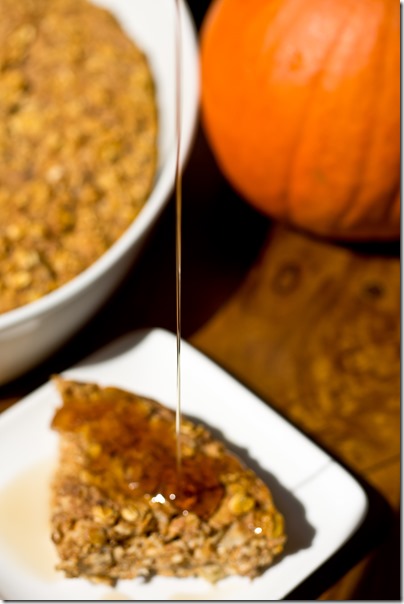
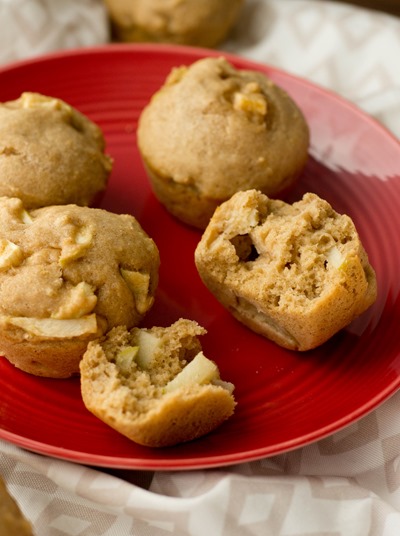
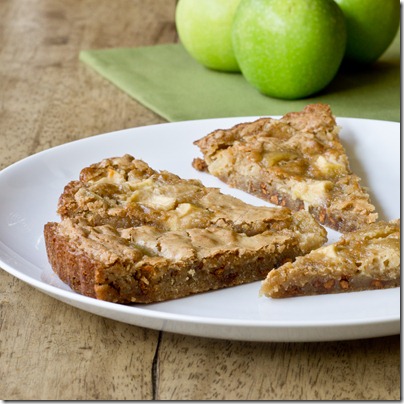
 - so perfect for all of the apples in my kitchen")