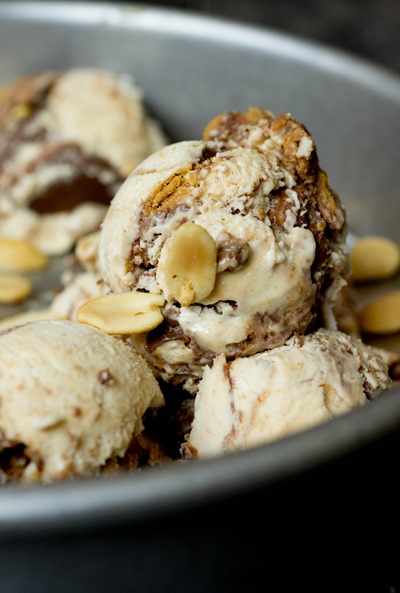
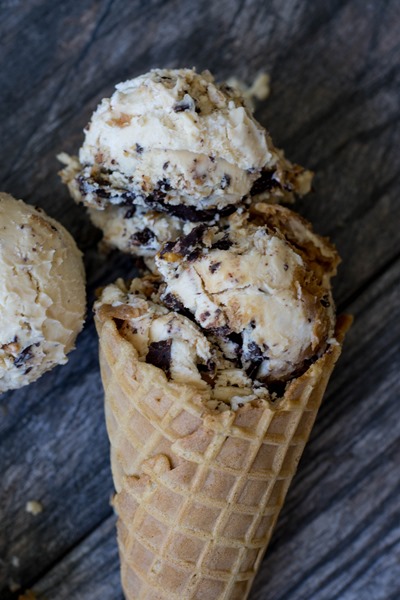
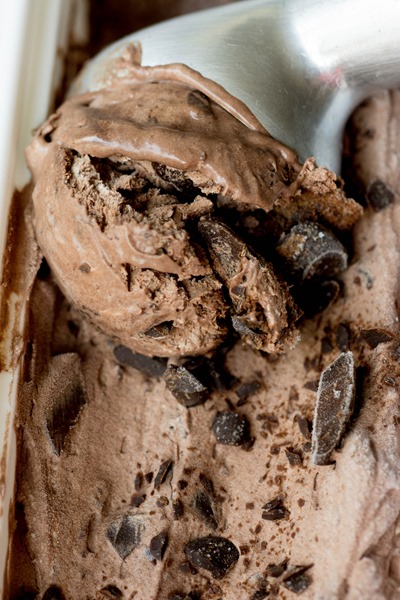
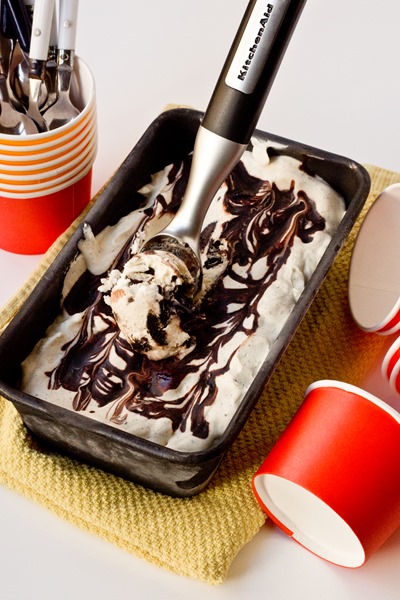
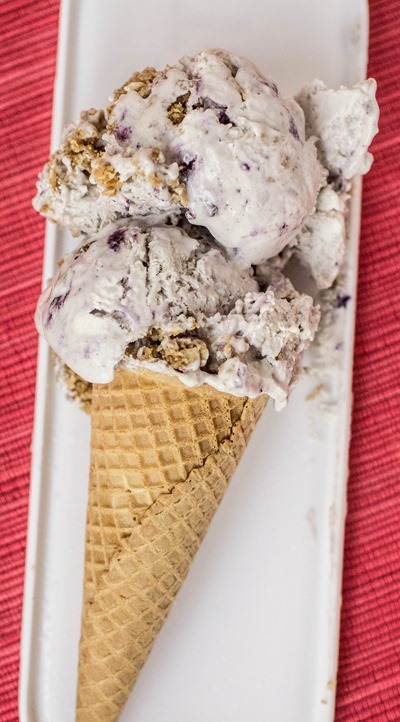
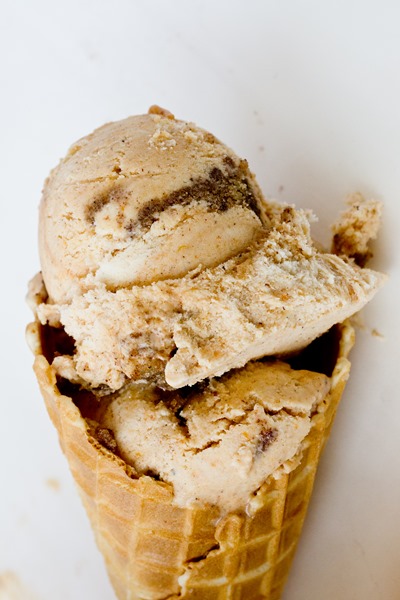
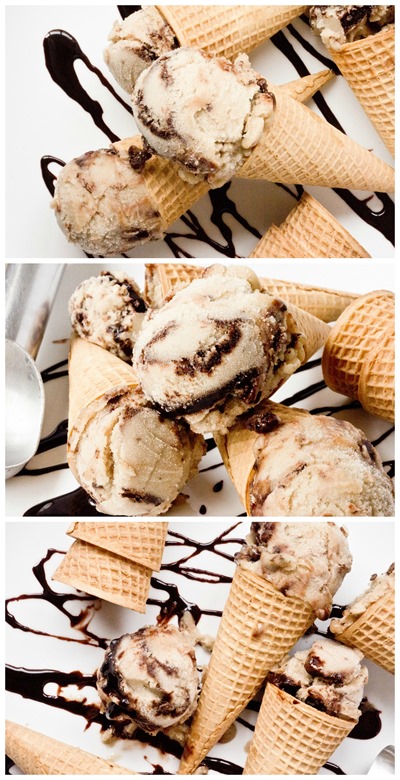
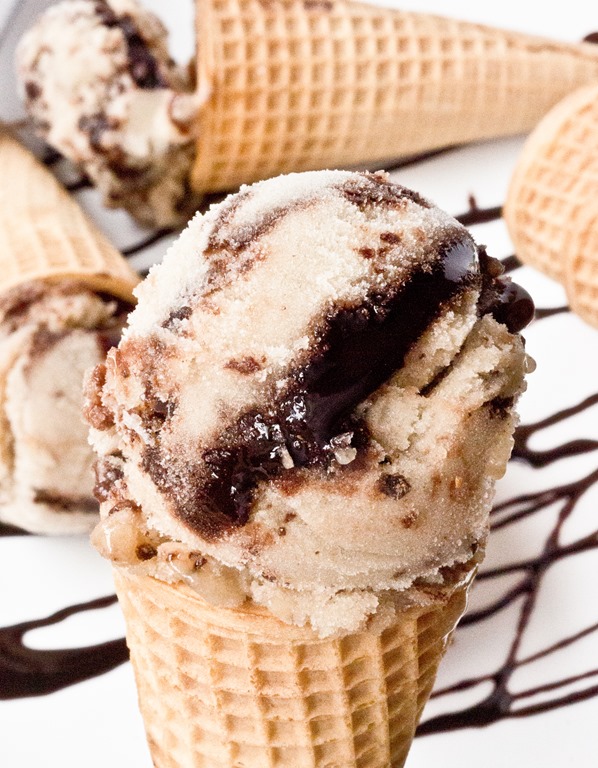
Rich and creamy no-churn peanut butter ice cream with swirls of milk chocolate and peanut butter.

Part of me wants to apologize for the fact that all I want to make and eat is ice cream. I can’t even blame pregnancy or breastfeeding for this summer’s obsession. But you know what? No churn ice cream is freaking easy and so delicious. No apologies over here!

And since I did figure out the ultimate peanut butter ice cream recipe this past Spring, I figure I should really take advantage of that and make every single version of peanut butter ice cream I can think of. Makes sense, right? Well, this time around I kept it simple with a peanut butter base, peanut butter swirl and milk chocolate ripple. Okay, maybe that sounds complicated, but I promise it’s not. Just four ingredients is necessary to make an ice cream that tastes exactly like a peanut butter cup. Summer eating does not get much better than this!

- 1 14-ounce can sweetened condensed milk (I used fat free, but any type would work)
- 130g (1/2 cup) salted creamy all-natural peanut butter
- 475 milliliters (2 cups) heavy cream
- 150 (~2/3 cup) salted creamy all-natural peanut butter
- 240g good quality milk chocolate disks or bars, roughly chopped
- In a large bowl, whisk together peanut butter and sweetened condensed milk and sea salt until smooth
- In the separate bowl of an electric mixer with whisk attachment, beat cream on high speed for several minutes, just until stiff peaks form
- Once cream is ready, fold it into peanut butter mixture
- Pour half of ice cream into a regular-sized loaf pan or ice cream storage container
- Make peanut butter swirl:
- Microwave peanut butter for 15 seconds
- Drizzle half of peanut butter swirl over top
- Make chocolate swirl:
- In a small microwave-safe dish, heat chocolate in 30-second increments, stirring after each, until melted
- Pour half of milk chocolate over ice cream; use a knife to marbleize chocolate and peanut butter into ice cream
- Repeat with remaining ice cream, peanut butter and chocolate
- Wrap well with seran warp or tin foil and freeze for 6 hours or overnight
Make something from the blog? Be sure to share it on Instagram with the tag #KeepItSweetDesserts.
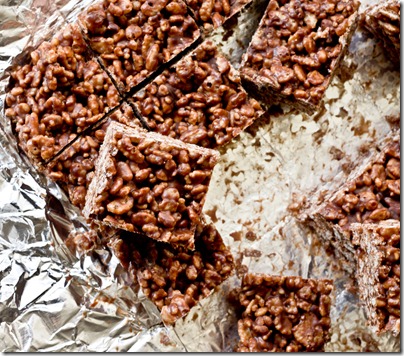
You might also like:
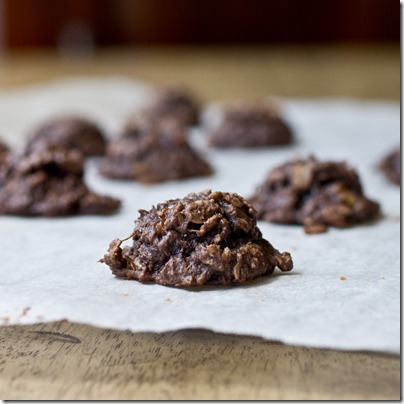
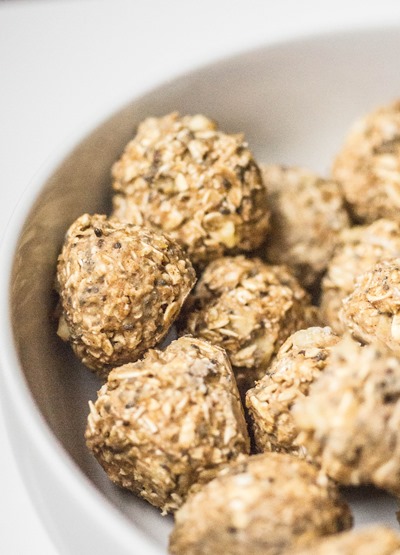
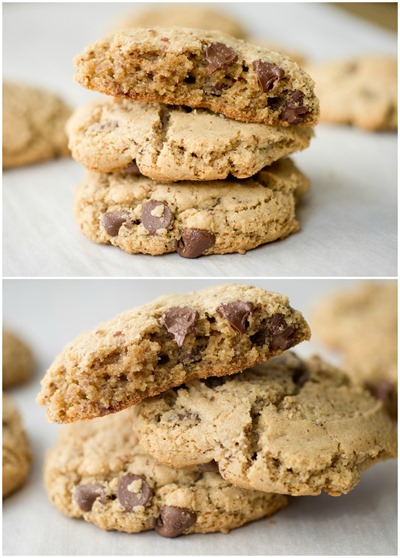
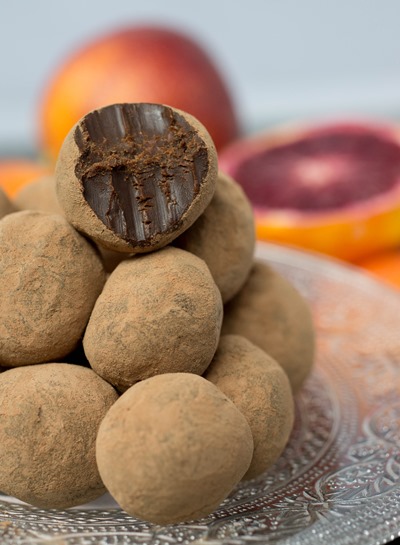
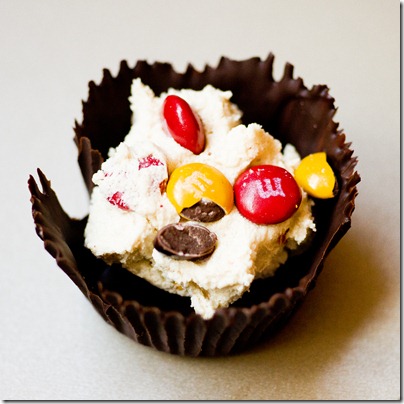
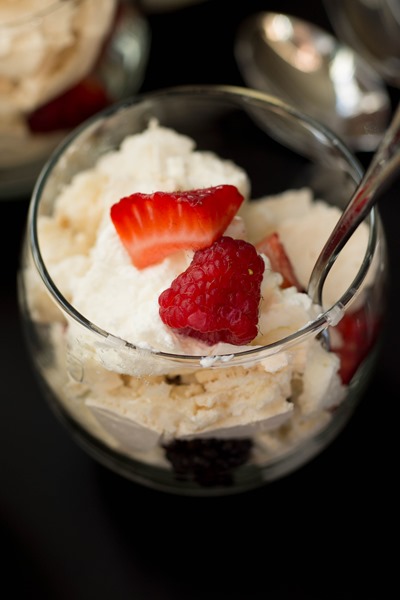
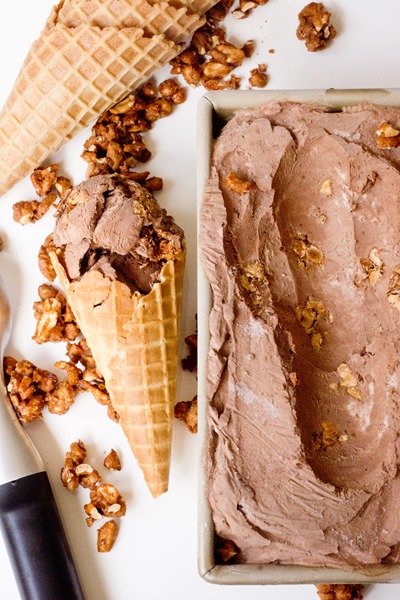
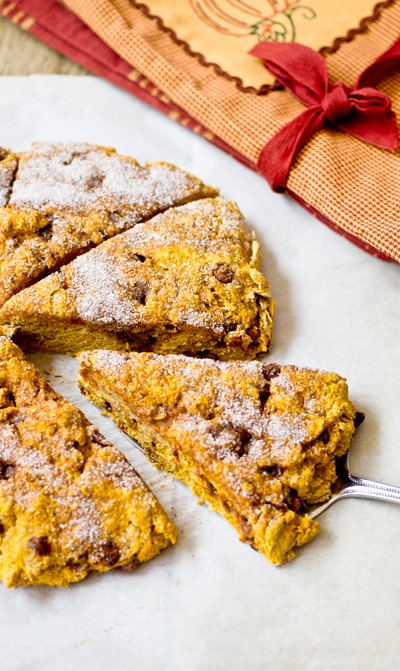
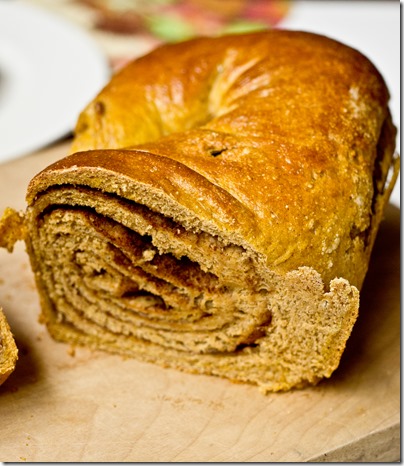
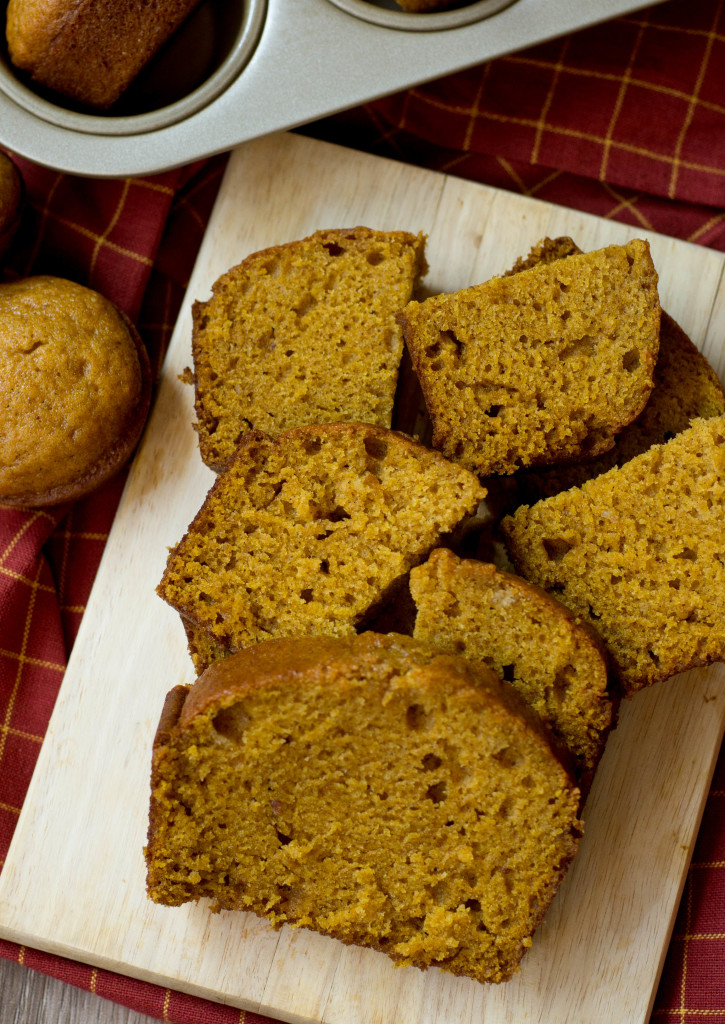
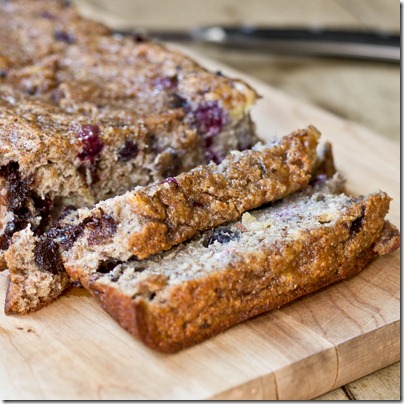
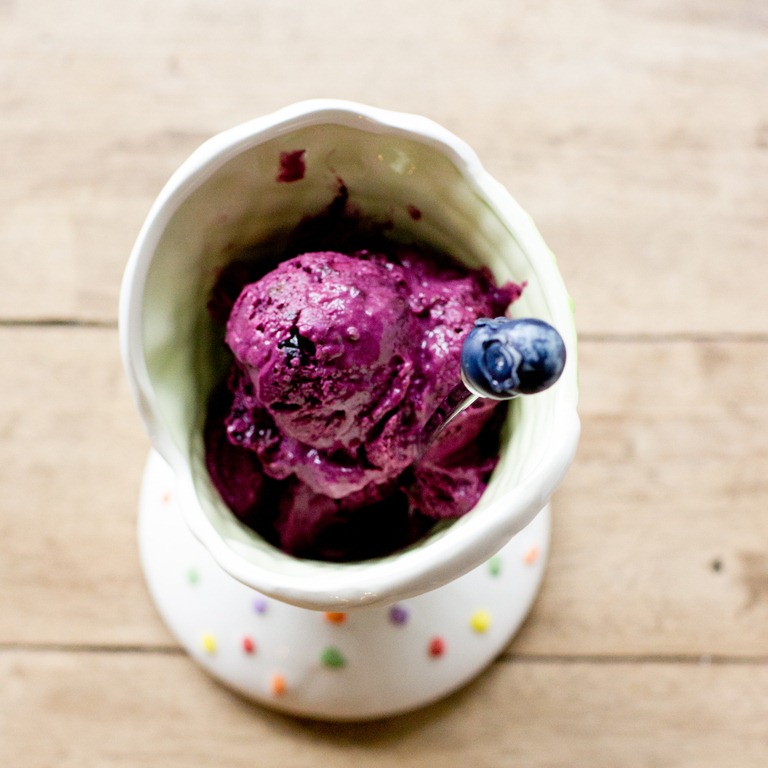
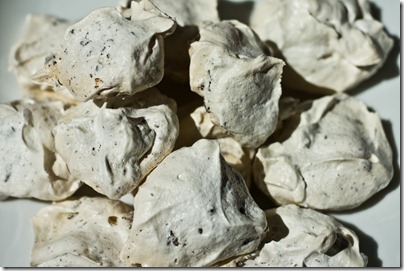
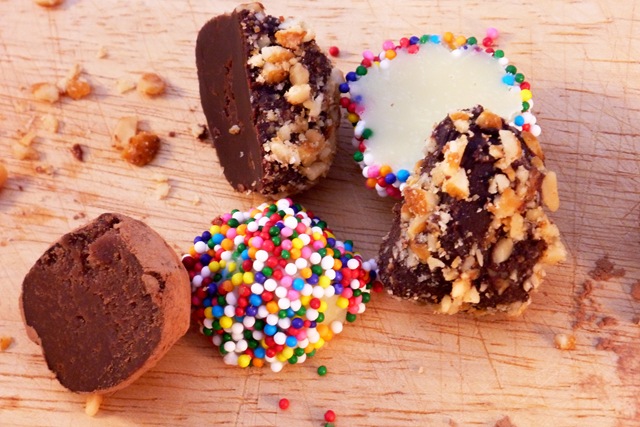
Peanut Butter Chocolate Covered Pretzel Ice Cream
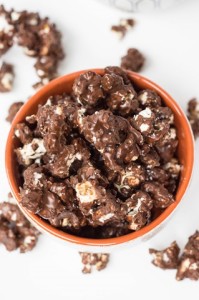
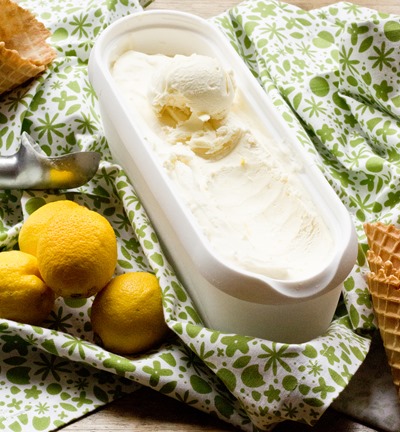
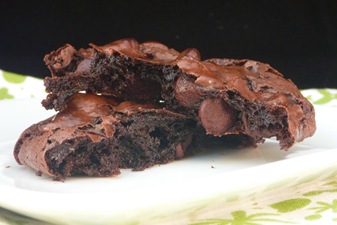
Chocolate Ice Cream with Salty Candied Peanuts
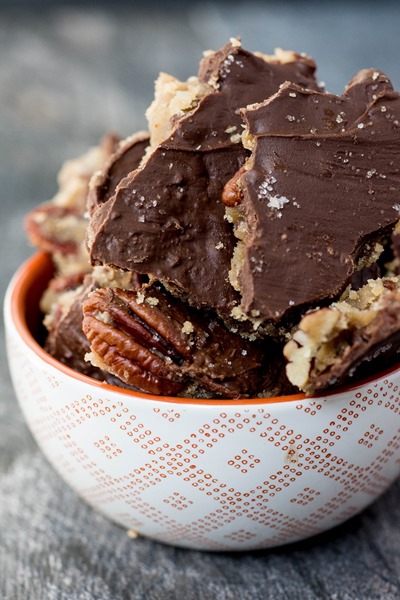
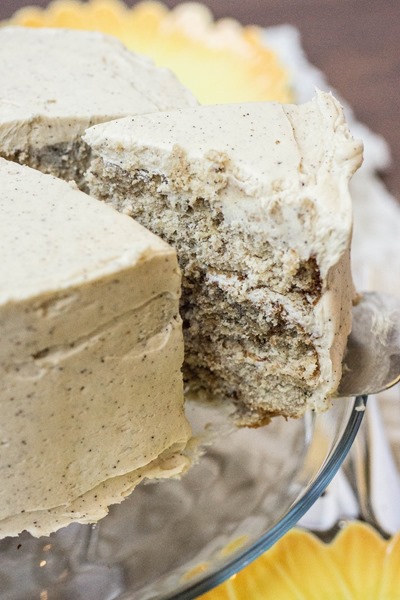
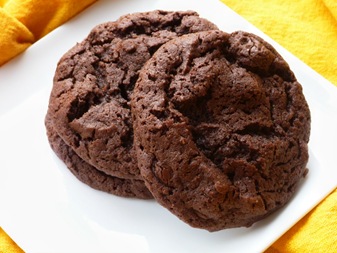
Peanut Butter Ripple Chocolate Ice Cream


")


")
")
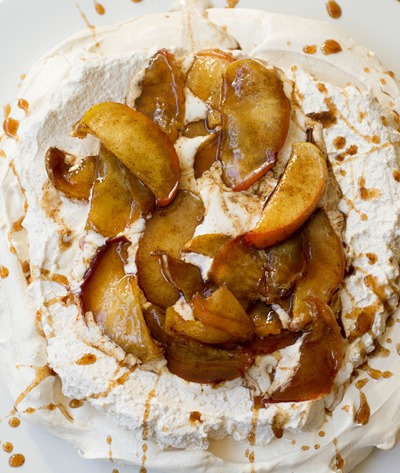
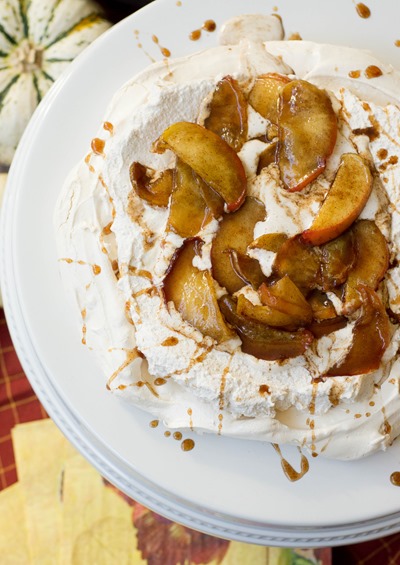
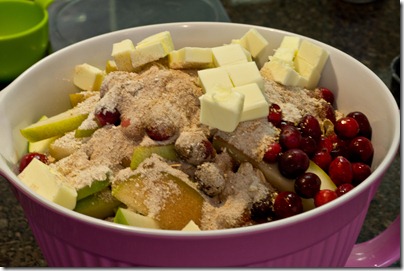
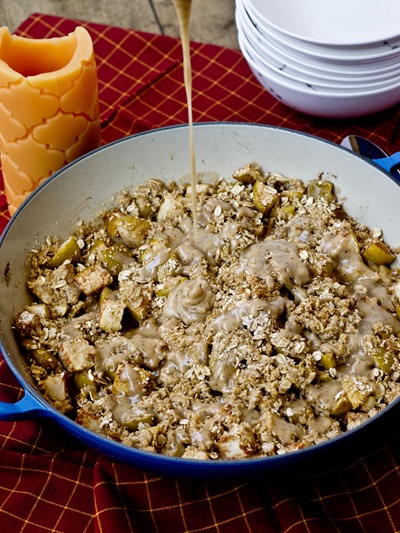
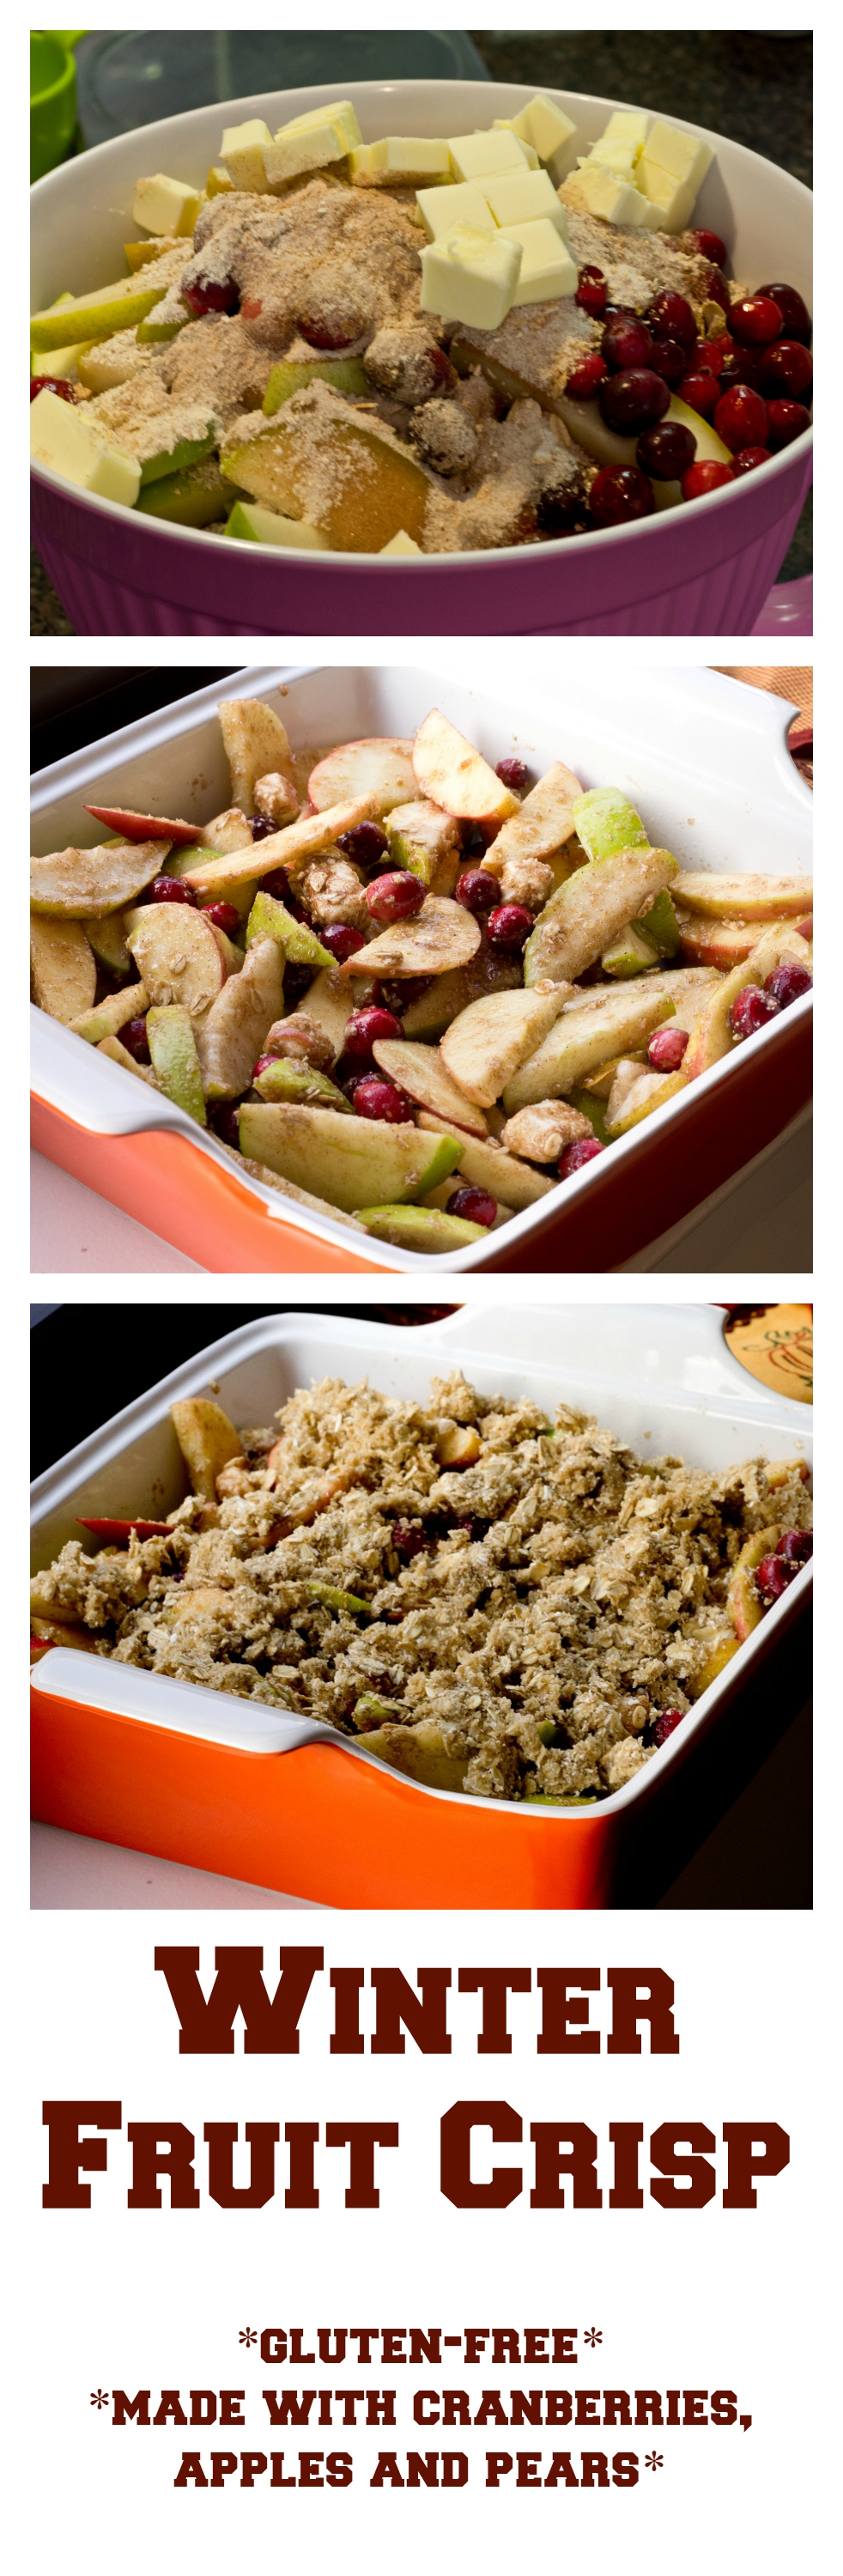
 - so perfect for all of the apples in my kitchen")
")


")
")
")
")


")
")


")

")
")
")


")
")


