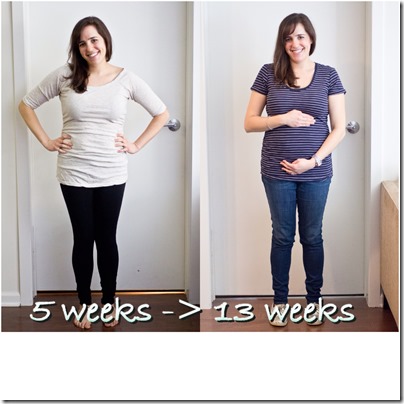
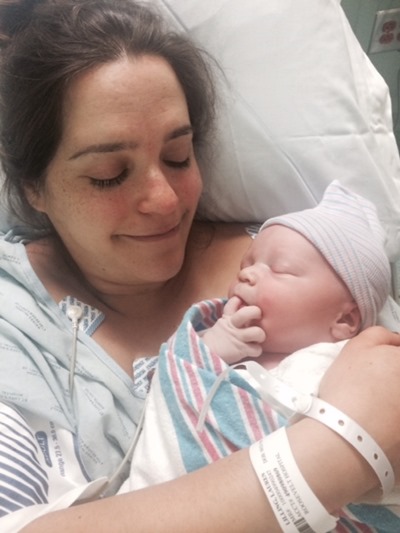
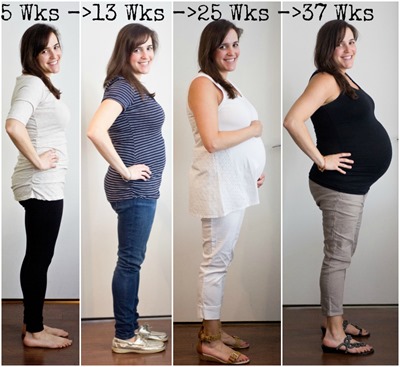
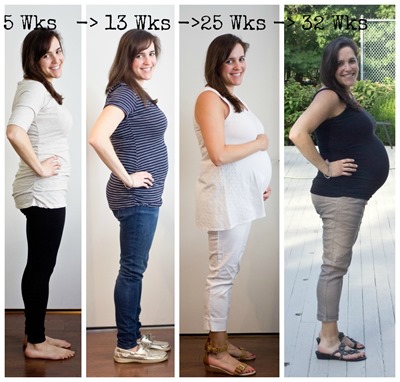
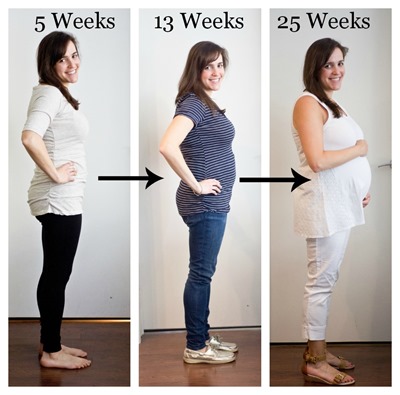
I’m 20 weeks along; halfway through my pregnancy!
***First of all, a HUGE congratulations to my sister who is graduating from HARVARD today. I’m beyond proud of you and so happy I get to be there to celebrate! And even happier that you are moving back to New York this summer!!!!!!***

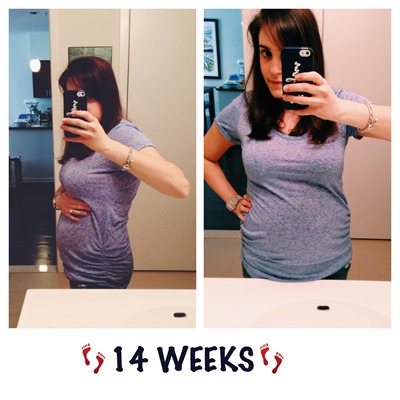
Jessica and I last weekend

Photos taken last weekend, I’ll take an official 20-week photo this weekend!
Halfway, I can barely believe it. Just about five months until I can enjoy a bagel with lox, an extra large fountain soda (Diet Coke to be exact) and a cocktail or five. Not that I’m counting or anything.
How far along: 20 weeks
Total weight gain: 10.5 pounds
Maternity clothes: There are a few regular tops that still fit me but most are getting too short or just aren’t flattering. The maternity clothes are great because they are comfortable and insure that I look pregnant instead of fat! I’m pretty much in maternity attire 99% of the time.
Stretch marks: Luckily no. I’m hoping that genetics stay on my side for this one.
Sleep: Other than a few off nights I’ve been sleeping pretty well. As long as I don’t drink too much water in the evening I can limit my bathroom trips to twice a night. Still loving this pillow!
Best moment of this week: Last week was the first full week where I really felt like myself. The energy drain really took away my motivation for a while. Now it feels good to be excited about working in the kitchen.
Miss anything: The warm weather has me missing summer cocktails. I’m not a huge drinker but it is hard not having the option!
Movement: Apparently I have an anterior placenta (it sits between the baby and my abdominal wall). That basically means that I won’t feel anything until later in the pregnancy than normal. I guess I should be happy that kicking doesn’t keep me up all night but I do wish I could feel the baby a little bit.
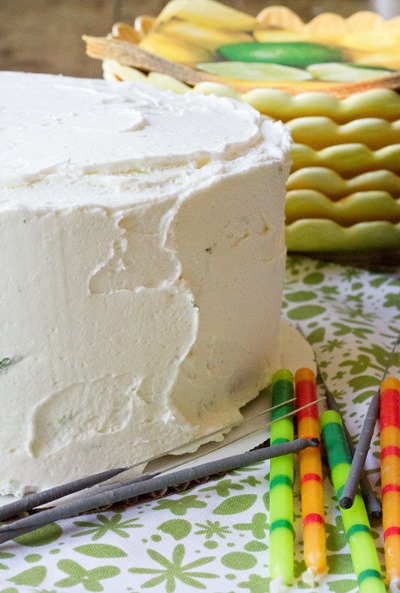
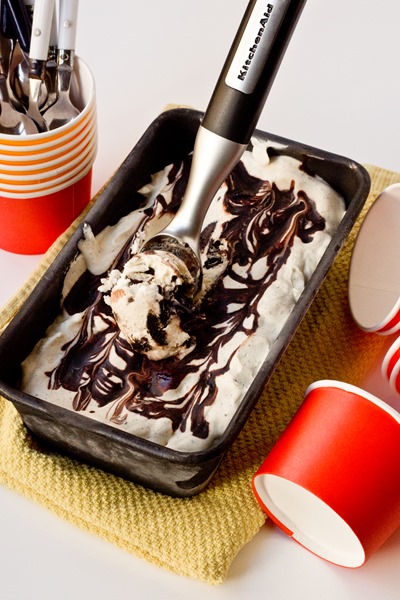
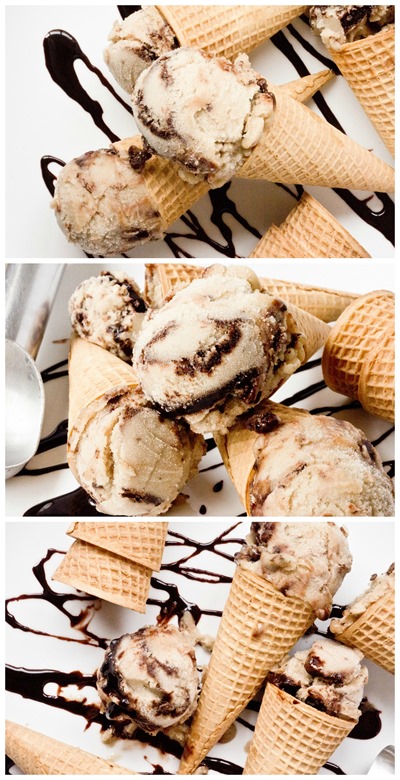
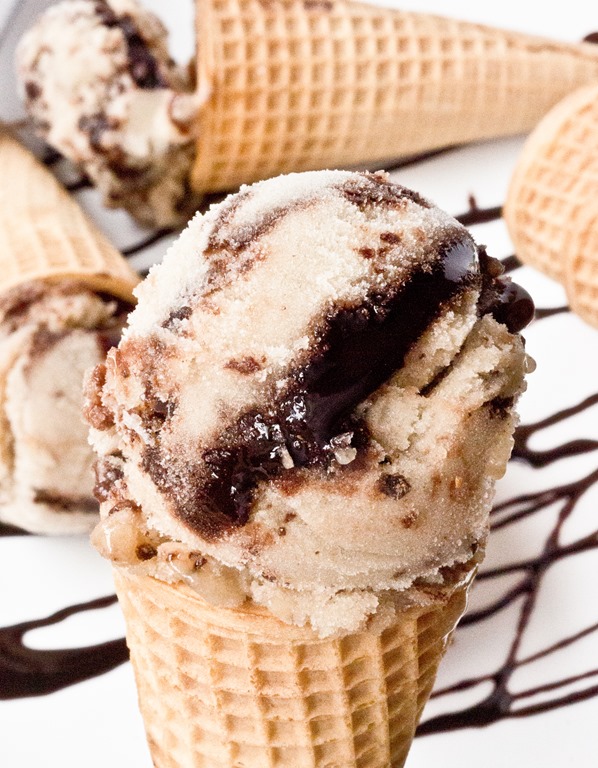
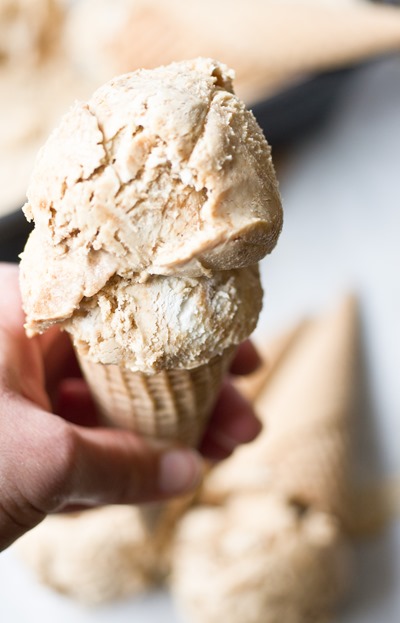
Food cravings: No significant cravings since the first few weeks. I’m still hungry ALL the time and loving carbs and ice cream (shocker).
Anything making you queasy or sick: Nothing since the first trimester! Although, brussels sprouts and some veggies just don’t appeal to me like they used to.
Have you started to show yet: I’m full on pregnant in appearance. I saw some family on Sunday and the first thing everyone said to me was “wow, you really are pregnant!” I just have to stop comparing myself to the pregnant women who still look skinnier than I’ve ever been in my life. I know that I’ve gained the healthy amount of weight and I’m short, so I probably show even more because of that.
Gender: BOY!
Labor signs: Nope.
Belly button in or out: All in.
Wedding rings on or off: On.
Happy or moody most of the time: I don’t know that I’m moody exactly, but I’m definitely a little more sensitive. Once I get upset I go from somewhat upset to very upset quickly. Oh, and I cried during a movie preview last week.
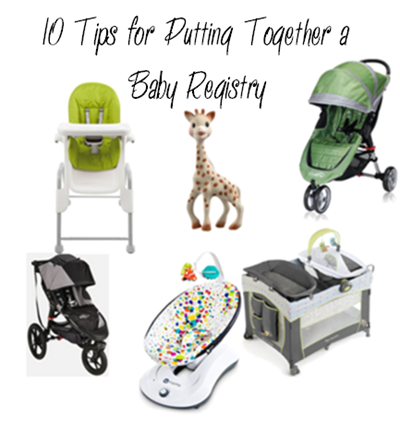
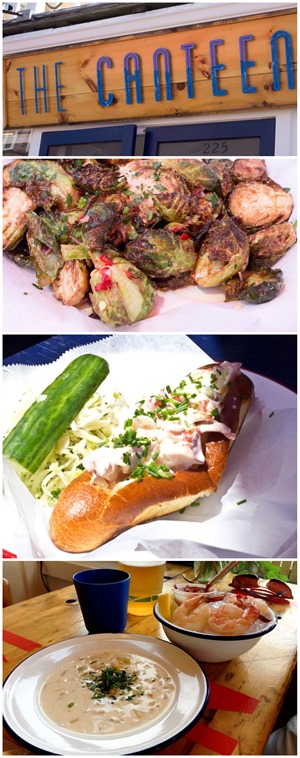
Looking forward to: Matt and I are going to Cape Cod for a few days next month, can.not.wait. Also, I can’t wait to start registering! We won’t be buying anything before the baby comes except for some furniture and the layette, but it’s exciting to pick things out anyway.
Fun Facts: I’m so glad I wrote this post because most people now know that I’m sensitive about the belly touching. It isn’t as big of a big deal now that my belly is more of a pregnant belly, less regular belly fat! Luckily I haven’t had strangers reach for me yet.
And some miscellaneous pregnancy thoughts::*
Weird or inappropriate commentary: I actually haven’t gotten too many inappropriate comments since I first told everyone I was pregnant so that’s good! Well, minus a few choice people who just could not understand why I was so hungry. Um, hello little human growing inside of me. Granted, I eat small healthy meals most of the time so I end up eating every 2-3 hours, but you know what, don’t judge a pregnant person’s hunger levels. It won’t end well.
What I’ve learned about eating during pregnancy: I’ve always been a pretty healthy eater, read labels and watched my diet, but pregnancy has definitely pushed that to the extreme in a different way. I’m fully aware that everything I eat goes to the baby so I’ve been avoiding all of the typical off-limit foods (raw fish, undercooked meats, deli meat, etc.) but also have cut out artificial sweetener (no Splenda, Stevia, anything of that sort) and keep an eye out for similar ingredients like maltodextrin and other shady items listed in processed foods. I’m probably more extreme than I need to be, but it’s 9 months so why not be as healthy as I possibly can be? This whole process has really made me more aware of what I’m putting into my body in a good way. For once in my life I’m really focusing on feeding myself the nutrients I need when I’m hungry. That happens often enough that I don’t even have much opportunity for boredom eating, either.
That said, I definitely still treat myself. But it’s so different from before I was pregnant. I used to try to limit my calories in a way that when I’d eat dessert I’d need to eat all of it at once. Now I am able to have a reasonable portion of dessert at night and stop because I know that I can do it again the next day if I want. Plus, gorging on unhealthy sweets wouldn’t make me feel good (night time stomach aches are the worst these days) and definitely wouldn’t be good for the baby. Of course sometimes I eat a bigger dessert serving than I really should, but the next day I skip dessert and don’t feel guilty about it at all. I’d really love if this new way of moderation could translate after the baby as well.
Cloth diapers: I’ve been starting to do a little research on cloth diapers and would love to hear if any of you have experience using them. I’d really like to consider it for after the first month with the baby but am definitely nervous about how overwhelming it might be. I also don’t know that it is necessarily better for the environment given the additional water used for all of the extra laundry. Any of you have experience to share on this?
Note: This post contains affiliate links.


")


")
")
")
")
")
")
")
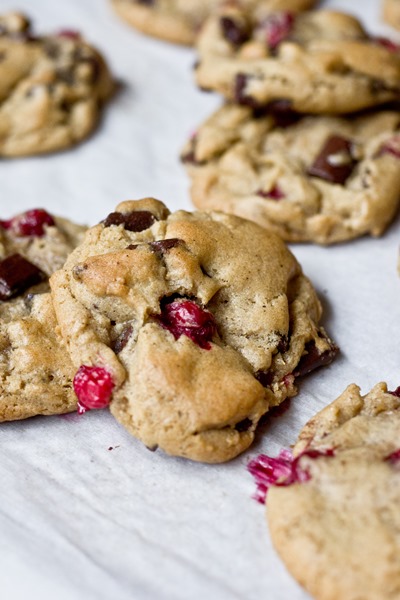
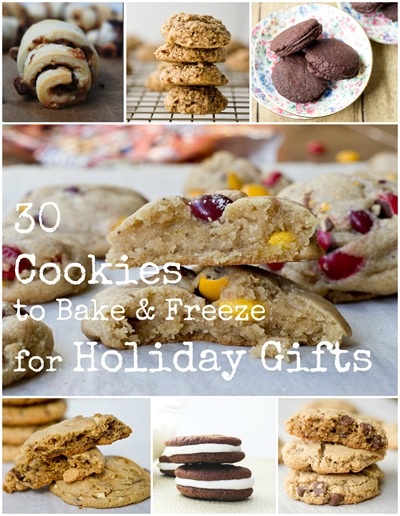
How to Bake and Freeze Cookies for Holiday Gifts (including these")


")


")
")
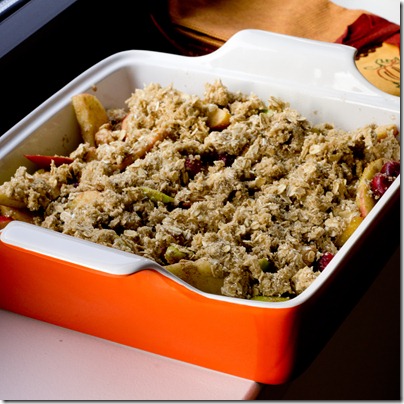
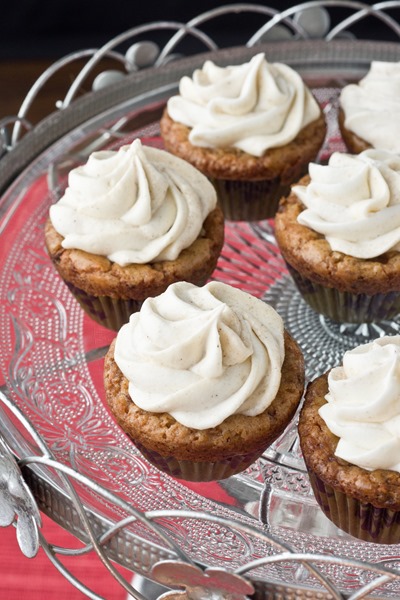
 - so perfect for all of the apples in my kitchen")


")


")


 flavor...")


")


")


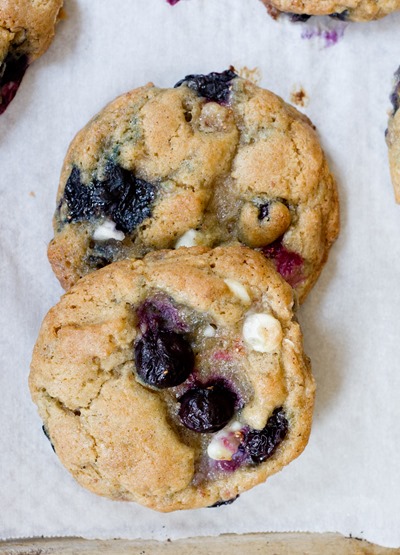
 Blueberry White Chocolate Brown Butter Cookies - basically cookie perfection")


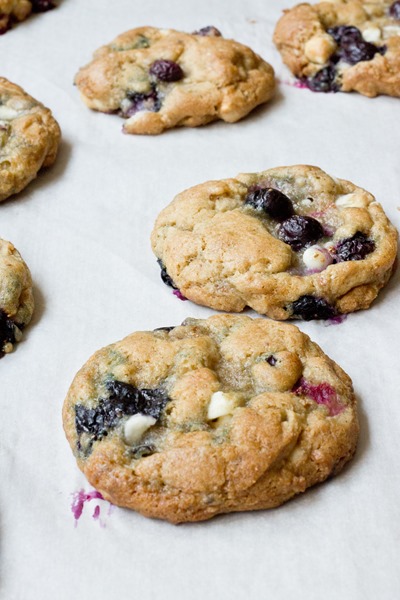
 Blueberry White Chocolate Brown Butter Cookies - the cookie of the summer!")
 Blueberry White Chocolate Brown Butter Cookies - sweet, chewy, crispy edges, everything you could want in a cookie!")


")


")
")


")
")
")
")


 when your friend says she is pregnant?")