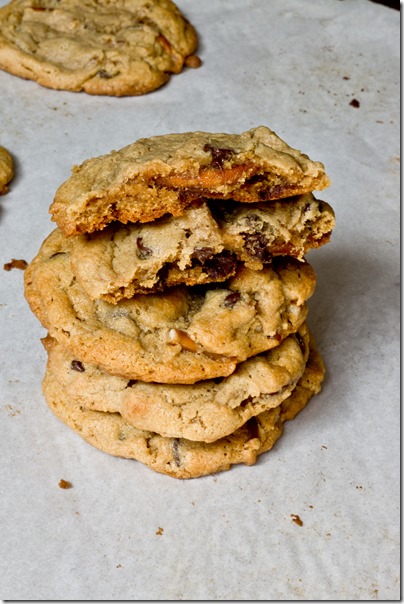
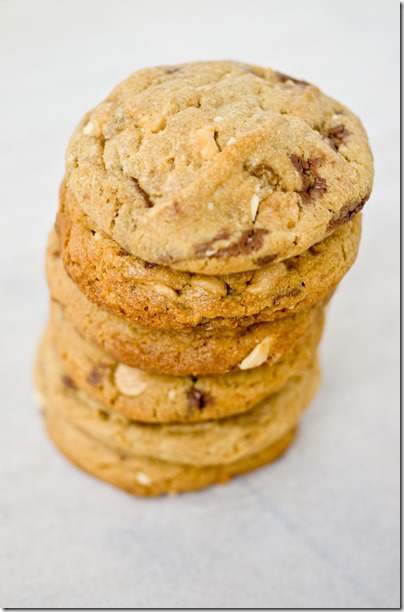
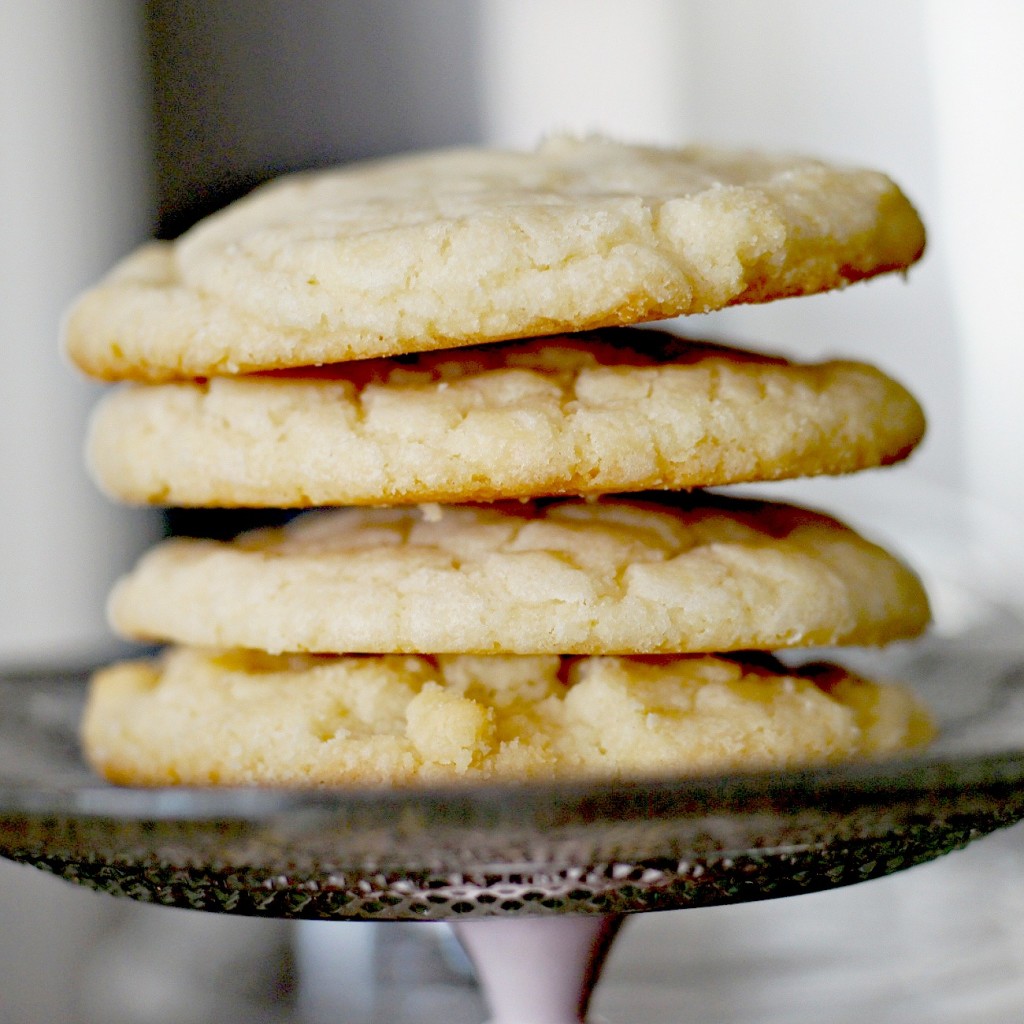
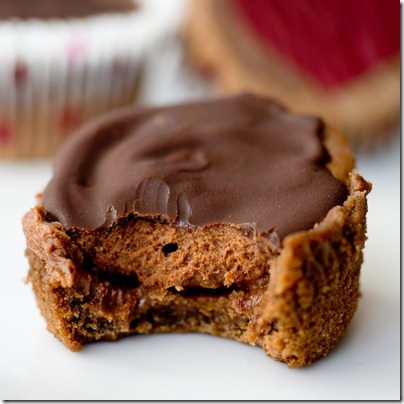
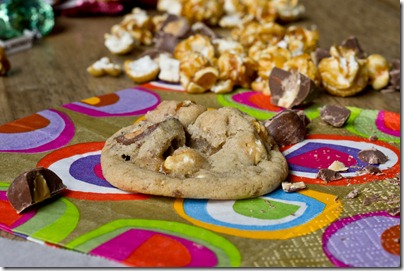
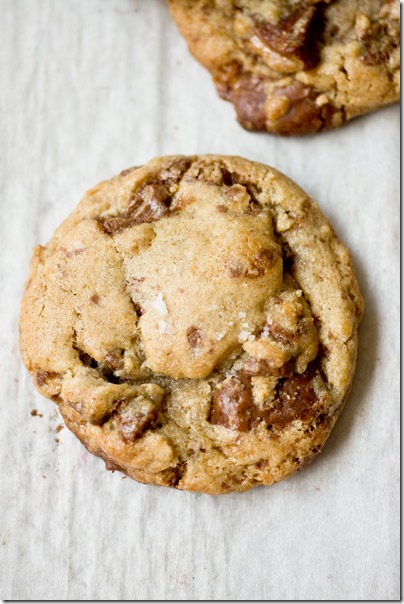
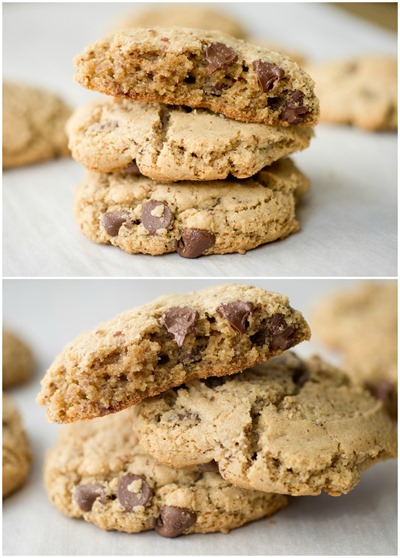
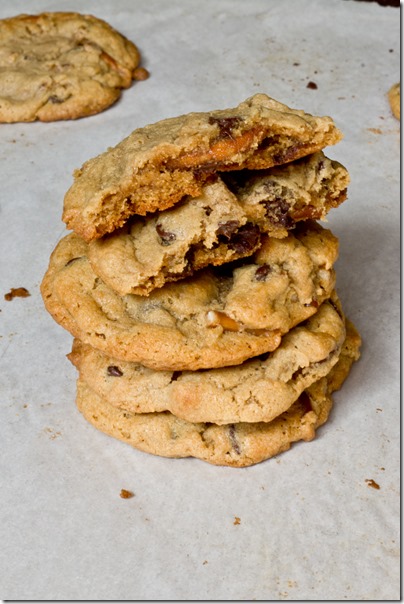
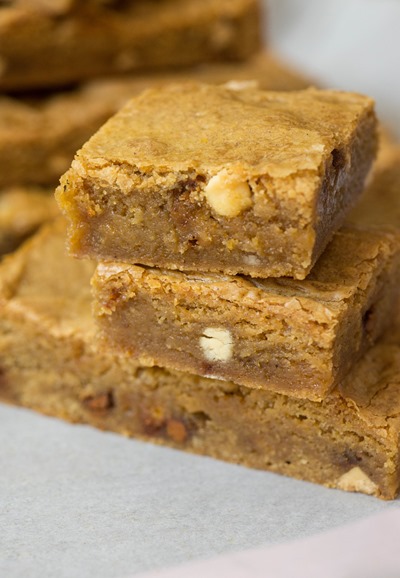
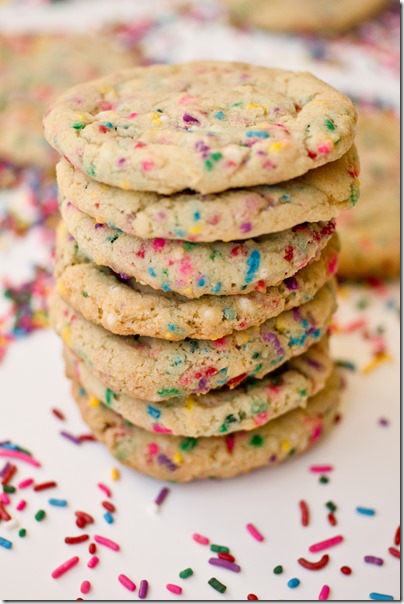
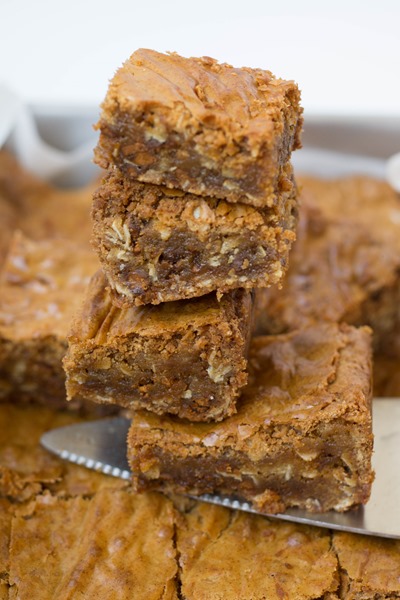
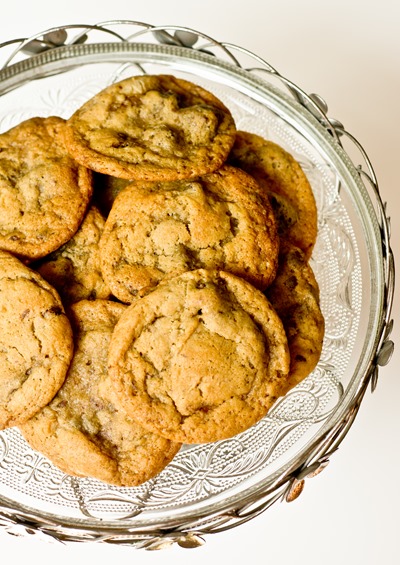
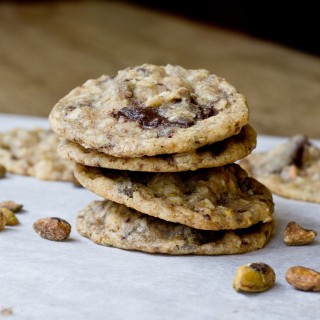
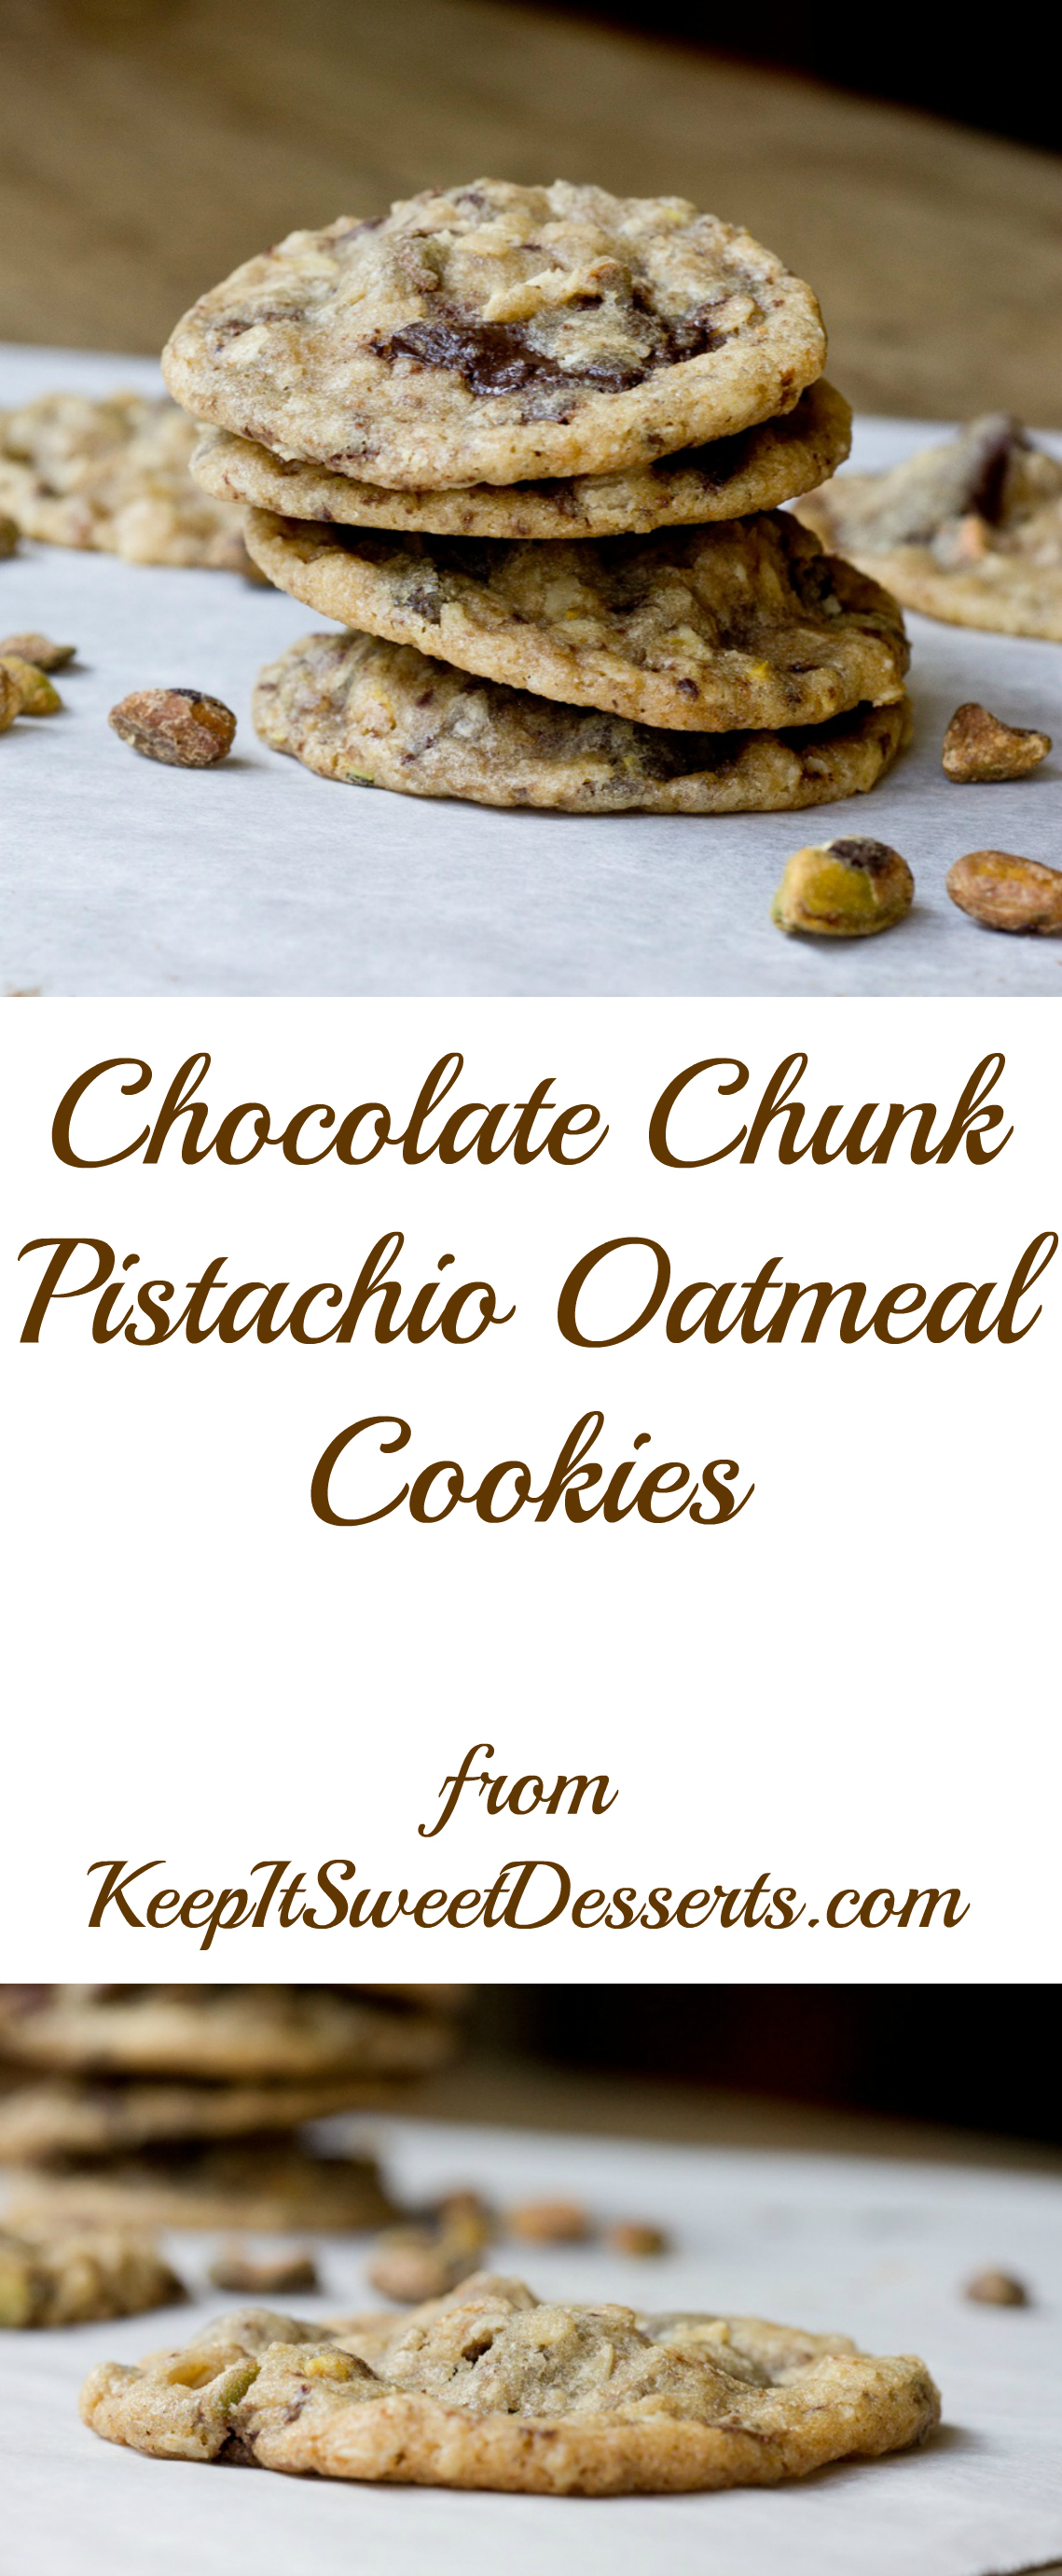
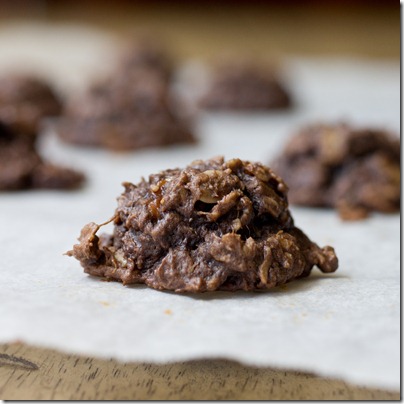
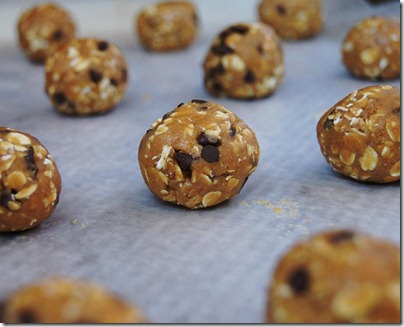
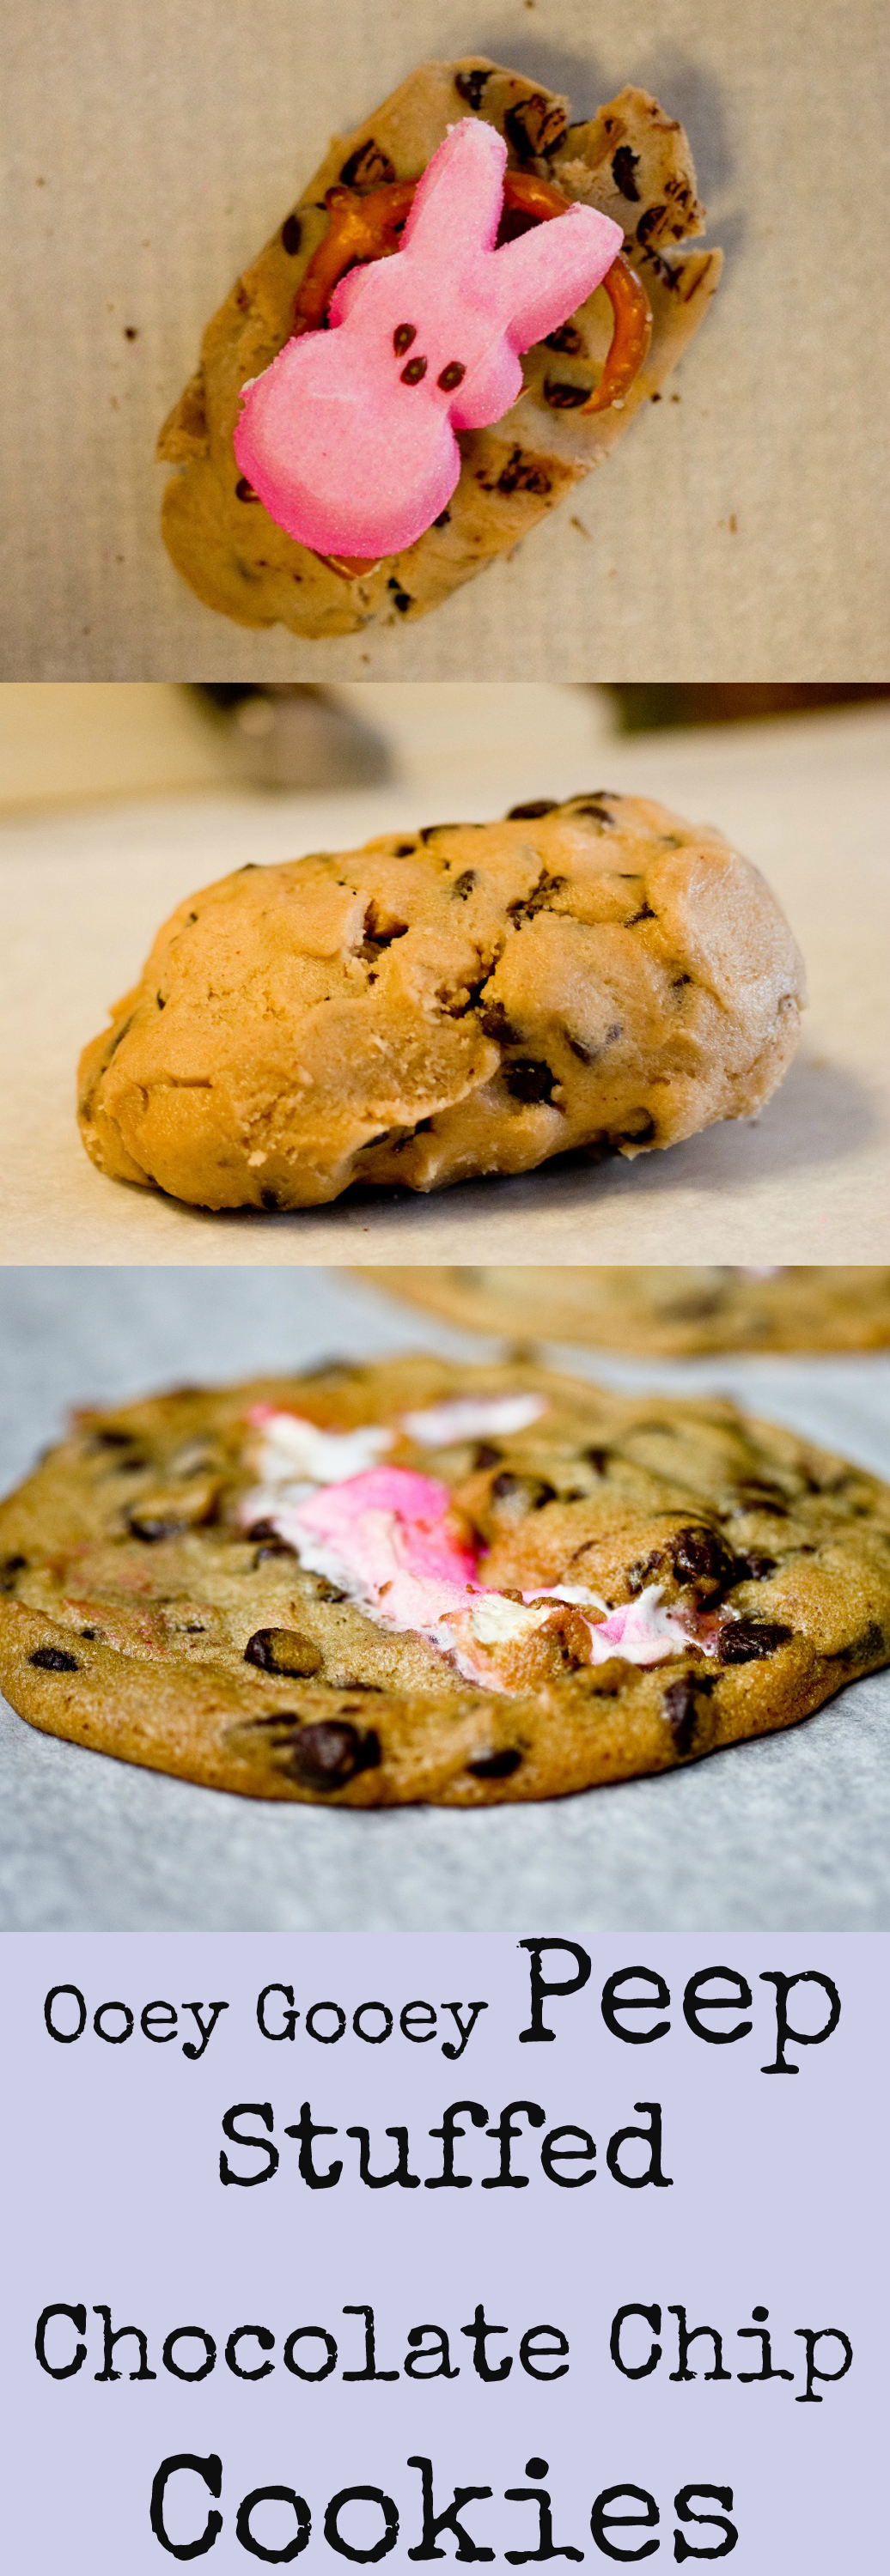
These peanut butter cookies are thick and chewy (like most cookies should be), sweet and salty, and absolutely delicious.

Last week was…. well, it sure was a week. Emotionally my head was somewhere else. As soon as I heard about the marathon bombing my heart just ached for everyone there. Then there was the explosion in West, Texas. It was too much for one country in just a few short days.

But then something amazing happened. Early Friday morning, my beautiful niece was born! Hannah is the most amazing baby girl and just like that, I was reminded of the wonderful miracles happening every day! I’ve been excited to be an aunt for months, but this brand new addition to the family is even beyond what I could have expected.

And in the middle of all that, for every minute that I wasn’t glued to the news or hanging around the hospital maternity ward, I was prepping to film videos for eHow. 10 videos. In one day. AKA craziness. When I originally agreed to do this, I didn’t grasp quite how much work it would entail prepping to film, baking on camera, and rushing to clean up during the taping. In case you are wondering, it is a lot of work. Initially I was also really nervous. I’ve never done something like this before. Well, in all of the excitement of everything else. Okay, mostly because of the fact that I could NOT wait to finish taping so that I could get to the hospital and meet Hannah, I actually wasn’t nervous at all. There is another miracle for you! I think I’m actually more nervous to see how cheesy and awkward I ended up looking. If I’m not completely embarrassed by the final products, I promise to share them with you once they are done! [UPDATE: You can see the eHow video for the Big, Chewy, Sweet and Salty Peanut Butter Cookies here!]

So the good news for you? I made a few things that I really want to share the recipes for. These cookies for instance, make them. You know how much I love chocolate and peanut butter and this cookie is no exception. Thick and chewy (like most cookies should be), with a little crunch from those salty pretzels. Seriously, just make them.


- 1 cup (4⅝ ounces) all-purpose flour
- 1 ½ teaspoons baking soda
- ½ cup (1 stick) unsalted butter, softened at room temperature
- 1 cups creamy peanut butter
- 5⅝ ounces (¾ cup) granulated sugar
- 4⅛ ounces (1/2 cup) packed light brown sugar
- 2 x-large eggs, room temp
- 1 teaspoon vanilla extract
- ⅔ cup semi-sweet chocolate chips
- 1 cup pretzel pieces (1 ½ ounces)
- Sea salt for sprinkling
- In a medium bowl, whisk together flour and baking soda, set aside
- Using a mixer, in a large bowl beat peanut butter, butter and sugars on high until light and fluffy
- Beat in the eggs and vanilla until combined
- Reduce speed to low and stir in flour mixture just until combined
- Stir in chocolate chips and pretzels
- Chill dough for 2 hours
- After, pre-heat the oven to 350 degrees and line baking sheets with parchment paper
- Use a large cookie dough scoop to place cookie dough balls (about ¼ cup each) on top of parchment paper, 1-2 inches apart
- Lightly sprinkle cookie dough with sea salt
- Bake ~14 minutes until cookies are brown around the edges
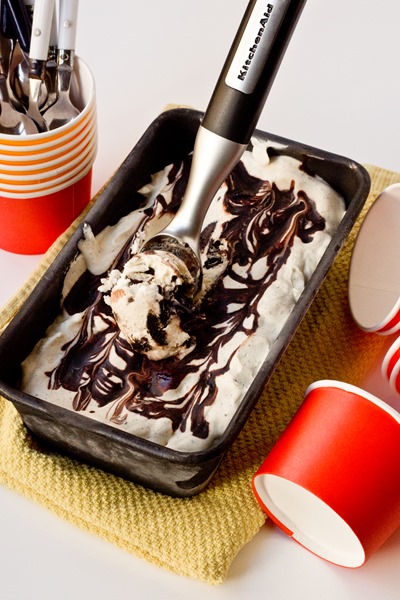
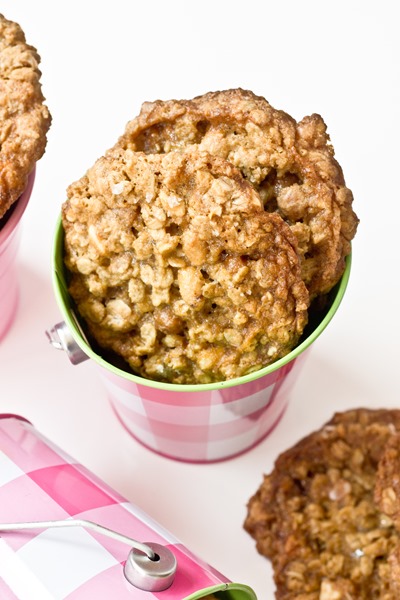
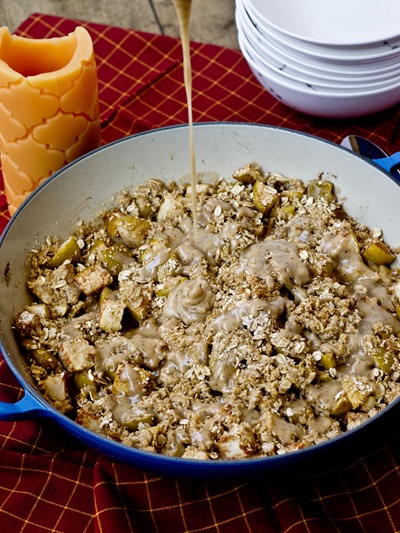
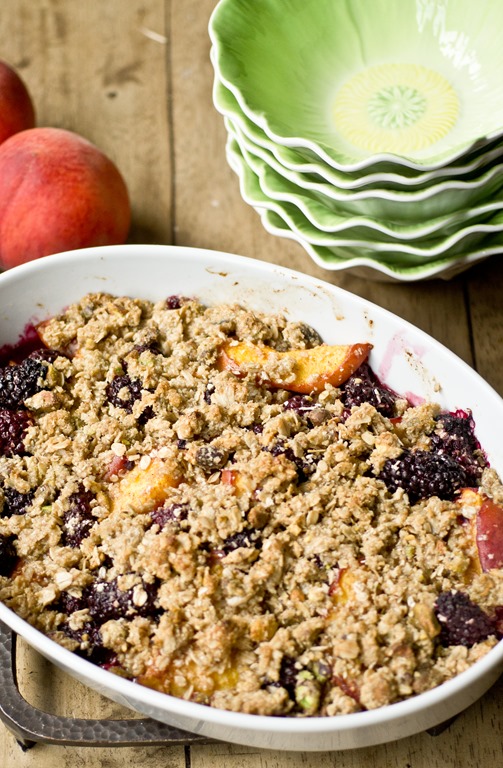
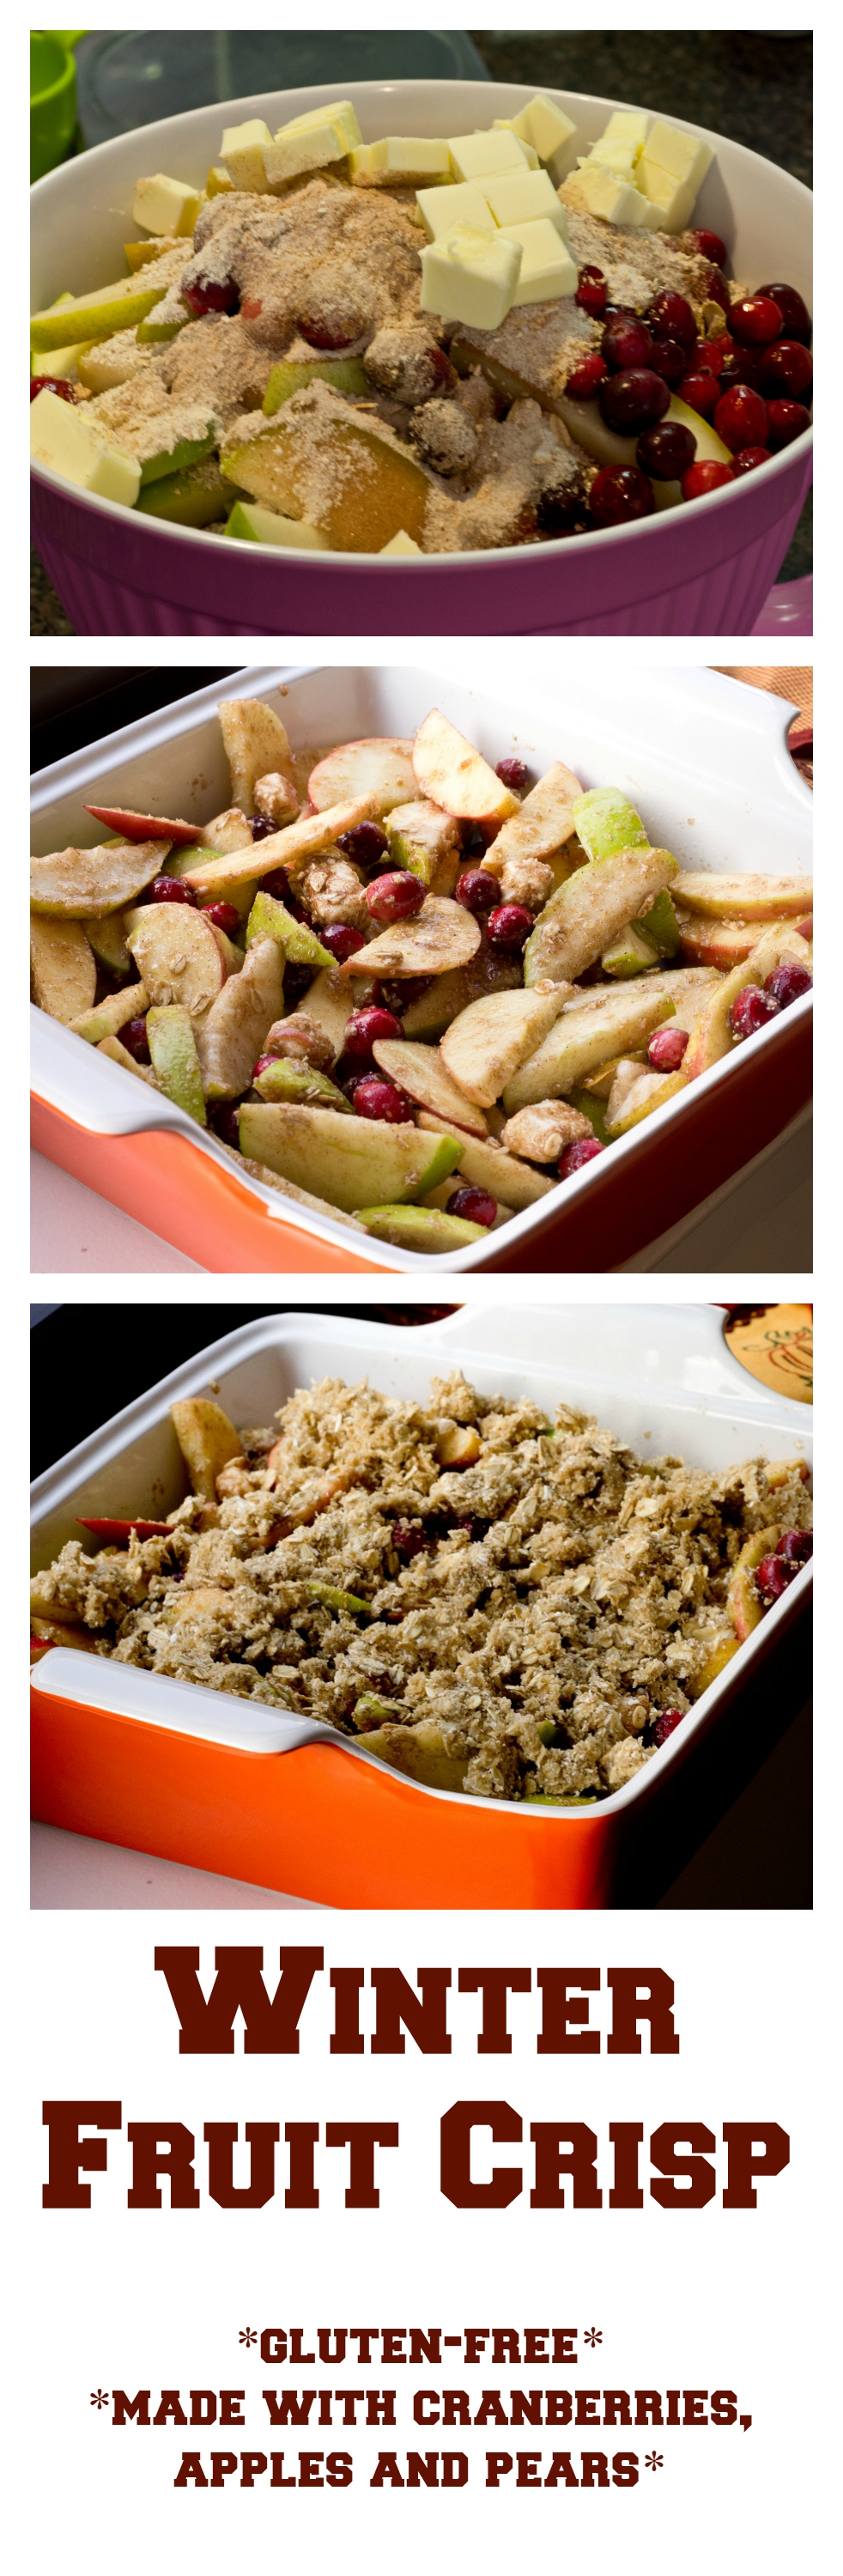
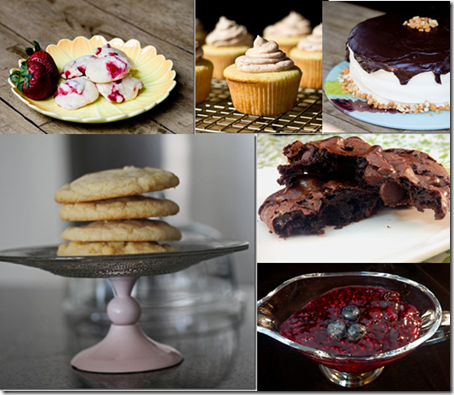
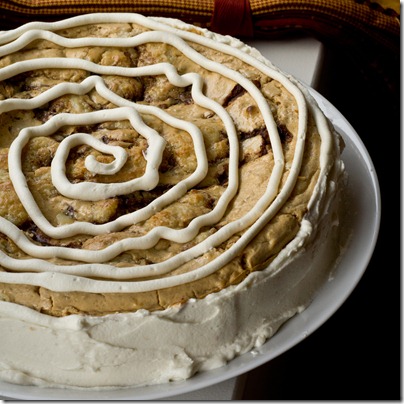
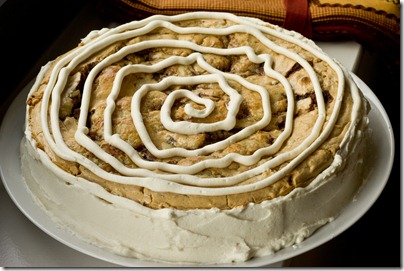
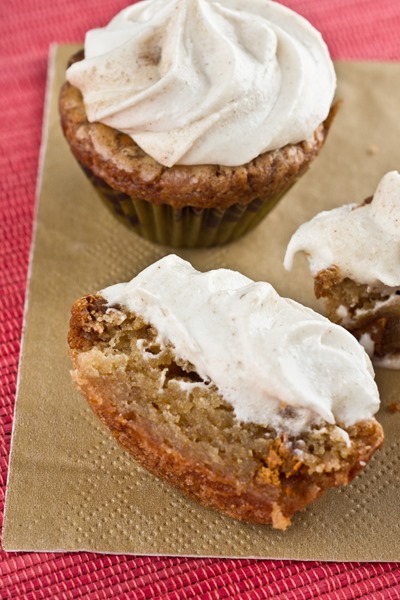
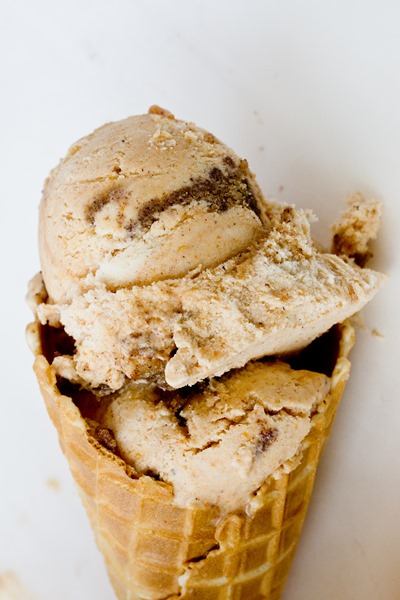
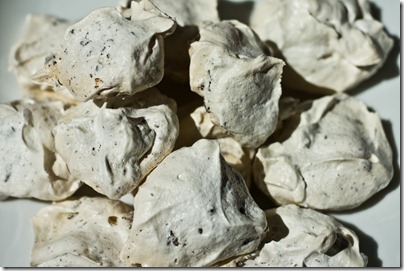
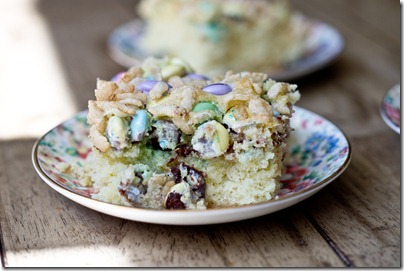
And a few behind-the-scenes pictures for good measure


This post contains affiliate links.
Make something from the blog? Be sure to share it on Instagram with the tag #KeepItSweetDesserts.
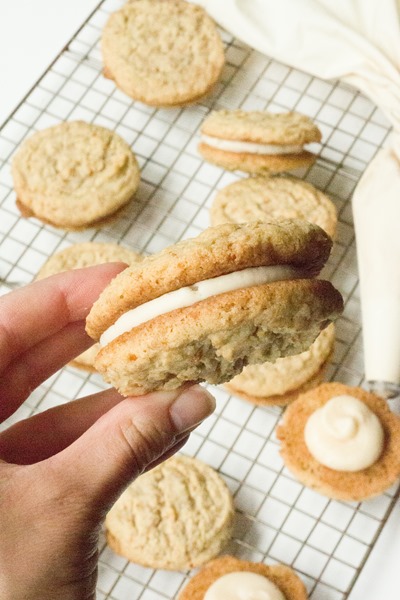
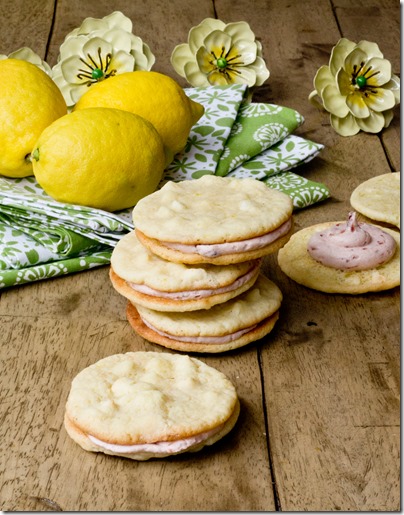
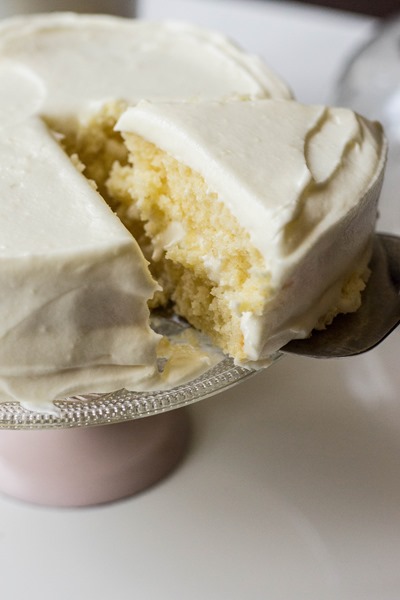
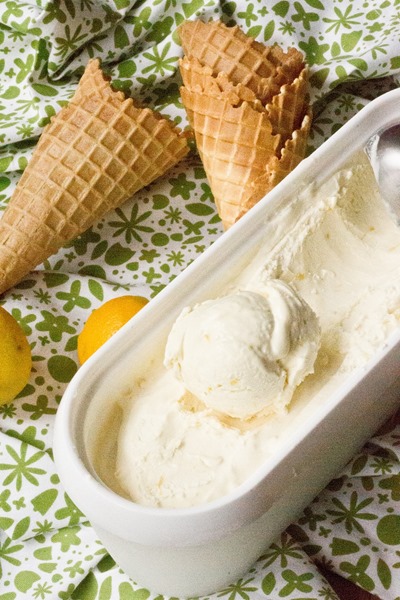
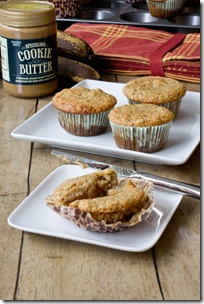
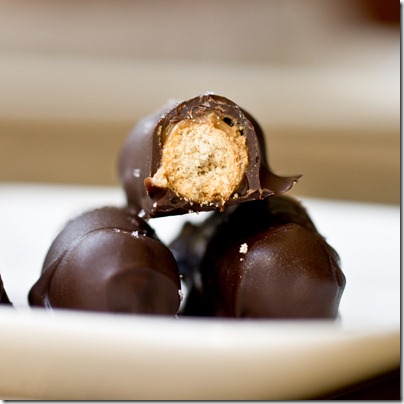
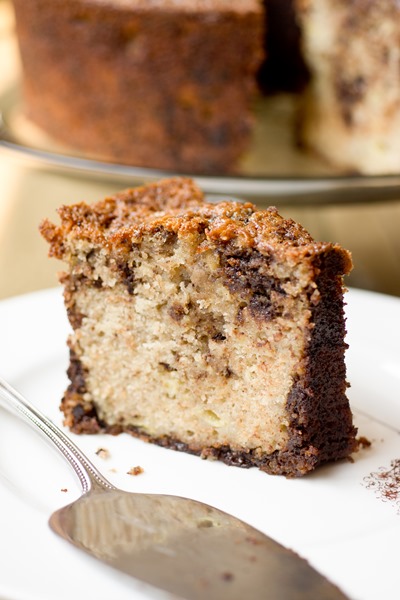
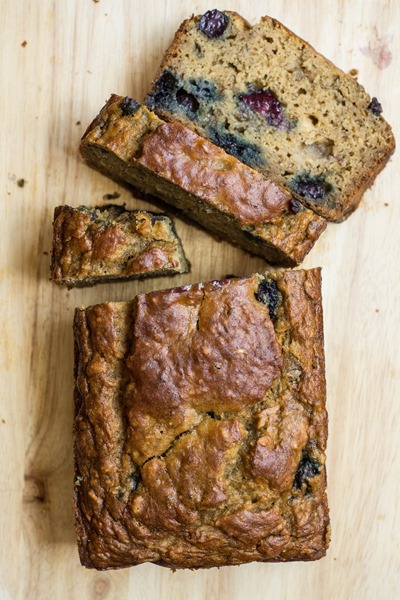
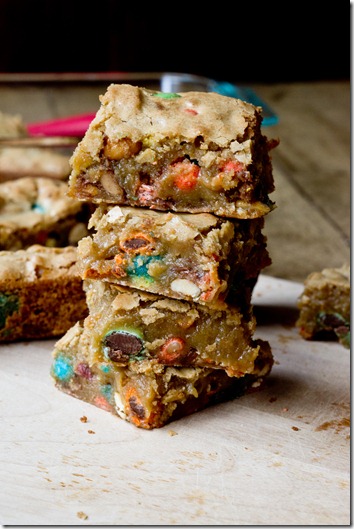
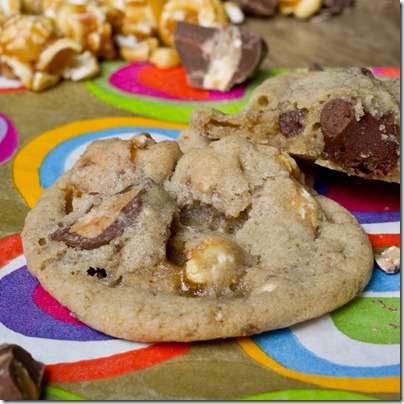
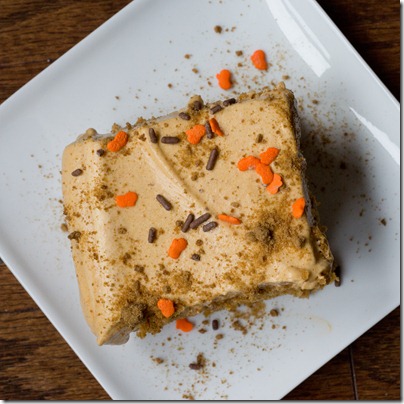
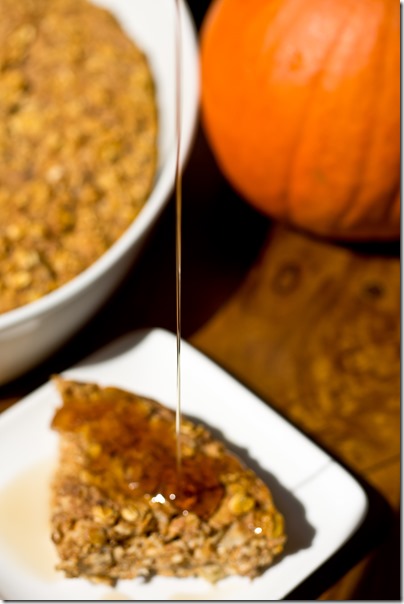
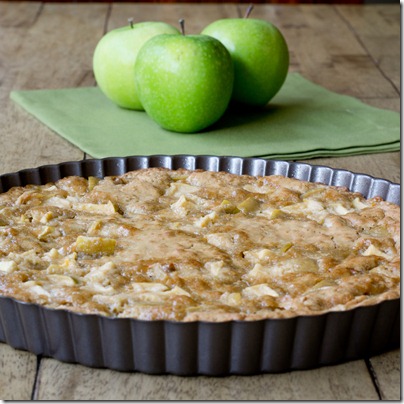
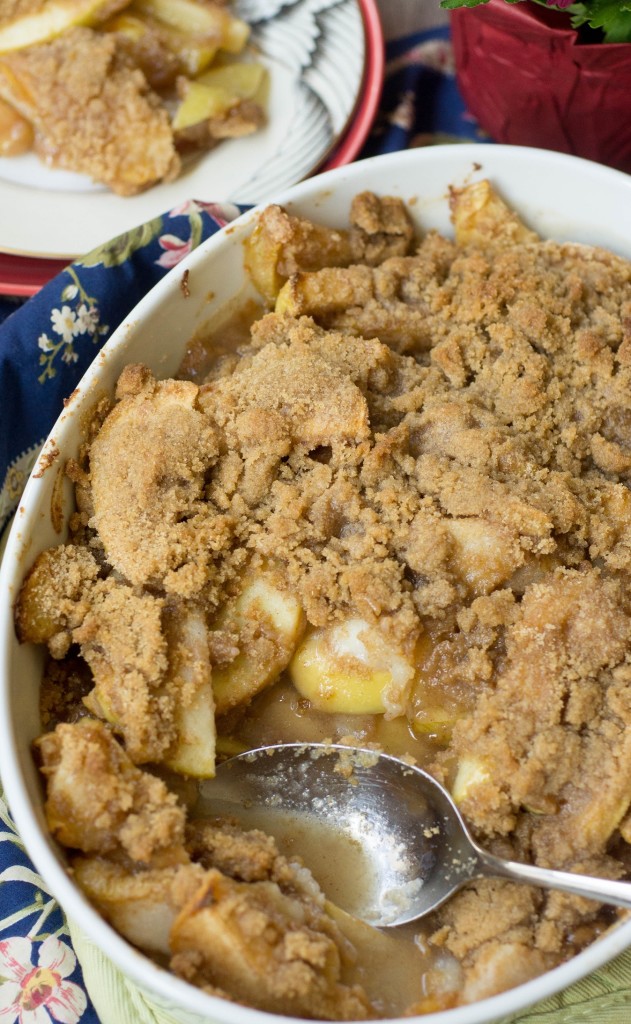
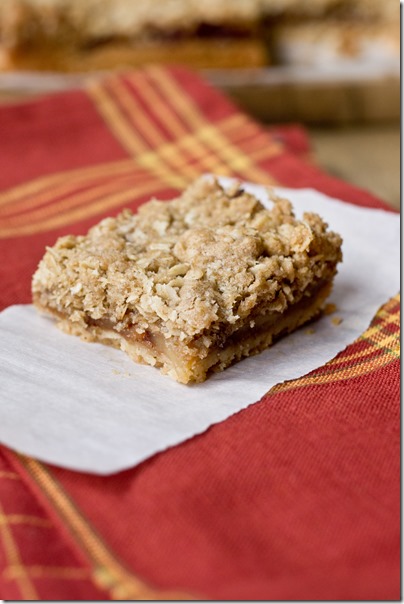
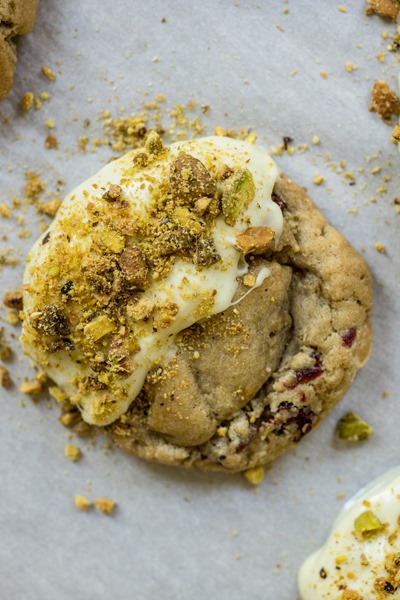
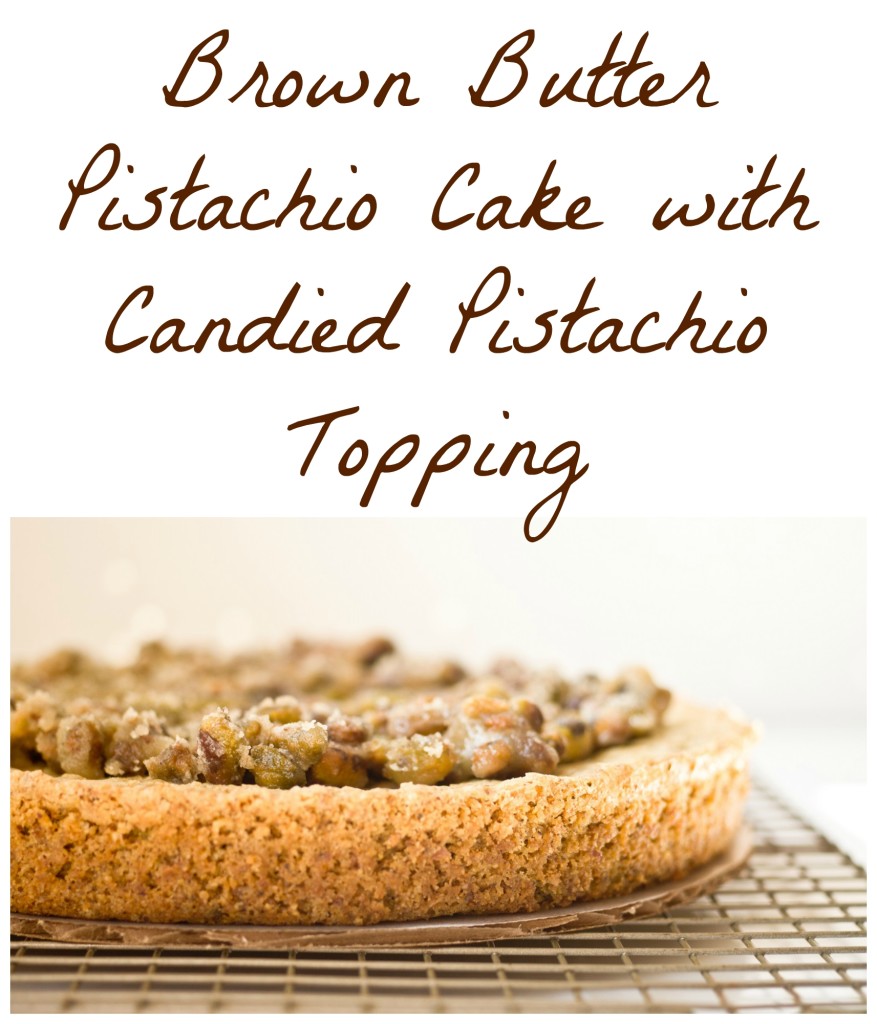
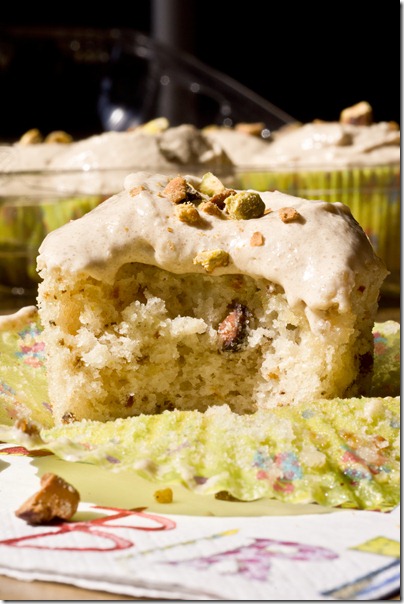
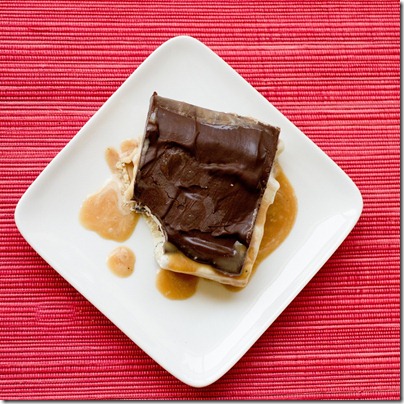
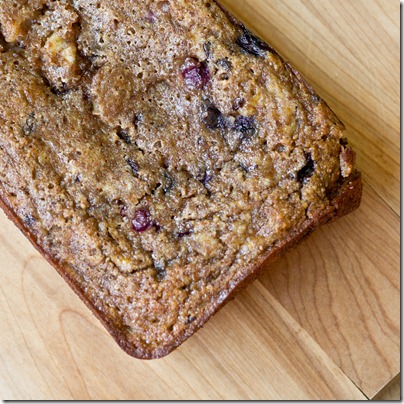
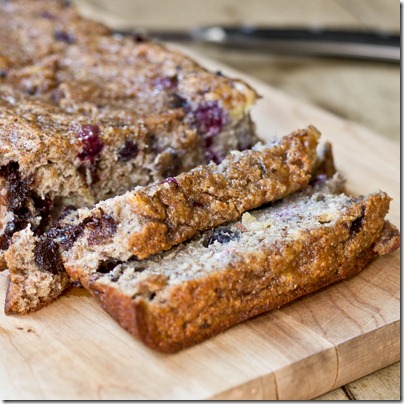
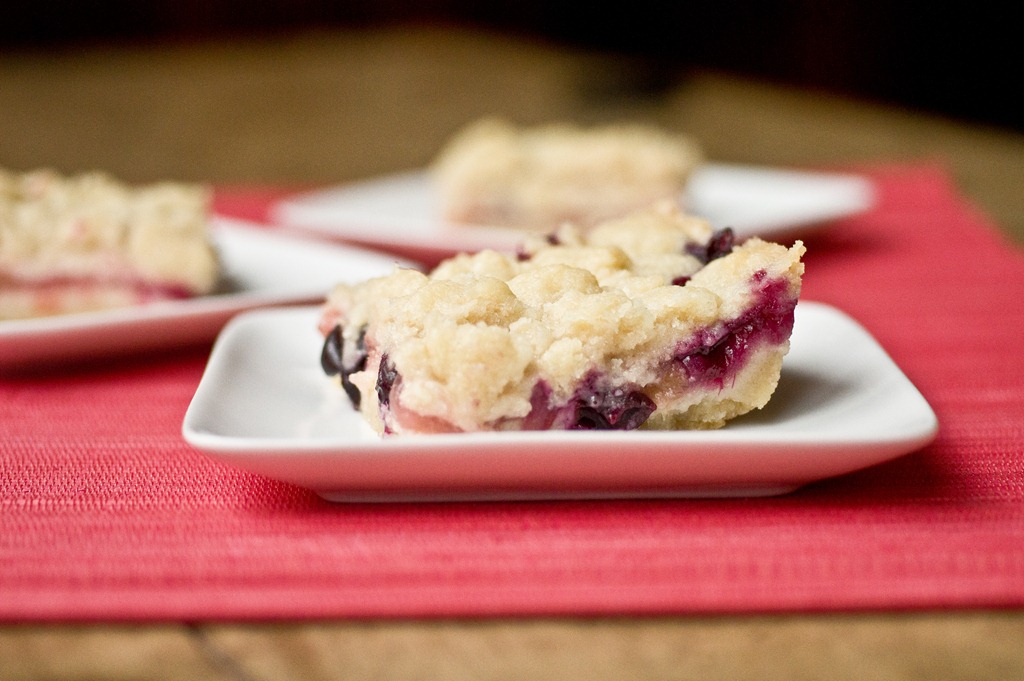
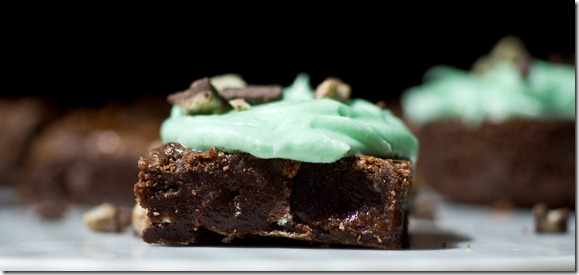
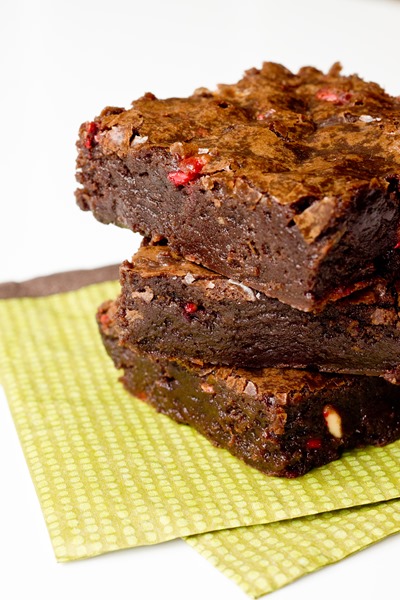
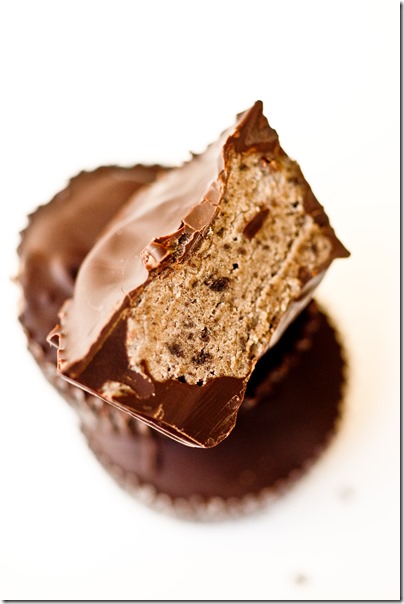
You might also like:
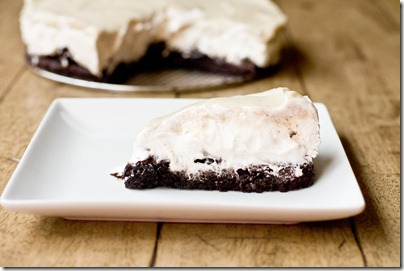
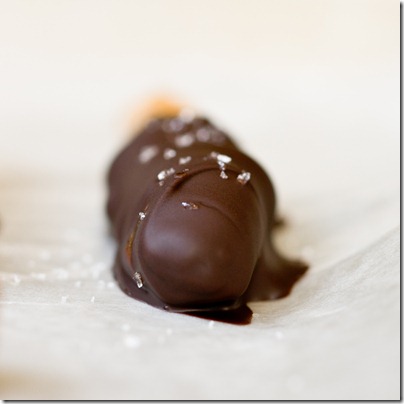
Chocolate Covered Peanut Butter Ritz Sandwiches

The Best Loaded Peanut Butter Cookies


")


")


")


")
")
")


")


")
")


")


")
")
")
")
")
")
")