Looking for the best places to get ice cream in NYC? I’ll tell you which ones are worth the visit when your next sweet tooth hits! This is part 2 of 2 in the first of many NYC ice cream tours. You can find part 1 of the New York City Ice Cream Tour here.
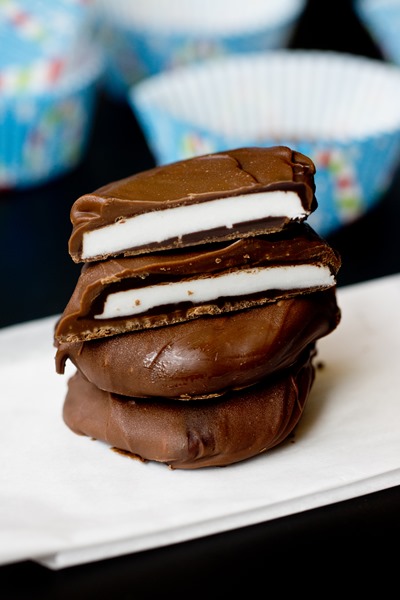
On the second half of our ice cream tour, there were a four more places that I hadn’t been before. The first of the four was Francois Payard Bakery for Macaron Ice Cream Sandwiches! I am a huge macaron fan, so I was excited to see how they translated into a frozen dessert. Sidenote: There were a ton of other sweet and savory items that looked and smelled delicious. We were on an ice cream mission, though, so we didn’t try any of them.

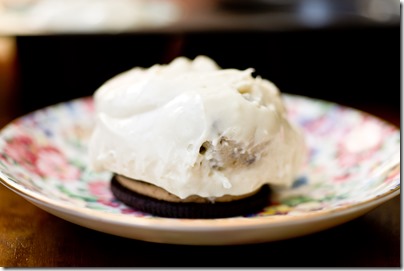
There were four flavor options. You know how I feel about coconut so I had no interest in trying the Coconut Mango sandwich. The Chocolate Sorbet option sounded good but we decided to try the more interesting Pistachio Raspberry and Strawberry Cheesecake.
I’ll preface this by saying I am not generally a fan of pistachio macarons. I find that they are often grainy in texture. Upon first bite of that version, I thought it was okay, but once I tried the strawberry flavor, it was clear that the pistachio macaron ice cream sandwich was mediocre at best. The texture of the macaron was hard and the ice cream, while flavorful, wasn’t all that creamy.
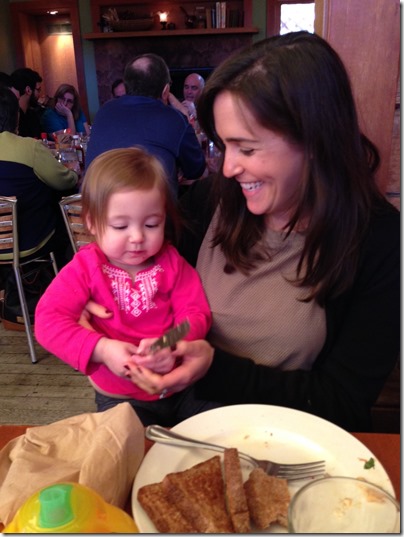
[Elizabeth and Rachel instagramming the day away]

That Strawberry Cheesecake Macaron Ice Cream sandwich, however, deserves a gold star. The shell remained chewy and crisp while frozen, and the ice cream was creamy and delicious. The cheesecake flavor was mild, not overpowering at all. Would I say this is the best way to eat ice cream in New York City? No. But if you are at Francois Payard, these are definitely worth a try!

Next up was Victory Garden for goat milk soft serve. This was the closest we got to frozen yogurt that day, but really, it was far from that. The goat milk soft serve was really creamy and just slightly tangy.

We sampled all of the flavors and while they all tasted good, they didn’t necessarily match their description. The Key Lime Pie was somewhat nondescript. The Chocolate Rosemary was more chocolate and almost no rosemary. The Salted Caramel was really the only flavor that matched its name. Not that they were bad, just slightly misrepresented.

The people at the shop were really nice, though, and this is overall a great option for someone looking for a creamy frozen treat, especially if you don’t eat dairy! The three of us shared a cup of Salted Caramel and Chocolate Rosemary and certainly enjoyed it.

Soft serve for three!

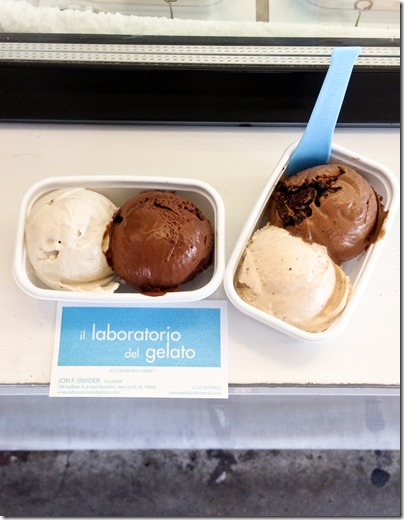
After Victory Garden, we headed over to L’Arte del Gelato in Chelsea Market for our final gelato of the day. We sadly said goodbye to Elizabeth but were joined by Emma, my favorite ice cream expert!
I didn’t get many pictures here, partly because we were starting to get exhausted, but more because the gelato “shop” was hectic! There was a constant line and crowd thanks to the location and quality frozen dessert.

I barely remember what I sampled but I ordered Banana and Stracciatella. Emma, Rachel and I actually all had our own cups here, but all picked Stracciatella as a flavor. Rachel paired hers with Cherry (which was SO good!) and Emma paired hers with Mascarpone (she liked it but I didn’t try it). I loved the Banana because it was completely fresh tasting, not artificial at all. The texture of all the gelatos was nice and creamy. Frankly, though, after a long day, it didn’t necessarily stand out to me as something special.

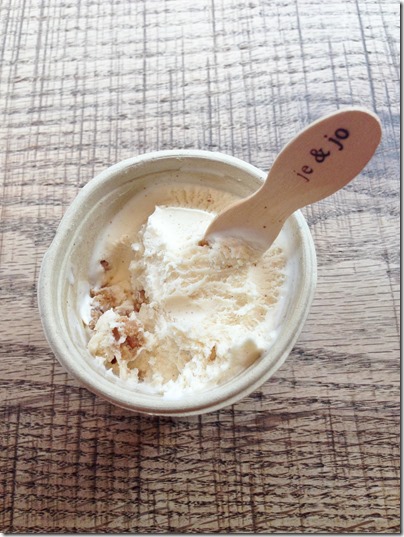
And the final stop, Je & Jo! It was a good thing we had a long walk from Chelsea Market to Hell’s Kitchen because I was able to work up some desire for a little more ice cream at this point.

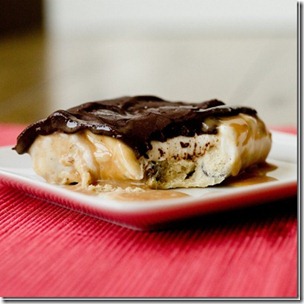
I was exited to try Je & Jo because they offered something unique and fun, cookie dough ice creams of MANY varieties. Each options is served in a cup reminiscent of a dixie cup (when was the last time I had one of those?!). Each cup has one flavor of ice cream that is layered in the middle with its own cookie dough flavor. This is not your traditional cookie dough ice cream!

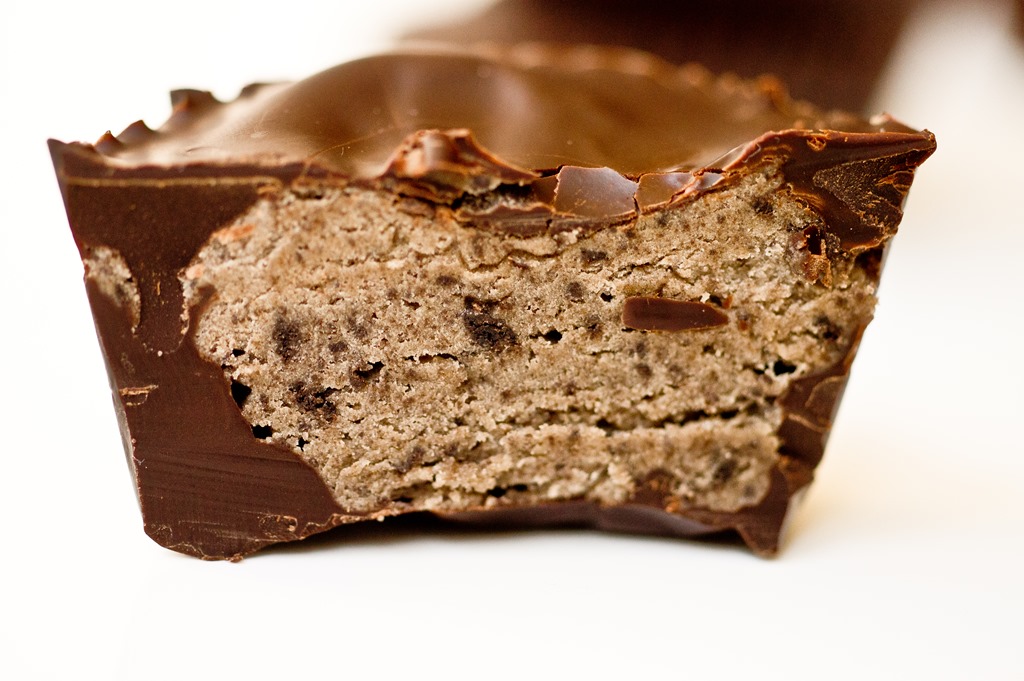
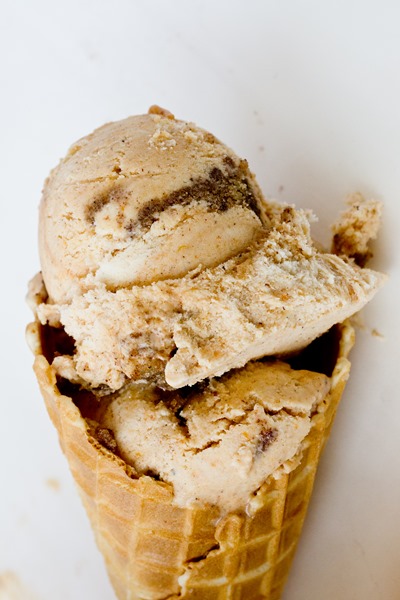
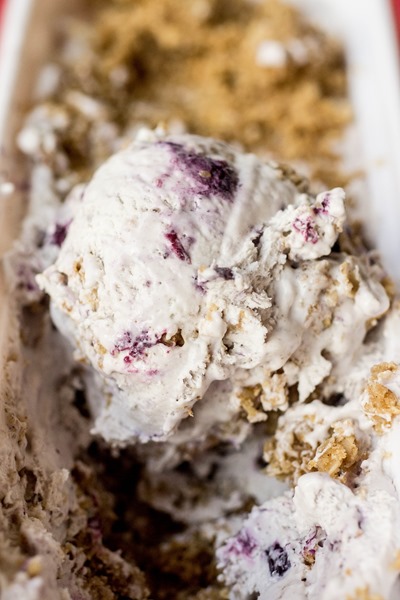
Given that I had gone seven stops without ANY peanut butter at all, I decided this was the time for me to go all out. What better way to end the day than with the combination of two of my favorite foods, peanut butter and ice cream? Despite a combination of both peanut butter ice cream and cookie dough, the nutty flavor wasn’t too strong. It was very tasty but not as creamy as some other ice creams. Emma commented that it could be a result of the way they pack their cups soft serve style.

Rachel went all chocolate on this and said it might have been a bit too much chocolate. Emma chose the Pimm’s Cup which was apparently a little too boozy. I tasted it and thought it had a nice refreshing citrus tone.

Overall, would I go back to Je & Jo? Maybe if I was in the neighborhood and had a huge ice cream craving, but I probably wouldn’t go out of my way. The concept is great, the flavors are good, but not exceptional. Although, I have to admit, this picture of the Peanut Butter ice cream with Peanut Butter Cookie Dough has me craving another serving!

I’m a little sad the tour is over, but I WILL be planning another one in the coming months. While that night all I wanted was a big serving of veggies, the next day I was ready for ice cream again. Let me know if you want to be included in upcoming tours!


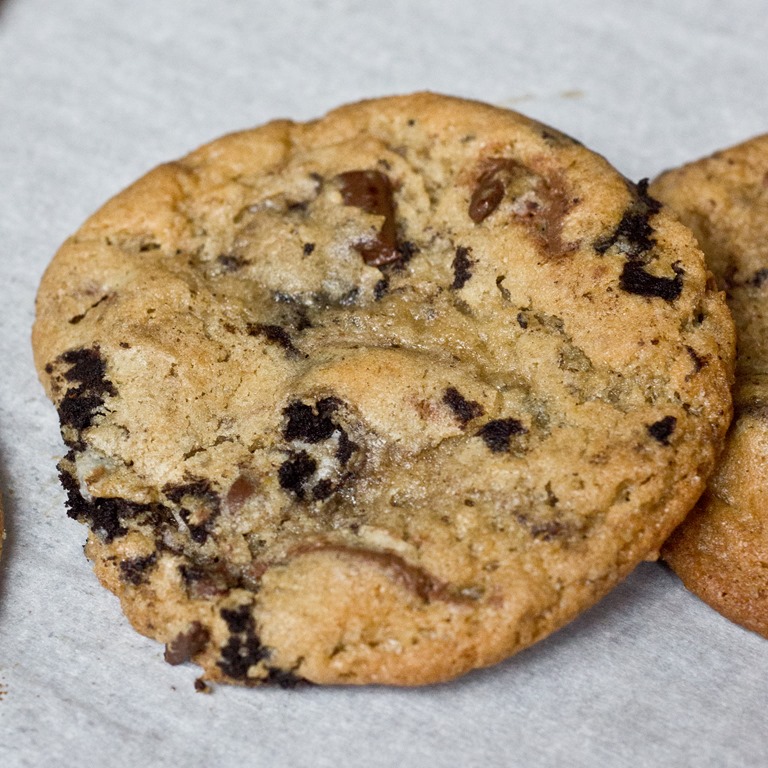
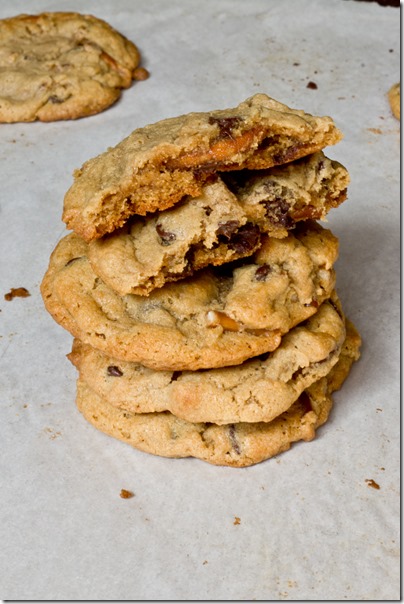


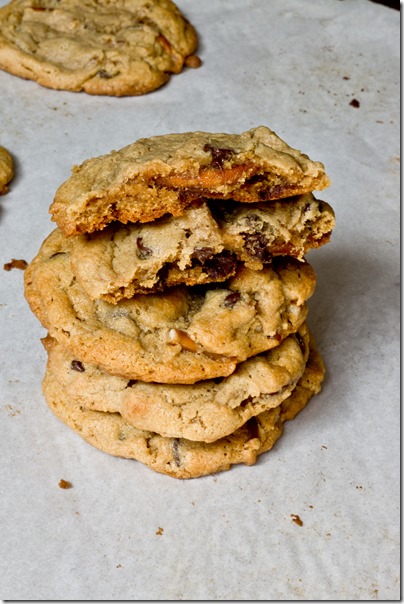
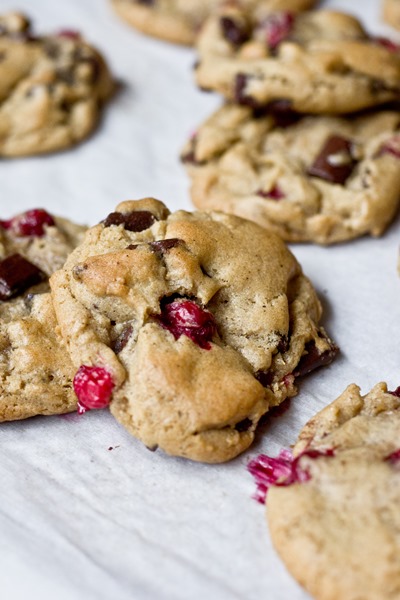
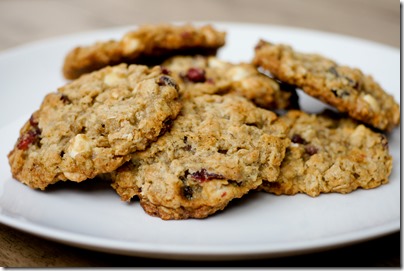
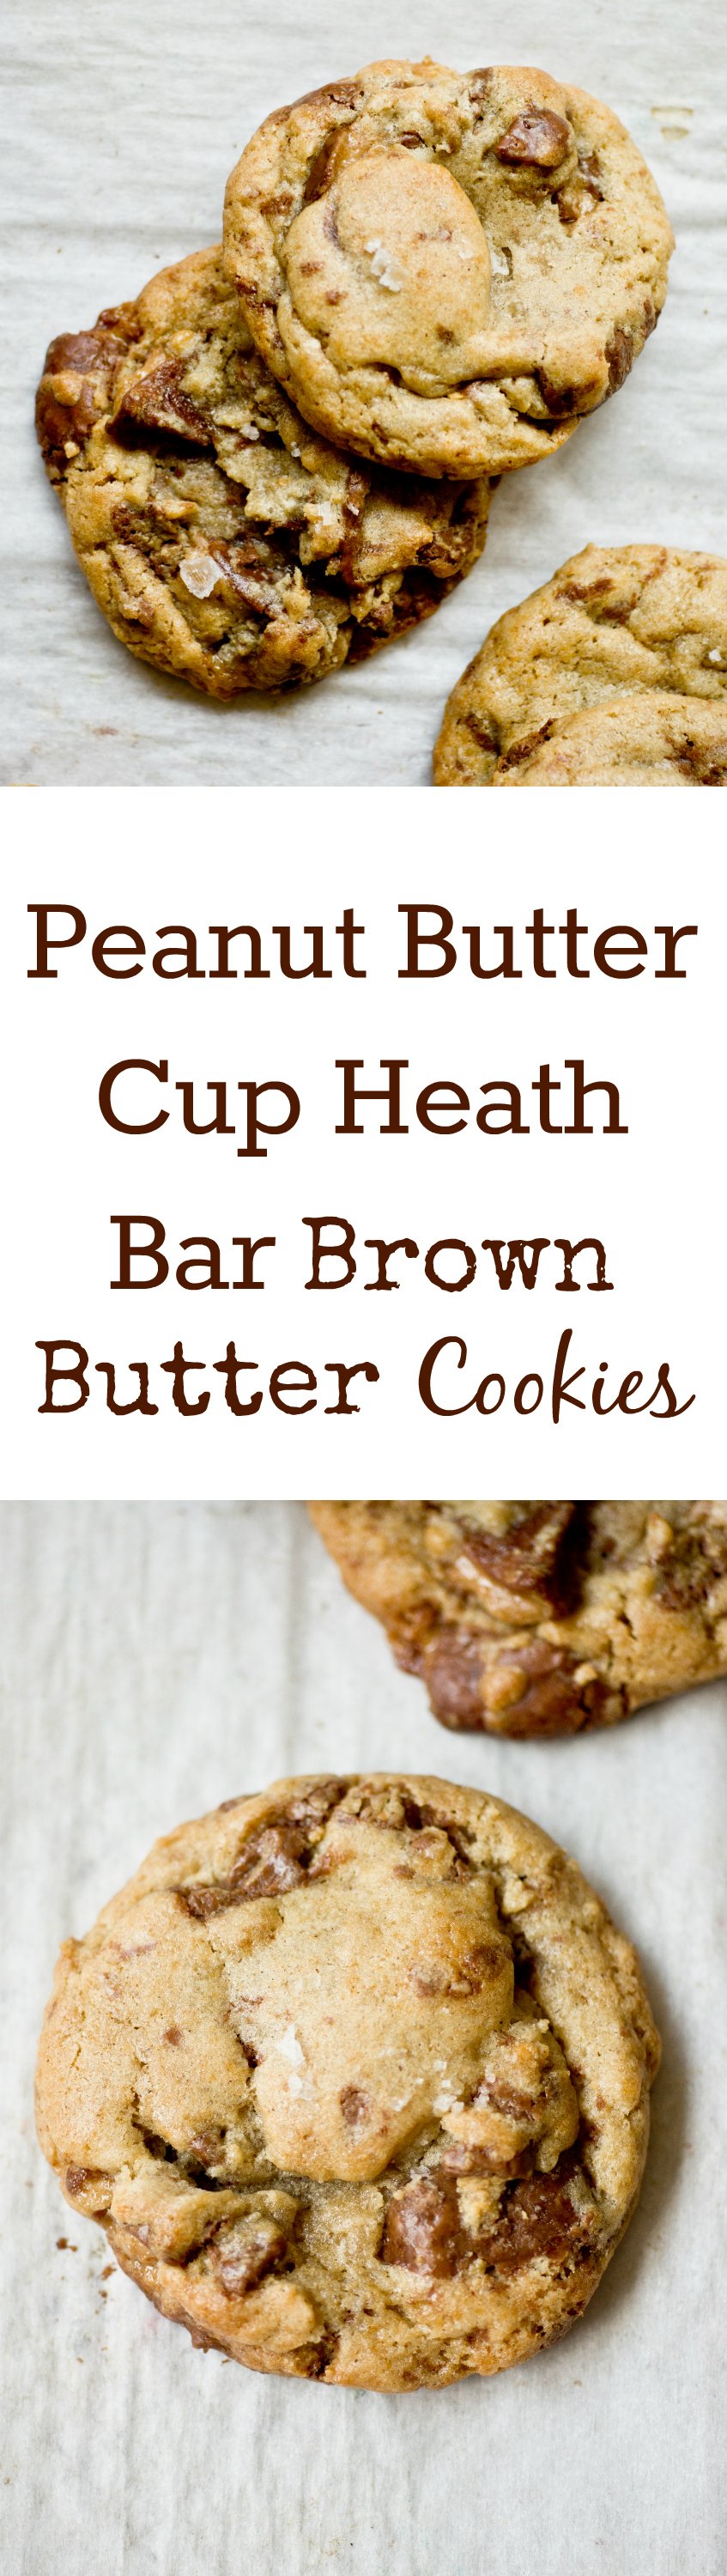
 Cranberry Chocolate Chunk Brown Butter Cookies")


")


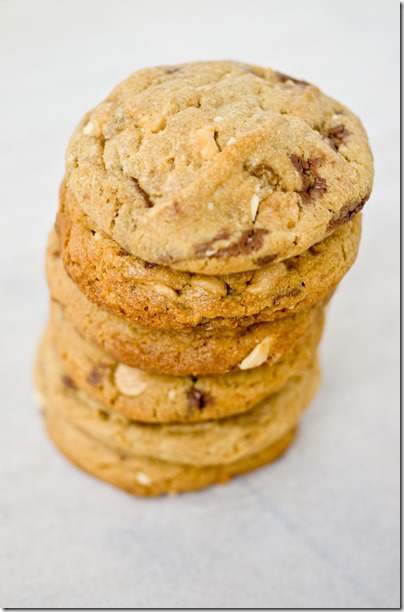
 Cranberry Chocolate Chunk Brown Butter Cookies")
 Cranberry Chocolate Chunk Brown Butter Cookies")
 Cranberry Chocolate Chunk Brown Butter Cookies")
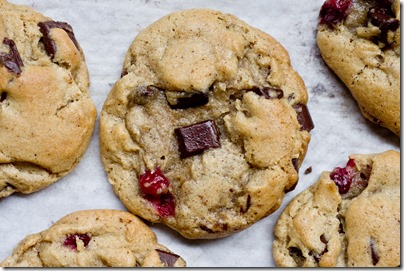
 Cranberry Chocolate Chunk Brown Butter Cookies")


")
")
")


")
")
")


")
")
")
")
")

")


")