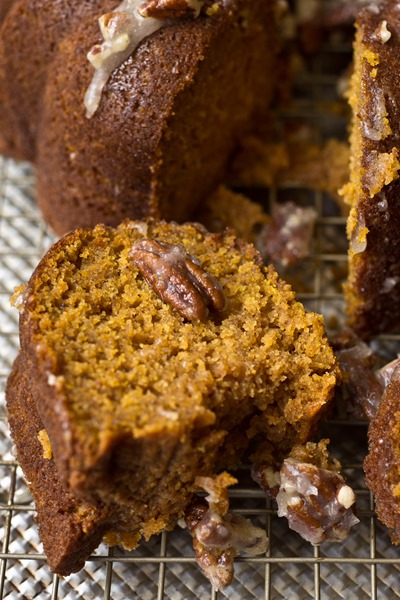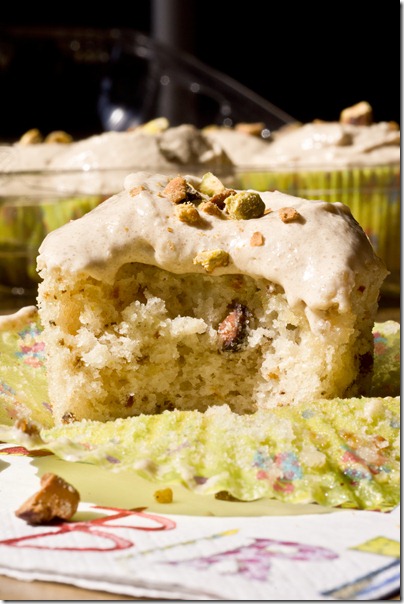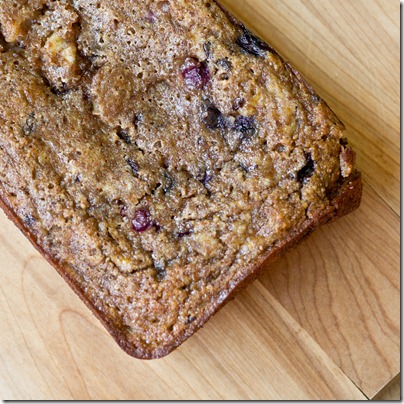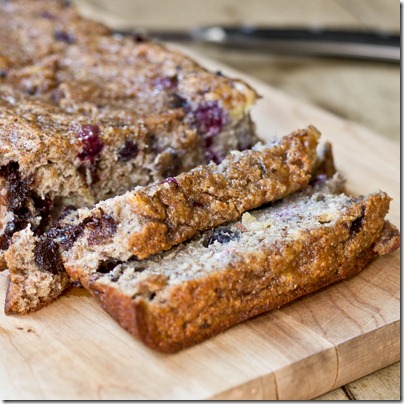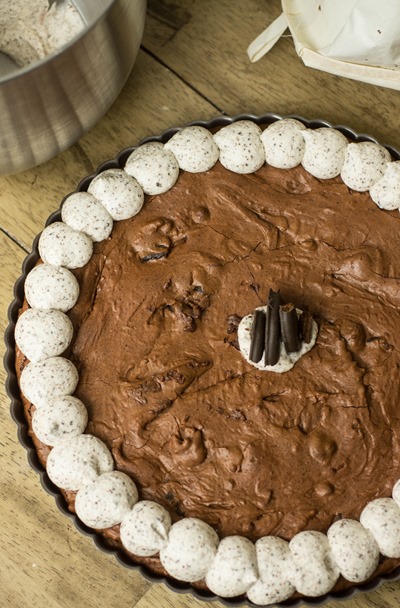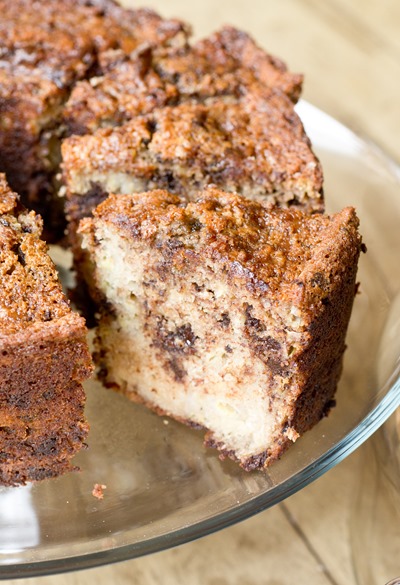
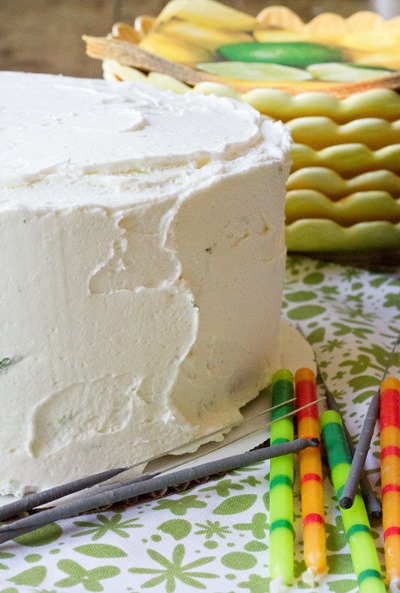
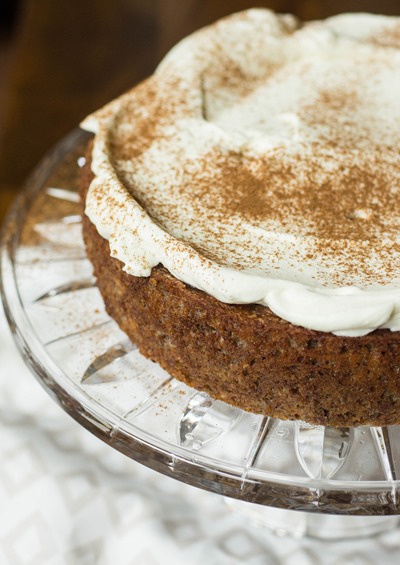
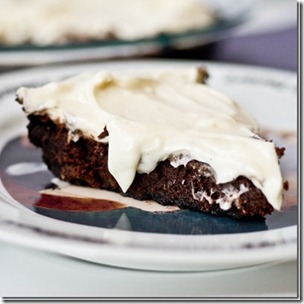
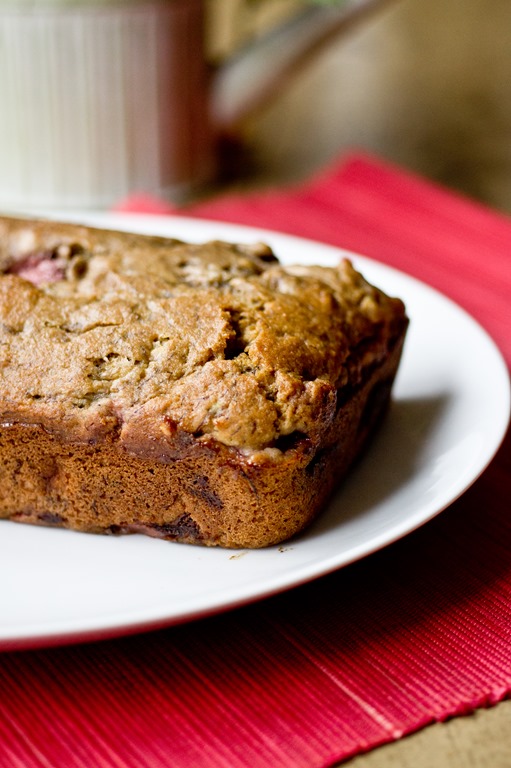
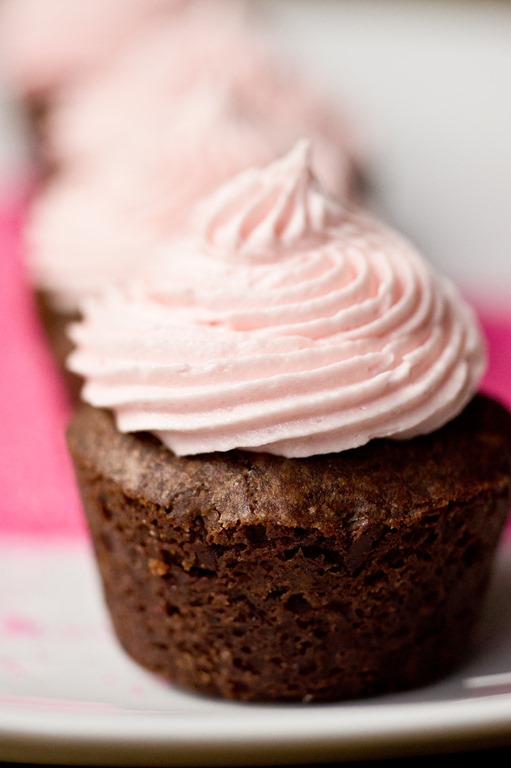
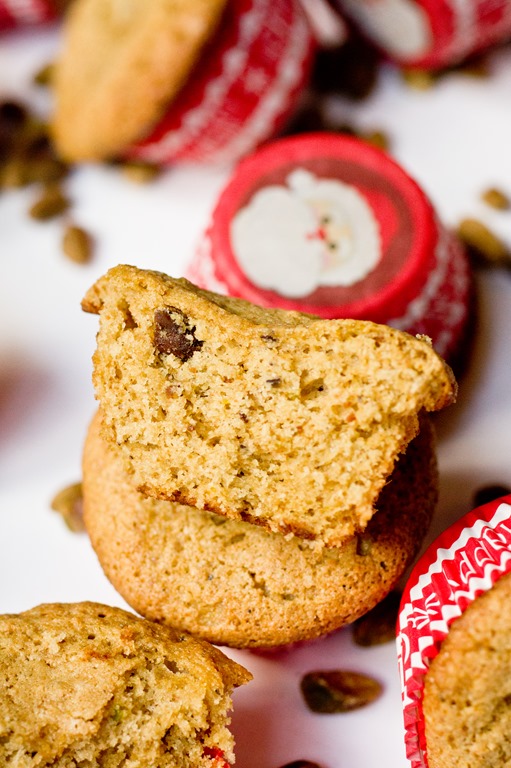
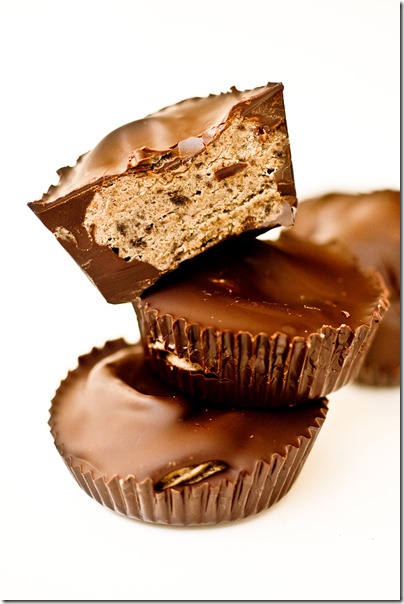
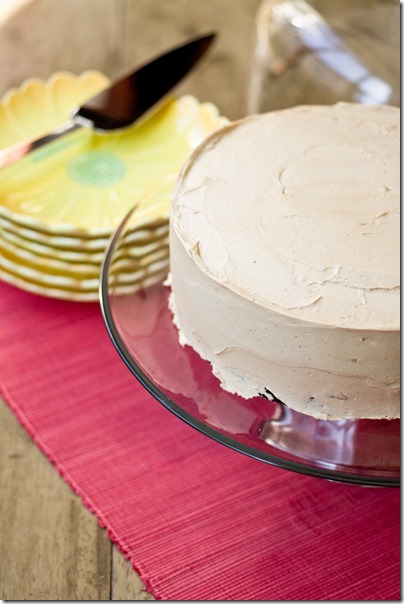
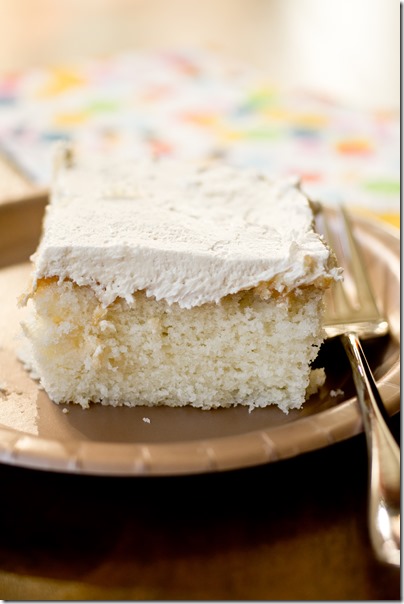
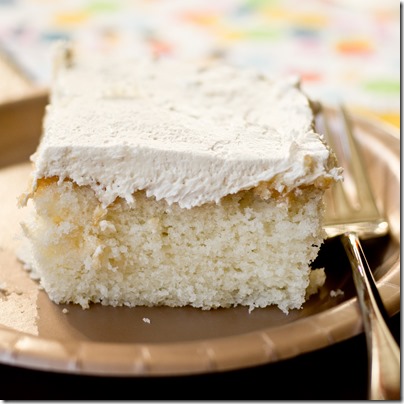
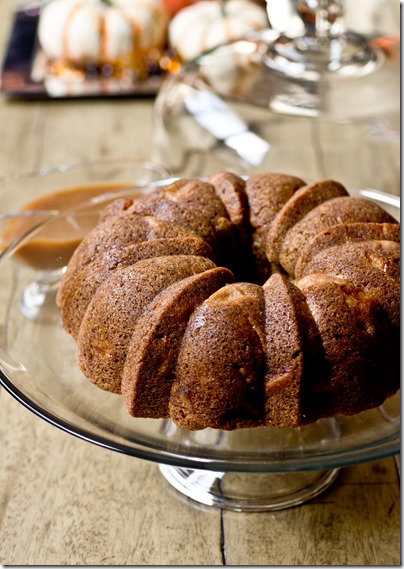
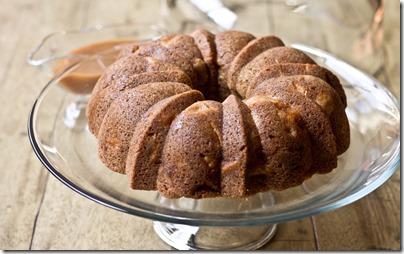
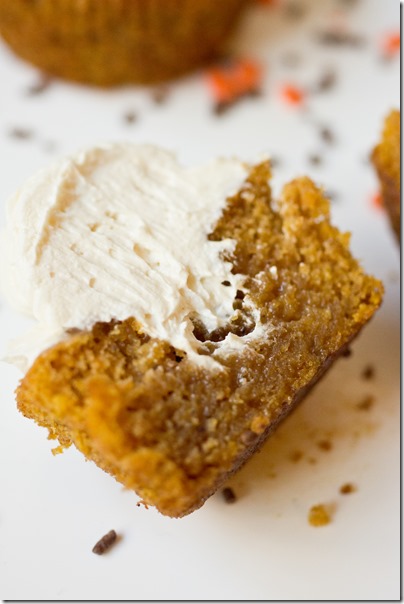
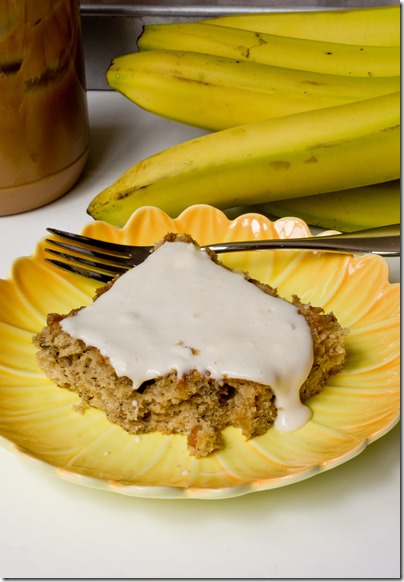
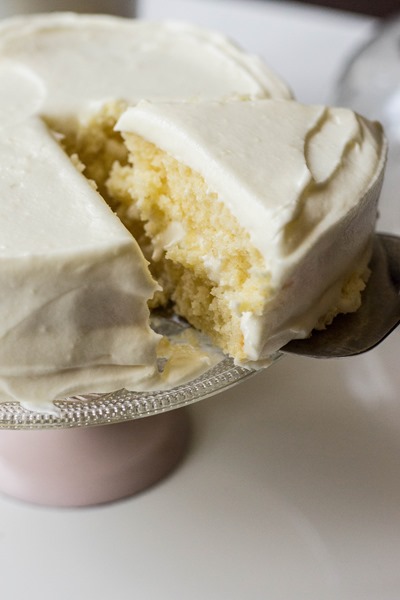
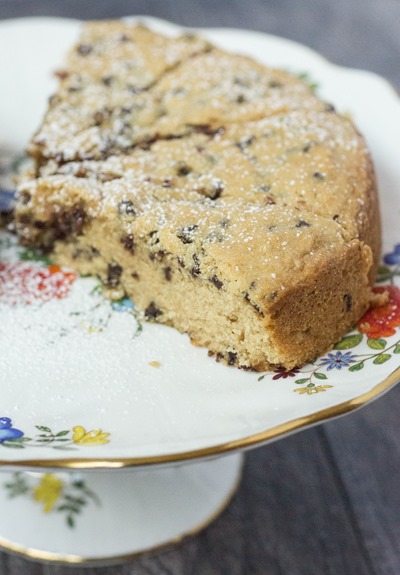
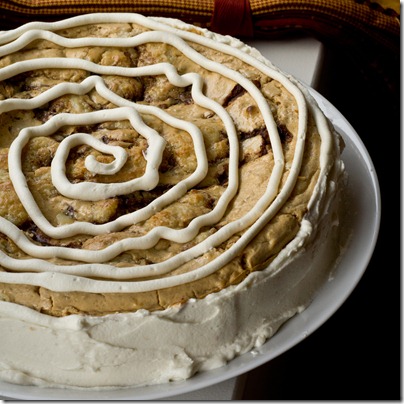
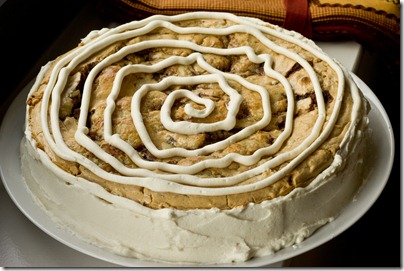
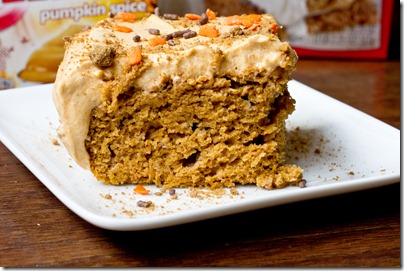
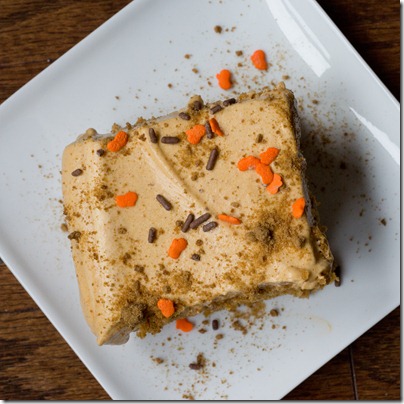
Super moist banana cake loaded with chocolate but not loaded with fat!

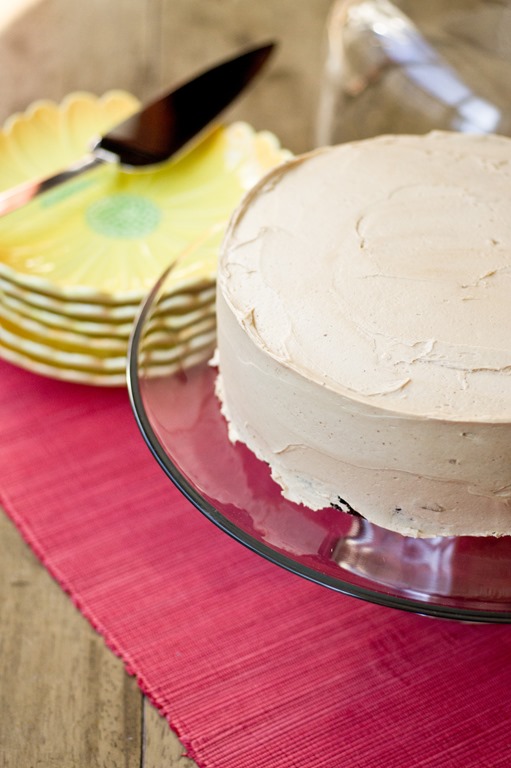
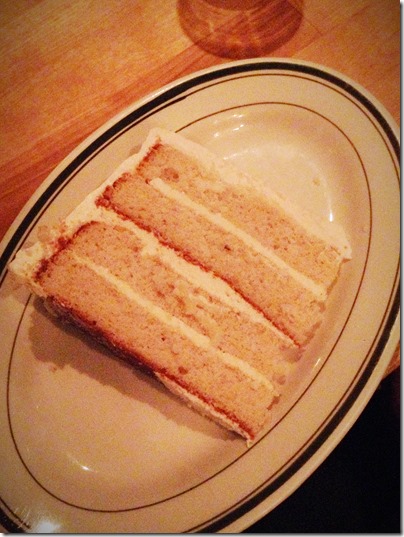
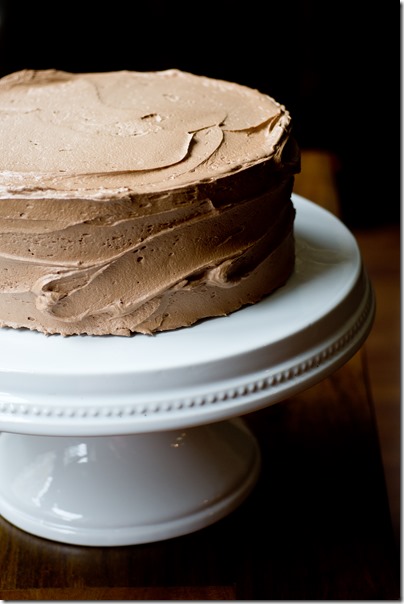
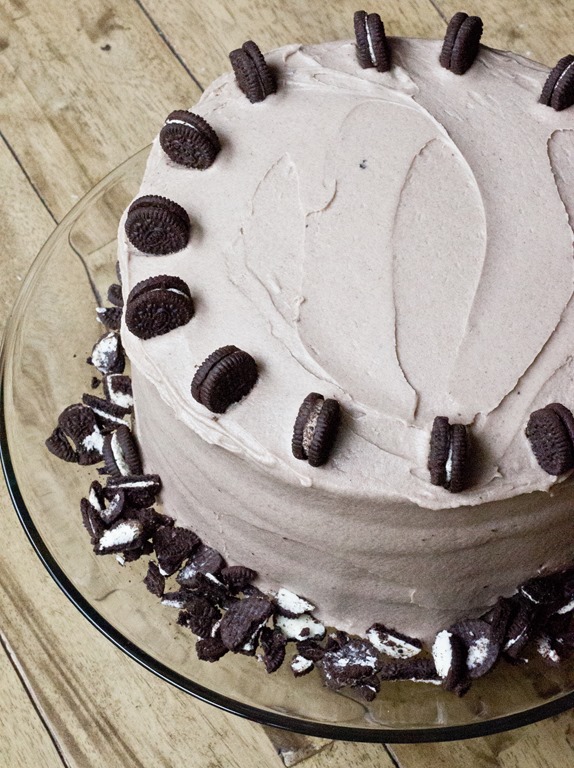
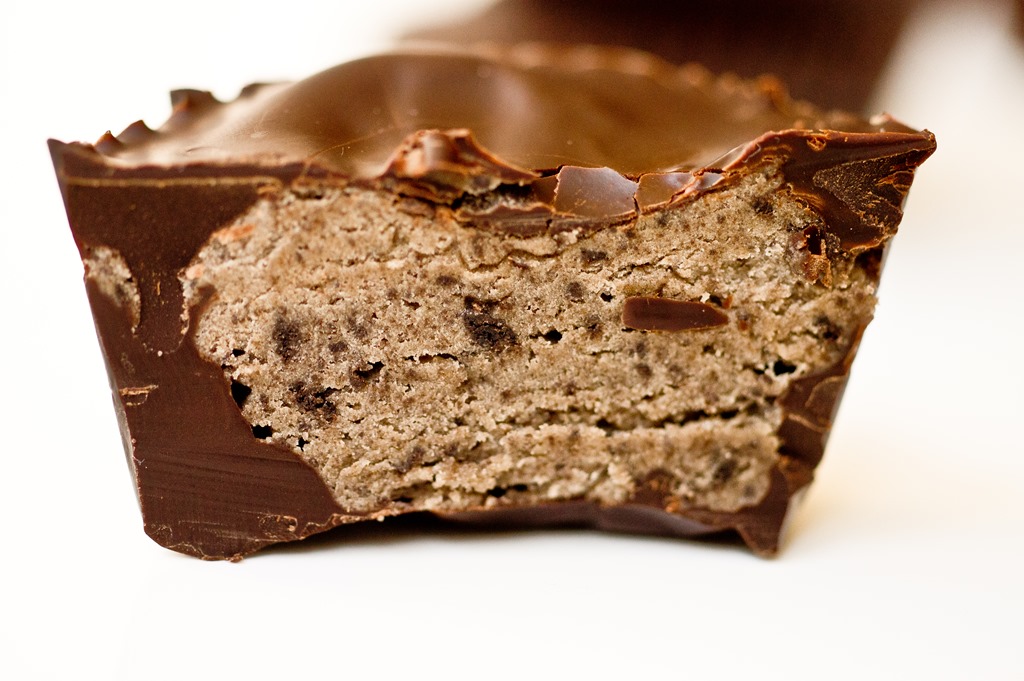
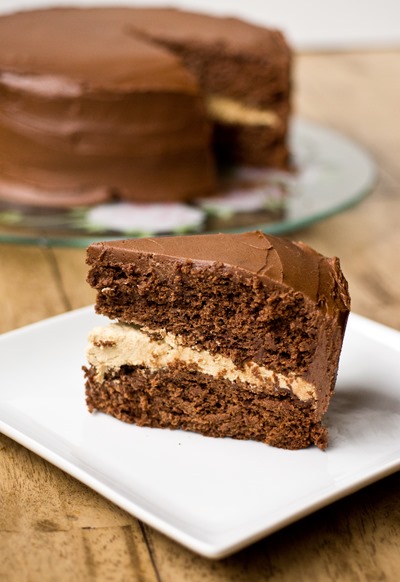
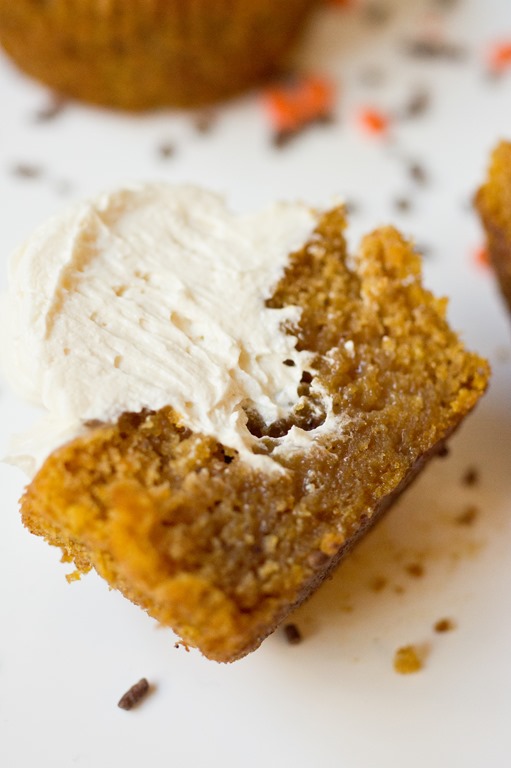
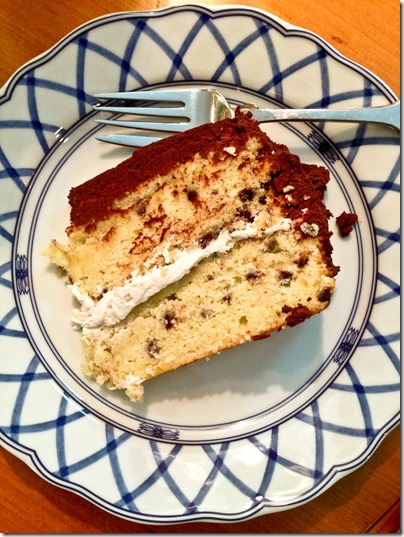
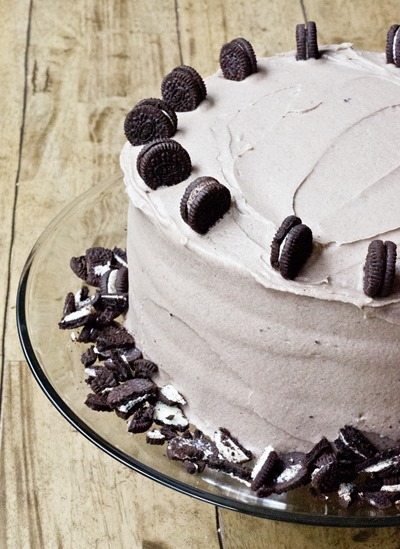
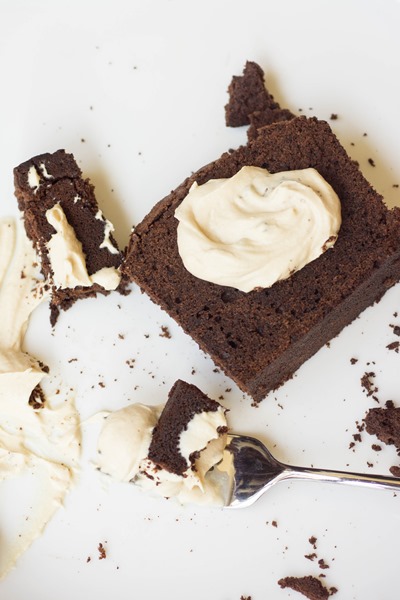
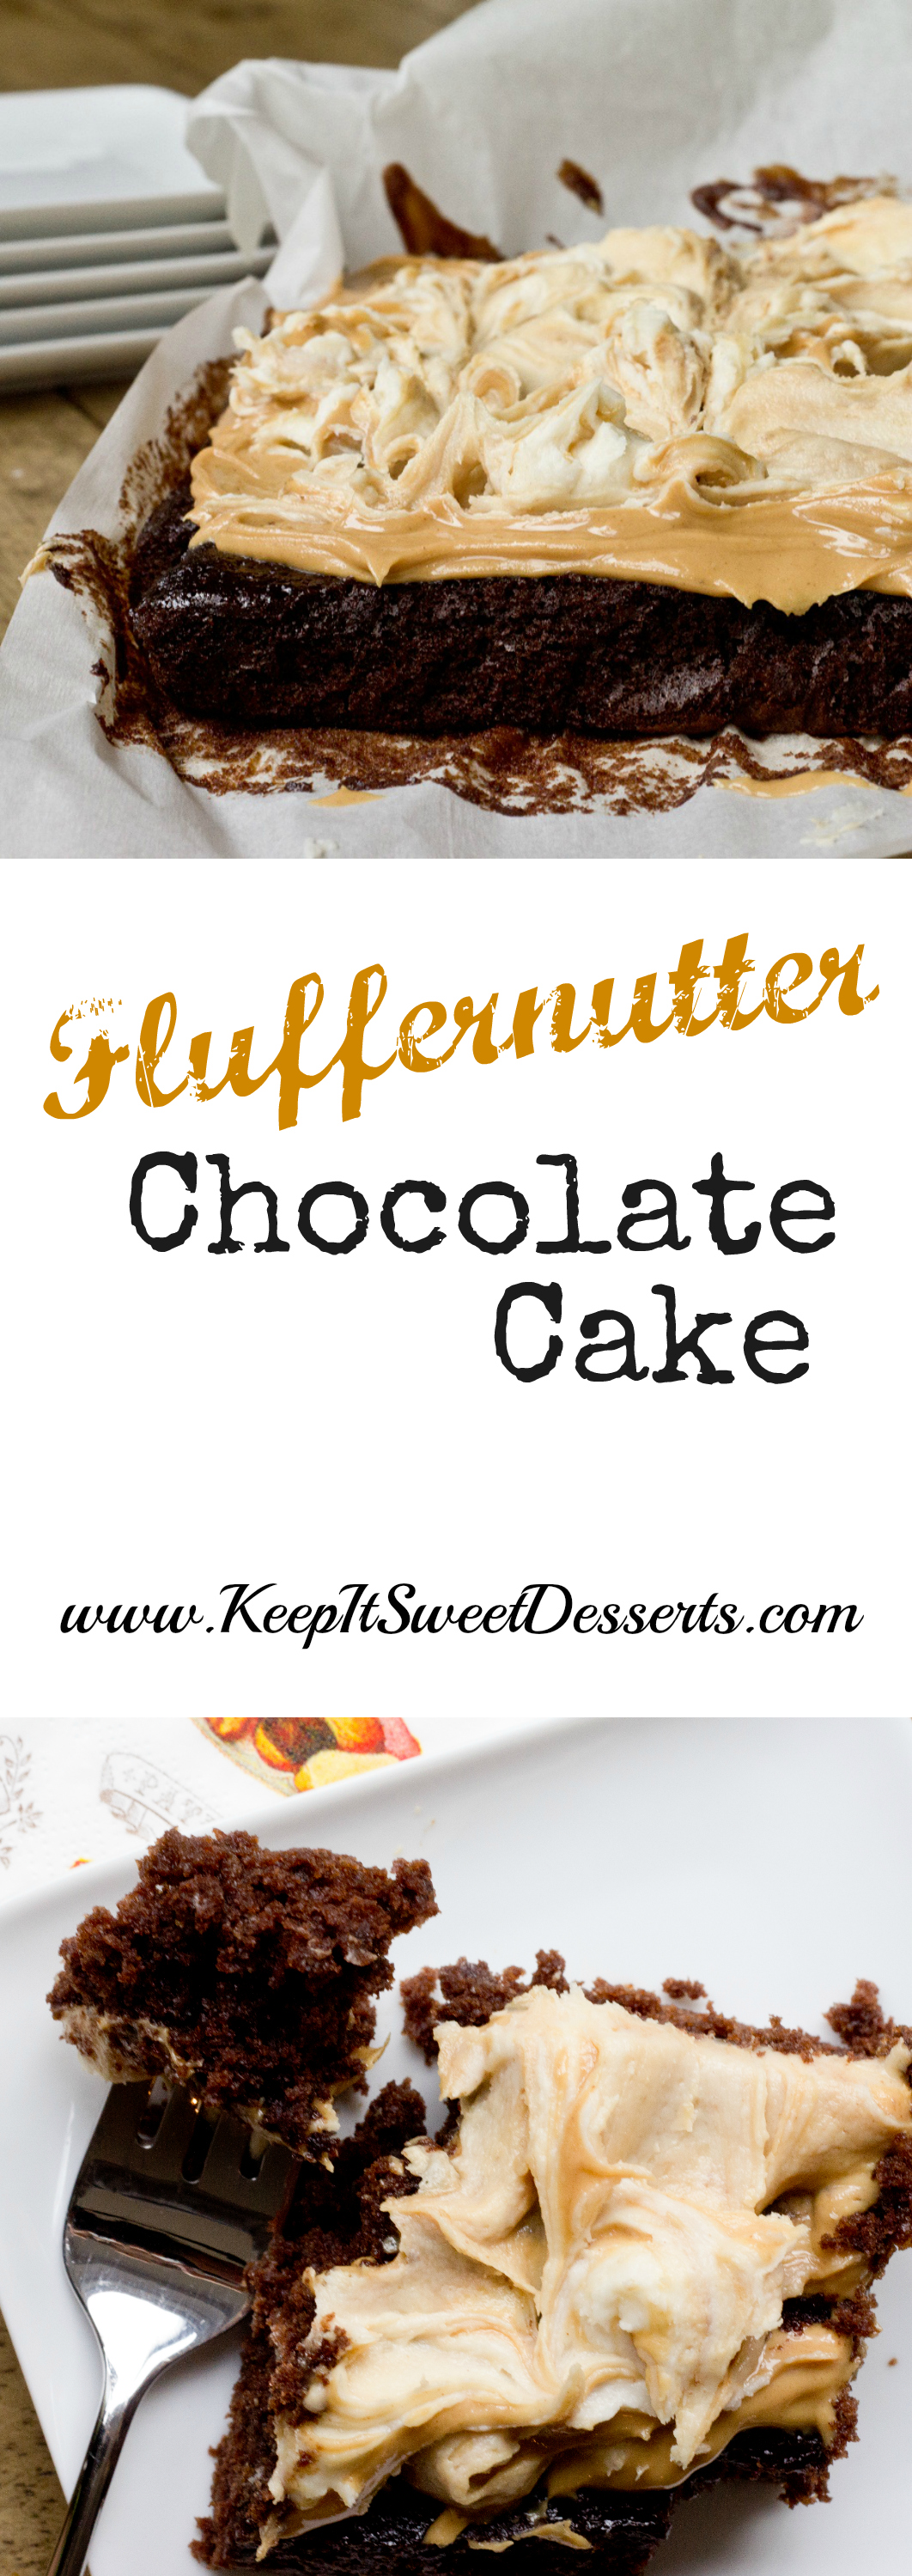
My mom has made some version of this banana cake at least once (usually more) a year every year for as long as I can remember. Chocolate chip filled for a holiday, chipless and stacked with chocolate cake and peanut butter frosting for an amazing layer cake, and loaded with cinnamon and chocolate chips just for fun. We even made the cake completely fat free a couple of times years ago. While the fat free version wasn’t bad at all, it was always pretty dense. Adding some fat back into the cake (only 4 ounces for this large dessert), helped keep a bit of lightness. And thanks to the bananas, you don’t have to worry about any dryness. Of course the chocolate finds itself throughout the cake in a way that you definitely feel like you are indulging. Win win!
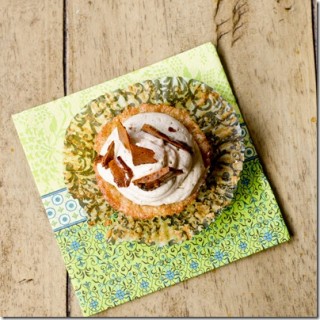
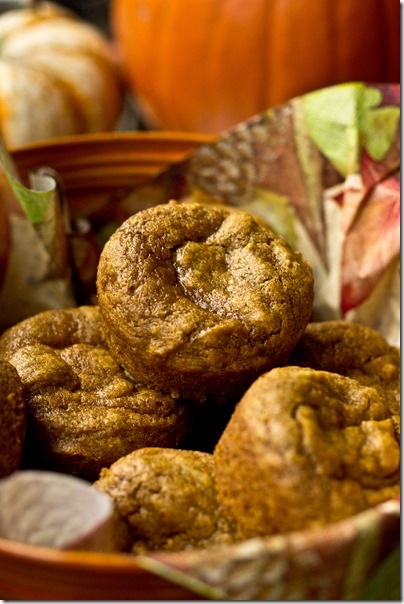
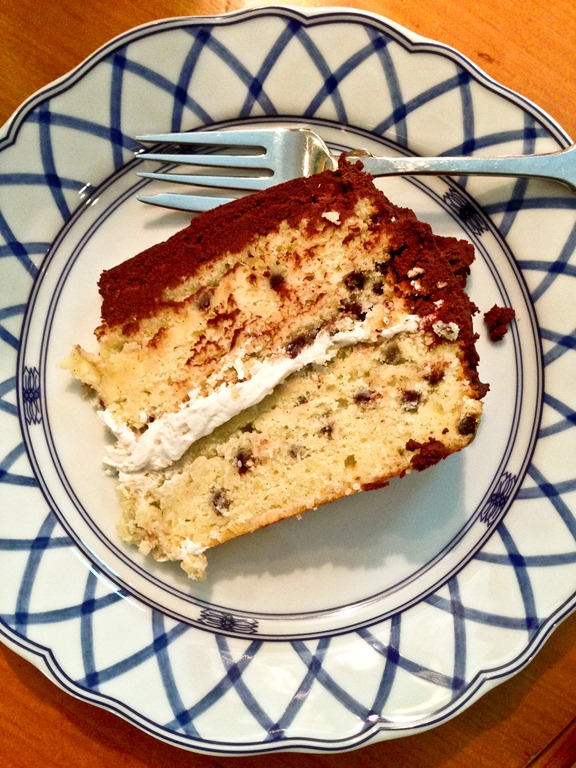
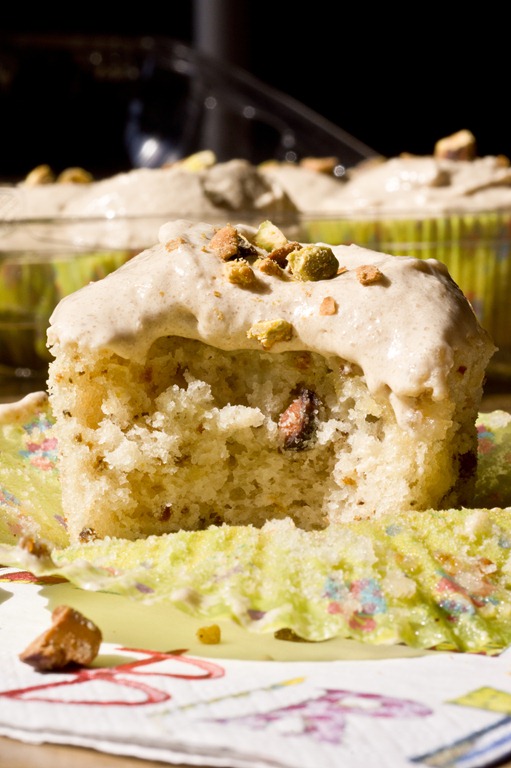
I see this as the perfect brunch cake (or Yom Kippur /Break the Fast for those observing). The sweet moist cake and crackly top is packed with bananas. So really, you are actually adding another fruit dish to your meal…. right?!?!?!
")
- 113g (1/2 cup) fat free plain Greek yogurt
- 10g (2 teaspoons) baking soda
- 320g (~3 cups) cake flour
- 2g (1 teaspoon) ground cinnamon
- 2 ½g (1/2 teaspoon) salt
- 113g (1/2 cup) unsalted butter at room temperature
- 122g (1/2 cup) unsweetened applesauce
- 530g (1 pound 2 ¾ ounces) (~2 ½) cups granulated sugar
- 200g (~4 large) whole eggs at room temperature
- 20g (~1 large) egg whites at room temperature
- 15 milliliters (1 tablespoon) vanilla extract
- 570g (~2½ cups) mashed very ripe bananas (~4 large bananas)
- 245g grated or finely chopped chocolate
- Pre-heat oven to 350 degrees; grease and flour a 10-inch tube pan (you could also use a large bundt pan)
- In a small bowl, stir baking soda into Greek yogurt and let stand to dissolve
- In a medium bowl, whisk together cake flour, cinnamon and salt; set aside
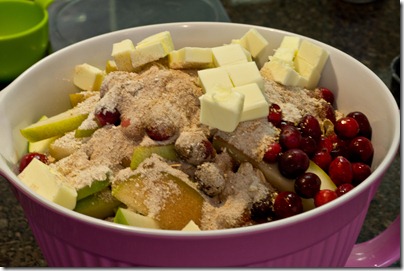
- In the large bowl of an electric mixer, beat sugar, butter and applesauce on medium-high speed for several minutes until light and fluffy
- Add eggs and vanilla and mix on medium speed until combined; scrape the sides and bottom of the bowl with a rubber spatula
- Add bananas and mix on low speed; add flour and mix again on low speed low speed just until combined
- Remove bowl from mixer and fold in Greek yogurt; fold in chocolate
- Pour batter into prepared pan; bake 65-70 minutes or until a toothpick or knife comes out clean from the center; set pan aside on a wire rack and allow to cool for one hour
- When ready to remove cake from pans; run a knife around the edges of cake and then carefully pull the inside of the tube pan up to remove the cake (if you notice it is stuck at all, run your knife around the sides again, do not force); then run a knife underneath the cake and around center of tube and use your hands to gently lift cake and place on serving plate (again be careful not to force and make sure cake is completely cool)
- Best enjoyed within 24 hours; store leftovers tightly wrapped with seran
Note: Entire cake can be frozen whole or in slices wrapped well with seran and foil up to one month; defrost at room temperature a few hours before serving


")


")


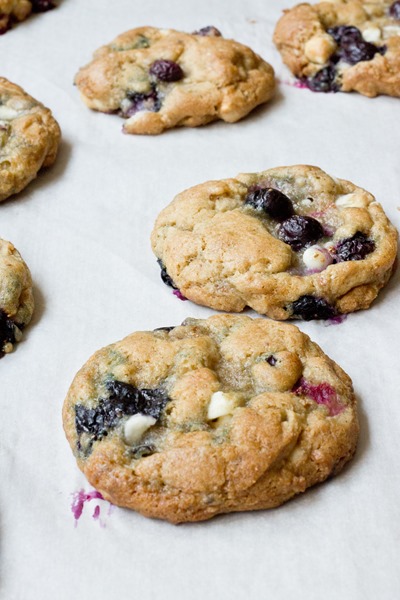
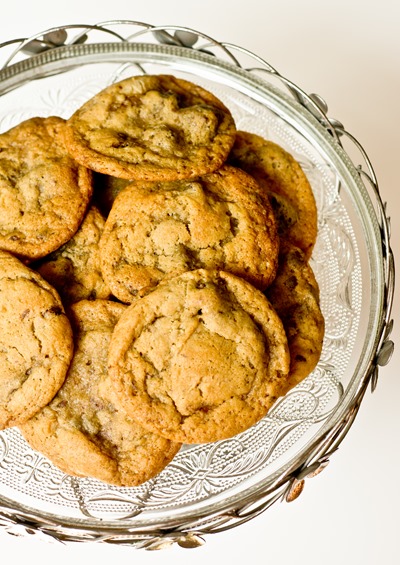
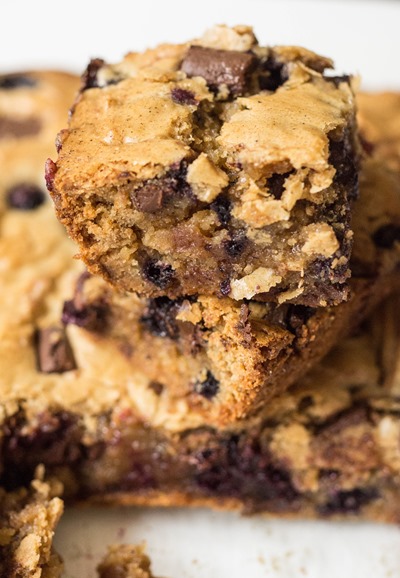
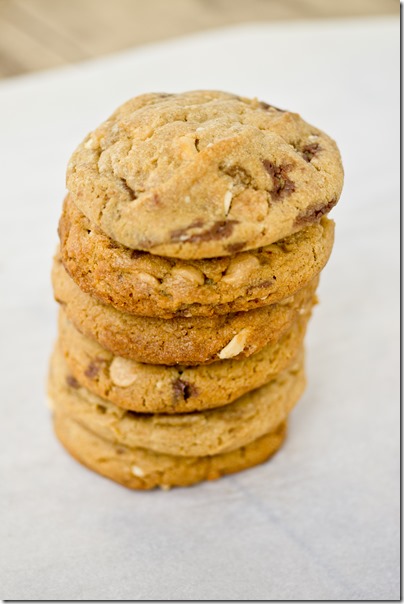
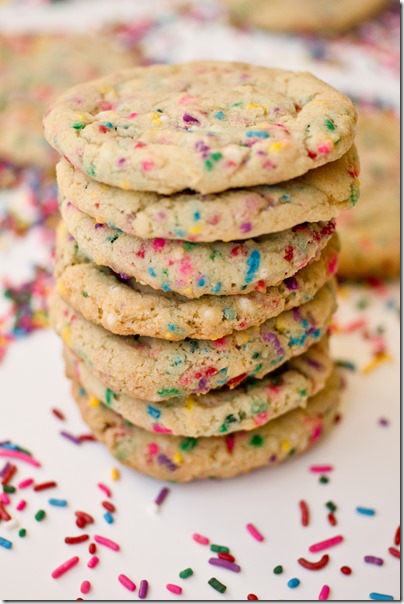
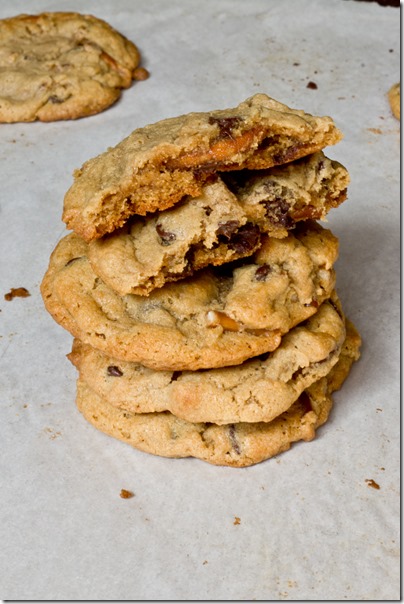
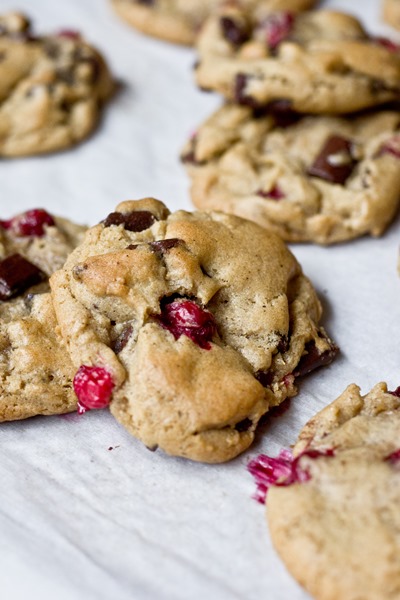
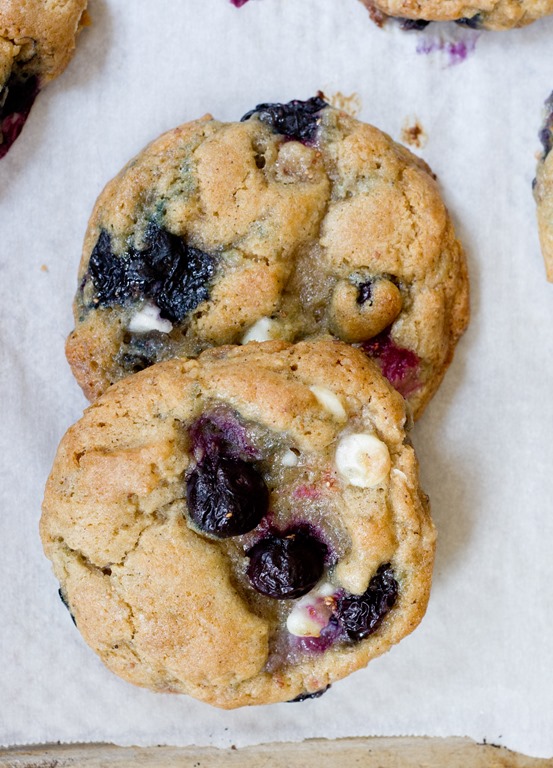
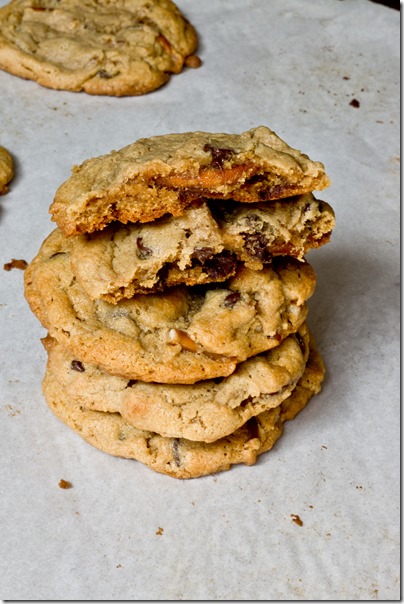
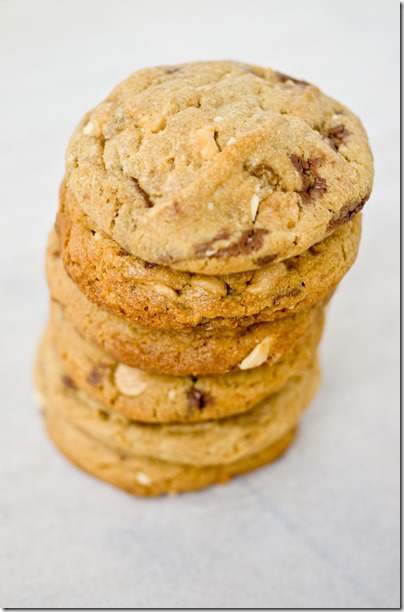
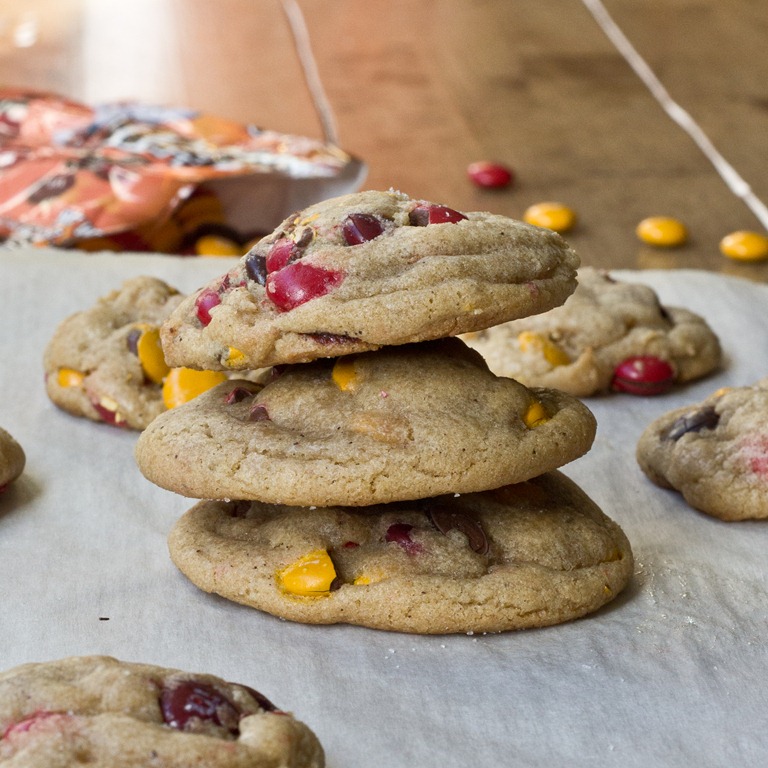
 Blueberry White Chocolate Brown Butter Cookies - the cookie of the summer!")
 Blueberry White Chocolate Brown Butter Cookies - sweet, chewy, crispy edges, everything you could want in a cookie!")
 Blueberry White Chocolate Brown Butter Cookies - basically cookie perfection")


")


")
")


")
")
")
")


")


")