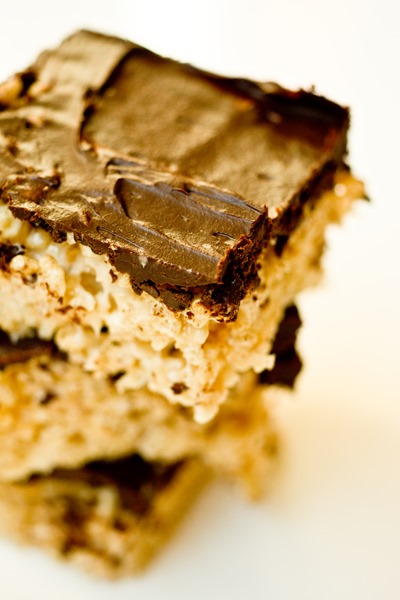
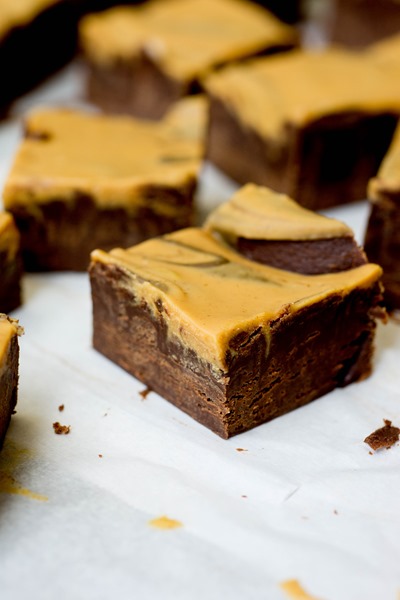
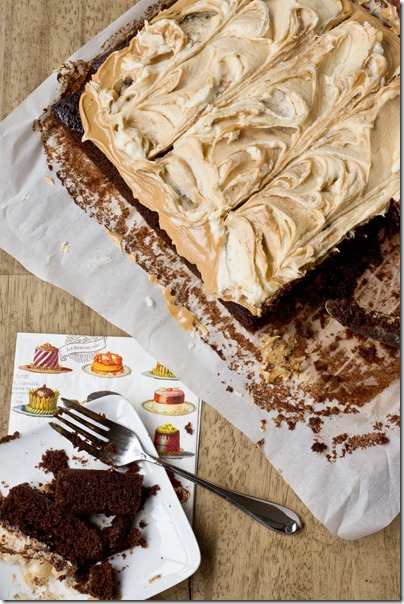
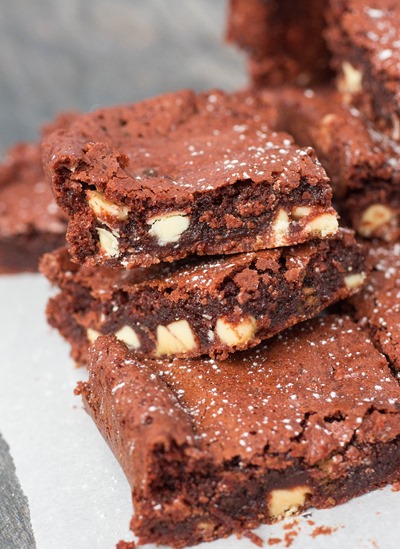
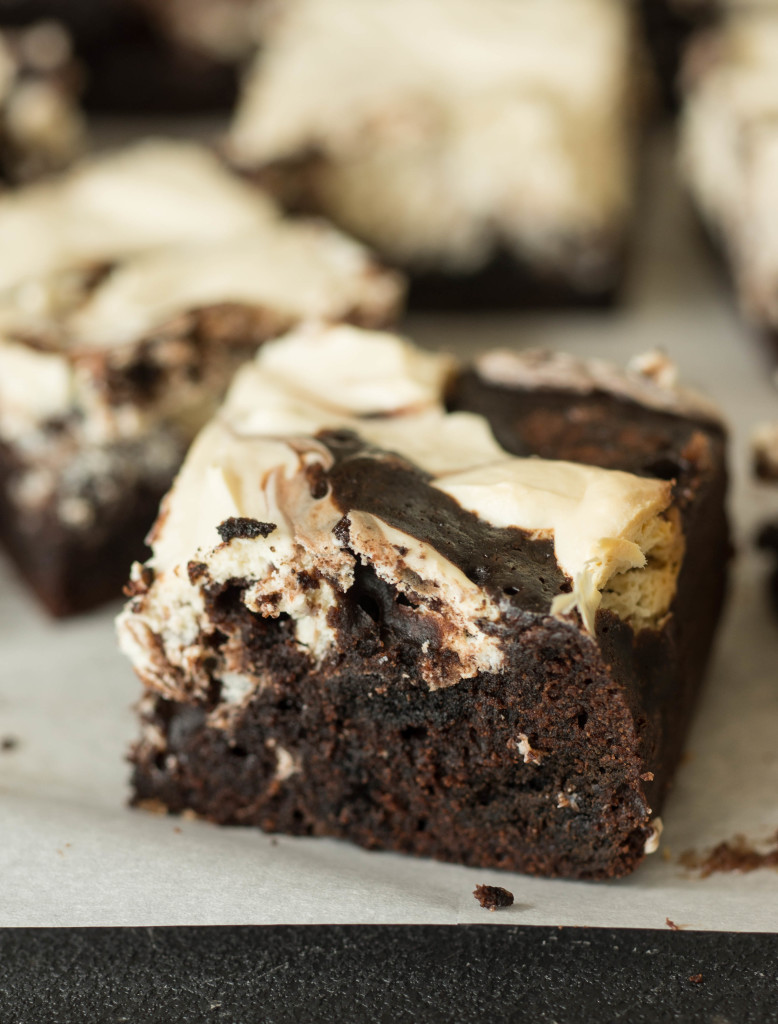
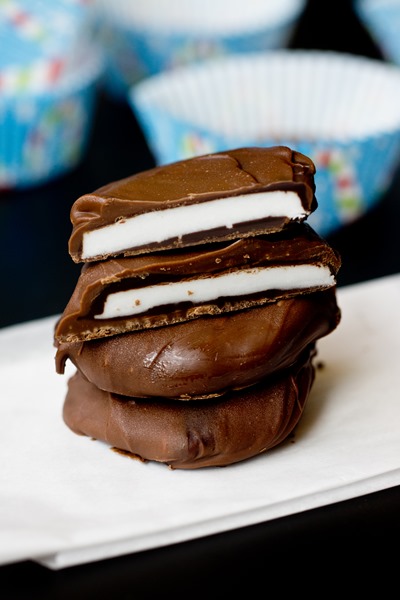
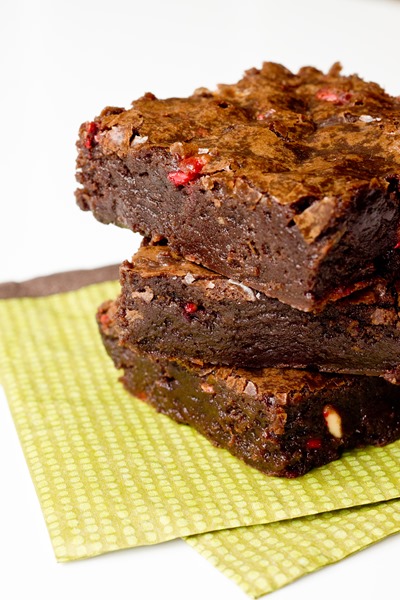
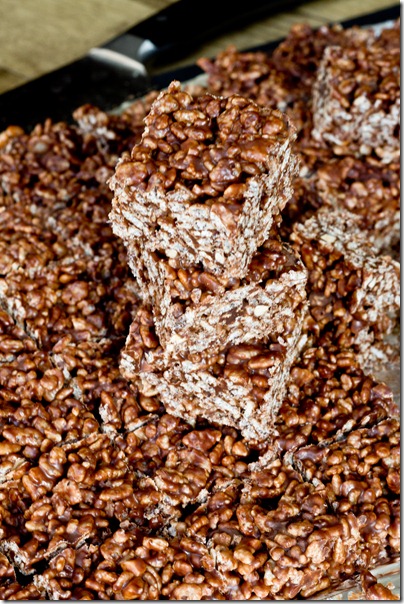
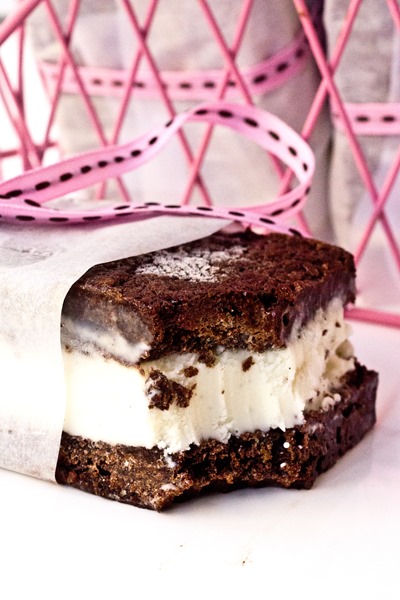
Thick, chewy rice krispie treats “glued” to a fudgy brownie base with a layer of marshmallow fluff!

A few weeks ago, my mom and I hosted my sister’s bridal shower. Leading up to the party, my mom and I (and actually, my dad, too) spent hours and hours brainstorming, theme planning, cooking, baking, decorating and so forth. The shower ended up being so much fun, though, and actually pretty stress-free after all of the work we did in advance! The food was a hit, the decorations were festive, the cocktails were strong and my sister was happy! It was basically a massive success.

When we first started planning, my mom and I had a million ideas of things we wanted to incorporate, but in the end, we came up with a theme that embodied Jessica’s favorite foods, drinks and her personality. By settling on a “He Popped The Question” theme (with some Mexican influence <- her favorite food of all time), we were able to come up with a menu and party plan that really worked together. Basically, we took the word “pop” and ran with it!
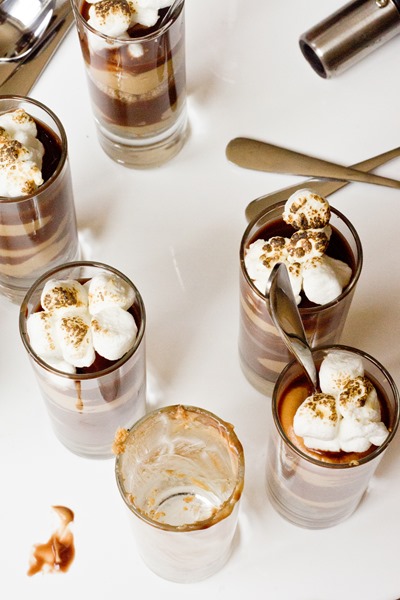
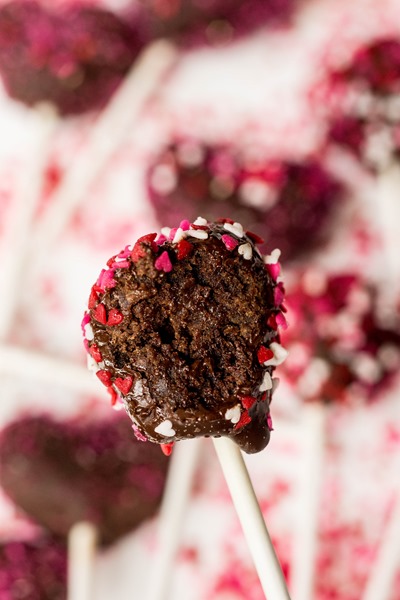
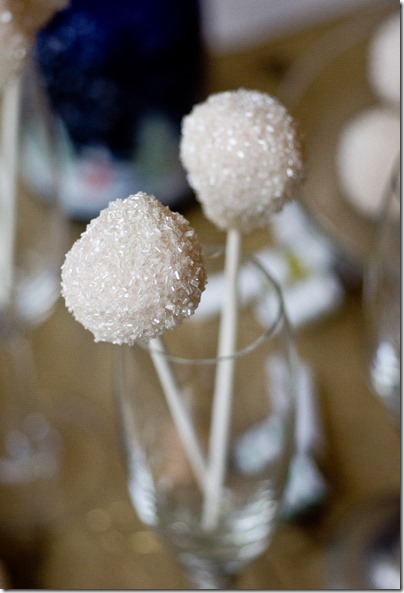
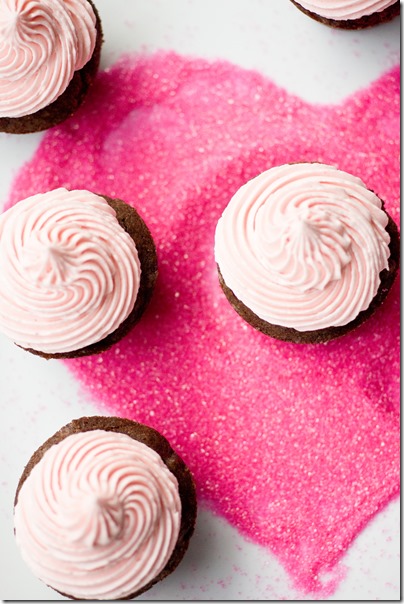
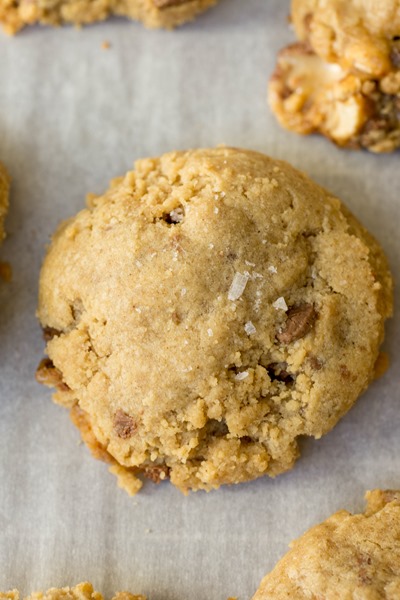
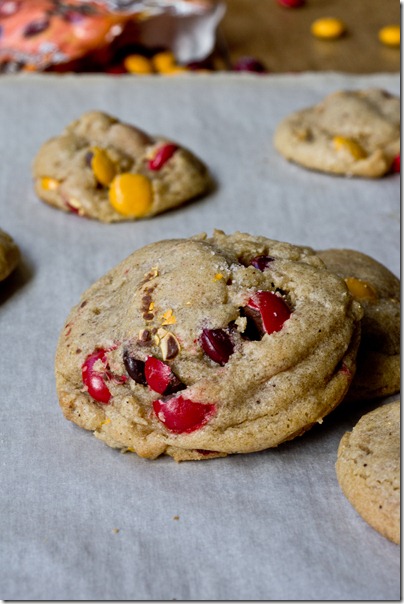
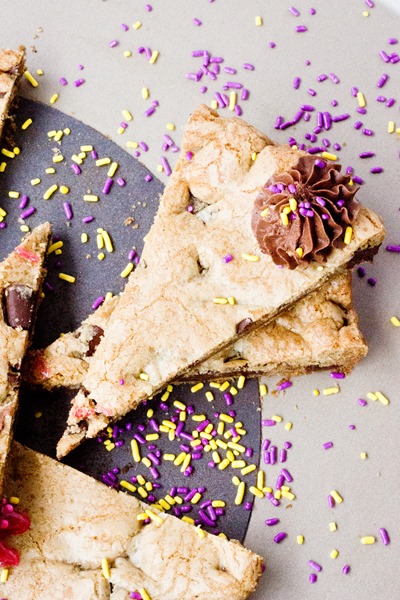
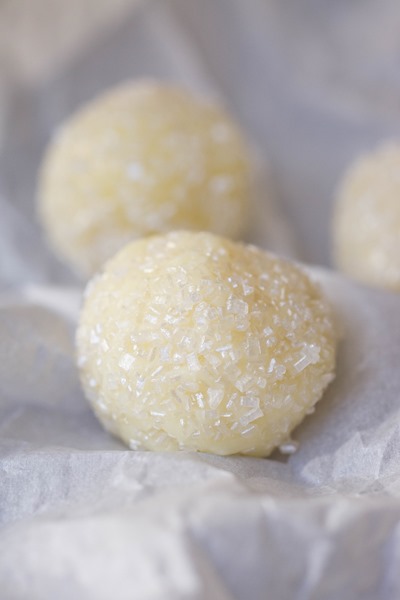
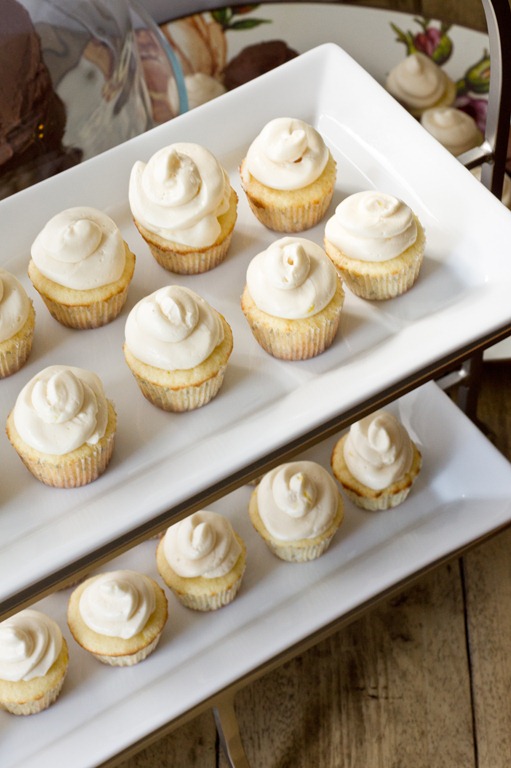
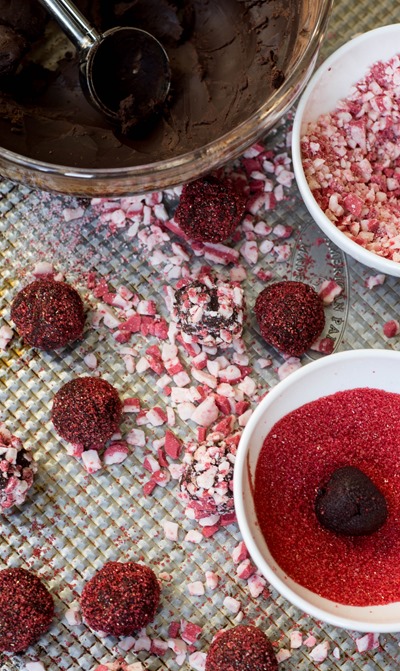
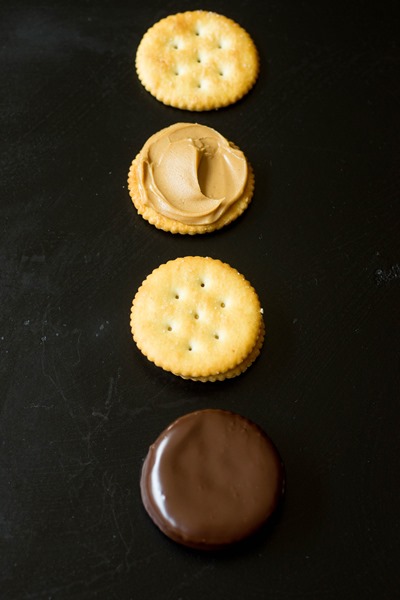
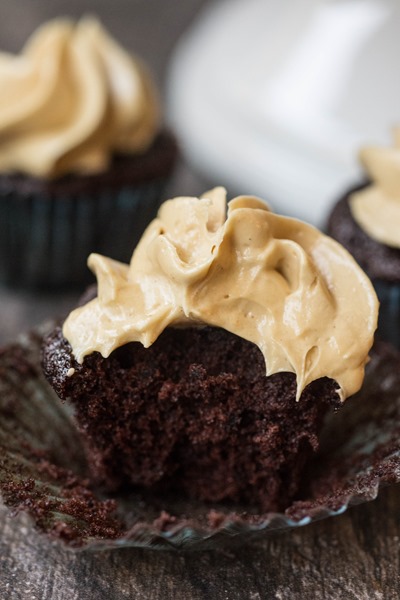
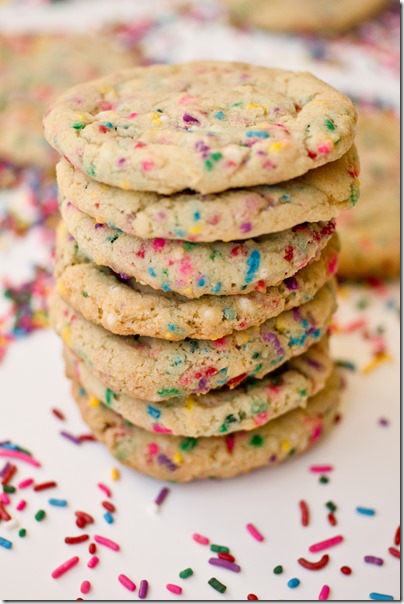
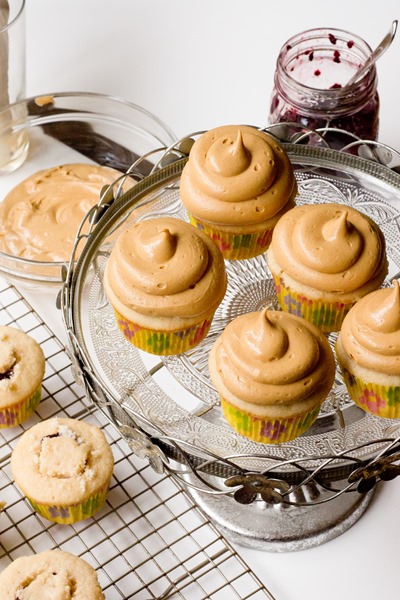
The food was all pick-up, including mozzerella and tomato skewers (pop-like) and shot glasses full of Mexican street corn salad. We created a special champagne margarita that everyone enjoyed in their personalized glasses- get it, pop / champagne? There was a massive popcorn table (some homemade and some store-bought). And then of course there was a dessert table. It included s’mores pops, champagne cupcakes, funfetti pop rock bars, Mexican blondies (recipe coming soon!) and of course these Brownie Krispie Treats (snap, crackle, POP! anyone?).

You know I don’t mess around when it comes to dessert. Think fudgy brownie, gooey marshmallow fluff and sky-high chewy rice krispie treats all perfectly stacked into a dreamy dessert bar. They were a big hit at the party and I’m now mildly obsessed.
Coming from someone who generally does not enjoy making rice krispie treats (stick hands drive me crazy!), I have to tell you that this dessert is worth every ounce of effort and messy hands. They not only looked outrageous, but also tasted incredible. And going along with the all of the advanced preparation, this is a bar dessert that you can definitely make ahead of time. I made and froze the brownie over a month in advance, then finished the rest the day before the party. After storing leftovers in my fridge for a couple of weeks, though, I can assure you that they stay super fresh for several days after making. So handy when planning for a big party!
Brownie Krispie Treats
Author: Lauren Lilling
Recipe type: Dessert
- 128g unsweetened chocolate, roughly chopped
- 170g (3/4 cups) unsalted butter
- 208g (~1 cup) granulated sugar
- 200g (~¾ cup + 2 tablespoons, packed) light brown sugar
- 140g (~2 whole + 1 yolk) whole eggs, at room temperature
- 10 milliliters (2 teaspoons) vanilla extract
- 145g (~1 cups + 1 tablespoons) all-purpose flour
- 1g (1/4 teaspoon) salt
- 71g (5 tablespoons) unsalted butter
- 10 cups (425 grams) miniature marshmallows, divided
- 2g (1/2 teaspoon) kosher salt
- 1 milliliter (1/4 teaspoon) vanilla extract
- 160g (3 cups) Rice Krispies cereal
- 200g (1¾ cups marshmallow fluff)
- Pre-heat oven to 350 degrees
- Line a 9x13 baking pan with parchment paper; set aside
- In a medium bowl, whisk together flour and salt; set aside
- Melt butter and chocolate in large pot over low to medium heat; remove when melted
- Stir in sugar until combined; stir in eggs and vanilla until smooth
- Whisk in flour mixture just until combined; do not overmix
- Pour batter into prepared baking pan
- Bake 16-20 minutes or until a knife comes out clean from center
- Set brownies aside to cool completely before removing from pan with parchment paper and wrap well until ready to use (see notes for storage)
- Line a 9x13 baking pan with parchment paper big enough to have it fold over each side of pan
- In a large pot, melt butter and 300g (7 cups) marshmallows over medium heat; stir constantly until completely melted; stir in vanilla and salt
- Remove pot from heat and stir in remaining marshmallows and rice krispies until all cereal is coated
- Grease your hands with non-stick cooking spray and press rice krispie treat mixture into prepared baking pan; allow to cool for twenty minutes until completing recipe
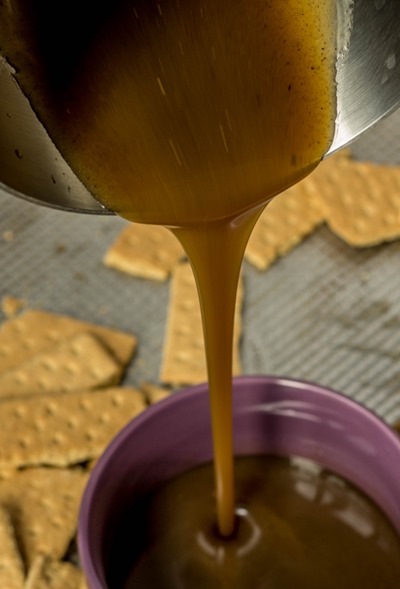
- In a small microwave-safe bowl, heat marshmallow fluff for 15 seconds; stir well and then carefully spread over brownie base
- Using edges of parchment paper, carefully lift rice krispie treats out of pan and turn upside down onto frosted brownie, lightly press onto krispie treats so that dessert becomes intact
- Remove parchment paper from top and place entire dessert in refrigerator for one hour to chill before slicing and serving
Can be doubled by using two 9x13 pans for each component; brownie baking time will increase to about 25 minutes
To make in advance:Brownie can be baked up to two months in advance if wrapped well in tin foil and frozen (I recommend keeping parchment paper on bottom)
Remainder of recipe can be completed up to one week in advance of serving; store entire dessert well wrapped in tin foil refrigerator
Completed dessert can also be frozen up to one month
Rice Krispie treat recipe from
Brown Eyed Baker 3.3.3077
You might also like:
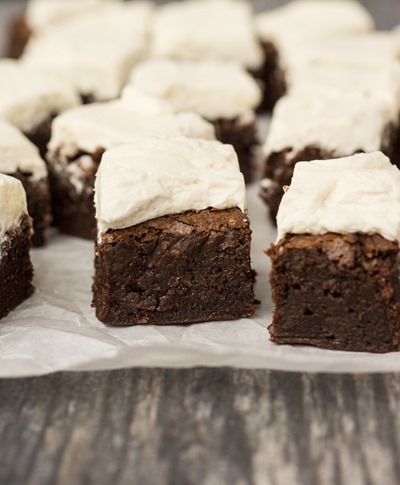
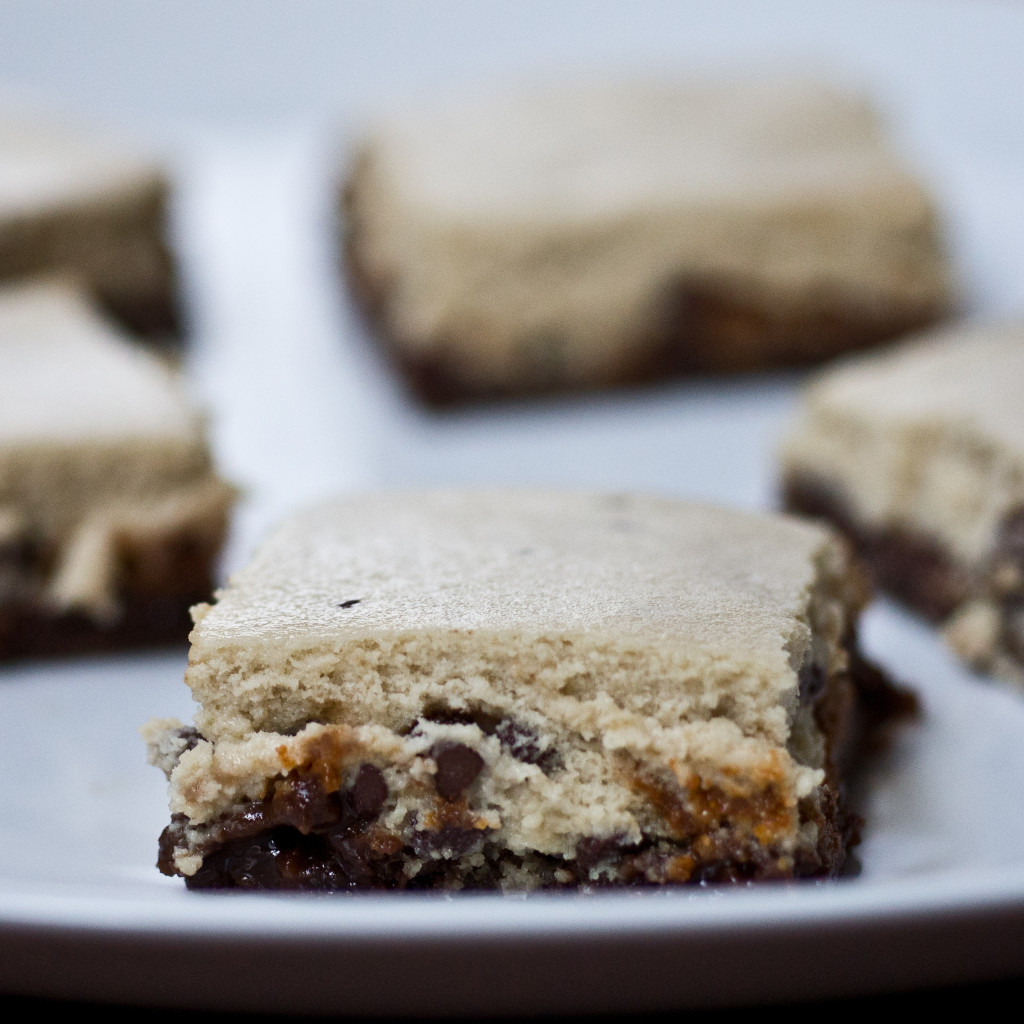
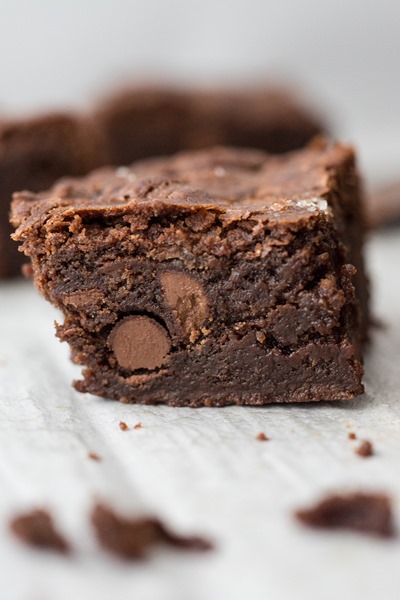
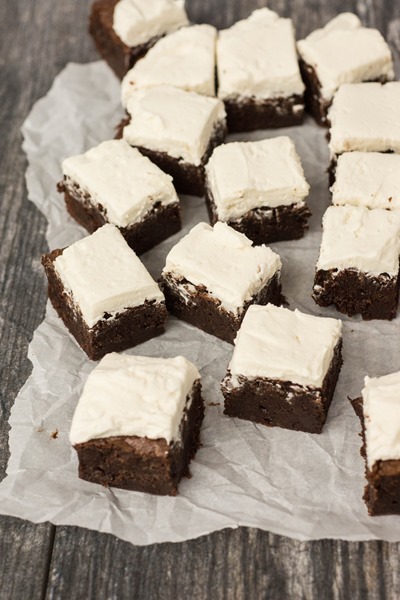
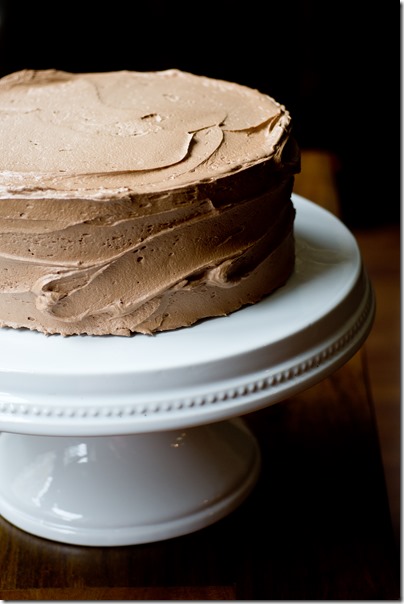
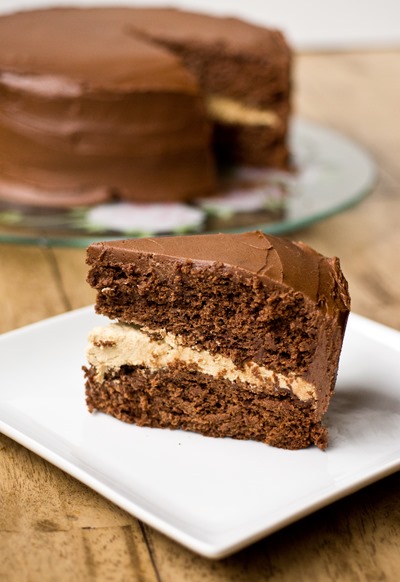
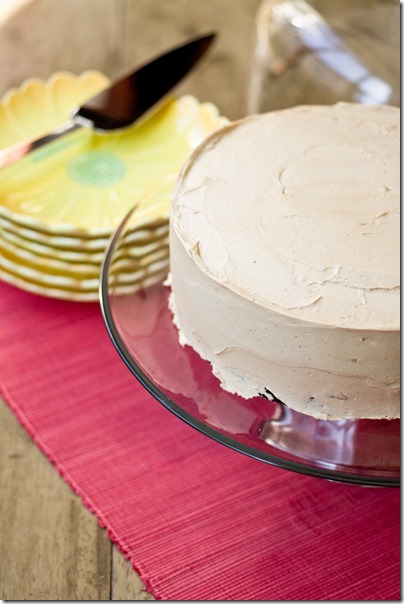
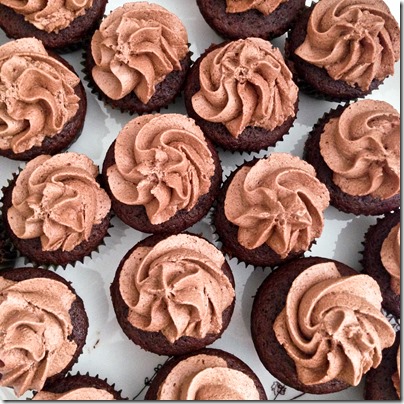
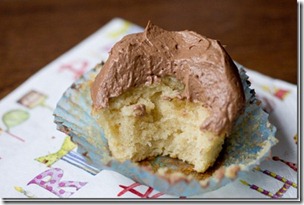
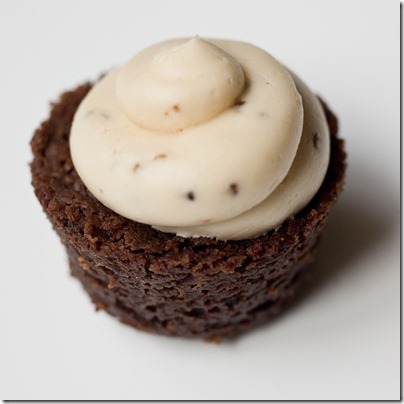
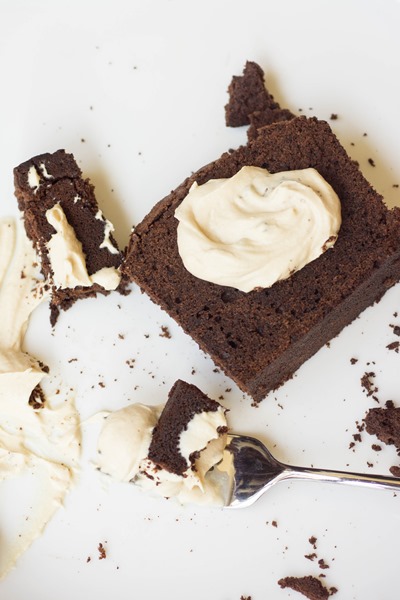
Fudgy Brownies with Fluffy Vanilla Buttercream
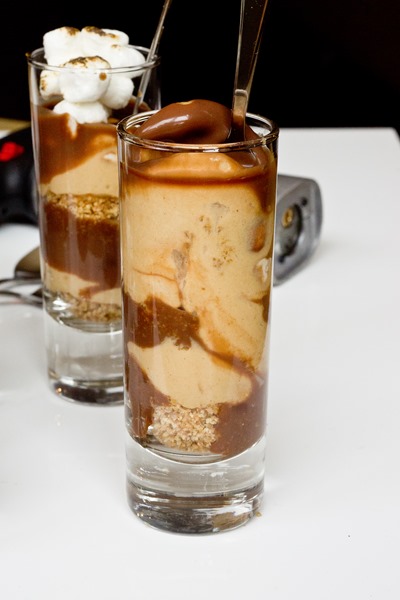
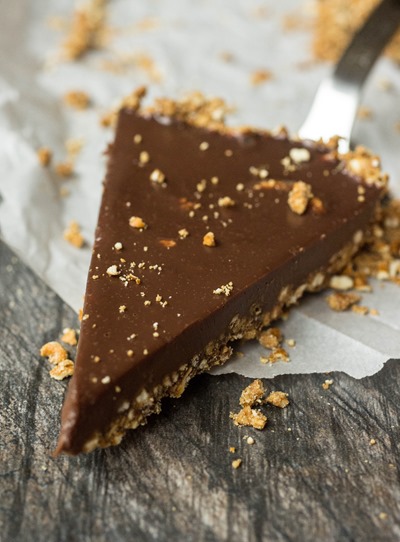
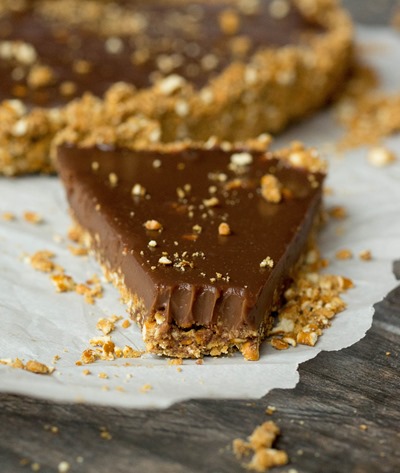
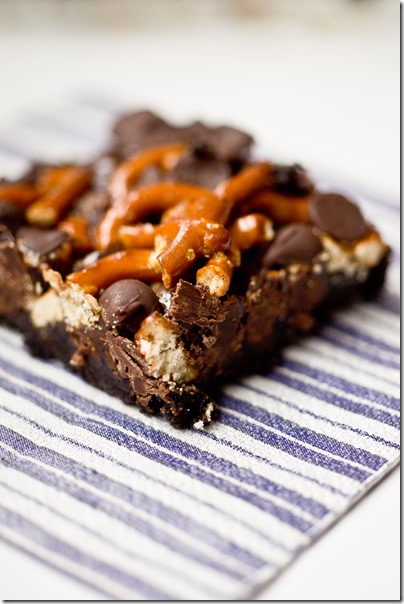
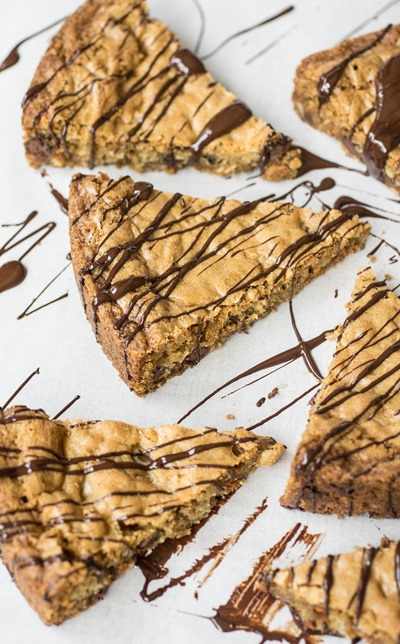
Salted Caramel Rice Krispie Treats with Mocha Ganache
Cinnamon Bun Krispie Treats


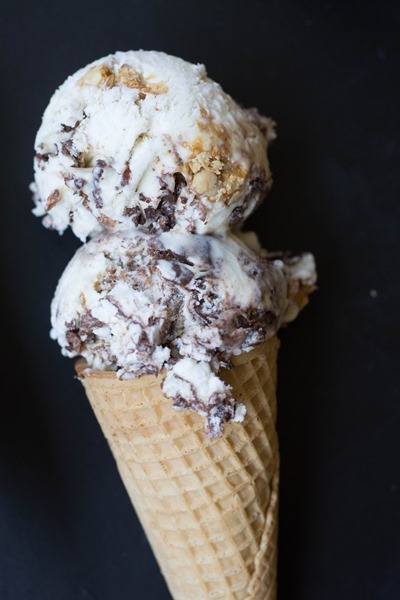

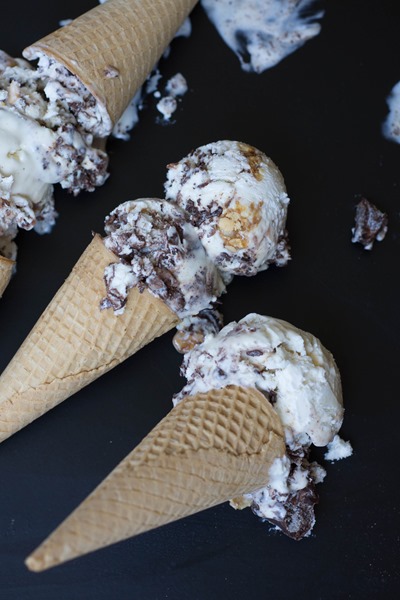
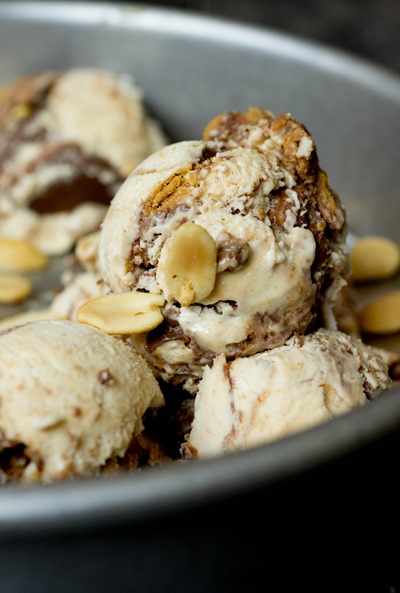
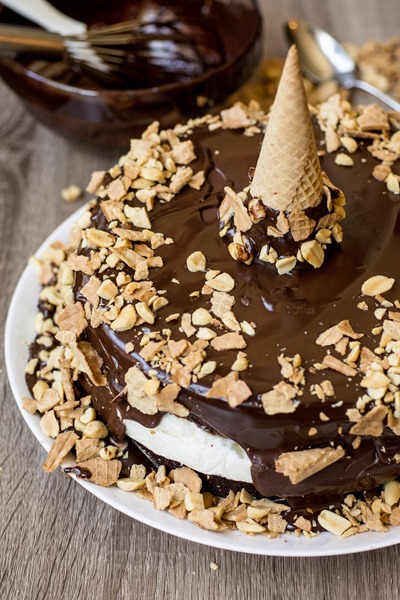
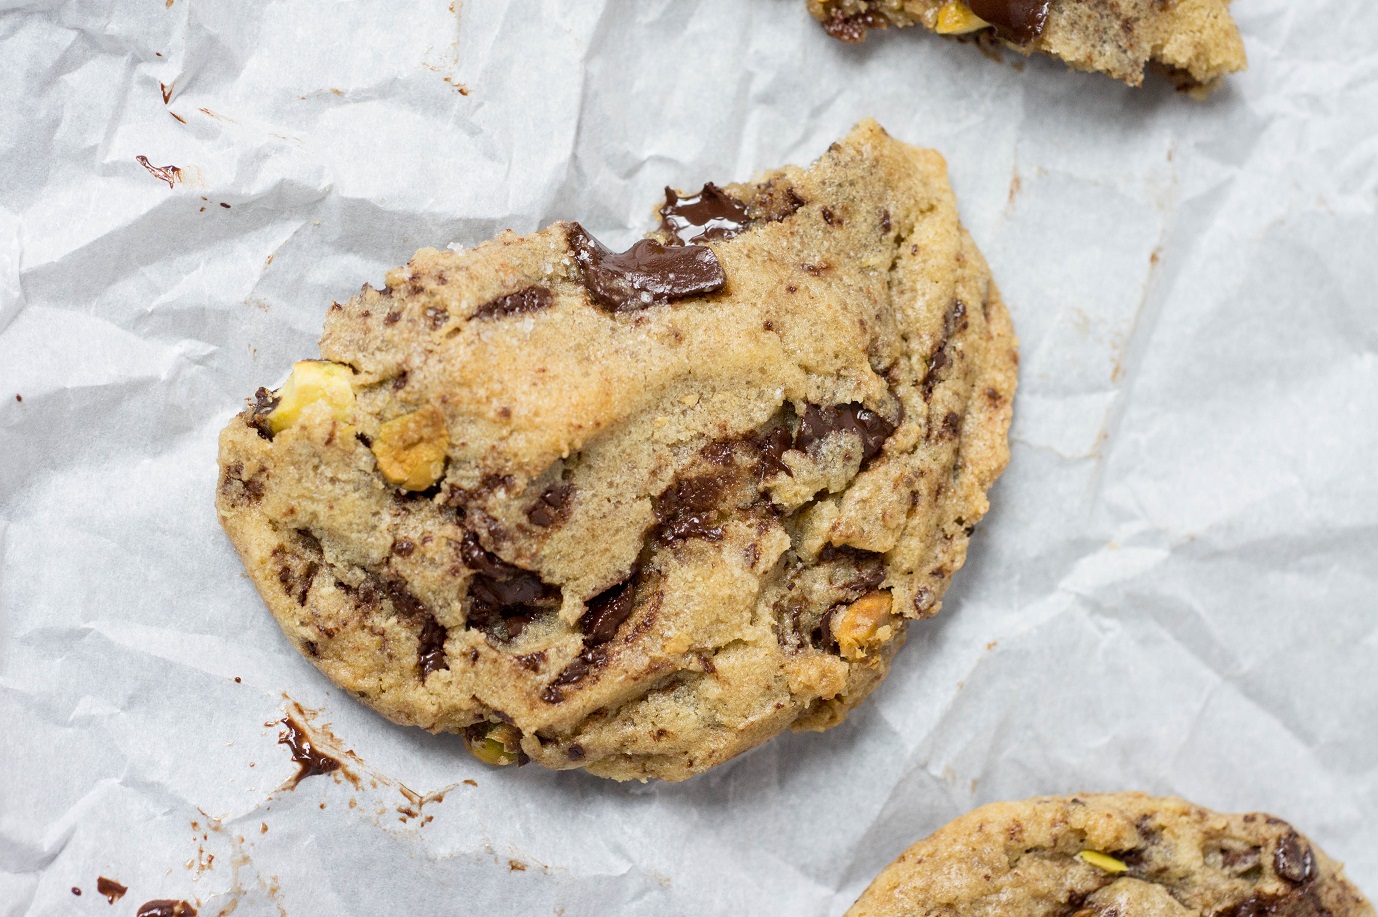
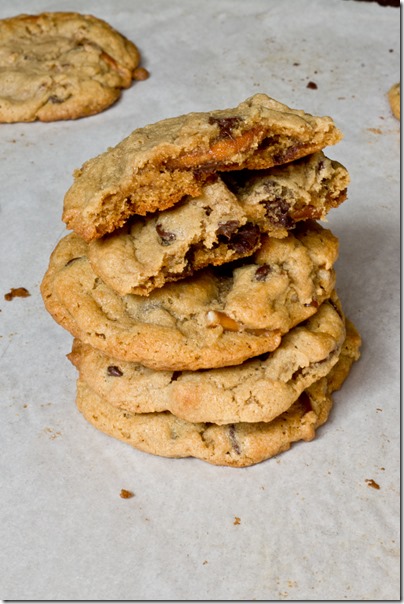
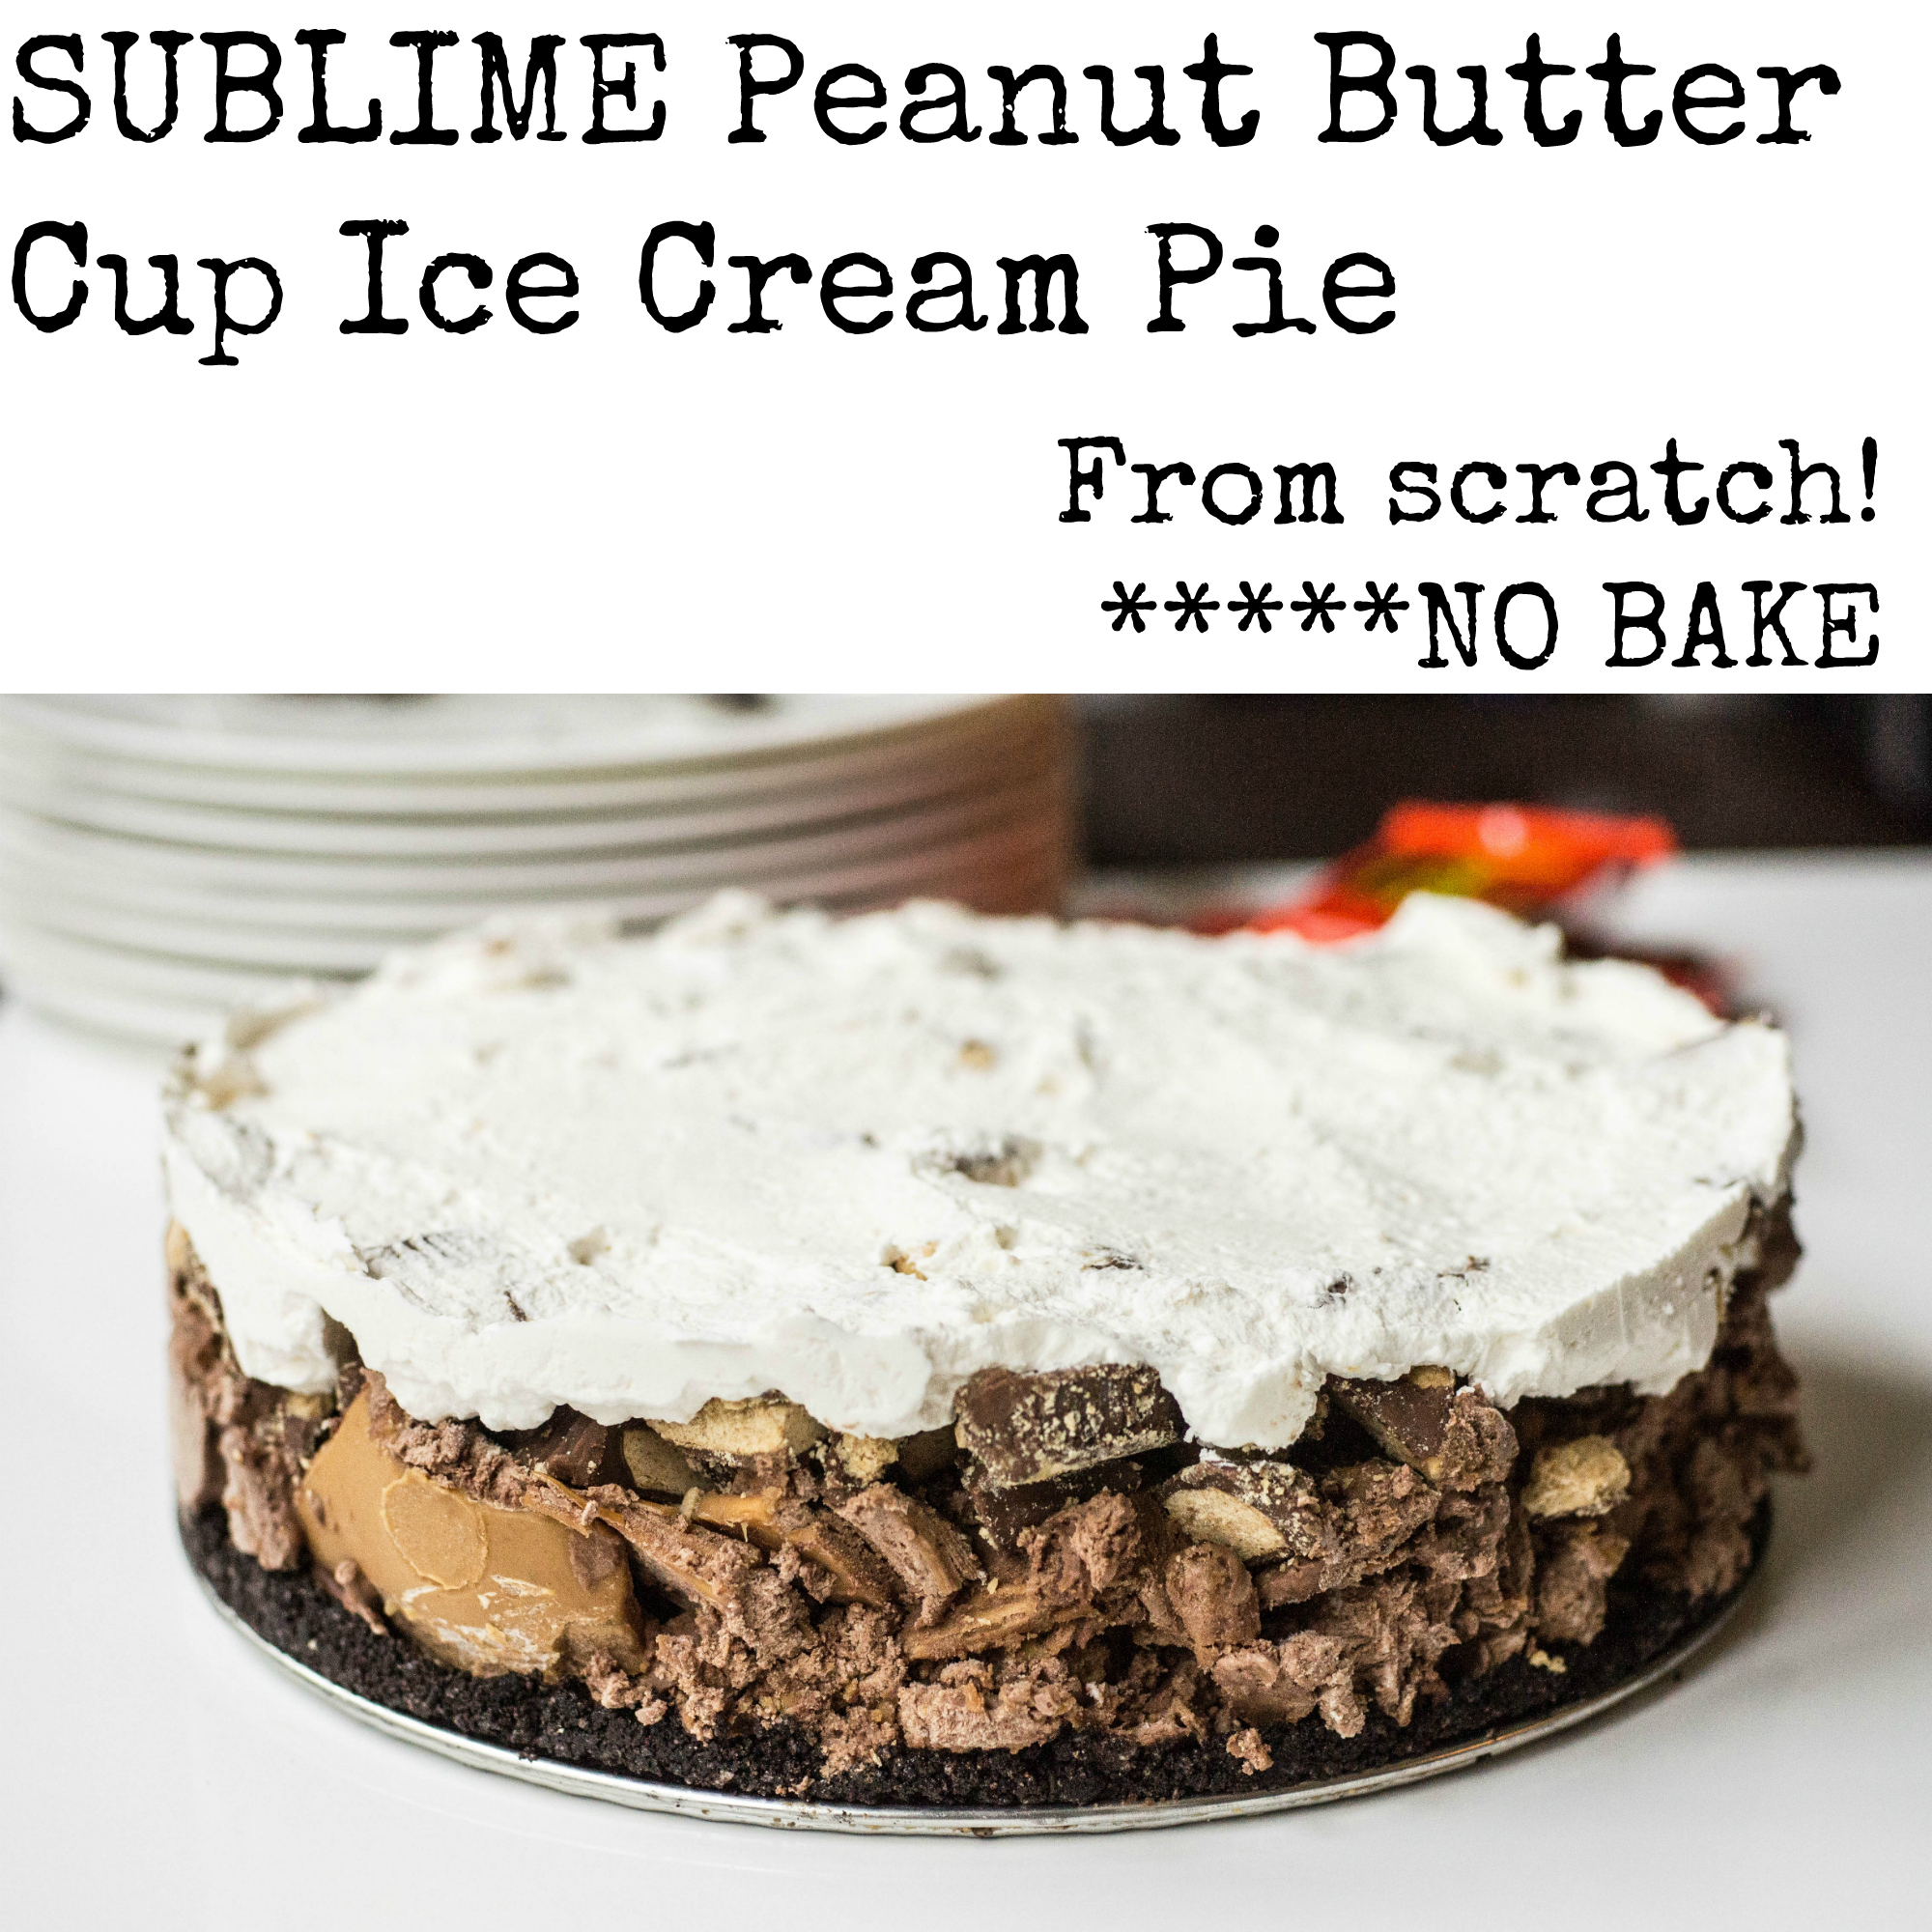
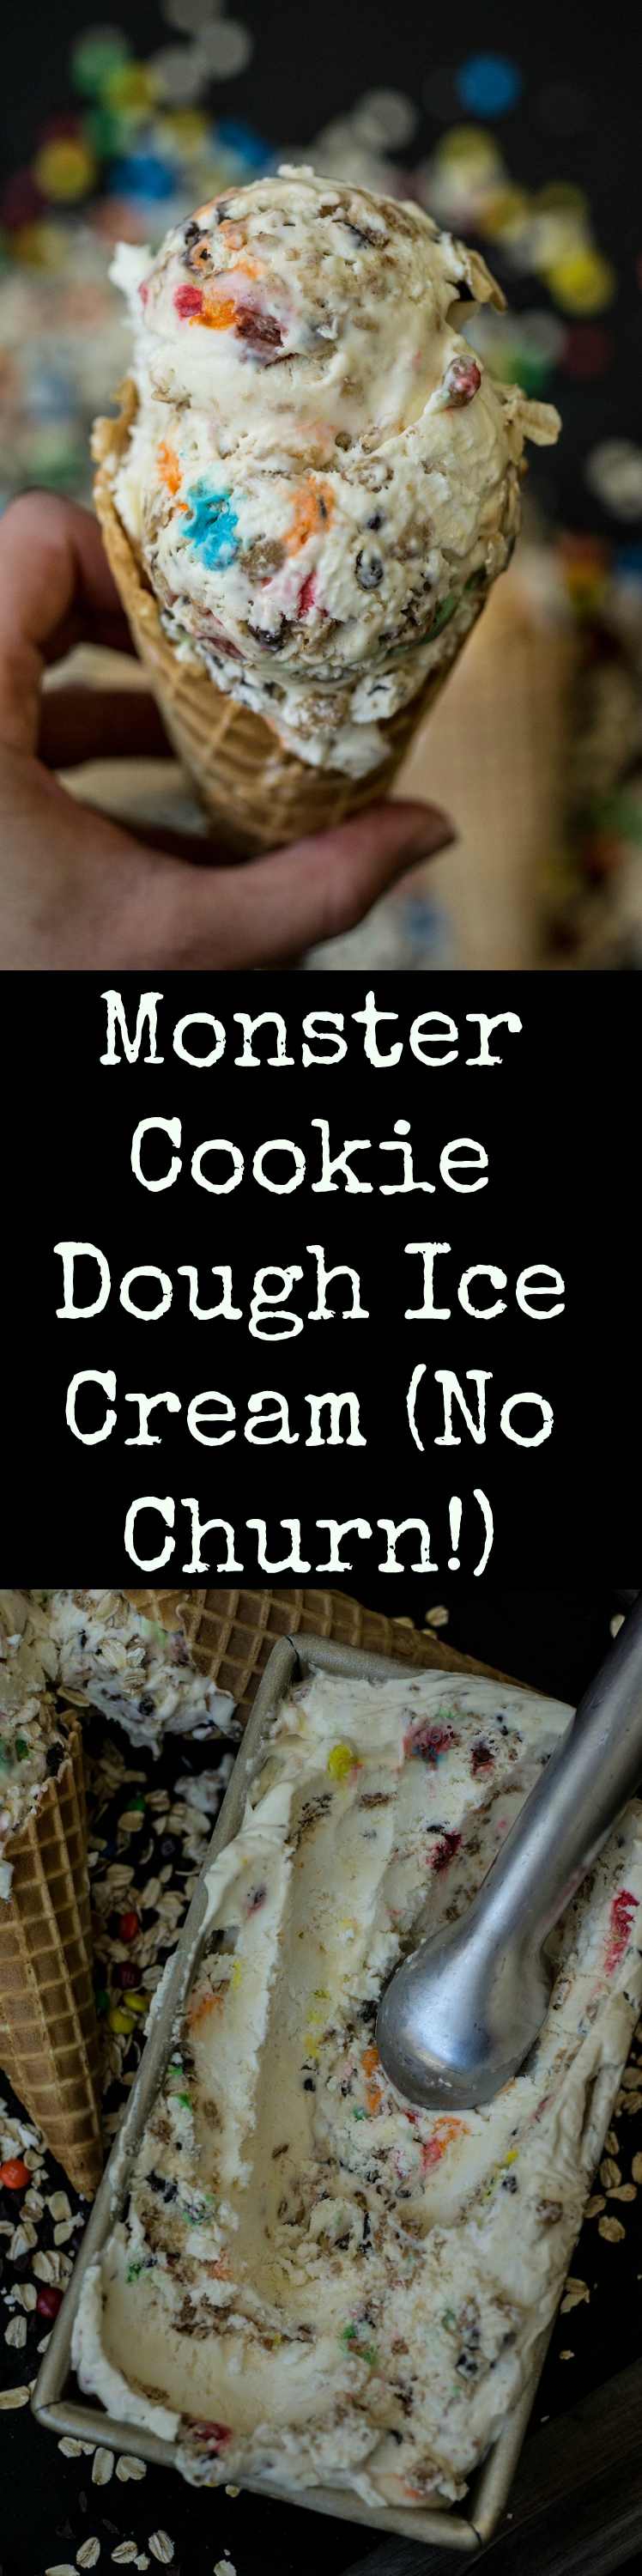
 vanilla ice cream with salty candied peanuts and dark chocolate chunks")


")


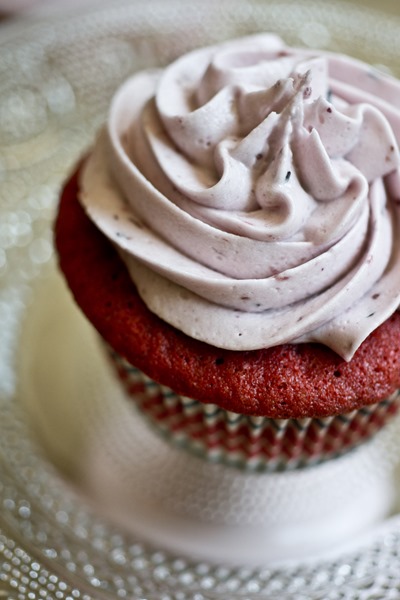
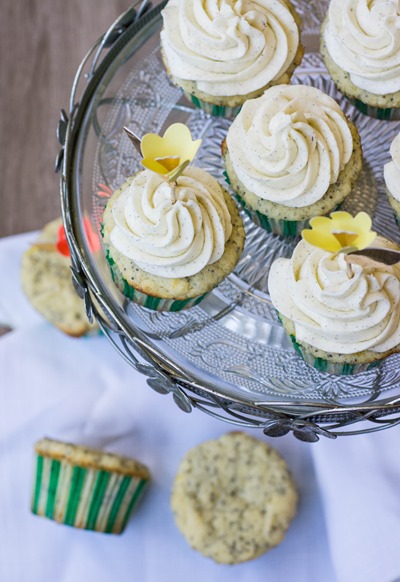
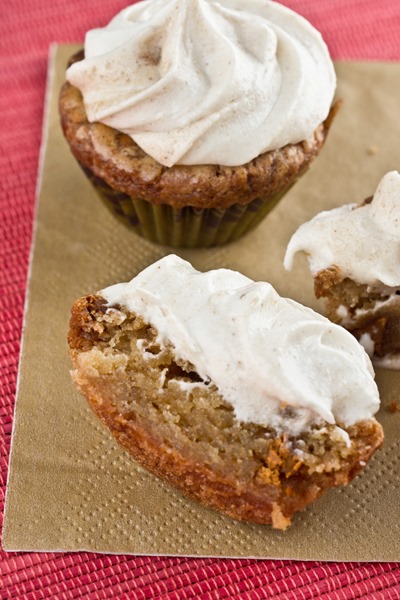
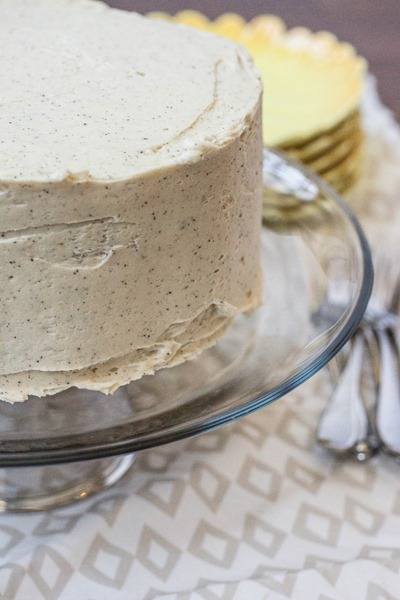
 with a super fluffy vanilla frosting")


")


 white chocolate gnache")


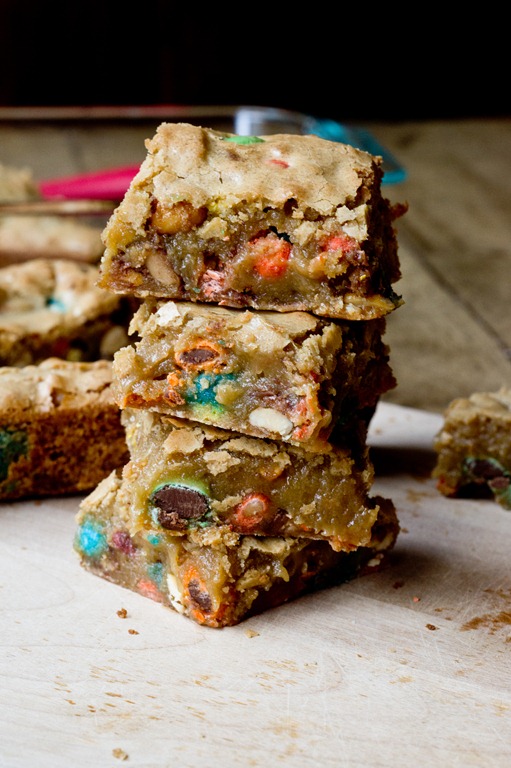


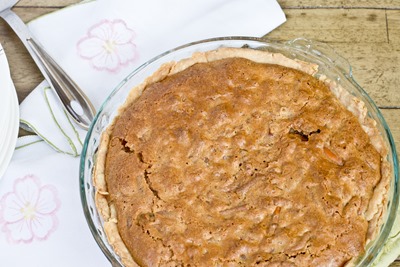
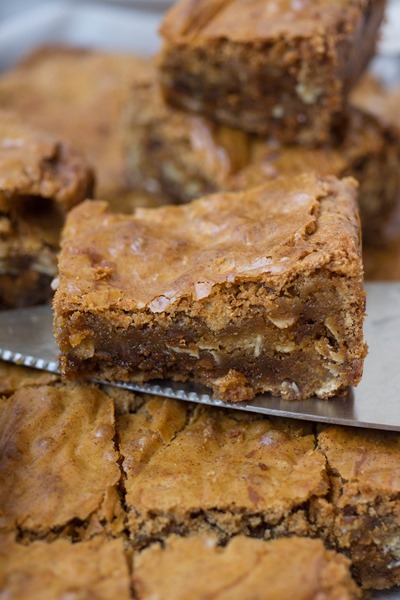
 Pumpkin Blondies")
 Pumpkin Blondies")
 Pumpkin Blondies")


")


")


")


")
")
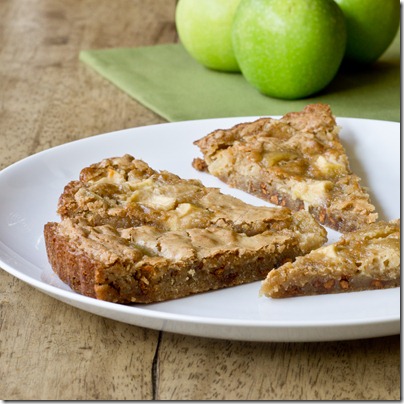
 - so perfect for all of the apples in my kitchen")


")