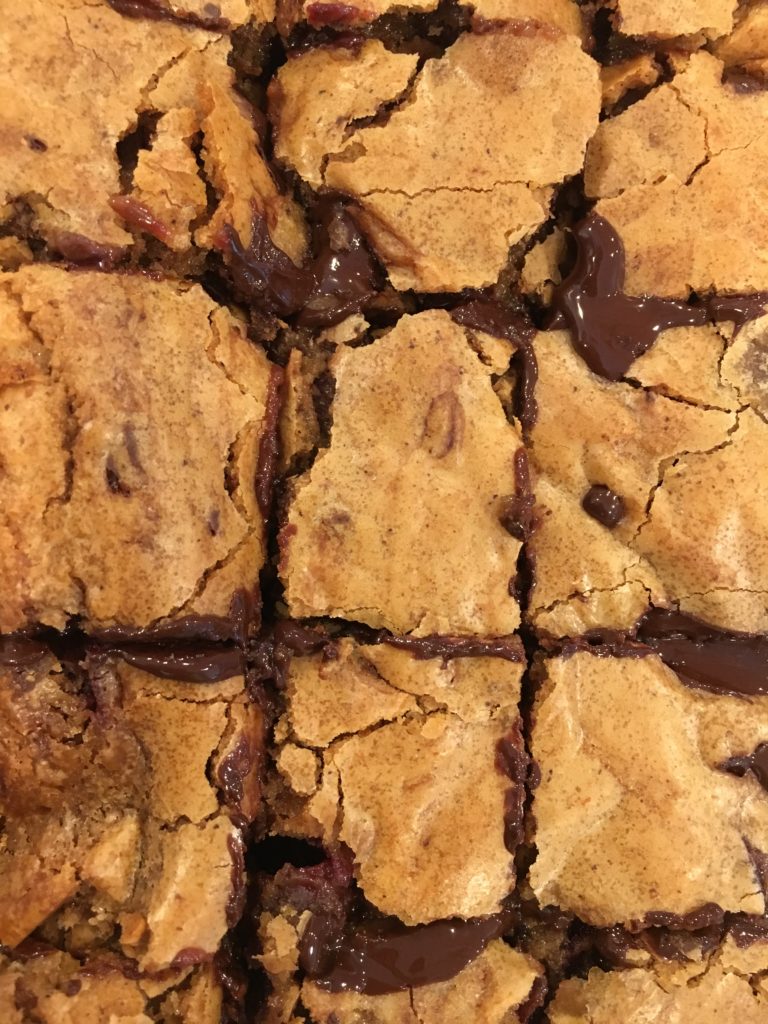
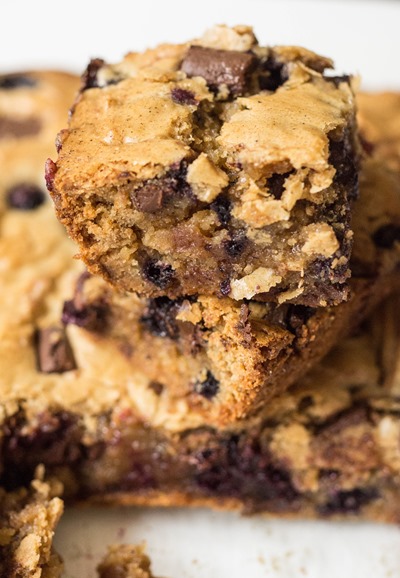
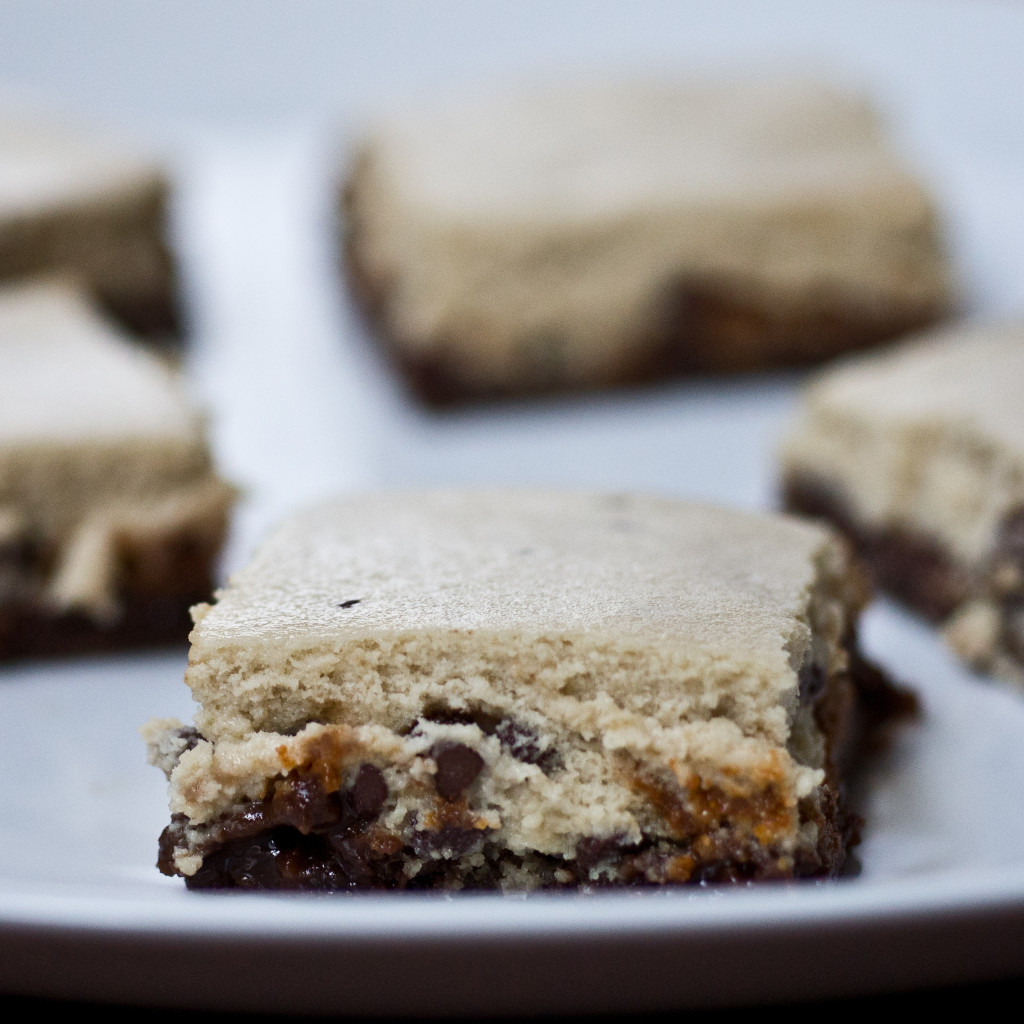
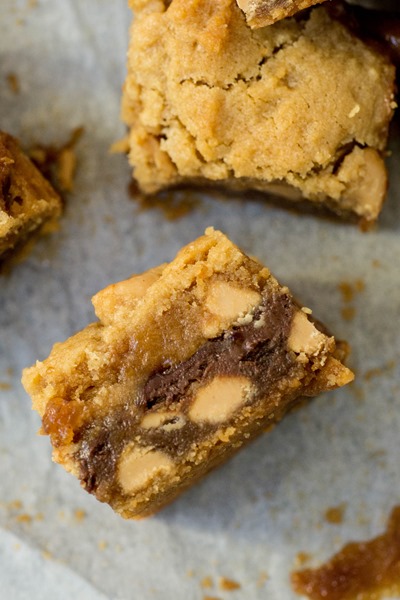
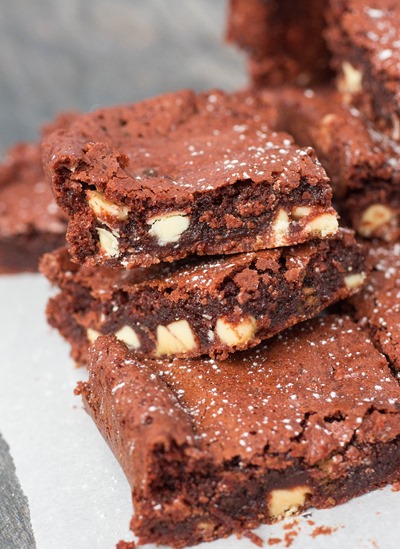
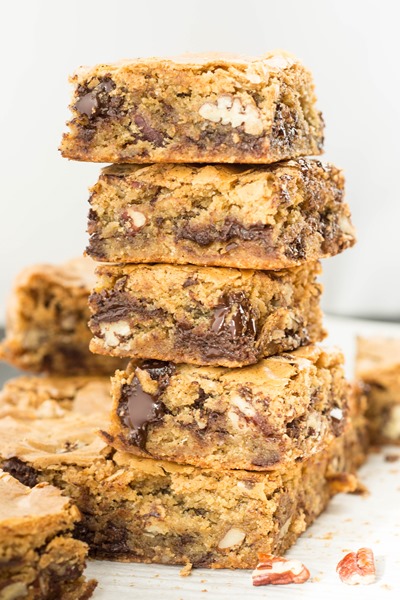
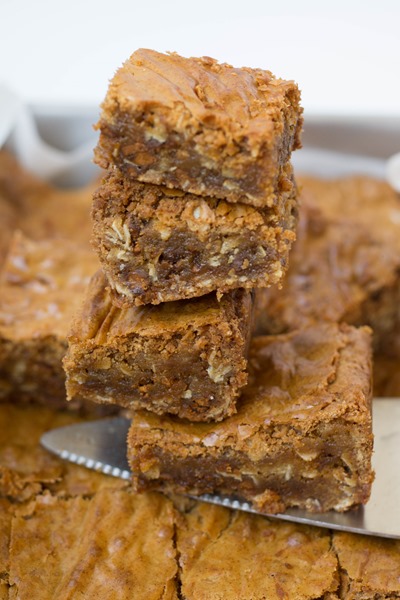
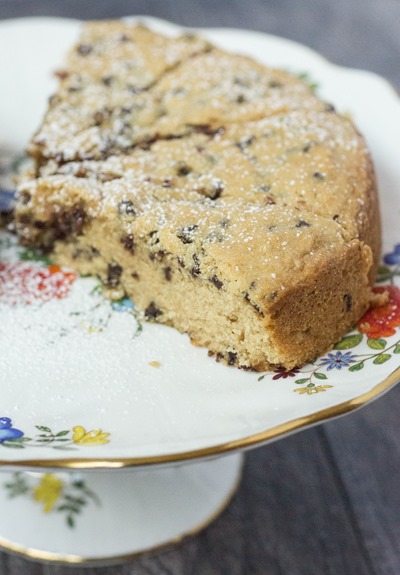
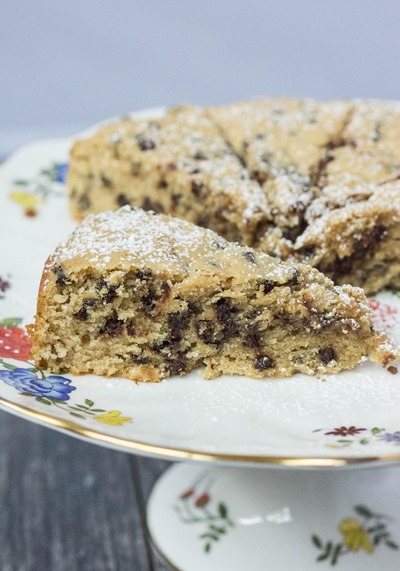
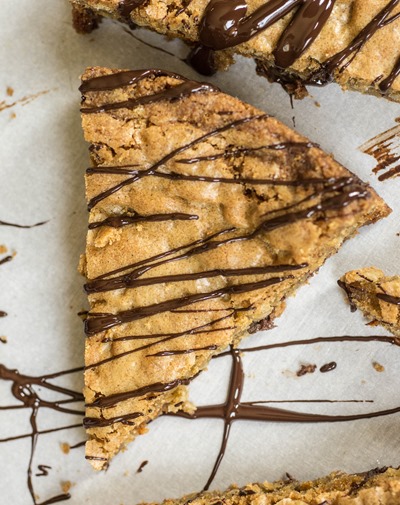
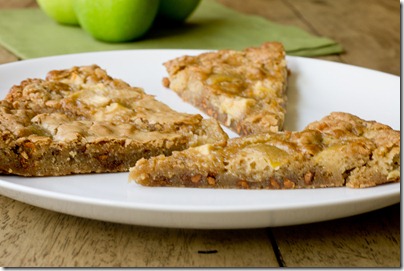
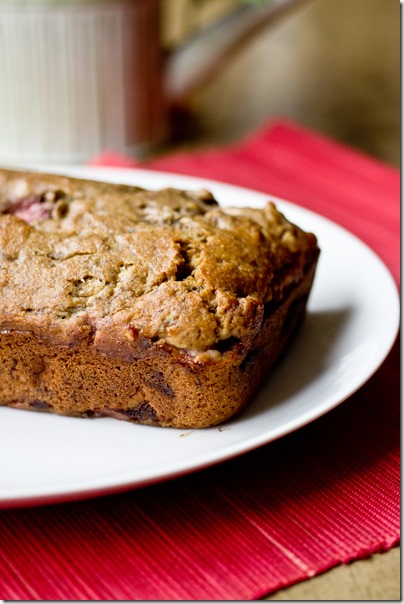
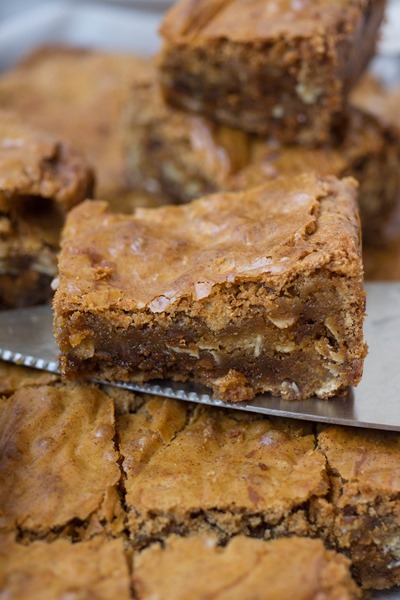
Decadent brown butter blondies with fresh cherries and rich dark chocolate are a perfect summer treat!
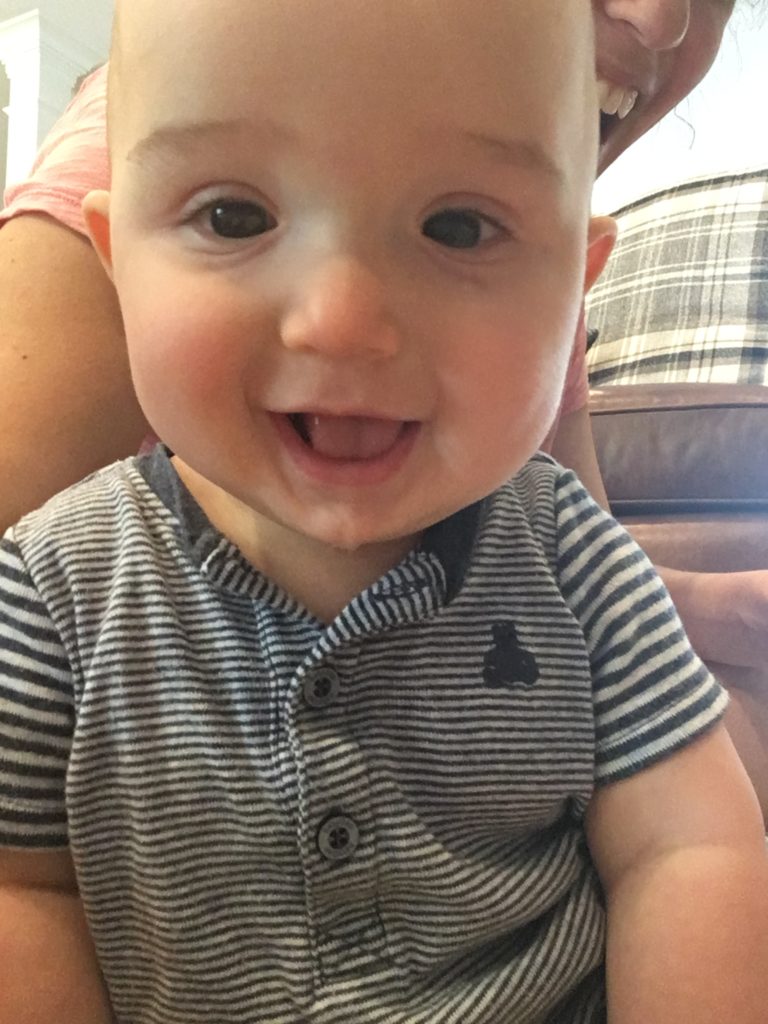
Well, it’s been a few minutes since I last blogged. So many minutes in fact, that I didn’t remember how to login and create a new blog post at first! I’m back, though, to share an amazing recipe with some mediocre phone pictures (keeping it real). Plus, what better excuse than blondies to introduce you to my chunk-a-luscious baby boy?
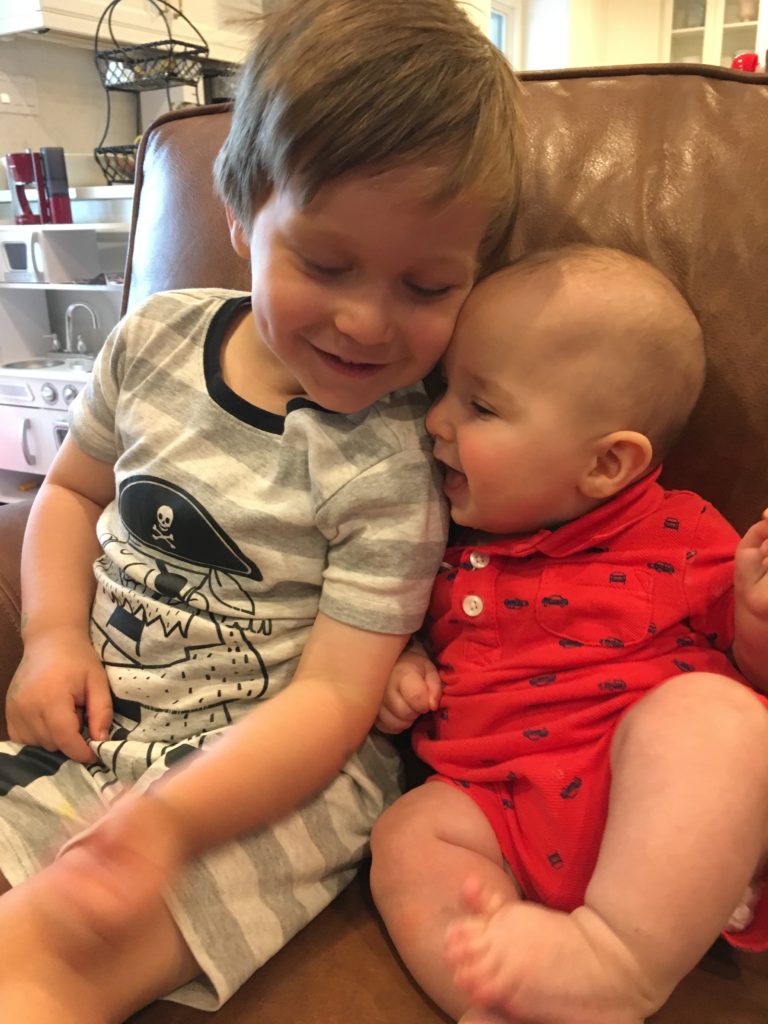
To catch you up a bit, life has been good around here. I’ve got a true three-nager oh my hands (while still being the sweetest best big brother) and a sweet and edible baby E. I’m currently home with both of them and loving life / struggling to figure out exactly where I stand as an individual all at the same time. Normal?
In the meantime, I’ve made these blondies a few times. They were so outrageously delicious that I decided I needed to come back here for a few minutes and share. I hope you make them and enjoy!
Cherry Chocolate Chunk Brown Butter Blondies
Decadent brown butter blondies with fresh cherries and rich dark chocolate are a perfect summer treat!
Author: Lauren Lilling
Recipe type: Blondies
Makes: 24 blondies
Ingredients
- 254 grams (1 cup + 2 tablespoons) unsalted butter
- 700 grams (~3 cups packed) light brown sugar
- 400 grams (~3 cups) all-purpose flour
- 16 grams (2 teaspoon) salt
- 6 grams (1 teaspoon) baking powder
- 220 grams (4 large) whole eggs
- 15 milliliters (1 tablespoon) vanilla extract
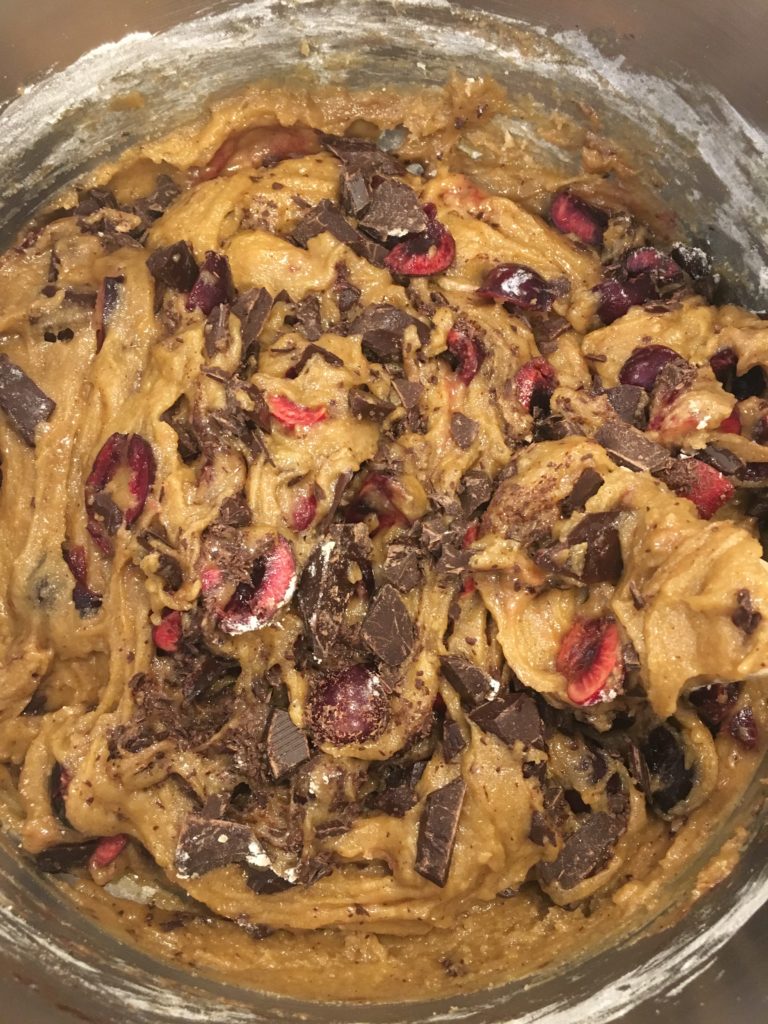
- 285 grams (~2 cups) fresh chopped and pitted cherries (320 grams whole)*
- 224 grams (~1½ cup) dark chocolate roughly chopped (I like 70% cocoa or darker to balance the sweetness of the cherries)
Instructions
- Pre-heat oven to 350 degrees; line a 9×13 baking pan with parchment paper
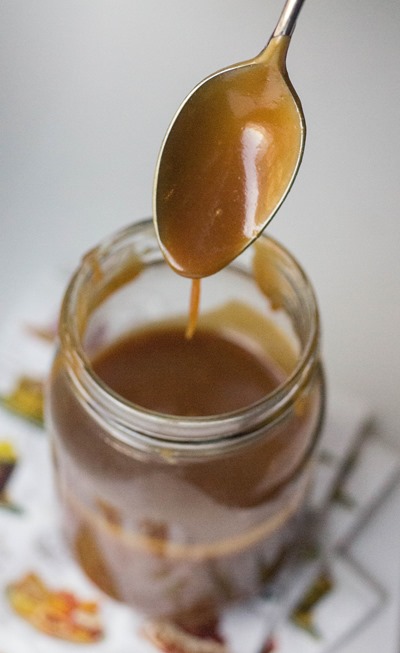
- In a large saucepan over medium-high heat, brown the butter (stir butter constantly until it turns an amber/light brown color) and remove from heat; stir in sugar until well combined and set aside to cool slightly
- In a medium bowl, whisk together flour, salt and baking powder; set aside
- In a small bowl, whisk together eggs and vanilla; whisk into butter and sugar mixture
- Whisk in flour mixture until almost combined and then fold in any remaining crumbs with a spatula
- Fold in chocolate and cherries until evenly distributed throughout batter
- Pour into prepared baking pan and bake for 52-55 minutes or until a knife comes out clean
- Set aside to cool**
Notes
*Red cherries look the prettiest but Ranier are good as well; Halve small cherries, quarter big ones
**For best results cool completely (about 4 hours at room temperature) and then cover with foil and chill in refrigerator before cutting
Wrap well with foil and store in refrigerator for up to four days or freezer for up to two months
**For best results cool completely (about 4 hours at room temperature) and then cover with foil and chill in refrigerator before cutting
Wrap well with foil and store in refrigerator for up to four days or freezer for up to two months
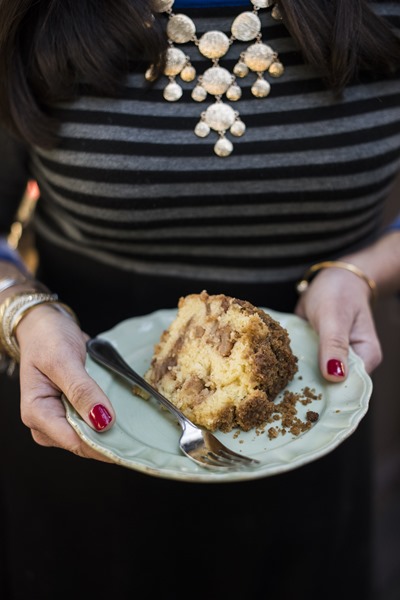


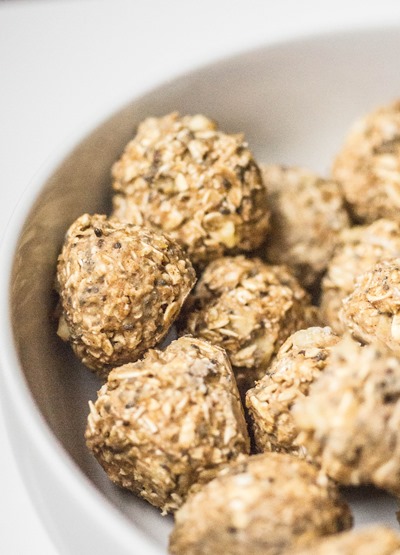
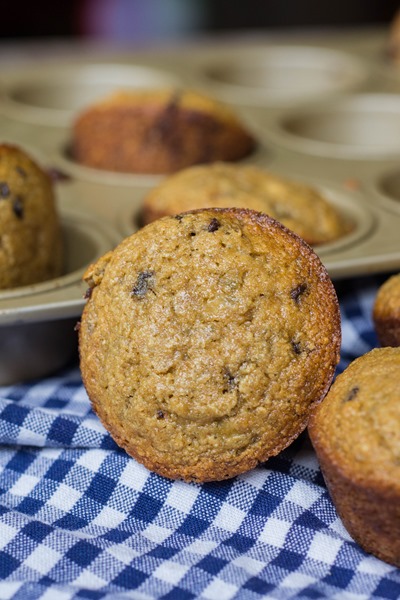
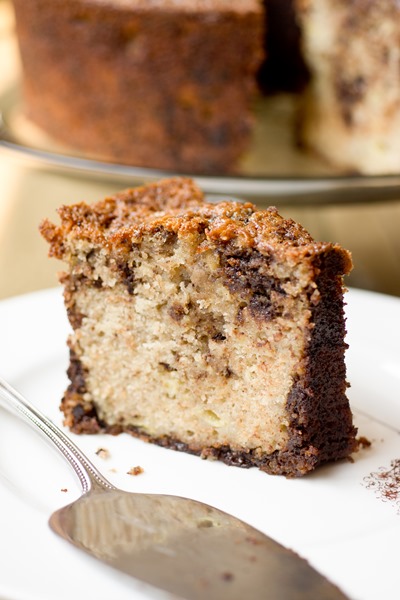
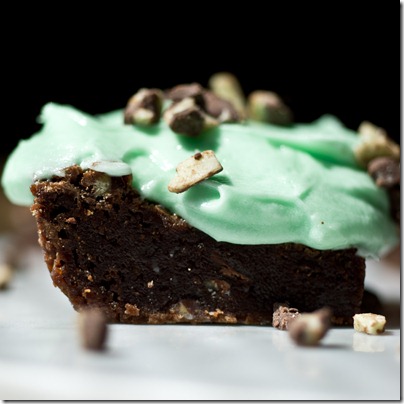
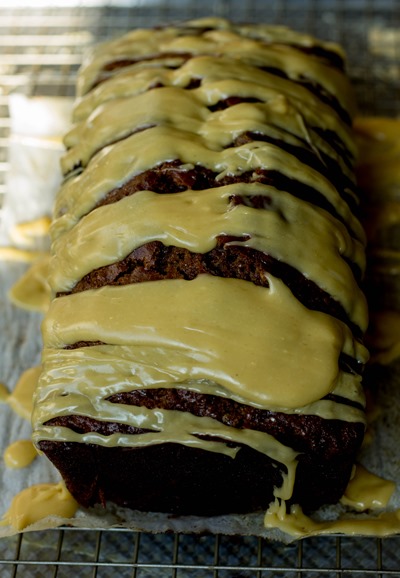
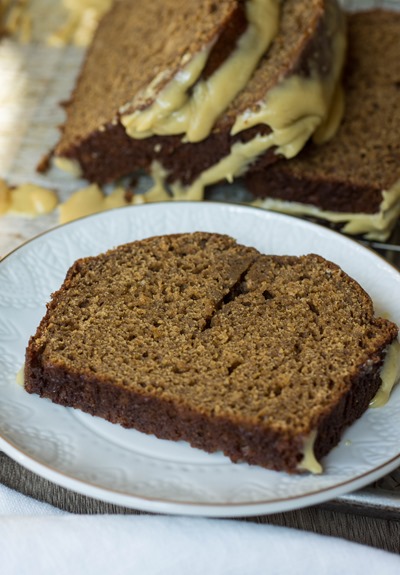
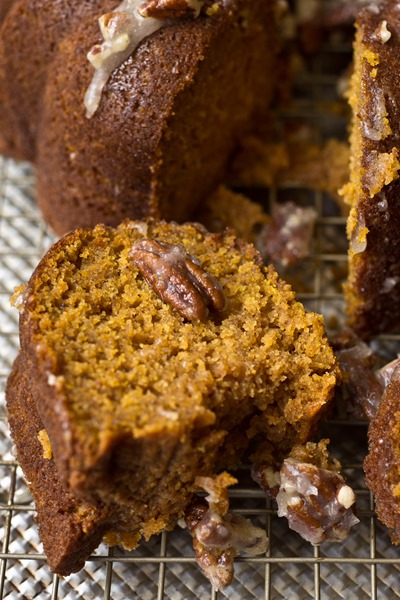
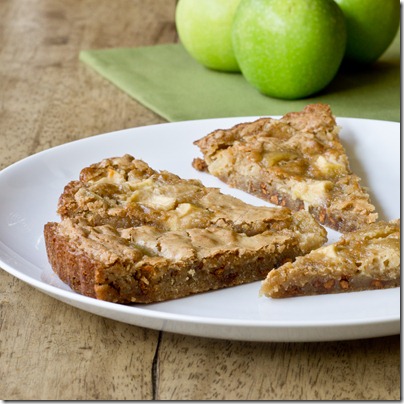
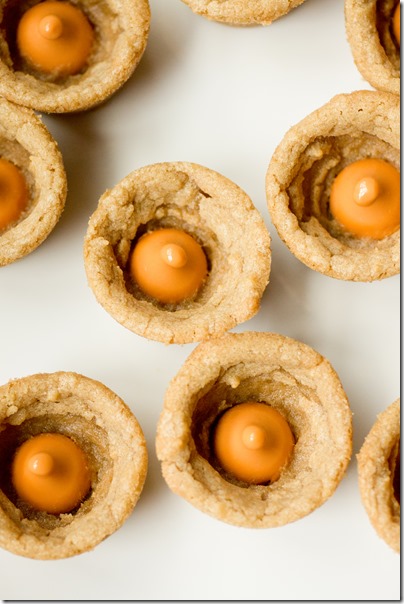
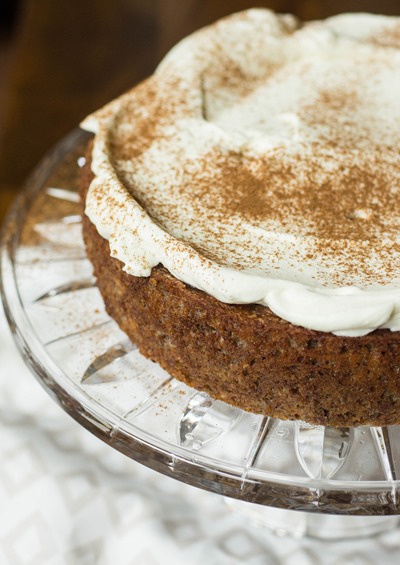
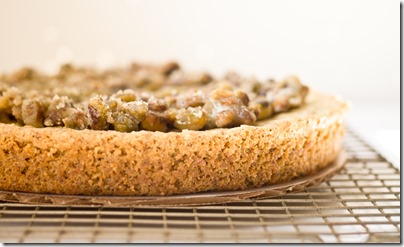
 Pumpkin Blondies")
")


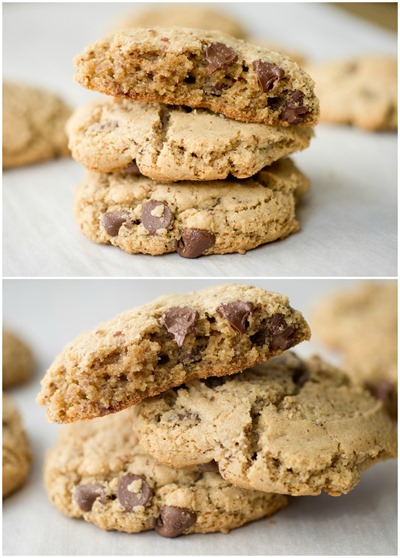
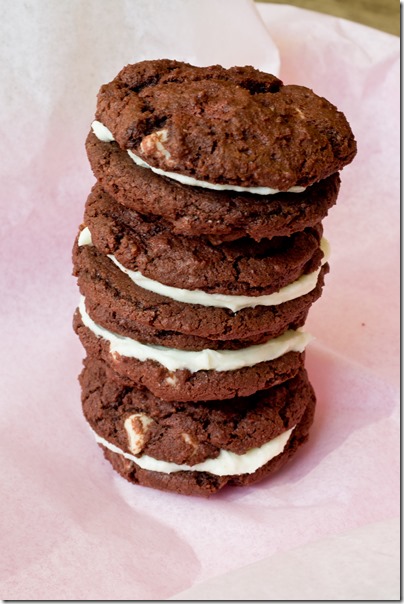
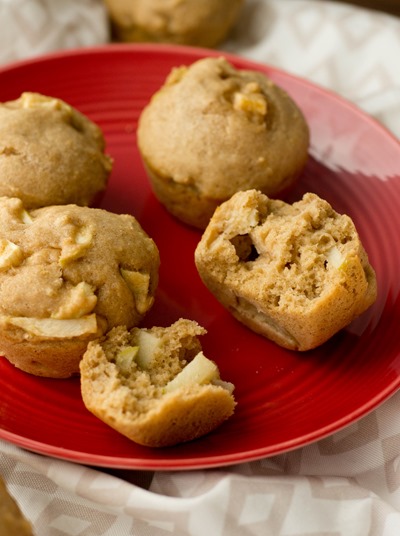
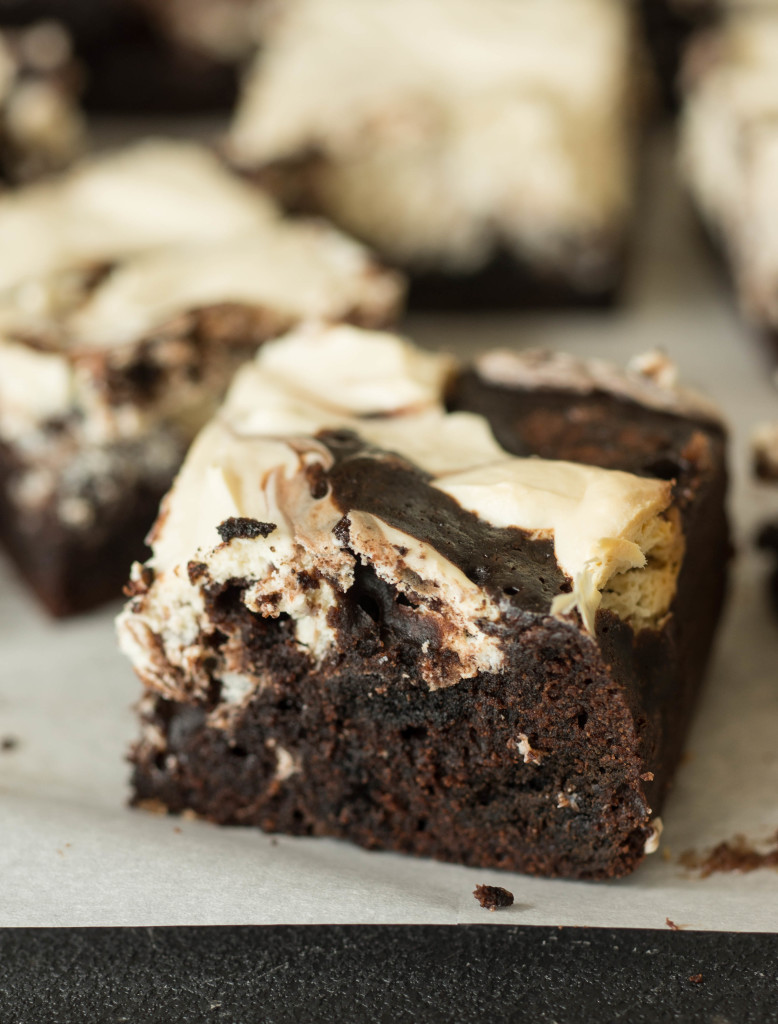
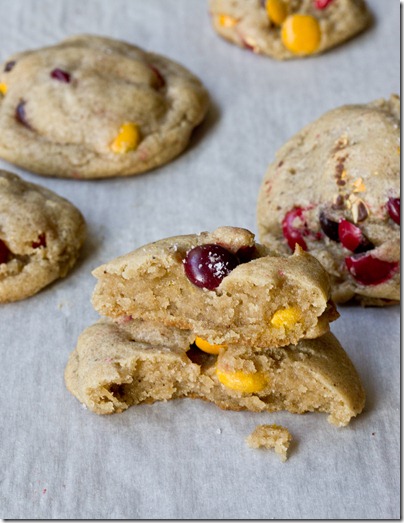
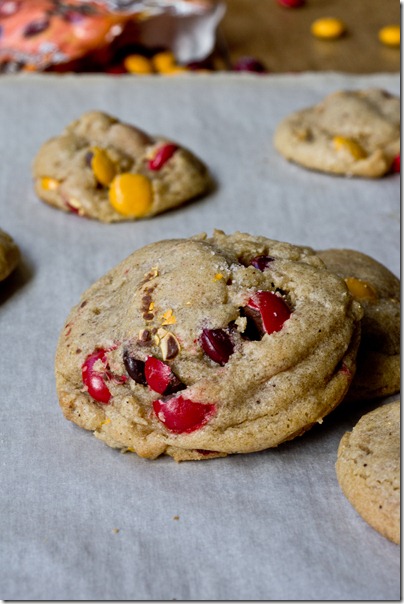
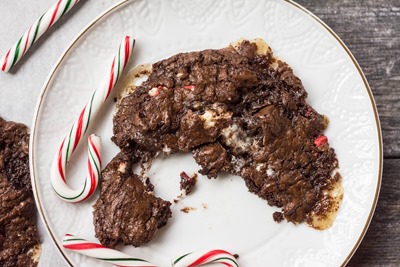
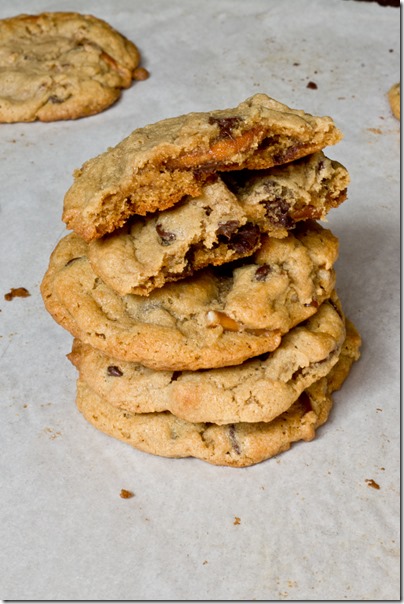
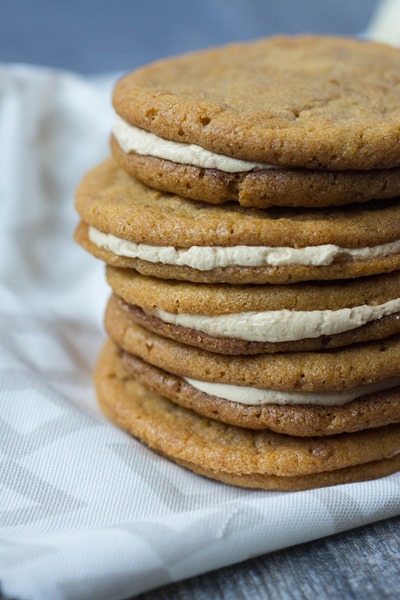
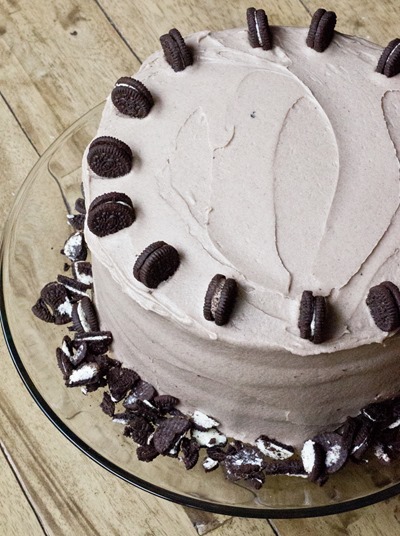
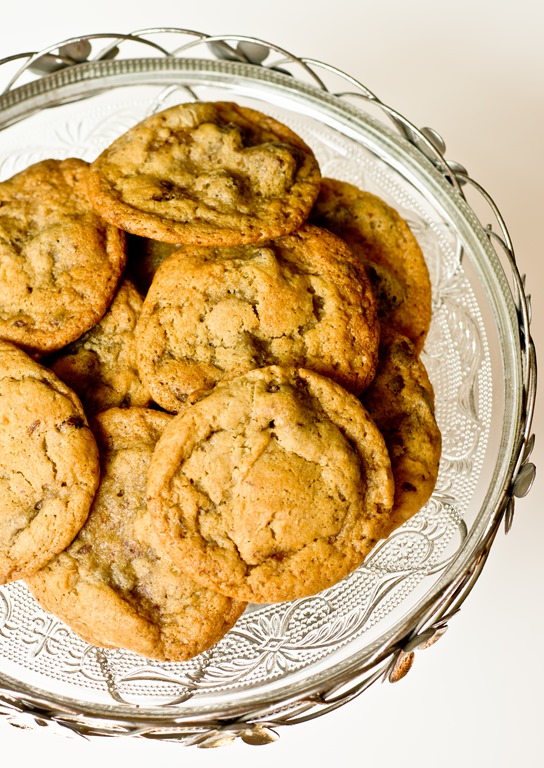
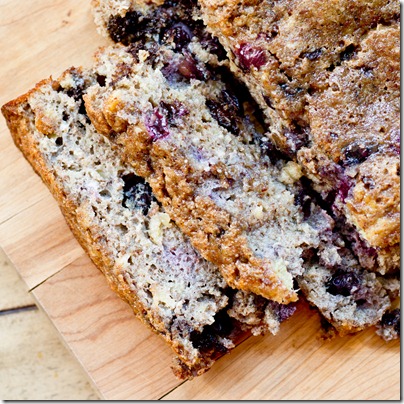
 Cranberry Chocolate Chunk Cookies")


")


")

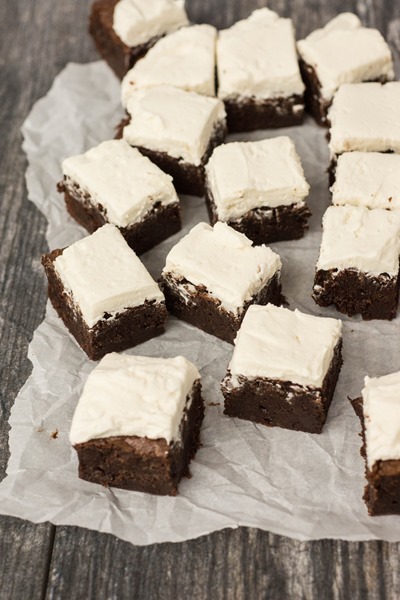
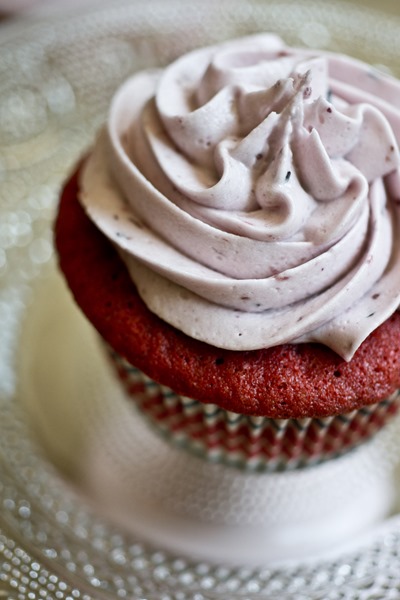
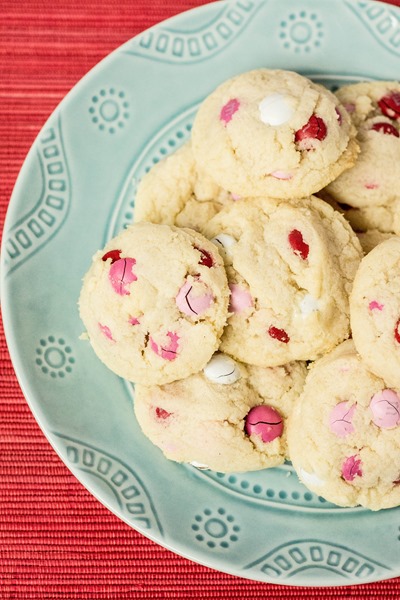
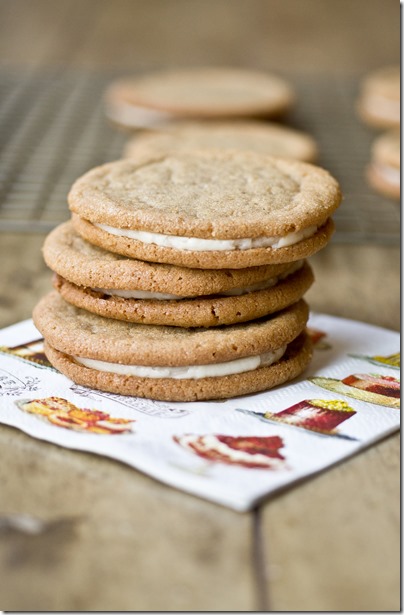
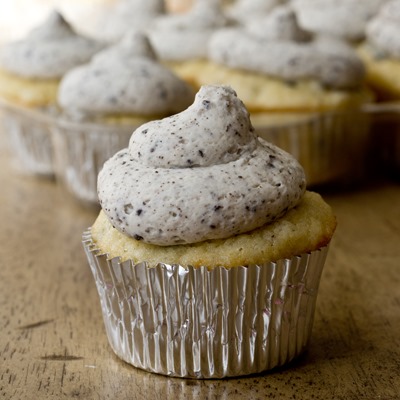
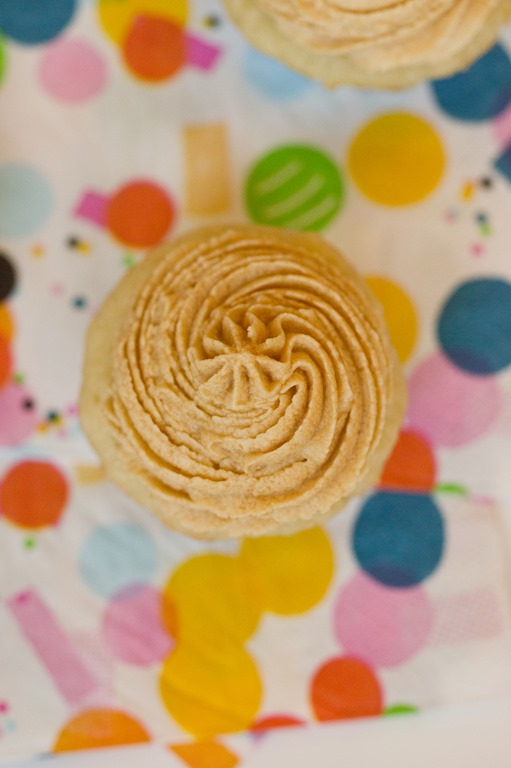
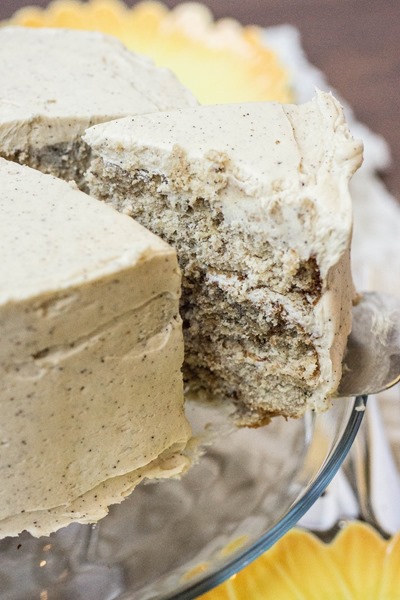
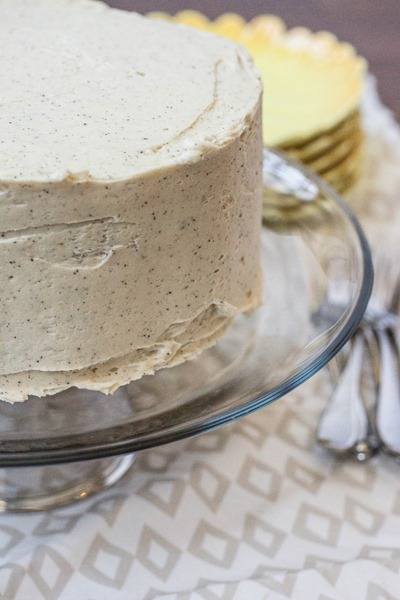
 with a super fluffy vanilla frosting")


")


")


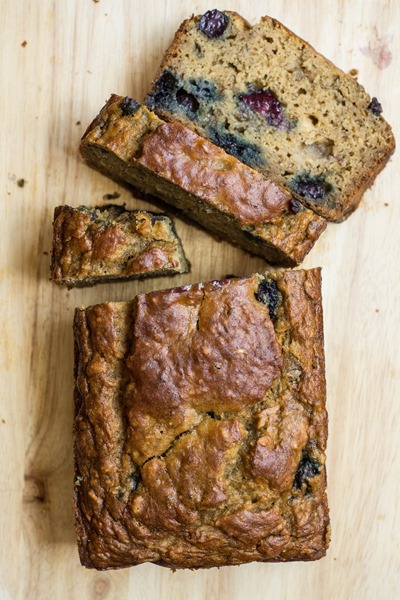
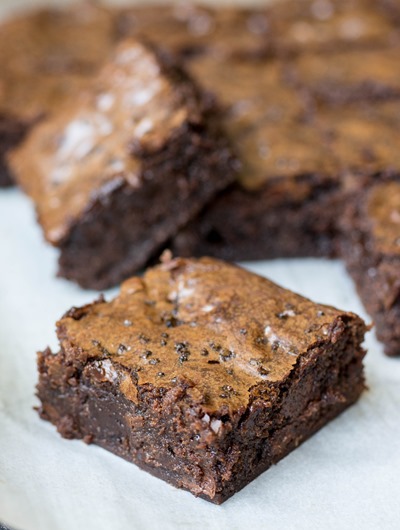
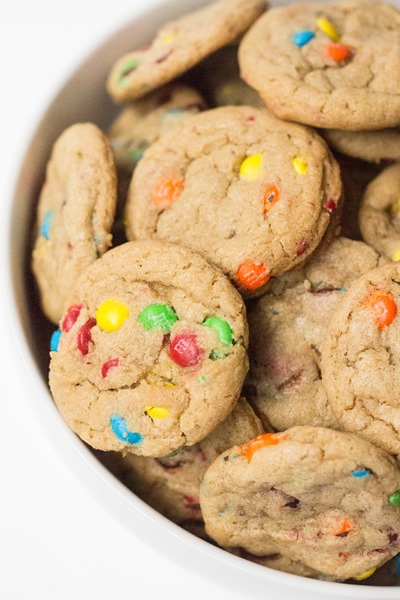
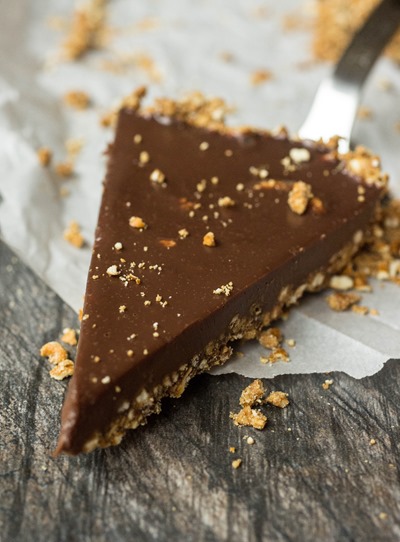
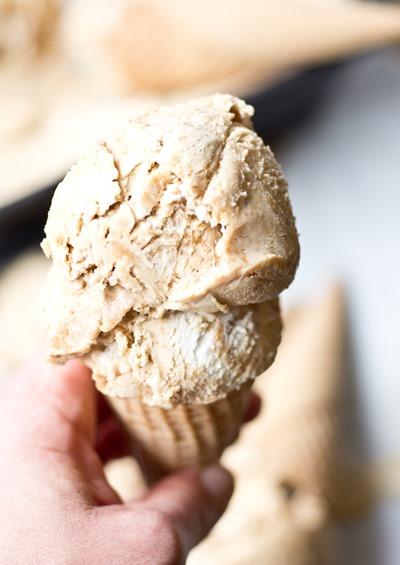
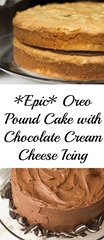
 white chocolate gnache")


")


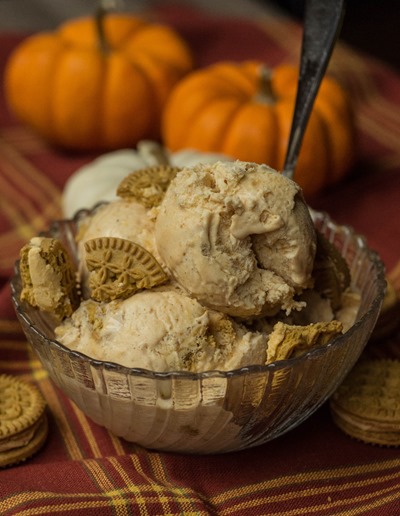
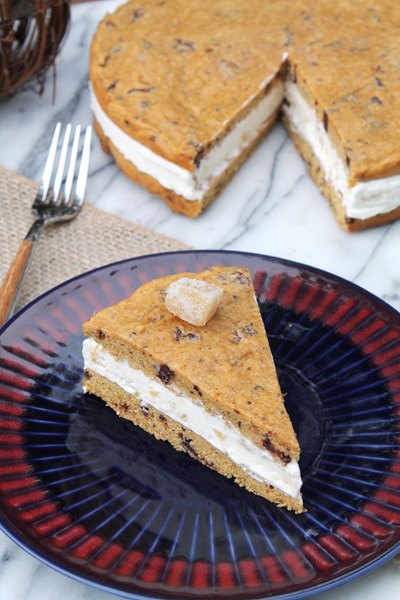
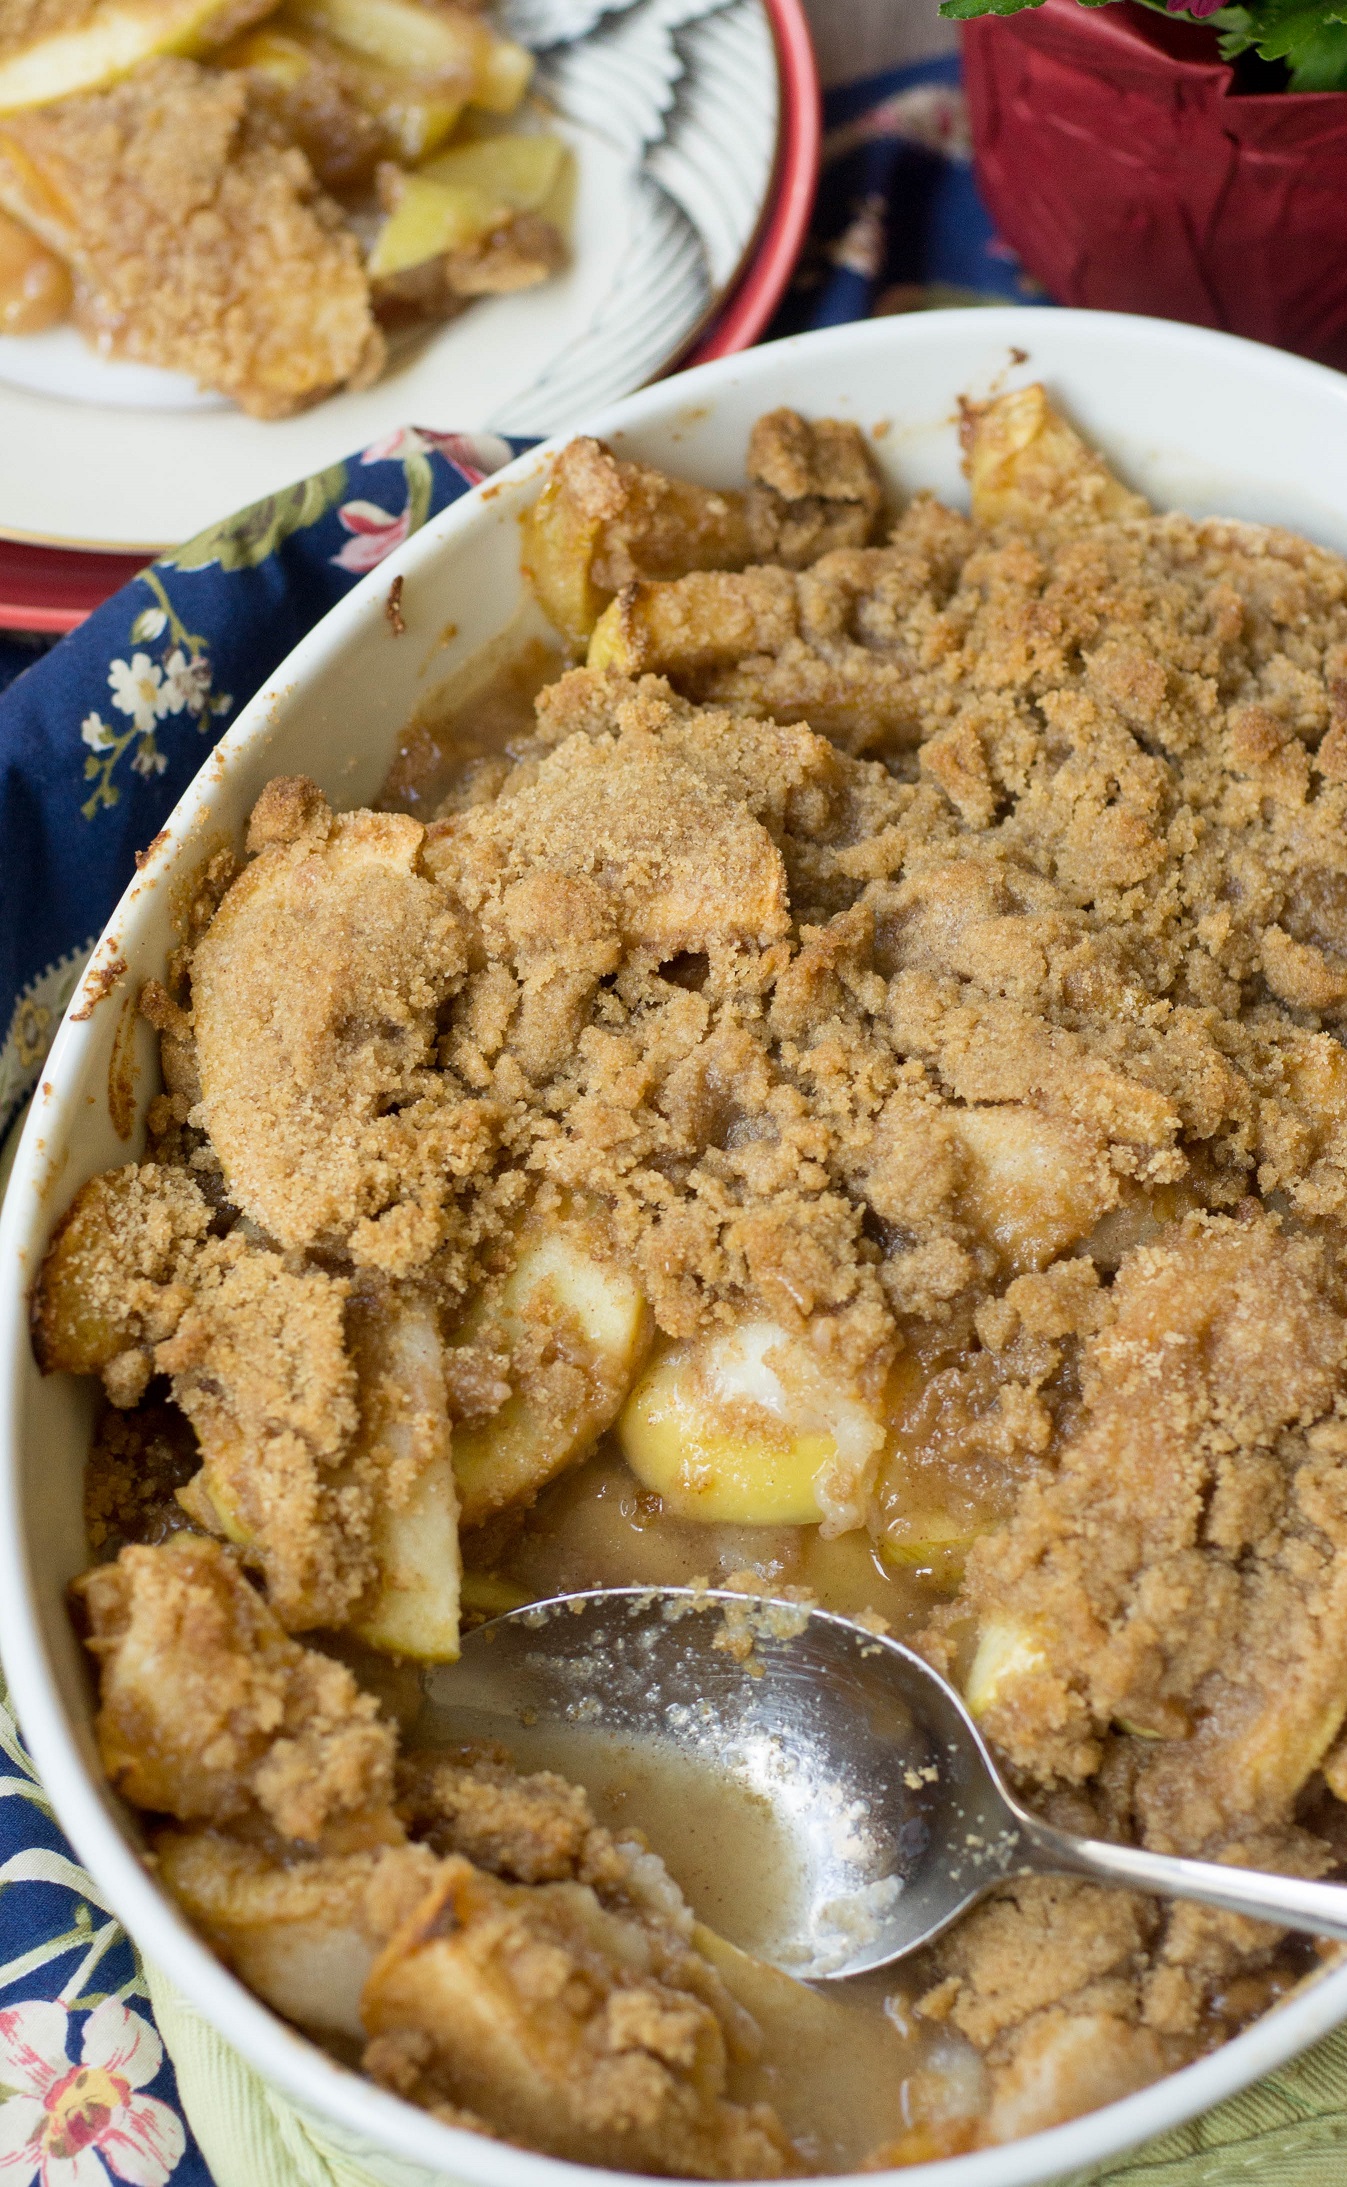
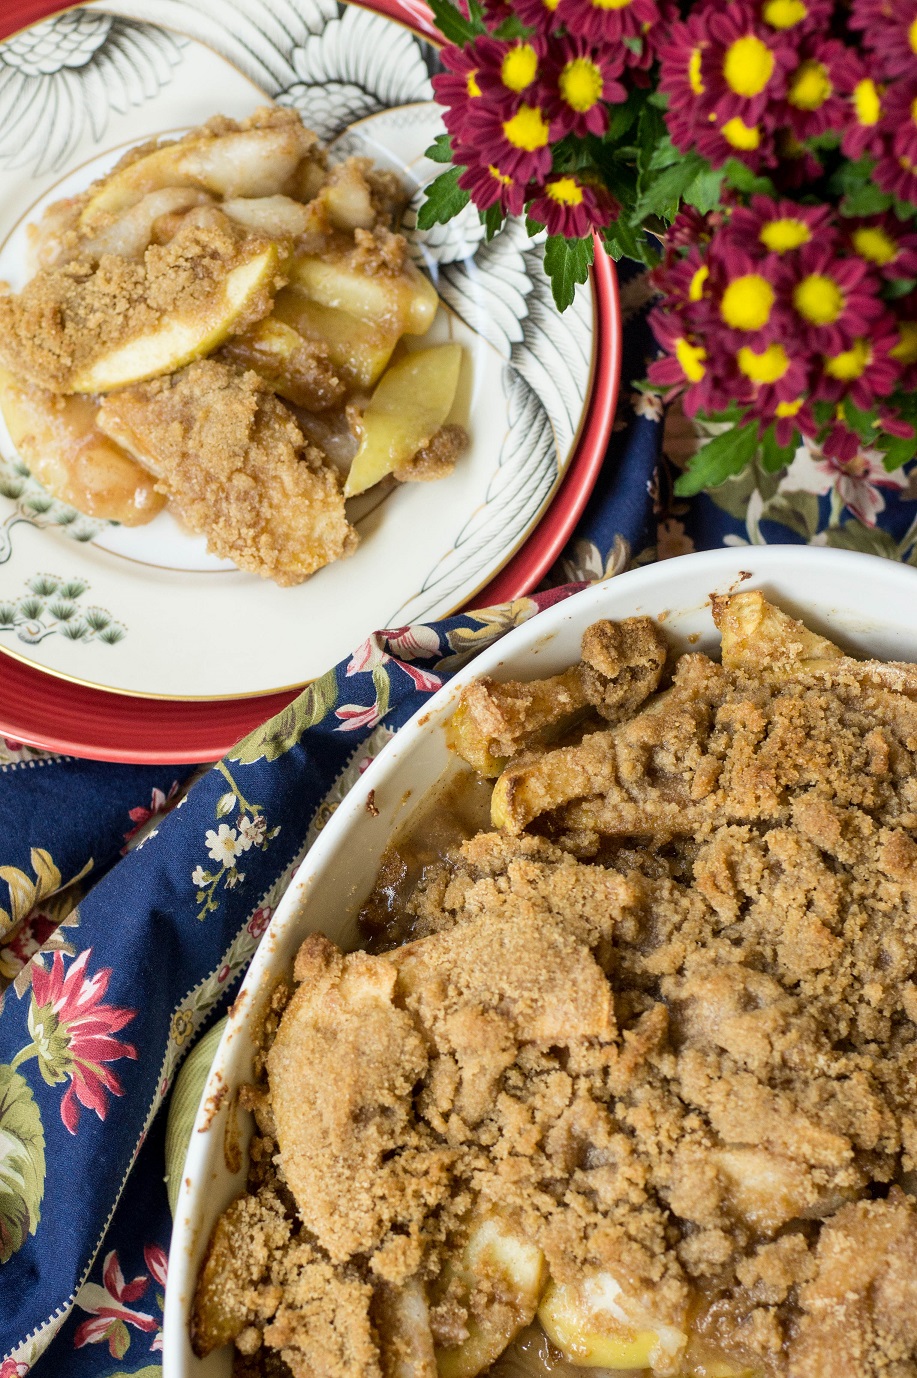


 Pumpkin Blondies")
 Pumpkin Blondies")
 Pumpkin Blondies")


")
")


")


")