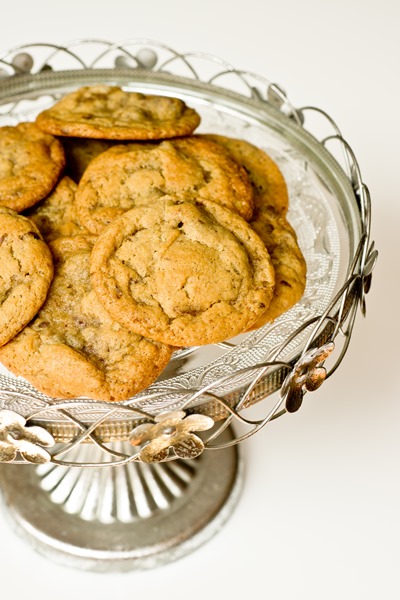
An easy cookie to make with the wonderful flavor of meyer lemons.
Today we are celebrating sweet Caroline’s second virtual baby shower! I adore Caroline and am happy to help her celebrate the birth of baby number two!
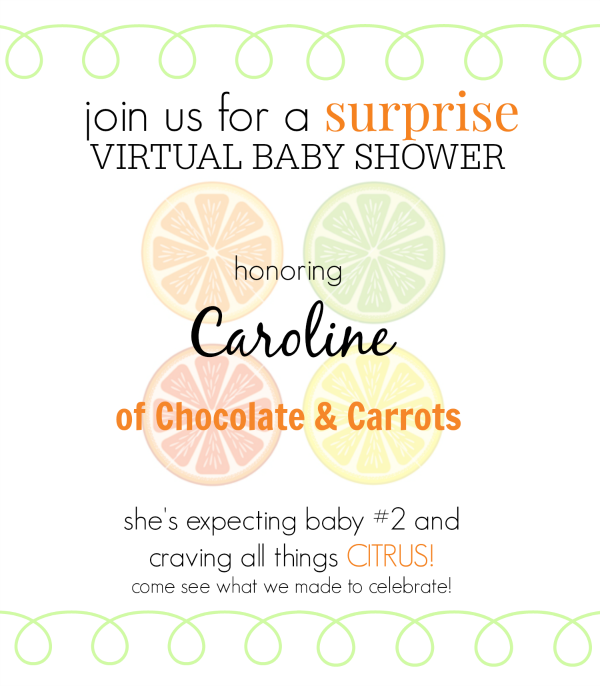
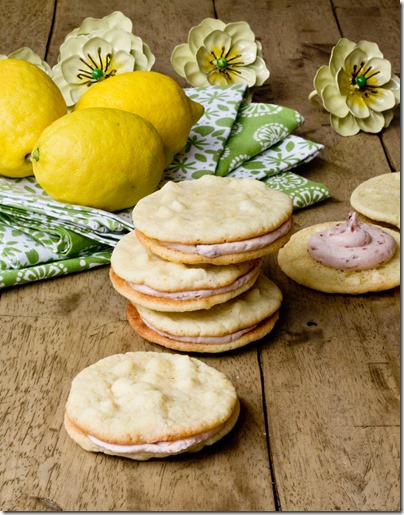
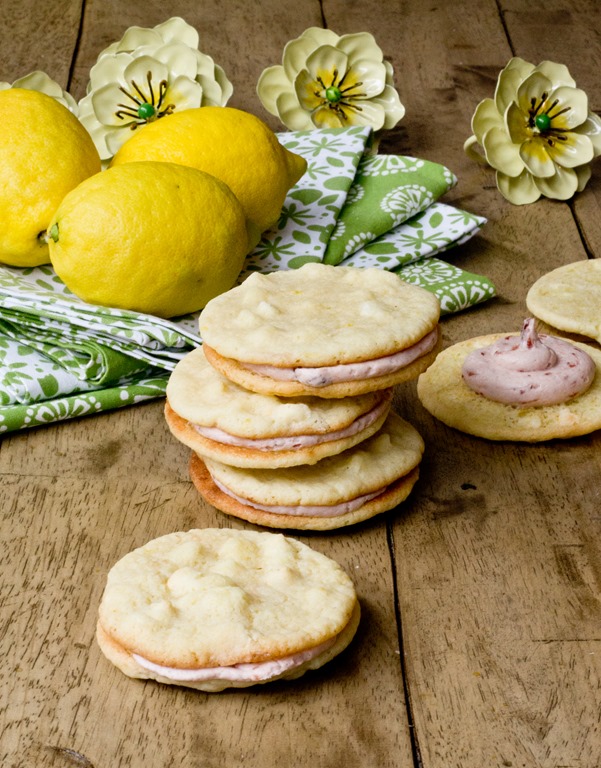
Today’s shower theme is citrus (one of Caroline’s current cravings!) and I just had to go with the sweet and tart flavors of meyer lemons. They are only around for a couple of months so it’s fun to take advantage of them for baking. I have a couple extras and may have to put together a cocktail or two as well;-)

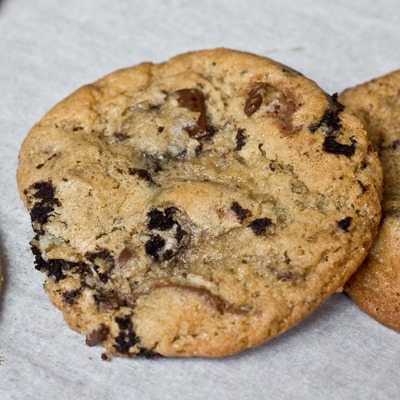
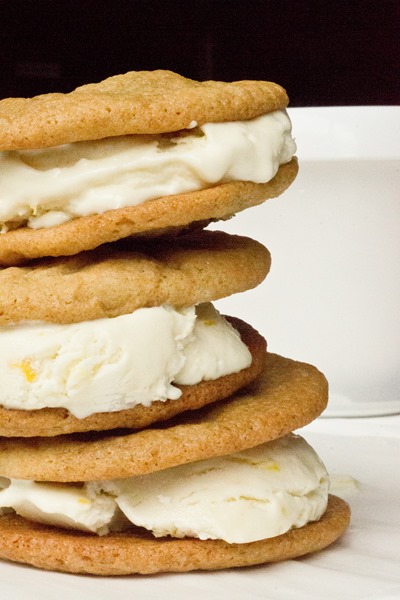
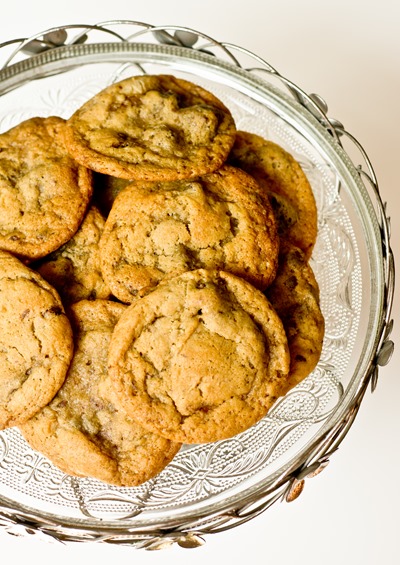
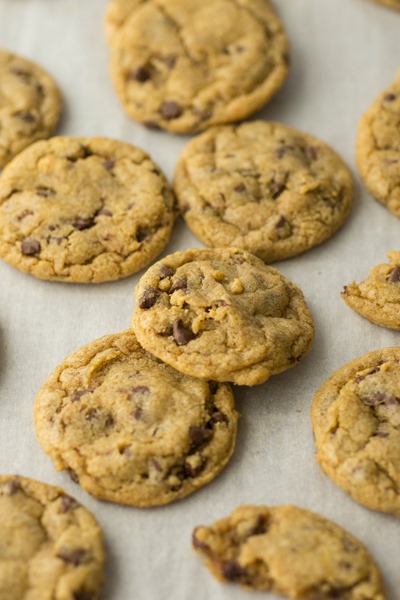
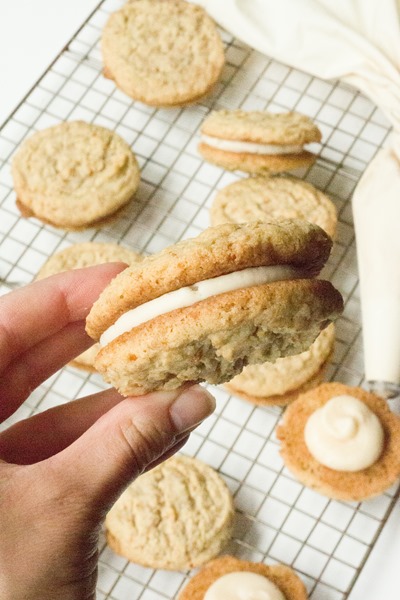
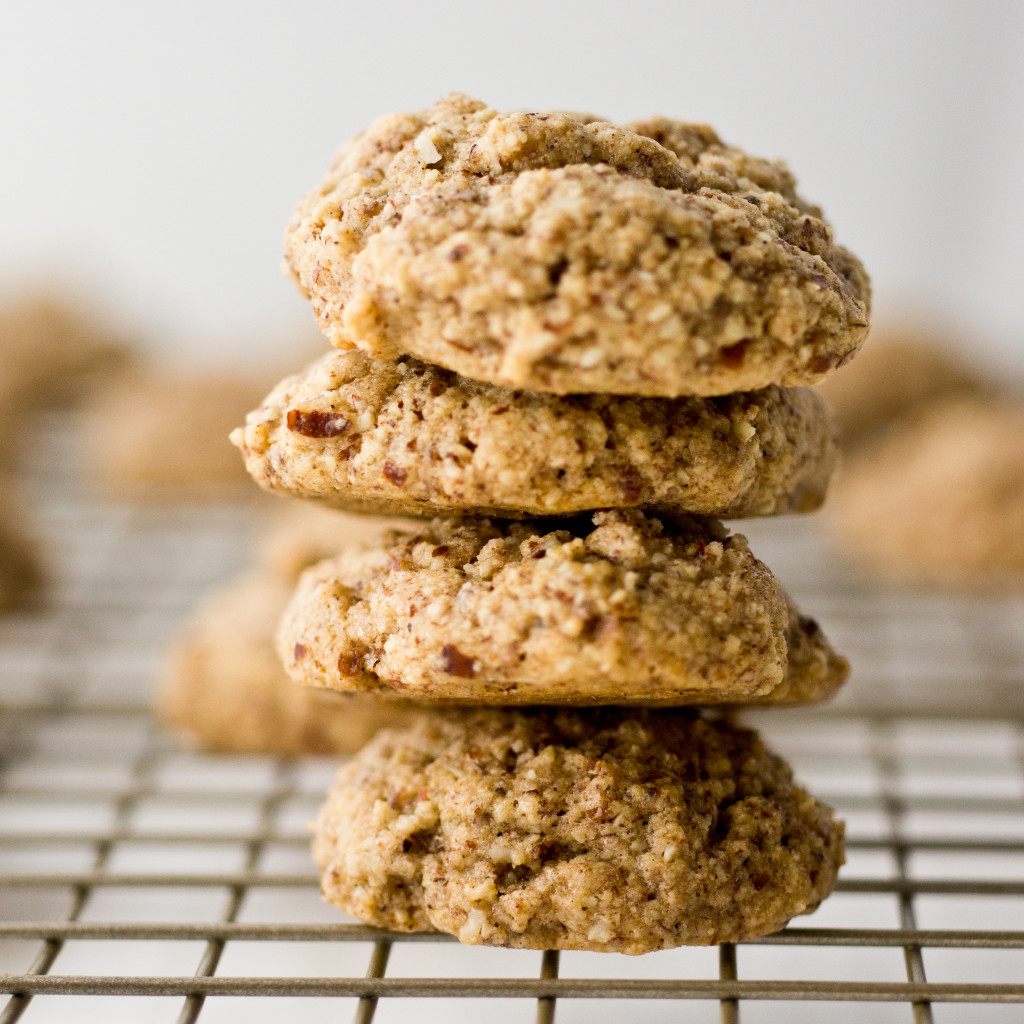
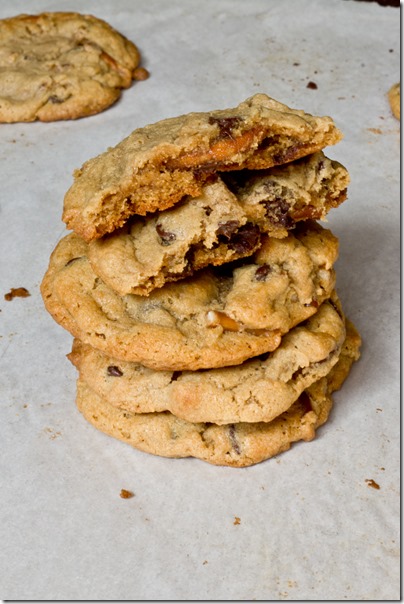
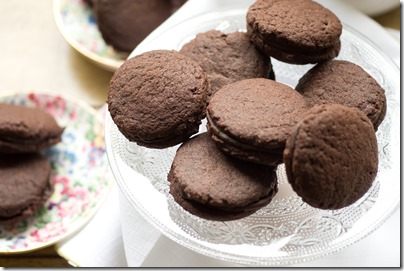
These cookies are nice and crips around the edges with a buttery chewy center. There is just enough meyer lemon flavor without overpowering the cookies at all!
*Scroll down to see the other citrus treats*
Easy Meyer Lemon Shortbread Cookies
An easy cookie to make with the wonderful flavor of meyer lemons.
Author: Lauren Lilling
Recipe type: Dessert
Makes: 2½ dozen cookies
Ingredients
- 227g (1 cup) unsalted butter, softened
- 150g (~3/4 cup) granulated sugar
- 120g (3/4 cup) powdered sugar, sifted
- ½ tablespoon grated meyer lemon zest (~1 lemon)
- 29 milliliters / 2 tablespoons meyer lemon juice (~2 lemons)
- 15 milliliters / 1 tablespoon vanilla extract
- 2 ½g (1/2 teaspoon) salt
- 265g (~2 cups) all-purpose flour, sifted
Instructions
- Pre-heat oven to 350 degrees
- Line baking sheets with parchment paper or slipat; set aside
- Cream butter and sugars with lemon zest until light and fluffy
- Add lemon juice, vanilla and salt and beat until well combined
- Stir in flour
- Scoop with a medium cookie dough scoop (2 tablespoons each) onto prepared cookie sheets about 2 inches apart
- Bake for 13-15 minutes or until very light brown around the edges
- Allow cookies to cool on cooling rack
- Store cookies in an airtight container at room temperature up to one week or in the freezer for up to two months
Notes
Barely adapted from these lemon cookies
See what else is being shared for the shower!
- Mini Lemon Curd Tarts from Texanerin Baking
- Lemon Yogurt Baked Donuts with Chocolate Drizzle from The Lemon Bowl
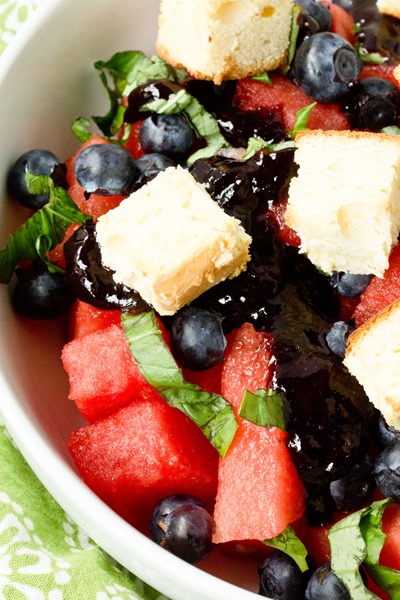
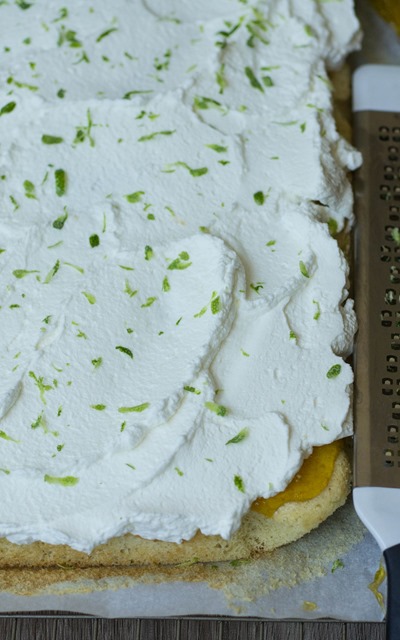
- Berry Tart with Lime Glaze from Katie’s Cucina
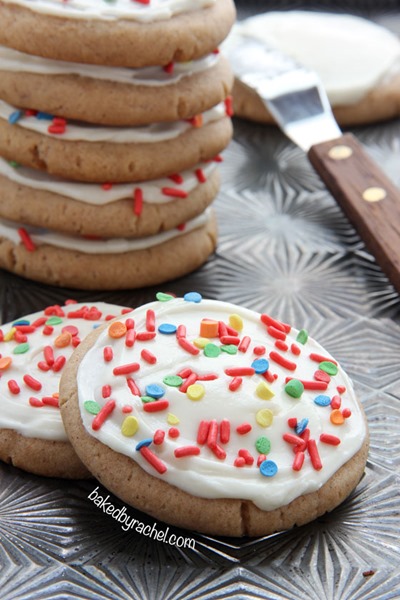
- Super Soft Clementine Sugar Cookies from The Comfort of Cooking
- Grapefruit Salad with Avocado, Honey and Mint from Eating Made Easy
- Lemon Poppy Seed Muffins from Oh, Sweet Basil
- Meyer Lemon Poppy Seed Pull-Apart Muffins from Eats Well With Others
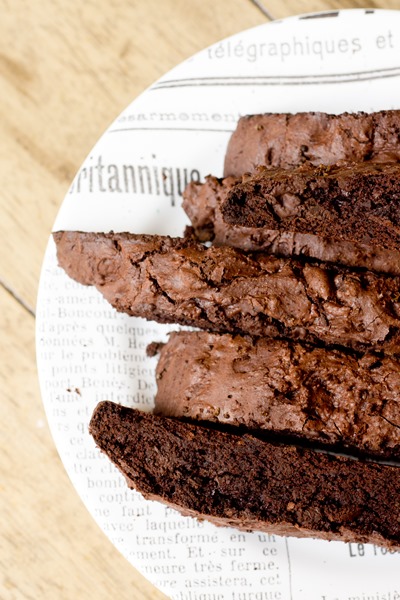
- Flourless Dark Chocolate Orange Brownies from Sweet Treats and More
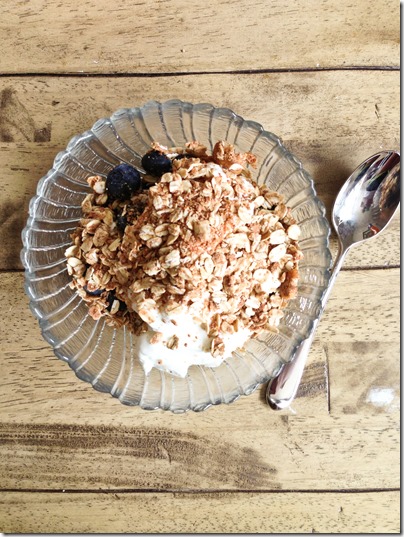
- Quinoa Granola Parfaits with Grapefruit & Mint from Climbing Grier Mountain
- Orange Pecan French Toast from The Baker Mama
- Creamy Lemon Pasta from Barefeet In The Kitchen
- Meyer Lemon Shortbread Cookies from Keep It Sweet Desserts


")


")


")


")
")
")
")
")
")
")
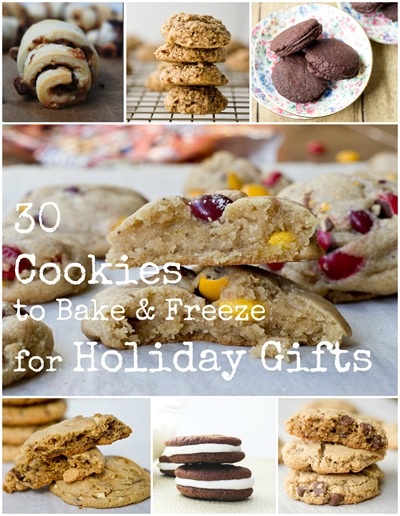
How to Bake and Freeze Cookies for Holiday Gifts (including these")


")


")
")
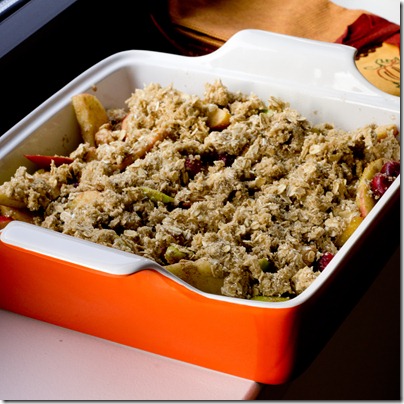
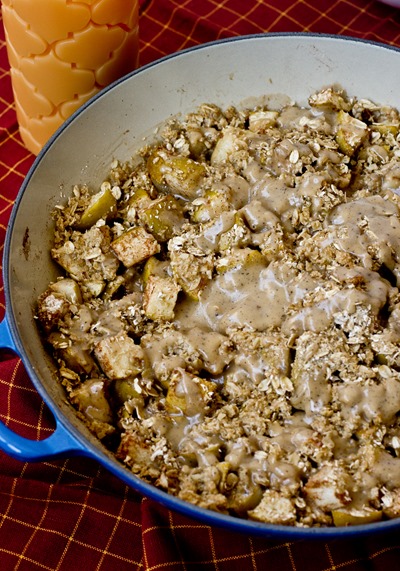
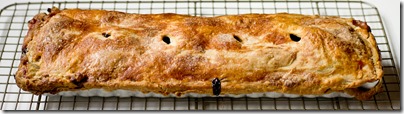
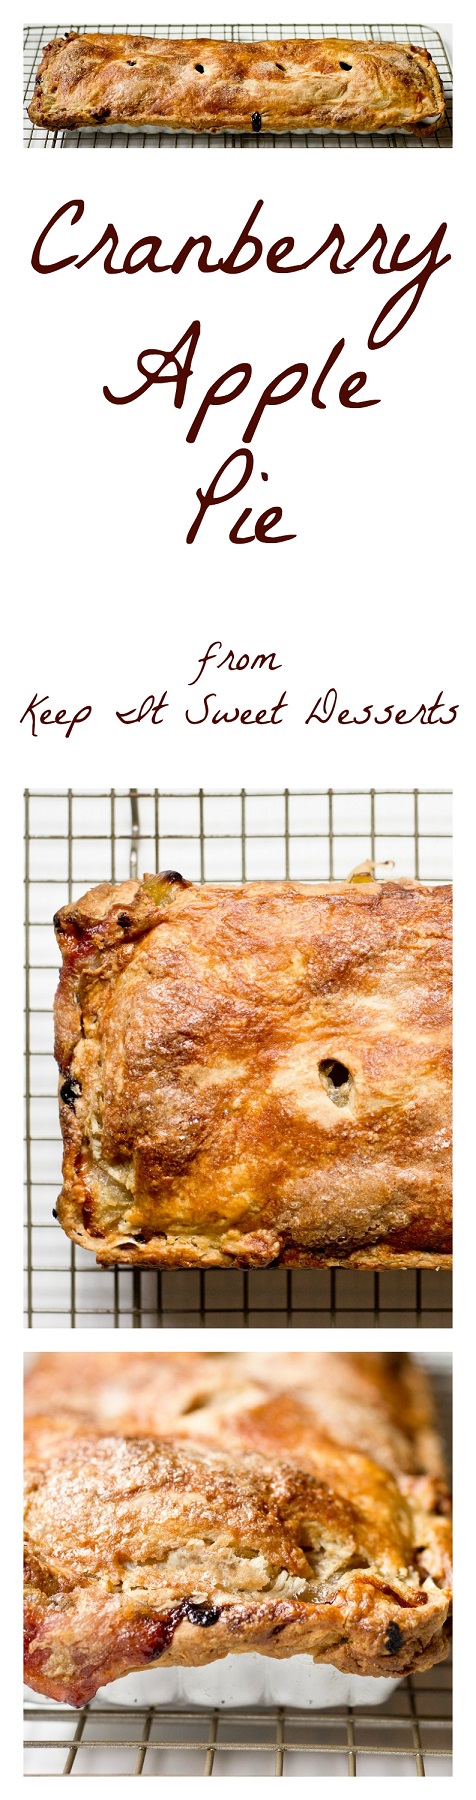
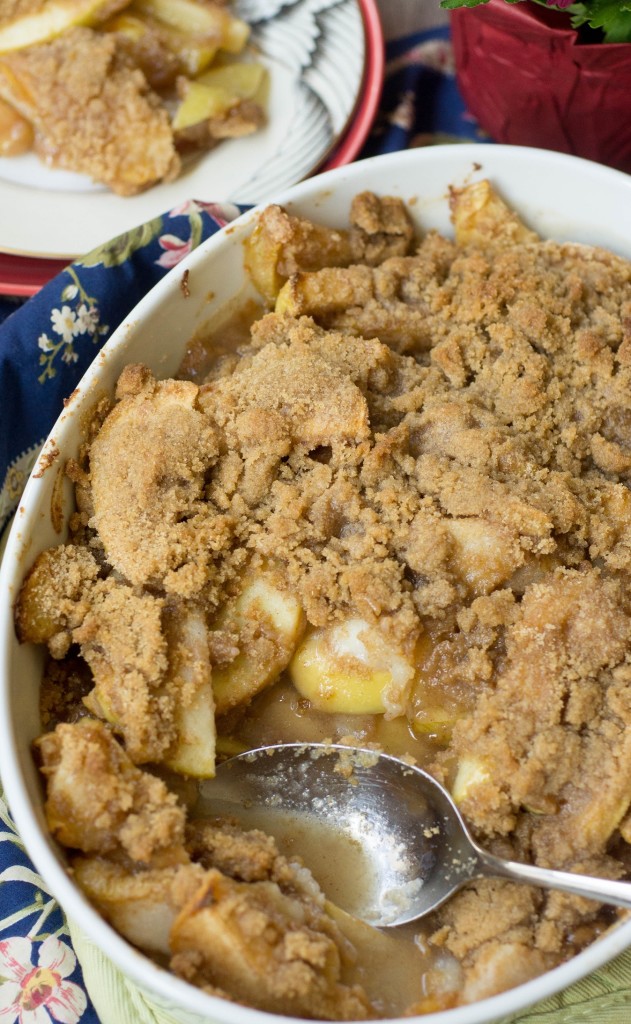
 - so perfect for all of the apples in my kitchen")


")


")


")


")


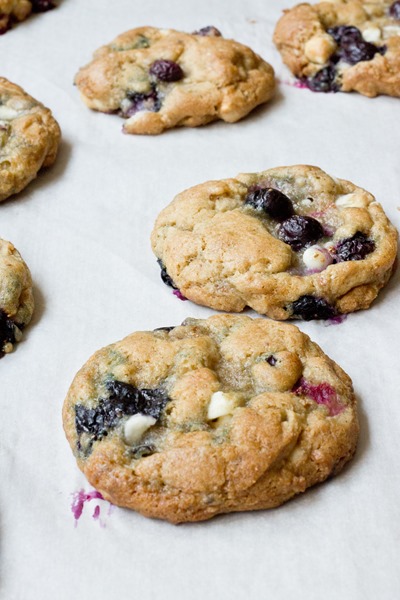
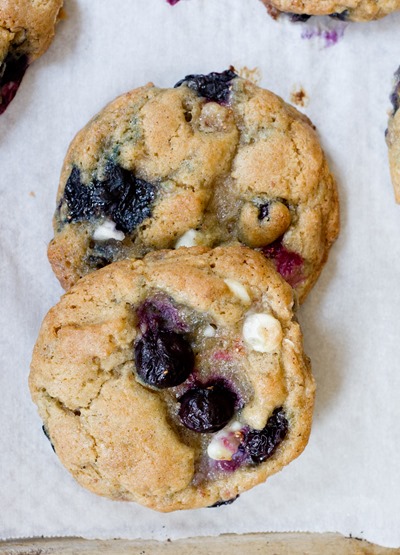
 Blueberry White Chocolate Brown Butter Cookies - the cookie of the summer!")
 Blueberry White Chocolate Brown Butter Cookies - sweet, chewy, crispy edges, everything you could want in a cookie!")
 Blueberry White Chocolate Brown Butter Cookies - basically cookie perfection")
")


")
")


")
")
")
")


 Cranberry Chocolate Chunk Brown Butter Cookies")


")


")
")
")
")

")